Learning how to pack a kayak for a day trip comes down to four habits: keep the load light, put the heavy items low and centered, seal everything in one small dry bag, and keep the safety kit within arm’s reach. Most boats feel awful on a short paddle because of what went into them, not who is sitting in them. Ten minutes of planning at the tailgate solves most of the trouble you would otherwise meet on the water.
This guide covers the half-day to full-day outing: flat lake loop, slow river, guided tour, or a coastal paddle close to shore. If you are heading out for two nights or more, the packing math changes and you need shelter, sleeping gear, and a real food plan.
Table of Contents
- What You Need
- Step-by-Step: How to Pack a Kayak for a Day Trip
- 1. Plan the Load for Your Route
- 2. Group Gear by Use and Pack It in Dry Bags
- 3. Place Heavy Items Low and Near the Center
- 4. Keep Safety Gear Accessible
- 5. Secure the Load and Protect Against Water
- 6. Do a Final Systems Check
- Common Mistakes
- Frequently Asked Questions
- How much gear should I bring on a kayak day trip?
- What is the most important thing to pack for a day paddle?
- Are dry bags necessary for a kayak day trip?
- Where should heavier items go in a touring kayak?
- What should I do if the weather changes while I am paddling?
- Conclusion
What You Need
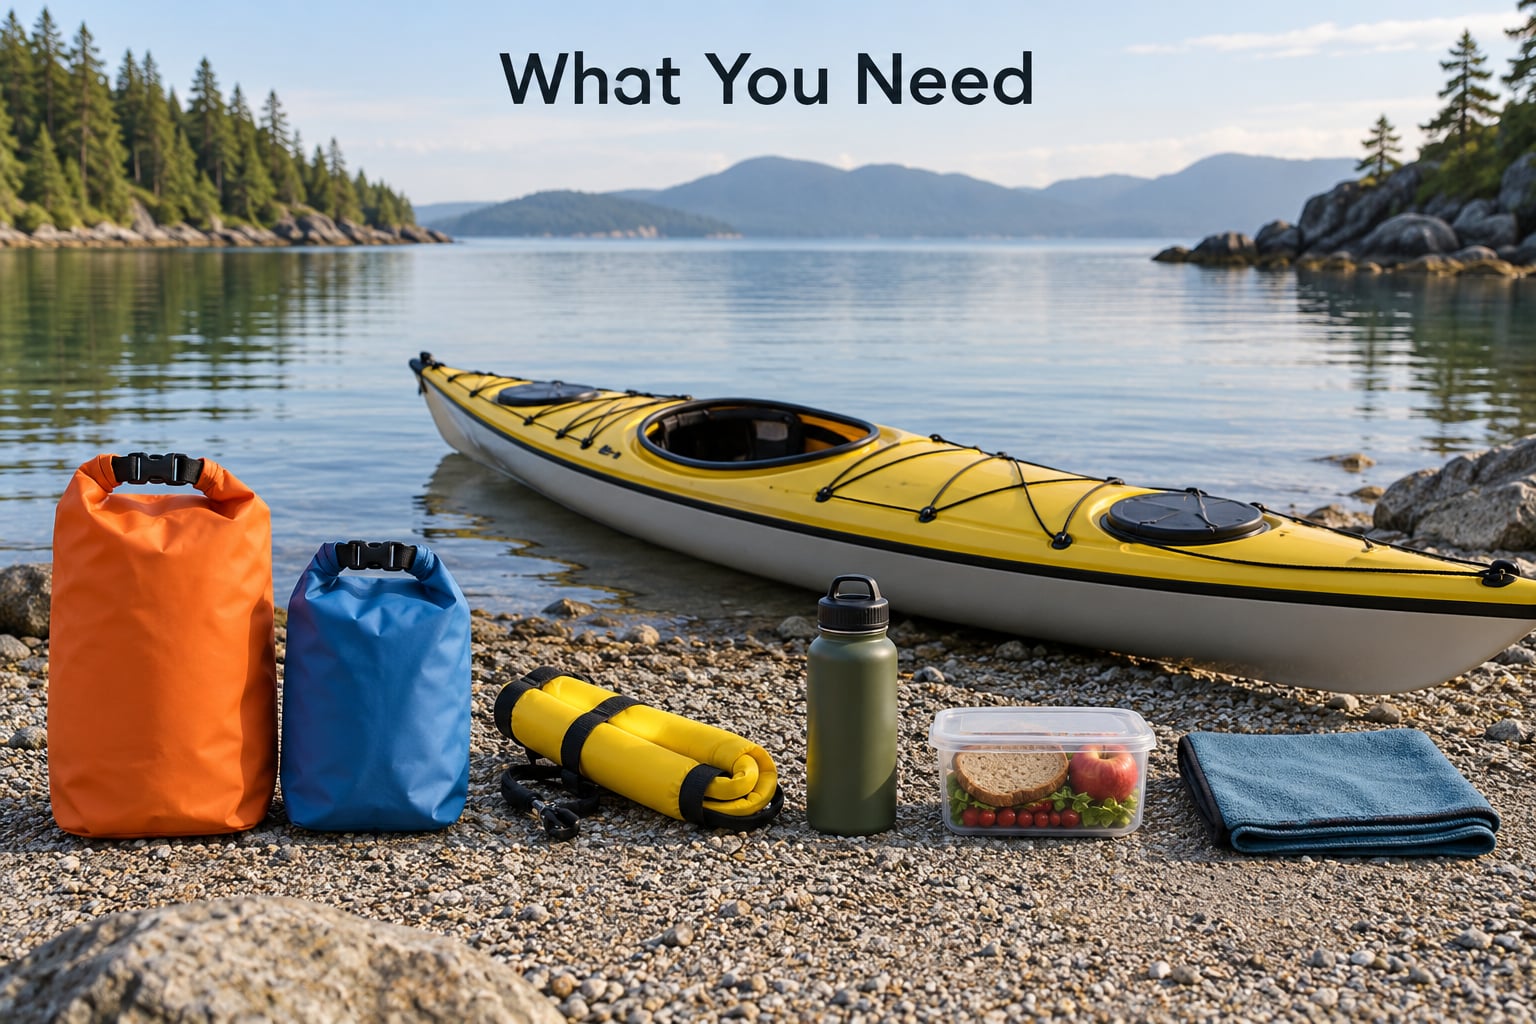
Start with the boat and the safety kit, then add comfort. A half-day load including water typically runs 8 to 12 kg, which is 18 to 26 lb, for one paddler in a typical recreational touring kayak. That is a backpack-sized amount of stuff, and it is the reason a loaded day boat still tracks straight.
Keep the total under roughly 75 to 85 percent of the hull’s rated capacity. Rated capacity assumes an even spread of weight; a boat at its maximum number will feel sluggish and sit low, and you lose the freeboard you want when a gust tips the bow.
These are the categories worth thinking through before you touch the deck:
- Boat and propulsion — hull, paddle, paddle float or spare paddle, spray skirt for a sit-inside, and a paddle leash if the water is moving.
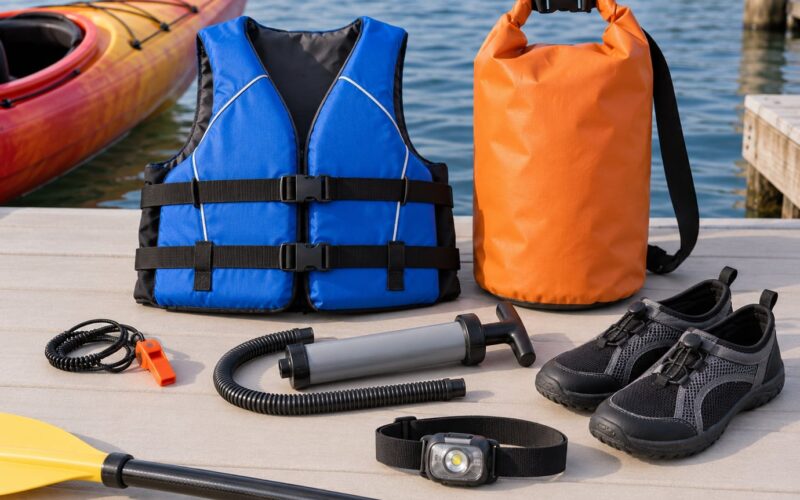
- Safety — USCG-approved PFD worn, whistle on a lanyard, throw line, small first aid kit, headlamp if there is any chance of a late return, and a waterproof phone case.
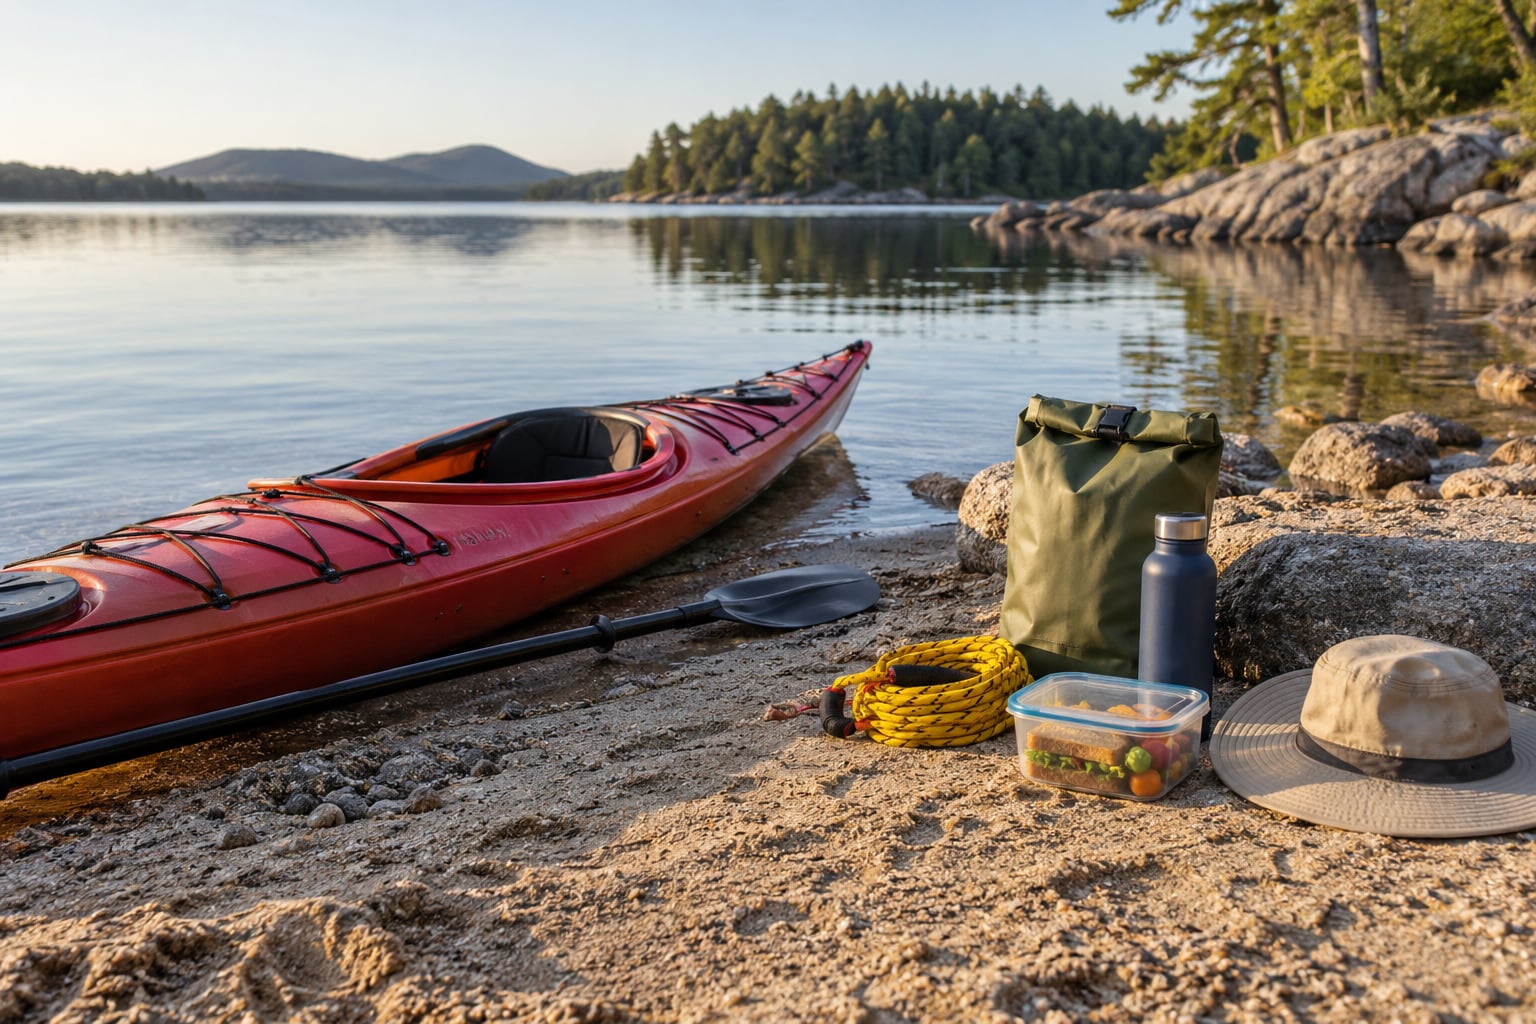
- Water and food — two liters minimum for a summer half-day and more if the launch has no refill, plus food in a hard container so a squashed sandwich is not part of the trip.
- Clothing — quick-dry layers chosen for water temperature, not air temperature, plus footwear that stays on your feet in moving water.
- Sun protection — sunscreen, a hat with a chin strap, sunglasses with a retainer, and a rash guard or sun shirt.
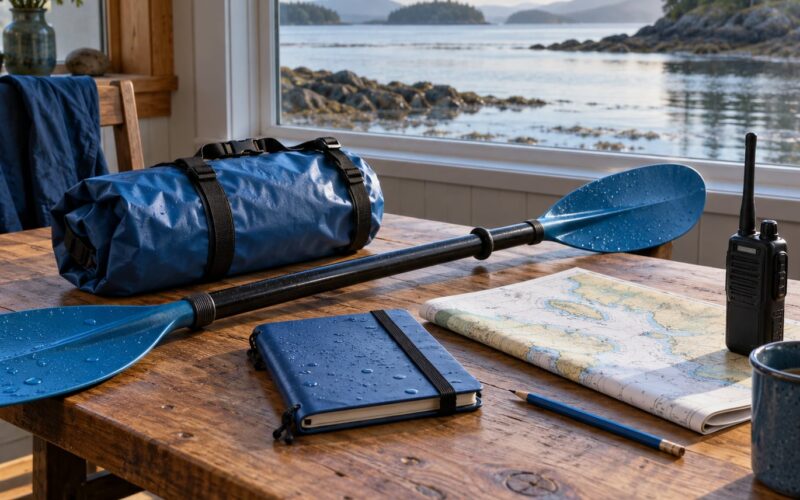
- Navigation — a phone with offline maps downloaded, plus a paper backup of the launch and takeout points.
- Personal items — keys on a floating tether, a small towel, a repair kit with duct tape, and anything else you would be annoyed to lose.
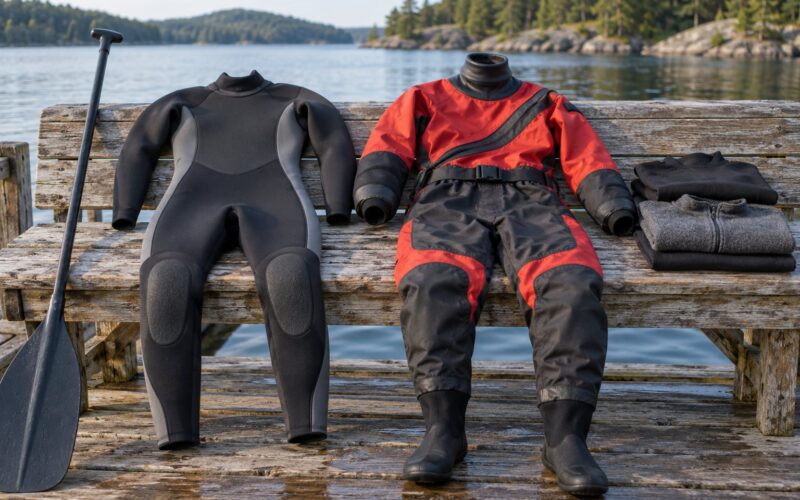
Some of this depends on the trip. A flat lake loop in July needs almost nothing beyond the safety kit, water, and sunscreen. Cold spring water, open coastal water, or a river with current changes the list more than the distance does, and that is where a wetsuit, a fuller first aid kit, and a real bail-out plan earn their weight.
Here is what a realistic half-day load weighs, item by item. These are typical figures for gear most paddlers already own, so treat them as planning numbers rather than spec sheets.
| Item | Typical weight |
|---|---|
| Two liters of water | 2.0 kg |
| PFD | 0.6 to 1.2 kg |
| Spare paddle or paddle float | 0.4 to 0.9 kg |
| Throw line | 0.2 to 0.4 kg |
| Dry bag with clothing and food | 1.5 to 3.0 kg |
| First aid kit and headlamp | 0.4 to 0.8 kg |
| Sun hat, shirt, towel | 0.3 to 0.7 kg |
Add the boat’s own empty weight and you have the number that matters: hull weight plus paddler plus load, against the rating printed on the hull. It is an honest five-minute check, and it catches an overloaded boat before you are in the water arguing with it.
Step-by-Step: How to Pack a Kayak for a Day Trip
1. Plan the Load for Your Route
Before anything goes in the boat, know where you are going and how far it is. Distance sets water volume, distance plus sun exposure sets the hat and sunscreen, and the takeout point sets how honest your float plan needs to be.
Check three things that change the pack: the forecast, the water temperature, and the shoreline access. If there is no resupply or no place to bail out along the route, the pack gets heavier and the safety kit gets more serious. Everything else on this list is optional next to those three.
Then split your gear into two piles. Essentials are what you would be genuinely uncomfortable without: PFD, whistle, water, food, sun protection, phone, navigation. Comfort items are everything else. Pack the essentials, then add comfort items only until the boat handles well at the launch.
2. Group Gear by Use and Pack It in Dry Bags
The single best habit here is one small dry bag instead of one enormous one. Long-touring paddlers say it plainly on the forums: get rid of what you do not need and pack what remains in small bags you can reach into. A bag you cannot open without unpacking the boat is a bag you will never open.
Small bags also change what survives a capsize. If your dry bag is 30 liters and you go in upside down, it becomes an air-filled balloon with a boat attached. If it is 8 liters, it is a heavy pillow that sits in the water while you get back in.
Roll-top bags work in a specific order, and doing it out of order is why cheap bags leak:
- Turn the bag inside out, so the seams and any pinholes face inward where they cannot drip in.
- Load it, roll the top down three or four times, and clip the final roll to itself.
- Buckle both ends of the strap so the bag cannot breathe at the corners.
- Tuck a spare clip or carabiner on the outside, because the clip is the part that breaks.
Label the bags by use rather than by name. “Snack and water” beats “Bob’s stuff” when you are pulling gear out of a wet cockpit with cold hands.
Household trash bags work as liners inside a dry bag, especially for clothing, but they are not a substitute for the outer bag. Their side seams and the folded top are where they fail, and they tear on anything sharp like a paddle leash or a fishing rod tube.
3. Place Heavy Items Low and Near the Center
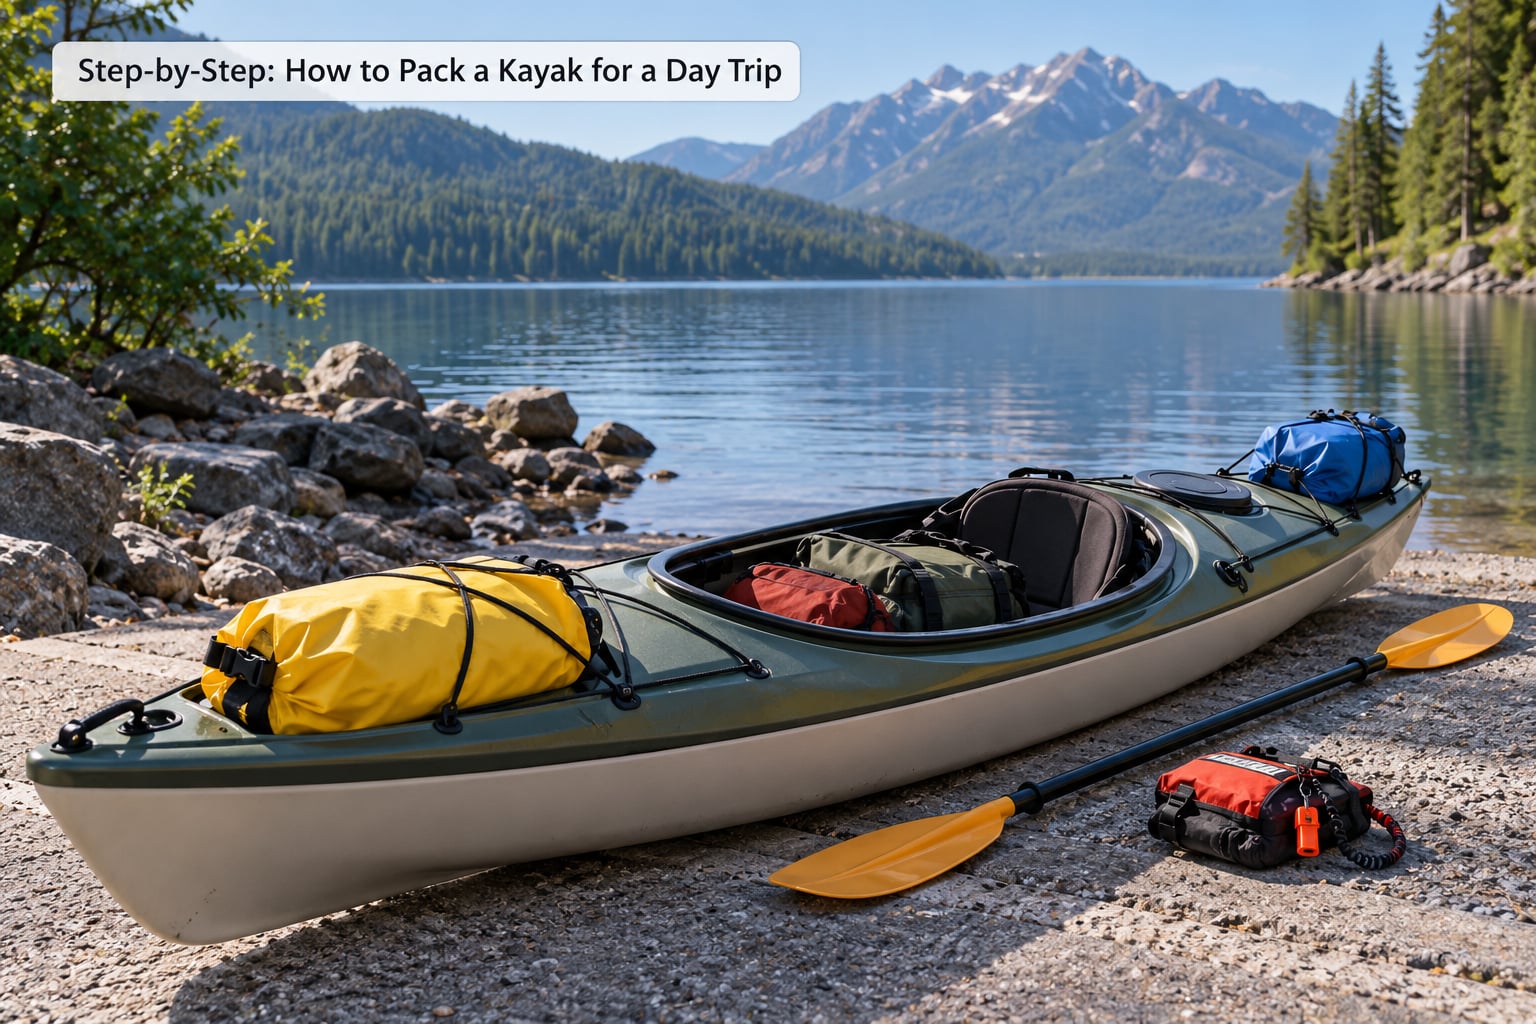
Here is the rule most guides skip: heavy gear goes low and centered, soft and bulky gear fills the ends, and light loose items go on top where you can reach them. This is the consensus answer from paddling forums, and it is the one that changes how the boat feels.
Low keeps your center of gravity under the seat instead of above it, so the boat feels planted rather than tippy. Centered stops the bow from digging in and catching waves, which shows up as a bow that skips and a boat that wanders off your heading.
For a sit-inside, dense items belong in the hull first, ahead of and behind your hips, then lighter gear goes in the hatches. For a sit-on-top, use the molded storage space and strap the rest to the deck, still keeping the densest bags forward of the seat and centered.
Water is the sneaky one. Two liters is roughly 2 kg, so it is one of the heaviest things you own, and stashing it in the bow or stern is the fastest way to make a boat feel wrong. If the trim still feels off after you load up, move a dry bag before you move yourself. A 4 kg bag shifted a hand’s width forward can fix the ride without anyone getting out of the cockpit.
4. Keep Safety Gear Accessible
Some gear must be reachable in seconds: the whistle, the throw line, the phone, and the sunscreen. Secure these where your hands find them without looking, and keep soft stuff like lunch buried where nothing else will bury it.
A worn PFD is the item that matters most, and it is the one people plan to put in the bow. Wear it from the launch, not from the parking lot. Drowning is the leading cause of death among paddlers, and the US Coast Guard and the American Canoe Association both treat proper flotation wear as non-negotiable rather than a comfort item.
Two rules worth knowing before you go far. The 120 rule, used in surf and whitewater, means you should be able to get back to the surface within 120 seconds if you fall off. The 50/90 rule applies to cold water: you have roughly 50 minutes to make useful action in water near 50 F, and about 90 minutes near 40 F, before cold shock and loss of control take over. Neither rule means you paddle unprotected, but together they explain why a dry top or wetsuit belongs in the dry bag on a cool day.
For the whistle, pick one with a pea and a lanyard. A pea-less horn sounds different and travels poorly through wind, and a whistle that ends up in the bottom of a bag is decoration.
5. Secure the Load and Protect Against Water
Loose gear is the problem during a capsize, not the gear itself. Anything that is not attached to the boat, to you, or to a sealed container can leave. That includes water bottles, a paddle, a loose hat, and the phone everyone assumes will stay put.
A practical approach:
- Tether small valuables to your PFD or life jacket with a floating cord, not a thin lanyard.
- Keep the paddle either in your hands or clipped to the deck under a bungee or strap.
- Strap dry bags to the deck with dedicated kayak straps or deck lines, not with loose lengths of rope that can catch a paddle blade.
- Close scupper drains and drain plugs before you launch, and carry a spare plug in a small pocket.
- Pull every strap tight enough that you cannot slide the bag sideways with one hand.
Watch the waterline afterward. If the hull sits deeper than you expect, something heavy is too low or too far back. Dry rope is the right choice for lashings that touch the water, since ordinary line can absorb water and drag your bow down.
6. Do a Final Systems Check
Ten minutes at the launch prevents almost every bad afternoon. Work down this list in order:
- Hull and fittings — no cracks, drain plugs in, scuppers clear, rudder or skeg undamaged.
- Seat and foot braces — both adjusted so your legs are straight enough to drive strokes without straining.
- Waterline and freeboard — the boat sits where you expect, not buried to the deck lines.
- Trim — sit still and look forward; the bow should ride level or a touch high, with no bow-down dip.
- Paddle, float and straps — everything you need at your hands, nothing loose on deck.
- Water, weather and route — water filled, forecast checked again, takeout point still the plan.
- Float plan — someone at home knows the launch, the takeout, the boat color, and when to start worrying.
Then paddle for ten minutes close to shore before you commit to the route. A boat that was balanced at the ramp sometimes behaves differently once the wind picks up, and ten minutes of shakedown is the cheapest insurance available.
Common Mistakes
Packing too much. The classic beginner load includes a full change of clothes, a camp stove, and a book. Keep comfort gear, but if the boat feels heavy at the ramp, you have already found your answer. Trim is corrected at the dock, not at the far shore.
Weight in the wrong place. Water at the stern, dry bags stacked behind the seat, a heavy first aid kit in the bow. Move the weight, not the paddler, and check the waterline again.
Gear that can shift. A bag resting on the deck without straps ends up under your feet or in the lake. Strap everything, even the towel.
One oversized dry bag. It is heavy, it is awkward, and it turns into a float in a capsize. Split it into small, labeled bags and keep one for food and one for clothing.
Forgotten water or sun protection. Both are cheap to fix at the store and impossible to fix at mile two. Fill bottles the night before and keep sunscreen in a pocket, not at the bottom of the pack.
Dressing for the air temperature. A warm day does not mean warm water. Pick clothing for the water temperature, and remember that cotton stays wet and cold while synthetics and neoprene do not.
No float plan. The last common mistake is the only one nobody sees. Tell a person where you launched, where you are coming out, and when you should be back.
A few habits that hold up over time: store dry bags so you repack them the same way every trip, keep a spare drain plug and a few feet of dry line in the car rather than the boat, and leave the heavy gear in the hull and the lunch in a hard container where it stays dry and stays put.
Frequently Asked Questions
How much gear should I bring on a kayak day trip?
For a half-day paddle, most paddlers carry 8 to 12 kg, or 18 to 26 lb, including water and the safety kit. Keep the total under roughly 75 to 85 percent of the hull’s rated capacity so the boat sits high and tracks straight. If you cannot explain what each item is for, it probably belongs in the car.
What is the most important thing to pack for a day paddle?
Your PFD, worn from the launch. Everything else is recovery gear or comfort: the whistle, throw line, and phone help after you are already in the water. Learning how to pack a kayak for a day trip starts with the flotation device on your body and the rest organized around what you would need while swimming.
Are dry bags necessary for a kayak day trip?
Not strictly, but most paddlers regret skipping them. A small roll-top bag costs little and protects food, electronics, and spare clothing from spray, rain, and dunking. Pack it inside out, roll the top three or four times, and clip it to itself. A household trash bag works as a liner inside a dry bag, but it is not waterproof on its own.
Where should heavier items go in a touring kayak?
Low and centered, ideally just ahead of and behind your hips in the hull. Low keeps the center of gravity under the seat, and centered keeps the bow from digging in and skipping on small waves. Water is one of the heaviest things you carry, so treat two liters like what it is and keep it out of the bow or stern.
What should I do if the weather changes while I am paddling?
Get closer to shore before you need to. Check the sky and the wind direction early rather than waiting for dark clouds, then head for the nearest safe landing point if wind picks up or visibility drops. Keep your dry bag sealed, your paddle in hand, and your phone accessible so you can call for help if conditions turn rough.
Conclusion
Start with a checklist written for your actual route, not a generic one. Pack the heaviest items low and centered, seal the rest in small dry bags, strap down everything that could shift or float away, and give the whole load ten minutes of shakedown near shore. Get the trim right at the ramp and the rest of the day takes care of itself.