To plan a paddling trip with tides, you build the day backwards from the water: pick a tide table for the right station, convert high and low times into slack-water windows, work out which way the current runs along your route, then set launch and turnaround times that leave margin for a slower return. Most beginners get caught out by one thing only — assuming slack water happens at high and low tide. It doesn’t, and that single assumption is what strands people on mudbanks in the dark.
The rest of this guide walks through the same process I use before any tidal paddle: what to gather, the five planning steps in order, and the mistakes that show up again and again in paddling forum threads. Allow an hour of prep for a day trip. The actual paddling is the easy part.
Table of Contents
- What You Need to Plan a Paddling Trip With Tides
- Step-by-Step
- 1. Set the Route and Trip Duration
- 2. Check Tide Tables and Current Direction
- 3. Match the Launch Window to Conditions
- 4. Build in Safety and Backup Options
- 5. Brief the Route Before Launching
- Common Mistakes
- Frequently Asked Questions
- Is slack tide always the safest time to paddle?
- Should I paddle with the tide or against it?
- How far in advance should I check the tide table?
- What if the wind gets stronger during my paddling trip?
- What are the 50/90 rule and the 120 rule in kayaking?
- How do I calculate water depth between high and low tide?
- Conclusion
What You Need to Plan a Paddling Trip With Tides
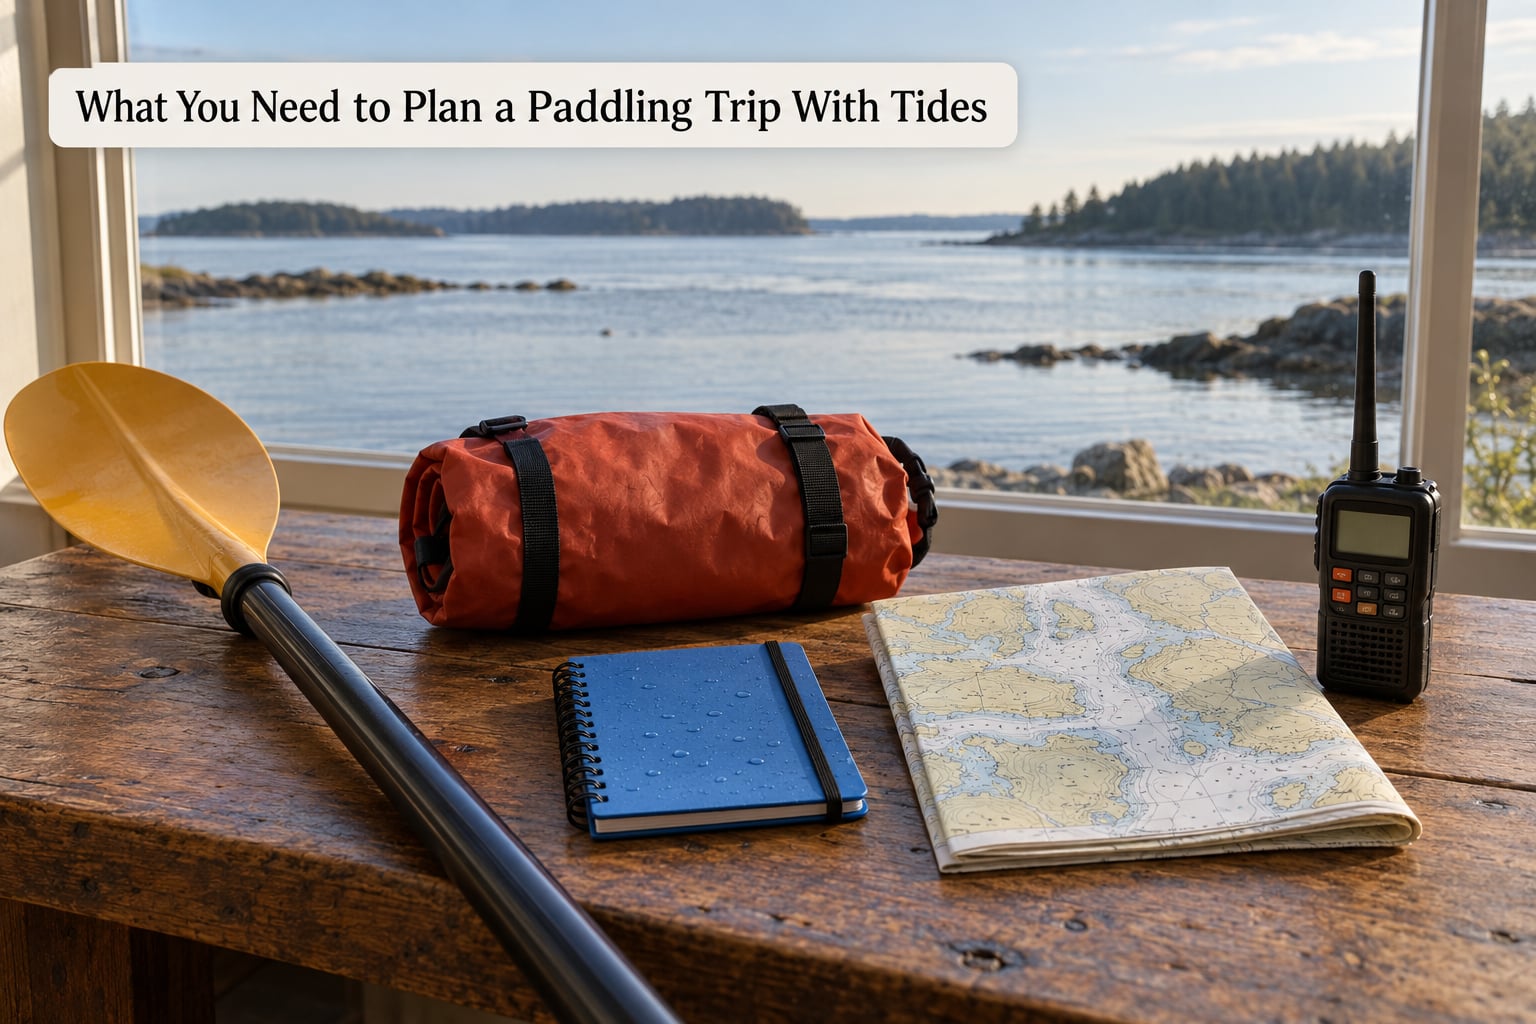
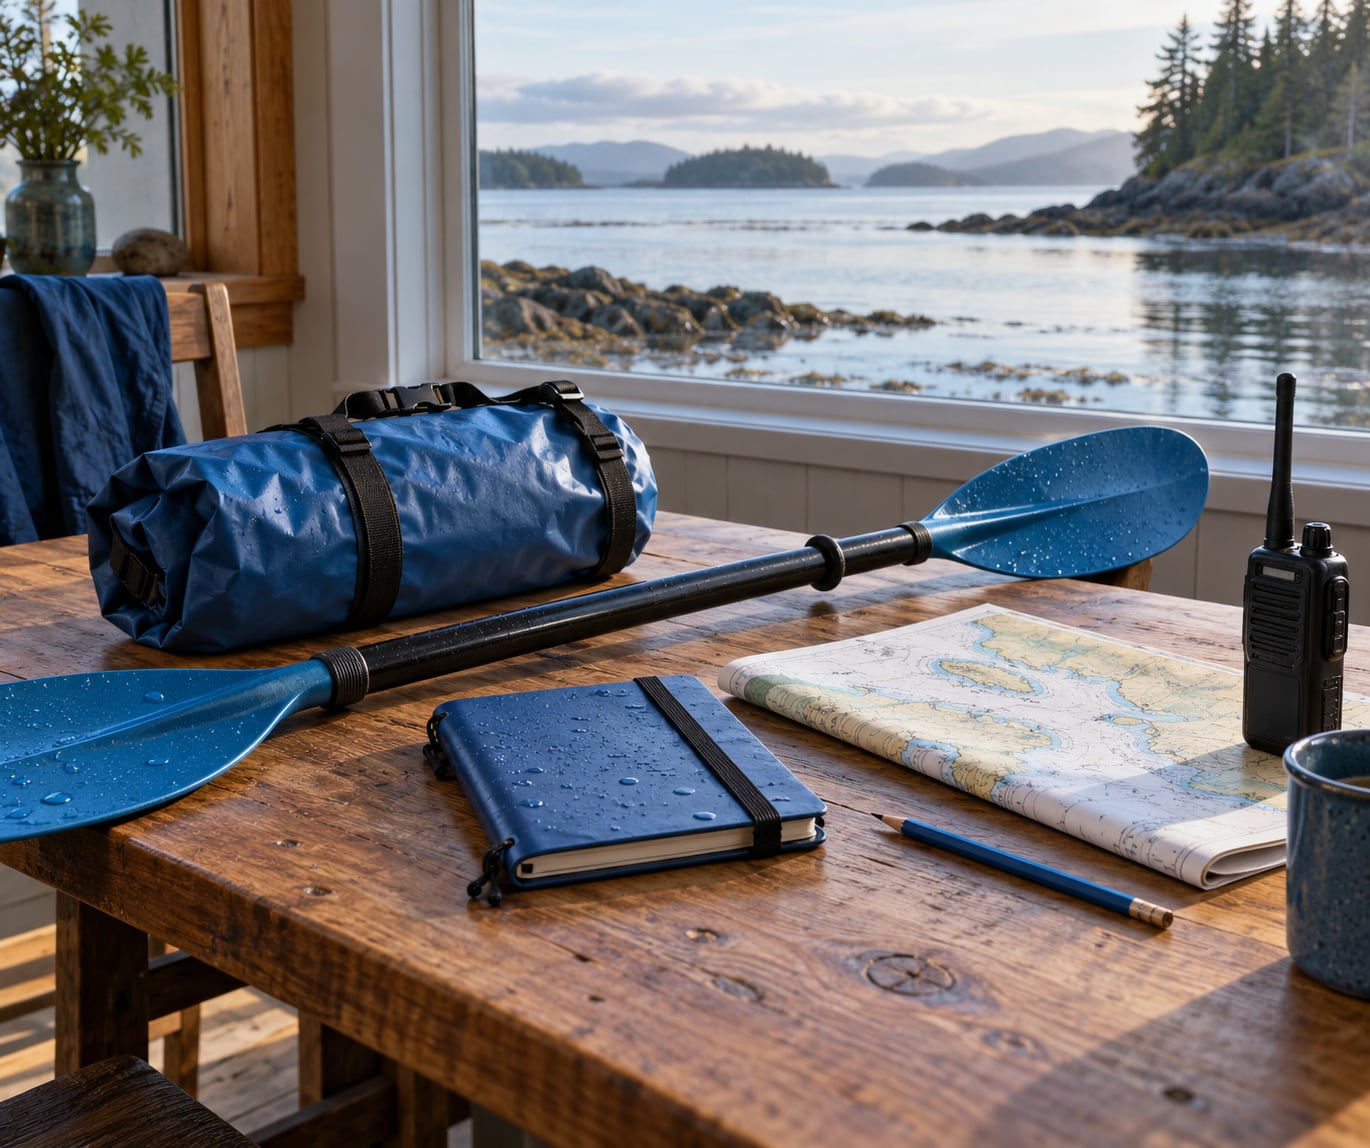
Everything below is cheap or free, and you can gather it in an evening. Bring the list together on one page and the plan writes itself.
- A tide table for the correct reference station. Predictions are published per station, and your launch point may be 20 or 30 miles from the nearest one. Check how far away that station is before you trust its times.
- A tide curve, not just a table. A table gives you high and low times and heights. A curve shows the shape between them, which is where your slack window and your depth calculations come from.
- Current information for your route. Tide height and current speed are different things. A current atlas or a table of tidal stream rates tells you how fast water is actually moving and in which direction at a given hour.
- A chart extract with soundings and tidal diamonds. Tidal diamonds printed on charts give mean current direction and strength at a specific place and time of day.
- Your boat’s draft. A sea kayak typically draws 4 to 6 inches. Every depth calculation depends on this number.
- Launch and landing details. Know whether the ramp is usable at your intended tide height, and where you will actually get out at the far end.
- A weather forecast with wind direction and times. Wind direction matters as much as speed, especially when it opposes the tide.
- Float plan, phone, and a whistle. Someone ashore knows where you are going and when you expect to be back.
For US waters, NOAA’s CO-OPS Tides & Currents predictions are the standard source and the one to cite when you want numbers you can verify yourself. Print the table for your date and take it with you, because phone batteries die and signal disappears the moment you round the point.
Step-by-Step
1. Set the Route and Trip Duration
Pick a route that matches what you have actually paddled, not what you would like to paddle. Beginners should start with a sheltered bay, a short section of estuary, or a river reach with easy landing options rather than an open crossing. If you are still working out how to plan a paddling trip with tides, this decision comes first, and every later step bends around it.
Calculate distance for the round trip, not the one way. Then add a margin of roughly 30% on top, because headwinds, a slow group, and tide-assisted speed vary a lot in real conditions. If the outbound leg feels ambitious at your paddle speed, the return leg with an adverse current will be the one that hurts.
Decide your hard turnaround time before you leave the car. Write it down. A turnaround time that lives only in your head gets pushed back every time the shoreline looks interesting.
2. Check Tide Tables and Current Direction
Read the tide table for your date and note every high and low water time with its height, plus the tidal range between them. A range of 6 feet means a lot of shoreline appears and disappears over a day. A range of 1.5 feet means very little does.
Here is the part most guides skip. Slack water is not high or low tide. The turn of the tide — the moment the current stops running one way and starts running the other — usually lags high or low water by about 1.5 to 2 hours. Current actually peaks roughly a quarter of the tidal cycle after the height of the tide, not at it. So a current that is calm at low water can be at its strongest while you are trying to get back in.
Now get the direction. A flood current runs with the rising tide and an ebb runs with the falling tide, but the compass direction reverses as the watercourse bends. The same flood can run north in one channel and south in the next one over, which is why experienced paddlers say to read the arrows on the chart rather than assume. Where current tables use the plus and minus convention, flood maxima are signed positive and ebb maxima negative.
Use this as a working threshold guide, adapted for a kayak rather than a powered boat:
| Current speed | What it means for a paddler |
|---|---|
| Under 0.5 knot | Ignore it. Paddle your normal line and it will not change your speed noticeably. |
| 0.5 to 1 knot | Compensate. Aim a few degrees upstream and correct as you go. |
| Over 1 knot | Treat it as a routing decision. Consider a different time, a different line, or a sheltered alternative. |
| Near 2 knots at a narrows | Do not plan to cross it casually. Tide rips and overfalls form where the stream accelerates past a headland or constriction, and they are roughest when the current is near maximum. |
Spring tides, when the moon is full or new, bring the largest tidal range and usually the strongest currents. Neap tides, at the quarter moons, bring the smallest range and the weakest currents. Beginners planning a first tidal paddle often do better choosing a neap day, because the consequences of being wrong are smaller.
3. Match the Launch Window to Conditions
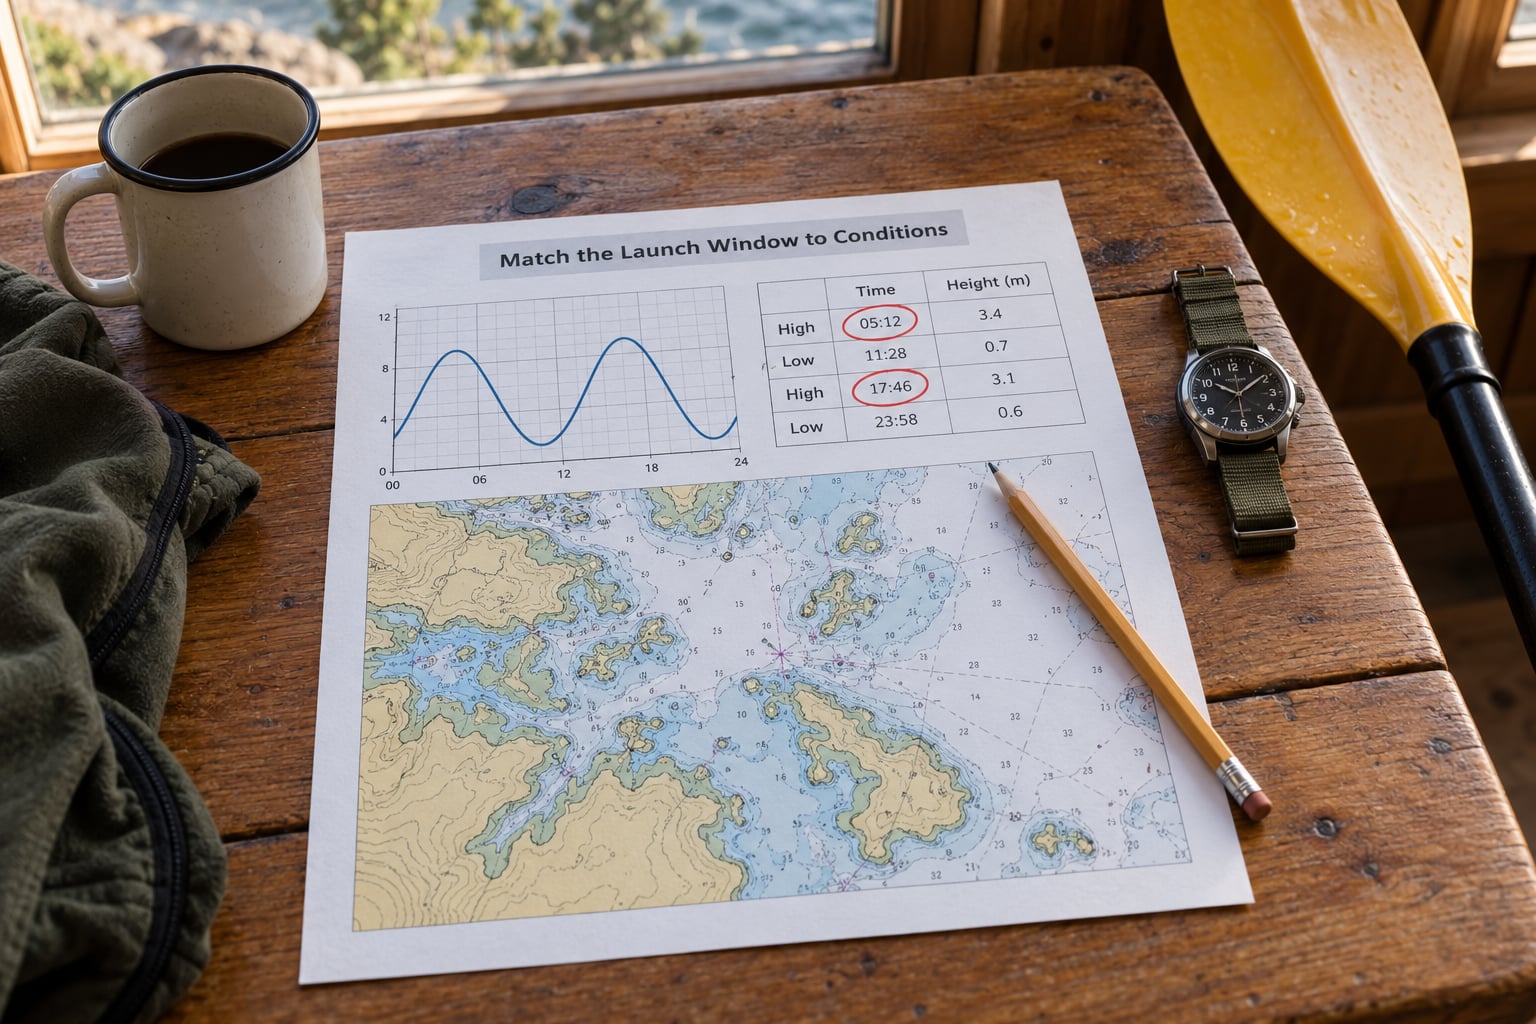
Work out the slack window at the far end first, then back-plan from it. Experienced paddlers call this the turn time: you aim to arrive at the turning point around slack, and some go an hour early so they are moving the instant they can make headway, because some slack windows are very brief.
Then match that window to daylight, wind, and access. Check that you will be back before dark, that the landing ramp is covered at the return tide height, and that the wind is not forecast to blow straight onshore into the fetch you are crossing.
For shallow crossings and drying bars, use the rule of twelfths to estimate the depth between high and low water. Over the six hours from high water to low water, the tide falls in twelfths of the total range: 1/12 in the first hour, 2/12 in the second, 3/12 in the third, 3/12 in the fourth, 2/12 in the fifth, and 1/12 in the sixth. Add the water you have at low water and you have your depth at each hour.
Worked example: a bar with a charted depth of 2 feet at mean lower low water, a tide table showing 9.0 feet at high water and 3.0 feet at low water. The range is 6 feet, and 2 feet is already there at low water, so the tide itself contributes 4 feet over six hours. That gives roughly 2.3 feet at hour one, 2.7 at hour two, 3.0 at hour three, 3.0 at hour four, 2.7 at hour five, and 2.0 at low water. With a 5-inch draft you have margin in the middle of the cycle and very little at either end, which tells you the crossing window is a few hours wide, not the whole day.
If your water is tidal only in part of the route, plan the timing against the section that matters most. A three-hour paddle through a sheltered marsh can absorb a tide that would ruin the same distance in a tidal river.
4. Build in Safety and Backup Options
Before you commit to a route, identify at least two places you can land early and the time you will be at each one. Bailouts are not a sign of a weak plan; they are the plan. A shoreline you can reach in twenty minutes is worth more than a distant one you can only see in good light.
Set your turnaround time with a buffer, not an exact match. If you aim to turn at 2:00 pm, decide at 1:30 pm whether you are going. Slower than planned, into a building current, or with the wind ahead means you turn, and the return is with the flood rather than against it.
Account for wind against tide, which is the nastiest combination on tidal water. Wind blowing against a running tide steepens the chop, shortens the fetch for waves to build, and creates confused surface where a following sea would stay smooth. Where a current is squeezed into a constriction, a tide rip can form even in modest wind.
Carry the means to float, the means to signal, and the means to navigate when the phone is dead: PFD, whistle, chart in a waterproof sleeve, compass, and a backup power bank if you are running a GPS. If you are camping on an intertidal shore, place the tent well above the high water line and never below it — the difference is an overnight move versus a soggy disaster.
5. Brief the Route Before Launching
Say the plan out loud to the person on shore: launch point, route, turning point, planned return time, and what time they should start worrying. The float plan gets a phone number that is actually answered, not a number you think someone owns.
Then confirm it against reality. Check the water level on the gauge, look at the sky, feel the wind on your face, and check what the wind is doing to the surface at the launch. If the actual conditions differ from the forecast, the forecast loses.
On the water, keep the tide on the clock rather than on your own progress. Note the time you pass each waypoint so you know where you stand against the tide window, not just how far you have come. If you are an hour later than your plan at the midpoint, you have already made the decision — the only question is whether you noticed.
Common Mistakes
Most of these are avoidable with the same five-minute habit. Here they are with the fix.
- Treating slack water as high or low tide. Turn time lags the tide by roughly 1.5 to 2 hours. Write down the actual slack time, not the low water time.
- Thinking slack means no current. Slack is the reversal point. The strongest current on the tidal cycle usually arrives an hour or two after high or low water, so the water can be running hard while the tide height looks benign.
- Planning only the outbound leg. The return is the leg that strands people. Plan it in the same breath, and if it needs a favourable current, build the day around that.
- Using a tide table from the wrong station. Tide times shift between stations. Note the station name and the time zone, and look for a local correction rather than assuming your launch shares the reference station’s clock.
- Working from a table you pulled up months ago. Re-check the table and the weather the night before and again at the launch. Wind and pressure change the predicted heights, and the safe launch is the one based on what you read this morning.
- Launching at low water on an intertidal ramp. Paddlers on tidal rivers warn strongly against launching within about two hours either side of low water, because the ramp turns into a long muddy walk in and out. Check the launch depth and plan for the walk.
- Ignoring wind direction against the tide. A headwind on a rising tide is the worst combination on the water. If wind and tide oppose, shorten the trip, hug the sheltered shore, or pick another day.
- Having no turnaround rule. Decide the time and the conditions in advance, and treat them as binding. The plan that leaves you committed at 3 pm is the plan that will be argued with at 3 pm.
One more habit worth stealing from paddling forums: carry a printed tide card on the deck with the high and low times, the slack times, and your turnaround marked on it. It takes two minutes to make and it works when nothing else does.
Frequently Asked Questions
Is slack tide always the safest time to paddle?
No. Slack water reduces tidal current, but wind, waves, visibility, boat traffic, and changing weather can still create hazards. Slack water also lags high and low water by about 1.5 to 2 hours, so arriving at the slack time is not the same as arriving at low water. Check conditions for the specific waterway, and pick a plan that leaves a backup.
Should I paddle with the tide or against it?
It depends on the route and the tide cycle. Paddling with the flood or ebb can make progress easier in one direction, but the return leg may become harder and slower. Plan both directions and avoid committing to a return that depends on a current stronger than you can handle. Many paddlers use a favourable current outbound and let the opposite tide carry them home.
How far in advance should I check the tide table?
Check a reliable tide table shortly before planning and again immediately before launching. Review updated weather, wind, river conditions, and local restrictions too, because tide predictions do not capture every change. Predictions for a station far from your launch should be treated as a guide, and local current direction can differ.
What if the wind gets stronger during my paddling trip?
Move toward the nearest safe landing point and use sheltered water when possible. Keep your group together, maintain communication, and turn back early if wind, waves, lightning, or reduced visibility develop. A rising wind against a rising tide builds steep, confused chop quickly, and the safest move is always the early one.
What are the 50/90 rule and the 120 rule in kayaking?
Both are planning shortcuts used to decide whether a paddle is within your limits. The 50/90 rule means a trip of 50 nautical miles is meant for an experienced paddler in a stable touring boat, and 90 miles is a serious expedition. The 120 rule is a gear and support threshold: beyond about 120 miles, trips need resupply points, a support vehicle, or a self-supported expedition level of planning. Neither replaces tide and current analysis.
How do I calculate water depth between high and low tide?
Use the rule of twelfths. Over the six hours between high and low water, the tide falls in twelfths of the tidal range: 1, 2, 3, 3, 2, 1. Start with the depth shown at low water and add the twelfths hour by hour, then compare with your boat’s draft. It is a semi-diurnal approximation, so leave a margin.
Conclusion
The order matters when you work out how to plan a paddling trip with tides. Start with the number: pull the tide table for your date, note the high and low times and heights, and mark the slack time about 1.5 to 2 hours after each. Then check the current direction along your route against the direction you are paddling, look at the launch and landing depth at your intended times, and pick the day where wind and tide are not fighting you. Choose a plan you can abandon at a moment’s notice, and write your turnaround time where you will see it. If you want a repeatable way to practise the arithmetic, run the rule of twelfths for a bar you know on three different days until the numbers feel boring — that is the point at which the numbers stop being something to check and start being something you know.
Updated for 2026.