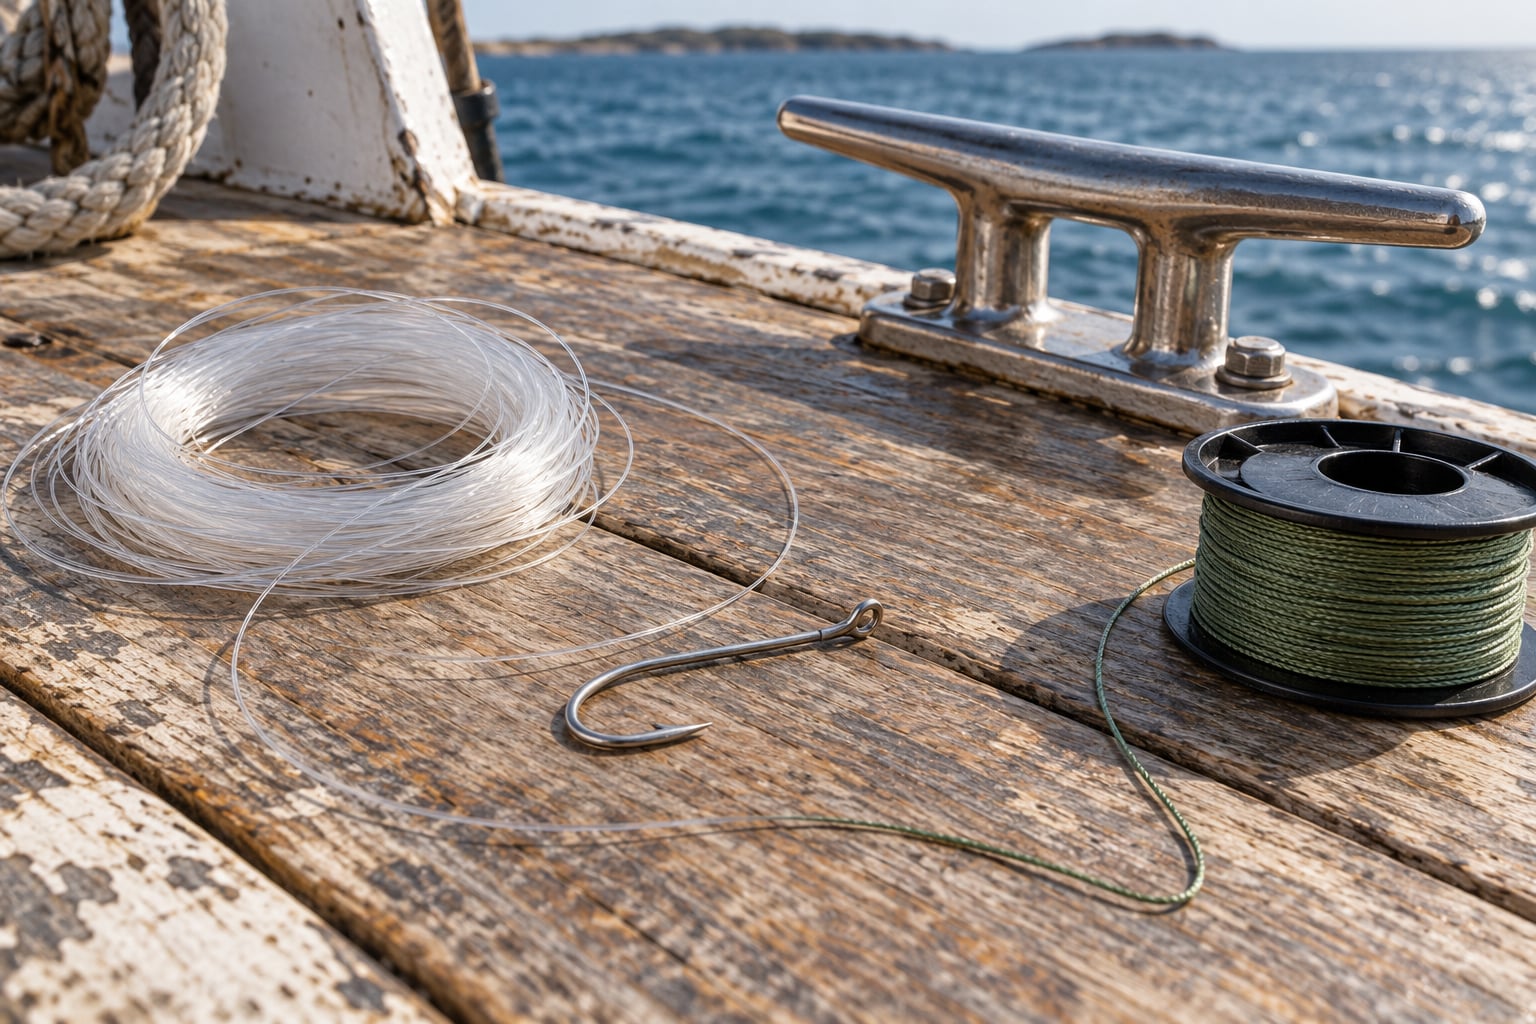
Ten knots cover almost every connection a saltwater angler makes: the improved clinch knot, Palomar knot and Uni knot for hooks and lures; the Alberto-Alberto, double fisherman’s knot and FG knot for joining lines; the Bimini knot, San Diego Jammer and Cat’s Paw for leaders and shock cord; and the rolling hitch for tying off to a cleat. Learn those ten and you can rig anything from a pier bucket to an offshore trolling spread.
Salt water changes the math on knots. Corrosion eats hardware, sun and heat work on mono, structure and gear chew on leaders, and the loads that break a connection offshore are shock loads — a tarpon headshaking, a wahoo sound, a shark on the end of a bridge rig — rather than slow steady pulls. A freshwater knot can look perfect and still be the weakest link in a saltwater rig.
I will walk through each knot in the order you will actually need it: what it is for, how to tie it, and the specific mistake that makes it fail. The numbers below are approximate percentages of rated line breaking strength from knot-testing convention, not laboratory guarantees. Tie them well and you keep most of that number. Tie them badly and you can lose half of it.
Table of Contents
- 10 Saltwater Fishing Knots Every Angler Should Know at a Glance
- 1. The Improved Clinch Knot
- 2. The Palomar Knot
- 3. The Uni Knot
- 4. The Alberto-Alberto Knot
- 5. The Double Fisherman’s Knot
- 6. The Bimini Knot
- 7. The FG Knot
- 8. The San Diego Jammer Knot
- 9. The Cat’s Paw Knot
- 10. The Rolling Hitch
- Choosing and Testing Saltwater Fishing Knots
- Frequently Asked Questions
- Bottom Line
10 Saltwater Fishing Knots Every Angler Should Know at a Glance
The Saltwater Fishing Knots Every Angler Should Know by Connection
The fastest way to pick a knot is to start with the connection, not the knot. Here is what each of these ten is built for, and how hard it is to tie well.
| Knot | Best saltwater use | Key advantage | Difficulty |
|---|---|---|---|
| Improved Clinch | Hook eye to mono or fluoro | Slim profile, seats tight against the eye | Easy |
| Palomar | Lure to line, swivel to line | Fewer wraps, hard to tie badly | Very easy |
| Uni | Heavy mono to hook eye | Compact and quick under pressure | Easy |
| Alberto-Alberto | Joining two similar lines | Compact joint, easy to inspect | Easy |
| Double Fisherman’s | Leader to line, same diameter | Doubled wraps hold under shock | Moderate |
| Bimini | Shock leader loop from main line | Adjustable loop, high strength | Moderate |
| FG | Line to leader, mismatched diameters | Very high strength, works thin to thick | Hard |
| San Diego Jammer | Braid to leader material | Stays put on slick braid | Moderate |
| Cat’s Paw | Heavy mono or braid to hook eye | Uses the line’s own body, not just the eye | Moderate |
| Rolling Hitch | Line to cleat, rail, or ring | Easy to release, holds under load | Easy |
If you take one idea from the table, take this one: four knots cover the vast majority of what an angler does. The improved clinch, Palomar and Uni handle every hook and lure tie. The double fisherman’s or FG knot handles every line-to-line joint. Everything else on this list is a specialist.
1. The Improved Clinch Knot
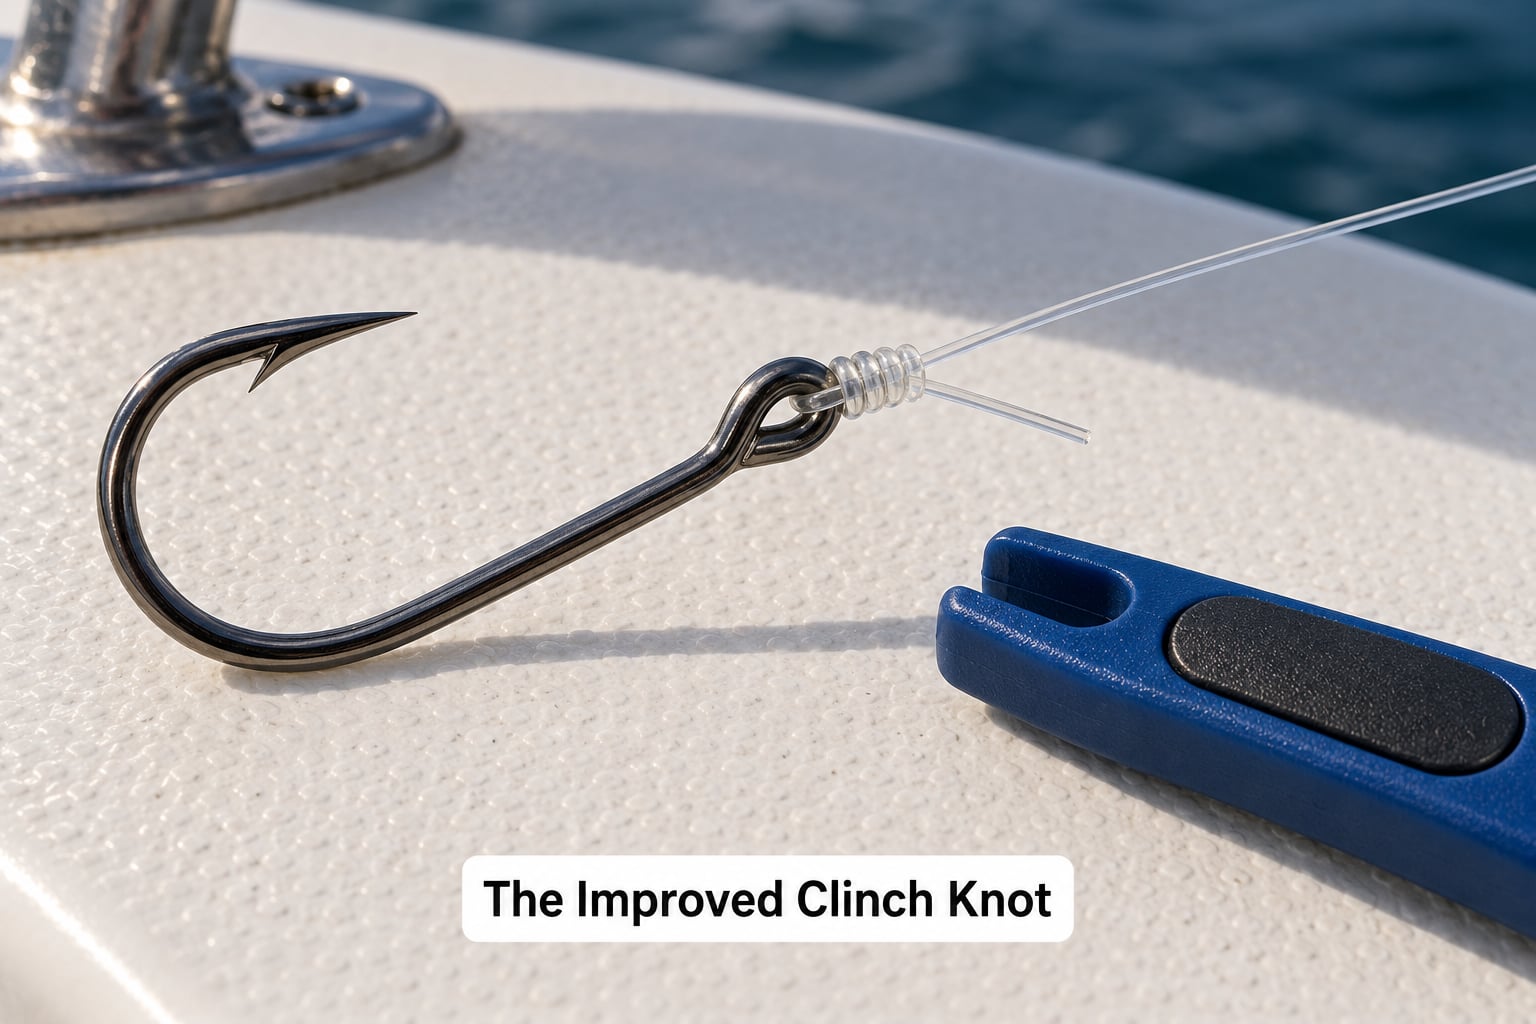
The improved clinch knot is the default hook knot for most saltwater anglers because it is slim enough to run through every guide on a spinning or conventional rod and it cinches down hard against the hook eye.
Approximately 80 to 90 percent of line strength when tied correctly. The failure mode is not slippage — it is the tag end breaking off, which happens when the wraps are uneven or the tag end is left long and frayed.
How to Tie the Improved Clinch Knot Securely
- Thread the line through the hook eye from back to front, leaving about six inches of tag end.
- Wrap the standing line behind the eye five to seven times. Five wraps on heavy mono, seven on light fluoro.
- Pass the tag end behind the standing line and back through the eye.
- Wrap the tag end around the standing line three to five more times on the same side.
- Moisten the whole knot, then cinch slowly and evenly while working the coils against each other rather than jamming them at once.
- Trim the tag end to a short stub and pull the standing line sideways to set the knot against the eye.
To check that it is seated, run a fingernail along the knot. If it feels lumpy or the wraps ride over one another, pull it apart and start again — a neatly dressed knot is the difference between a connection that seats and one that slips.
A good field test: pull hard on the standing line with your hands. The wraps should tighten and squeeze the tag end, and you should feel resistance building rather than a slide. Realistically, ask whether it clears every guide: a bulky clinch knot binds on the last guide of a spinning rod during a long fight, and that binding can be what parts your drag.
2. The Palomar Knot
The Palomar knot is a loop knot that ties a lure or swivel to the end of the line, and it is the knot most saltwater anglers reach for first. Anglers posting in fishing forums describe tying it by default, sometimes out of habit learned years earlier rather than from first principles.
Approximately 85 to 95 percent of line strength. It outperforms most other hook knots because the loop is formed before it is closed, so there are fewer wraps to mess up.
- Fold about six inches of line back on itself to form a loop.
- Pass the doubled line through the hook eye.
- Tie an overhand knot in the doubled line, leaving a loop roughly the size of the hook body.
- Moisten the knot, pull the standing line through the loop until it is snug, then set the knot on the hook.
- Trim the loose end of the doubled section close to the knot.
It works best where you want a knot that is nearly impossible to tie badly — soft baits, plugs, swimbaits, a snap swivel to the end of a braid or mono. It also makes a clean loop that passes through guides without catching.
One limitation: the line doubled through the eye makes the connection bulkier than a clinch knot at very small hooks. On a size 1 treble with heavy mono, the loop can be tight to pass. Use the improved clinch there instead.
3. The Uni Knot
The Uni knot, also called the Duncan loop, is a compact hook knot that sits inside the coil rather than around it, which is why it stays small on heavy line. It is the fastest secure hook tie there is.
Approximately 80 to 90 percent of line strength. It is a good match for live bait rigging, where you are tying large baits to heavy mono and the clock is running.
- Thread the line through the hook eye and leave a long tag end, about eight inches.
- Pass the tag end behind the standing line and back through the eye.
- Wrap the tag end around the standing line five to seven times.
- Tuck the wrapped coils inside the loop formed near the eye, and pull the standing line to close the knot.
- Moisten, tighten slowly, and trim the tag end short.
Its real strength shows on the boat when you need a hook re-tied in thirty seconds and your hands are wet. It is also the standard for surf and pier rigs where heavy mono meets a big hook eye.
4. The Alberto-Alberto Knot
The Alberto-Alberto knot joins two lines of similar diameter into one short, compact connection, and it is one of the easier line-to-line knots to tie and to look at afterward.
Approximately 85 to 95 percent of line strength. The compact profile means it is far less likely to snag on a guide or on the deck than a bulky double fisherman’s joint.
A practical example: when a top shot breaks off your outriggers and you need to splice a replacement length of mono back into an existing rigged line, an Alberto-Alberto leaves you with a joint short enough to run cleanly and smooth enough to strip off the spool without grabbing.
- Overlap the two line ends by a few inches.
- Tie a loose overhand knot around both lines.
- Wrap the end of one line around the other’s body five times, working back through the overhand knot.
- Wrap the other end around the first line’s body five times the same way.
- Dress both sides evenly, moisten, and cinch slowly.
Use it when the two lines are the same diameter. If they are not, move up to the FG knot.
5. The Double Fisherman’s Knot
The double fisherman’s knot joins two lines of the same diameter, and the double matters because two sets of wraps spread the load over more surface than one.
Approximately 85 to 95 percent of line strength. It is the classic knot for building a leader onto a shock leader, and the one most beginners learn before the FG knot.
- Cross the two lines and tie a loose overhand knot around both.
- Wrap the end of the standing line around the body of the other line five times, working back through the overhand.
- Repeat the same wrap sequence with the other end, so both sides carry the same number of turns.
- Moisten and cinch both sides at the same pace until the knot closes up.
Why the doubling matters in salt water: shock loads spike rather than ramp. A fish taking a hooked bait puts an instant load on the connection, and the doubled wraps resist that spike far better than a single fisherman’s knot of the same line.
The commonest mistake is uneven wrapping — four turns one side, six the other — which leaves a lopsided knot that can rock under a heavy pull. Count your turns.
6. The Bimini Knot
The Bimini knot makes a strong adjustable loop in the end of your main line, and that loop is how you attach a shock leader for offshore trolling, bottom fishing, or anything where a fish might run hard.
Approximately 85 to 95 percent of line strength. What makes it useful is that you can resize the loop after it is tied.
- Make a loop in the standing line, doubling about 18 inches of line back on itself.
- Hold the loop with the standing line and the doubled section held between your thumb and finger.
- Wrap the doubled section around the standing line seven times, outside-in, working from the standing line toward the loop.
- Tie a half hitch around the standing line with the end that continues past the loop, above the wraps.
- Tighten the top hitch first, then dress the wraps in order from the loop backward.
The wraps have to stay in order. Push them together progressively rather than jamming the hitch against them, or the knot capsizes and you will be pulling the standing line to tighten a knot that is not the one you thought.
To test it without wrecking your main line, pull the loop to the length you want, then apply steady pressure to the standing line and the loop with both hands. The knot should lock and hold. If it slips, add a wrap. Never test a Bimini by hanging your full weight off it on the dock.
7. The FG Knot
The FG knot is the strongest common line-to-line knot for mismatched materials, and it is regularly described in angling forums as the most capable line-to-line connection — while being left off most “essential knots” lists.
Approximately 90 to 95 percent of line strength when tied correctly, and it holds even when one line is much thinner than the other. That is the whole point: the wrap configuration absorbs the diameter difference instead of letting the thicker line’s rigidity win.
- Form a loop in the thicker line and lay it over the end of the thinner line.
- Wrap the thinner line around the thicker line’s standing part about sixteen times.
- Tuck the working end of the thinner line back down through the wraps, in the same direction the wraps were made.
- Wrap the thicker line’s end around both lines about eight times.
- Tuck the thicker line’s end under its own wraps and into the loop formed on the other side.
- Moisten, then cinch slowly and thoroughly until the knot closes completely.
It is slow, and that is the trade. Expect a minute of careful work — more with cold hands — where a double fisherman’s takes fifteen seconds. That is why it earns its place on a braid-to-fluorocarbon connection that you intend to fish hard, and why you pre-tie a batch of them at home rather than in the dark on a rolling deck.
8. The San Diego Jammer Knot
The San Diego Jammer knot is built for connecting braided line to leader material, and it addresses the single most common saltwater rig problem: braid is slick, hard, and will not stay put in a knot that was designed for soft mono.
Approximately 80 to 90 percent of strength. The wide, flat wrap bed grips the braid’s round profile in a way narrow wraps cannot.
- Make a loop in the braid and bring the standing braid through it to form a lark’s head around the end of your leader.
- Wrap the leader around the braid’s standing section ten times.
- Tuck the leader end through the loop below those wraps.
- Wrap the leader around the entire bundle five times, side by side, to fill the core.
- Moisten the leader portion only, tighten, and trim.
A dedicated braid connection is worth the extra effort because you can feel the difference. A braid-to-leader joint made with a mono knot will feel loose and will continue to loosen as the braid stretches on the first cast. Anglers who say braid knots “never really cinch down” are usually describing a knot built for a different line.
Add a few wraps on the braid side and a proper trim on the leader side, and keep the joint well away from the line guide where it can rock and cut.
9. The Cat’s Paw Knot
The Cat’s Paw knot grips a hook eye with the line’s own body rather than relying on the eye’s diameter, so it holds on heavy mono and braid where a hook eye is too small for a conventional knot.
Approximately 90 to 95 percent of line strength on heavy mono. On braid, use it only with care — the soft core can be nicked by the hook point.
- Make a loop in the line about the length of the hook eye.
- Wrap one end of the loop around the standing line once, then take the same end around the standing line twice more on the other side.
- Form a lark’s head by bringing both ends of the loop up through the loop formed in the standing line.
- Pass the lark’s head through the hook eye from front to back.
- Pull the lark’s head tight against the eye by pulling on the standing line, then dress and trim.
This is the knot for big hooks with small eyes — heavy wire hooks, big tarpon or shark hooks, offshore trolling — where five wraps of thick mono simply will not fit inside the eye.
Two cautions. First, on braid, run the hook point along the length of the standing line before setting the knot so you can feel any nicks and tie again if the braid feels rough. Second, do not trim the tag end right at the lark’s head — leave a short stub so the wraps have something to bear against.
10. The Rolling Hitch
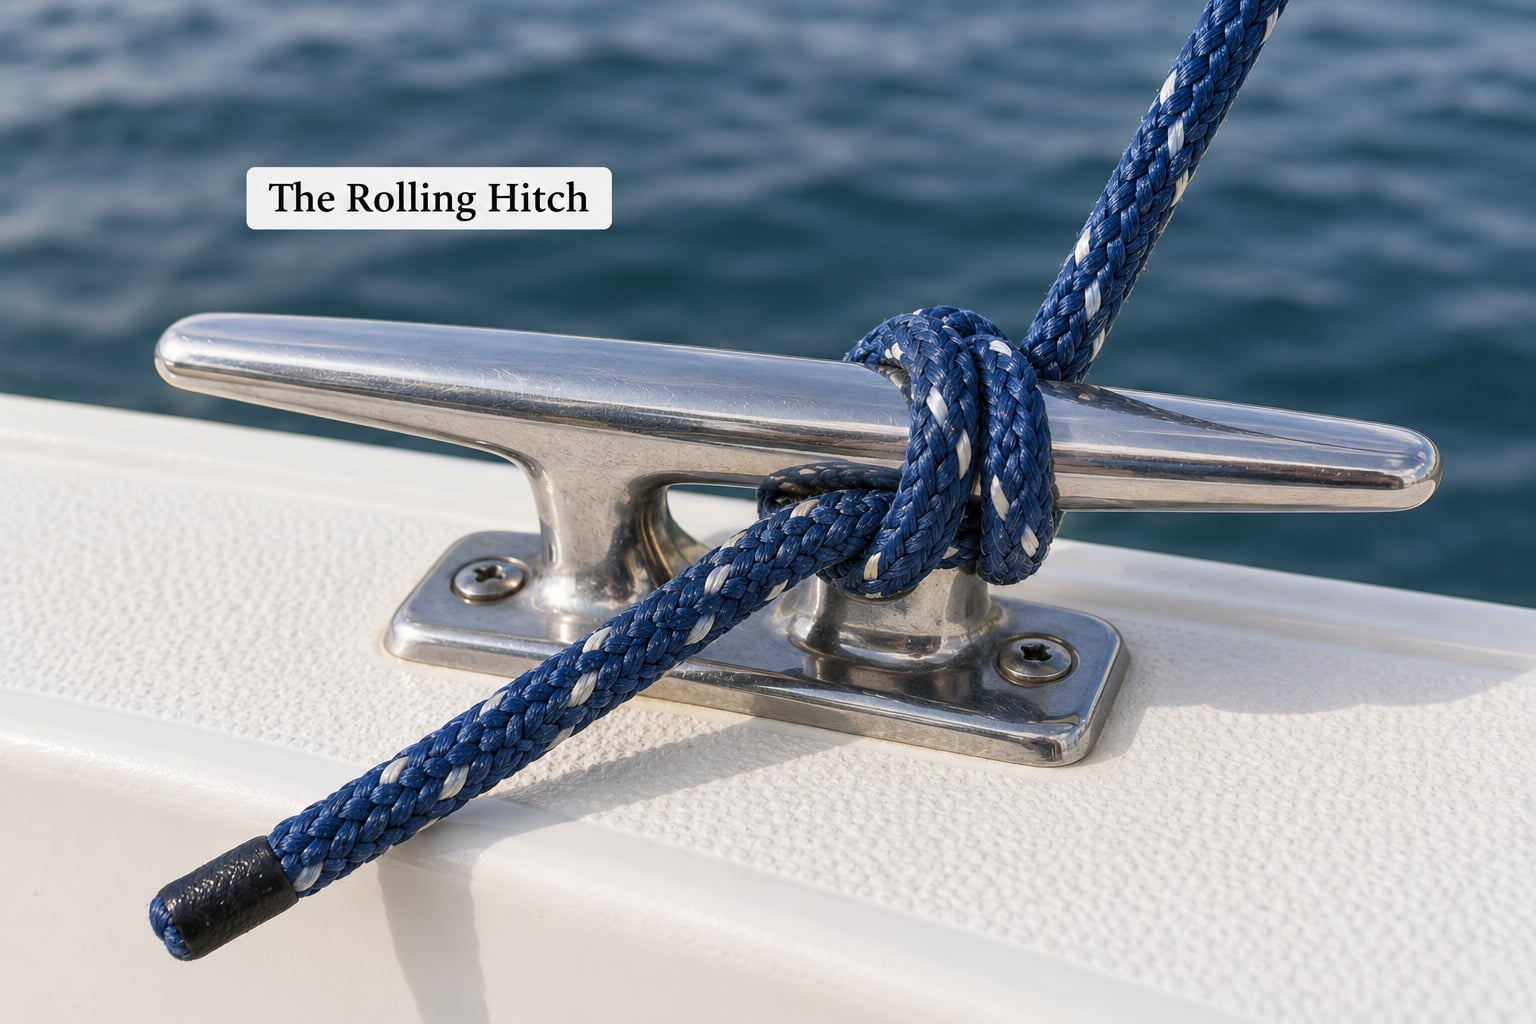
The rolling hitch secures a line to a cleat, rail, ring, or pipe, and it is the knot that holds when you want to be able to release it quickly.
It is not a percentage-of-strength knot — it is limited by the hardware and the line’s abrasion resistance, not by the wraps. What matters is that it holds under steady load and comes apart cleanly when you pull the working end in the right direction.
- Pass the line around the cleat or rail twice.
- Take the working end around the standing part once, forming a hitch on the tension side.
- Add two more hitches on the same side, stacking them neatly on top of the first.
- Finish with a half hitch below the stack, on the load-bearing side, to lock the hitches in place.
- Pull the standing line to set the hitches and dress them so they sit in reverse order on release.
The stacking order matters. Hitches that are stacked in the wrong sequence will capsize under load, and the line will slide. Dress them so each successive hitch sits below the one before it, and the whole stack releases in that same order when you give the free end a controlled pull.
This is the knot for docking lines, anchor line to a cleat, and temporarily securing a line to a rod holder or outrigger boom. Before you leave the dock, give it a hard pull with your whole body weight. A rolling hitch that has been stacked badly tells you right away, on shore, rather than later.
Choosing and Testing Saltwater Fishing Knots
Choose by the two materials you are joining, then by whether the connection needs to move. Line compatibility comes first, because most salt water failures are material mismatches rather than weak knots.
- Mono to mono — improved clinch, Uni, double fisherman’s.
- Fluorocarbon to mono — double fisherman’s or FG. Fluoro is stiffer and slicker, so bump up the wrap count one turn.
- Braid to fluoro or mono — San Diego Jammer or FG. These are the two knots on this list designed for a slick, hard line.
- Heavy mono or braid to a small hook eye — Cat’s Paw.
- Shock leader or adjustable loop — Bimini.
- Line to a cleat or rail — rolling hitch.
- Wire — do not knot it. A friction hitch on piano wire is only as good as its wrap tension, and above heavy wire test, crimped sleeves or swivels are the correct answer. A crimped connection is not a knot; it simply does not lose strength the way a wrap does.
Wrap count scales with line diameter and test weight.
| Line test | Wraps | Notes |
|---|---|---|
| Up to 20 lb fluoro or braid | 7 | Thin line needs more surface to hold |
| 20 to 50 lb mono or fluoro | 5 | The standard for most hook knots |
| Above 50 lb mono | 3 to 4 | Fewer, very tight wraps on stiff line |
Dress every knot. Work the coils into place against each other instead of cinching one side first, because uneven dressing is the single commonest cause of a knot that loosens under load.
Corrosion matters at the hardware end. Rinse swivels, snaps and split rings with fresh water after every trip, and carry a spare of any swivel or ring you would hate to lose. Salt water pits metal in a season, not a decade.
Finally, pull test before you fish. Load the connection with steady progressive pressure, not a jerk. A shock load is what breaks a marginal knot, so a snap test tells you very little; a slow, hard pull tells you whether the wraps are actually locked.
Two habits worth building in. Learn to tie your four core knots until your hands do it without thinking, which for most people means tying fifty of each at home on a knot board. And check your knots by touch at the start of every fight — a knot you can move with a fingertip is a knot you have not finished tying.
Frequently Asked Questions
What is the best knot for saltwater fishing?
There is no single best knot; the right choice depends on the two materials you are joining. For hooks and lures the improved clinch, Palomar and Uni knots cover most work. For line-to-line joins of the same diameter use the double fisherman’s, and for mismatched materials such as braid to fluorocarbon use the FG knot or San Diego Jammer.
Should I use the same knot with braided and monofilament line?
Not always. Braided line is smooth, stiff and hard, and mono knots tied into it can feel loose and keep loosening as the braid stretches. Knots designed for braid, such as the San Diego Jammer or FG, wrap around the braid’s profile properly. Monofilament is far more forgiving with traditional knots.
How tight should a fishing knot be?
Tighten gradually and evenly. Cinch one side hard before the other and you will trap a lump that rocks under load. Dress the coils against each other first, then pull the standing line slowly while the wraps compress together. Over-crushing stiff line can damage it, and an undertightened knot can slip.
How often should anglers replace fishing line and knots?
Inspect line, hooks, swivels and knots before every trip, and replace anything frayed, abraded, discoloured or corroded. Salt water exposure and repeated flexing weaken both line and hardware faster than most anglers expect. Rinse hardware in fresh water after each trip, and retie any connection that rocks or moves under light pressure.
Which knot connects braid to a fluorocarbon leader?
The FG knot and the San Diego Jammer are both built for it. The FG offers higher strength and handles any diameter difference, but takes about a minute to tie properly. The San Diego Jammer is faster and easier to inspect, which matters when you are retying on the water. Avoid single-friction knots tied into braid; they loosen.
Do I need a loop knot for trolling lures?
Only when the connection point moves. A loop connection, such as the Palomar or a non-slip mono loop, lets a lure pivot freely and produce its full action. For a fixed single hook on a wire or heavy mono rig, a direct hook knot is stronger and simpler. Choose based on whether you want movement or maximum strength.
Bottom Line
Tie the improved clinch and the Palomar first, because between them they cover nearly every hook and lure tie you will make. Add the double fisherman’s for line-to-line work of equal diameter and the FG knot for anything mismatched, especially braid to leader. Learn the rolling hitch so you can secure a dock line without guessing.
The rest is specialisation, and specialisation comes later. Until then, master four knots properly, dress every one of them, and check them by touch before you put a fish on the end.