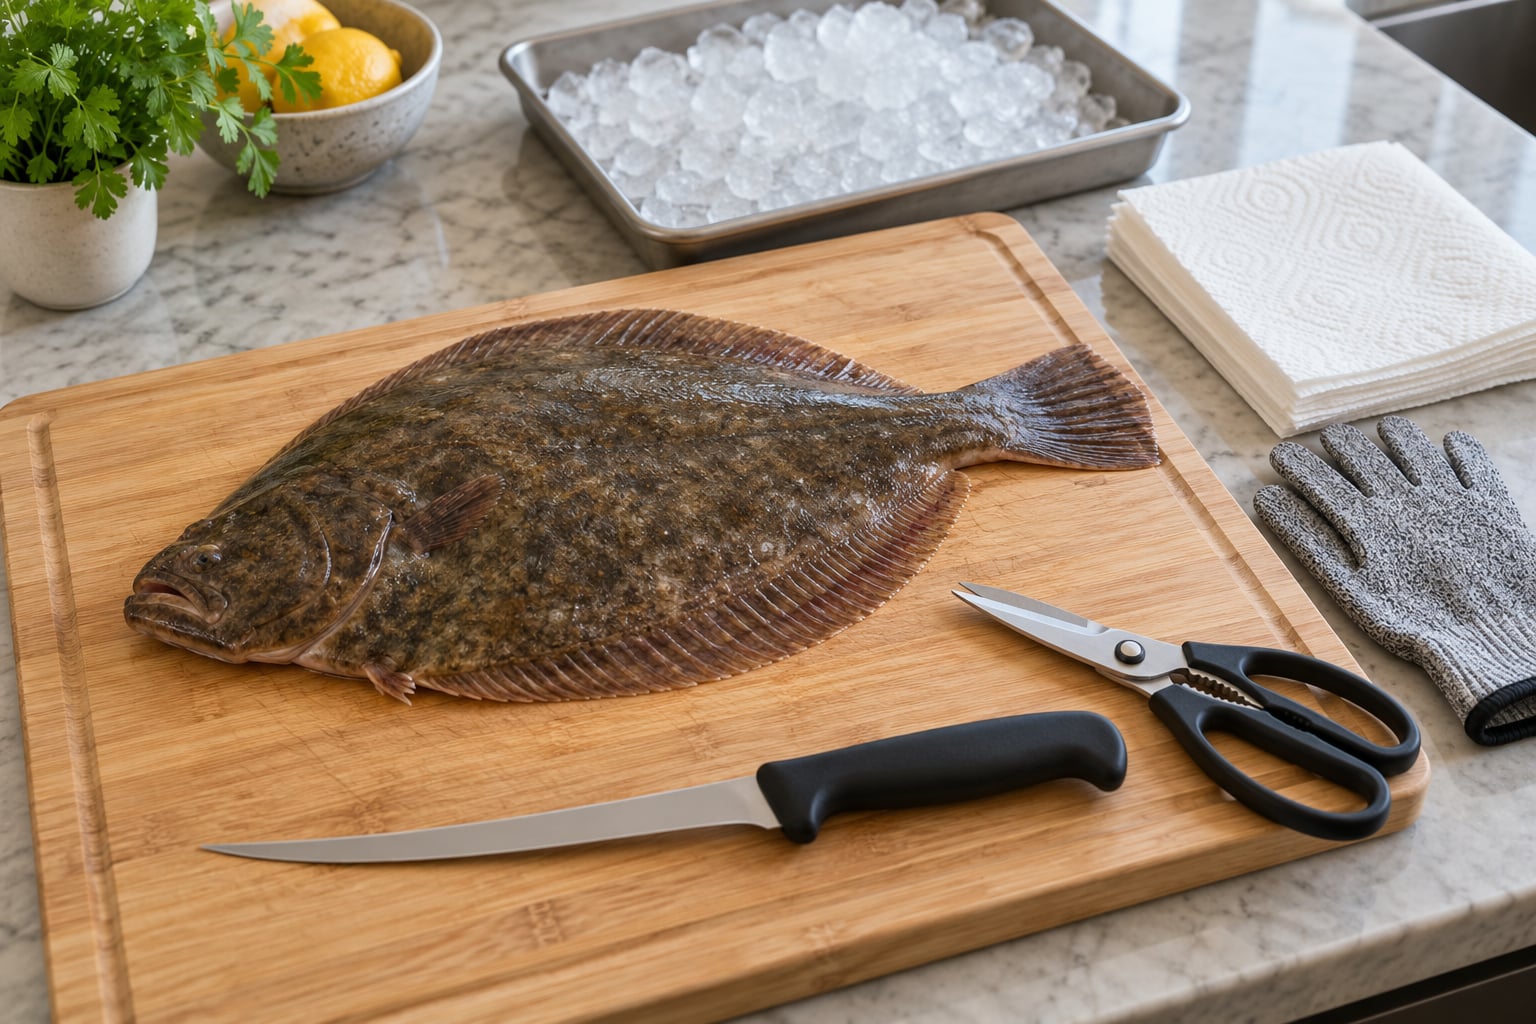
To clean and fillet a flounder, rinse the whole fish under cold water, cut off the head, remove the innards through a V-shaped cut behind the gills, then run a sharp flexible fillet knife straight down the center line and along the backbone in long strokes. You get two boneless fillets in about 15 minutes, and no scaling is needed.
Flounder is the easiest fish on the boat to break down and the easiest to ruin. The meat is thin, mostly white and forgiving of a beginner, but one pass with a dull knife turns two clean fillets into a pile of shreds on the board. Most of that damage happens in the first ten seconds of the filleting cut.
What follows is the order I use every time. It works on summer flounder, winter flounder, and anything else flat and thin like it.
Table of Contents
- What You Need
- How to Clean and Fillet a Flounder Step by Step
- How to Scale and Gut a Whole Flounder
- How to Fillet a Flounder Without Wasting Meat
- How to Remove Any Remaining Bones
- How to Rinse and Store Fillet-Sized Flounder
- Common Mistakes
- Frequently Asked Questions
- Do you remove the skin from flounder before filleting it?
- Can you fillet a frozen flounder?
- Why does my flounder fillet have so many bones?
- How long should I store fresh flounder fillets?
- What is the best knife for filleting flounder?
- How do I remove the Y-bones from a flounder fillet?
- Conclusion
What You Need
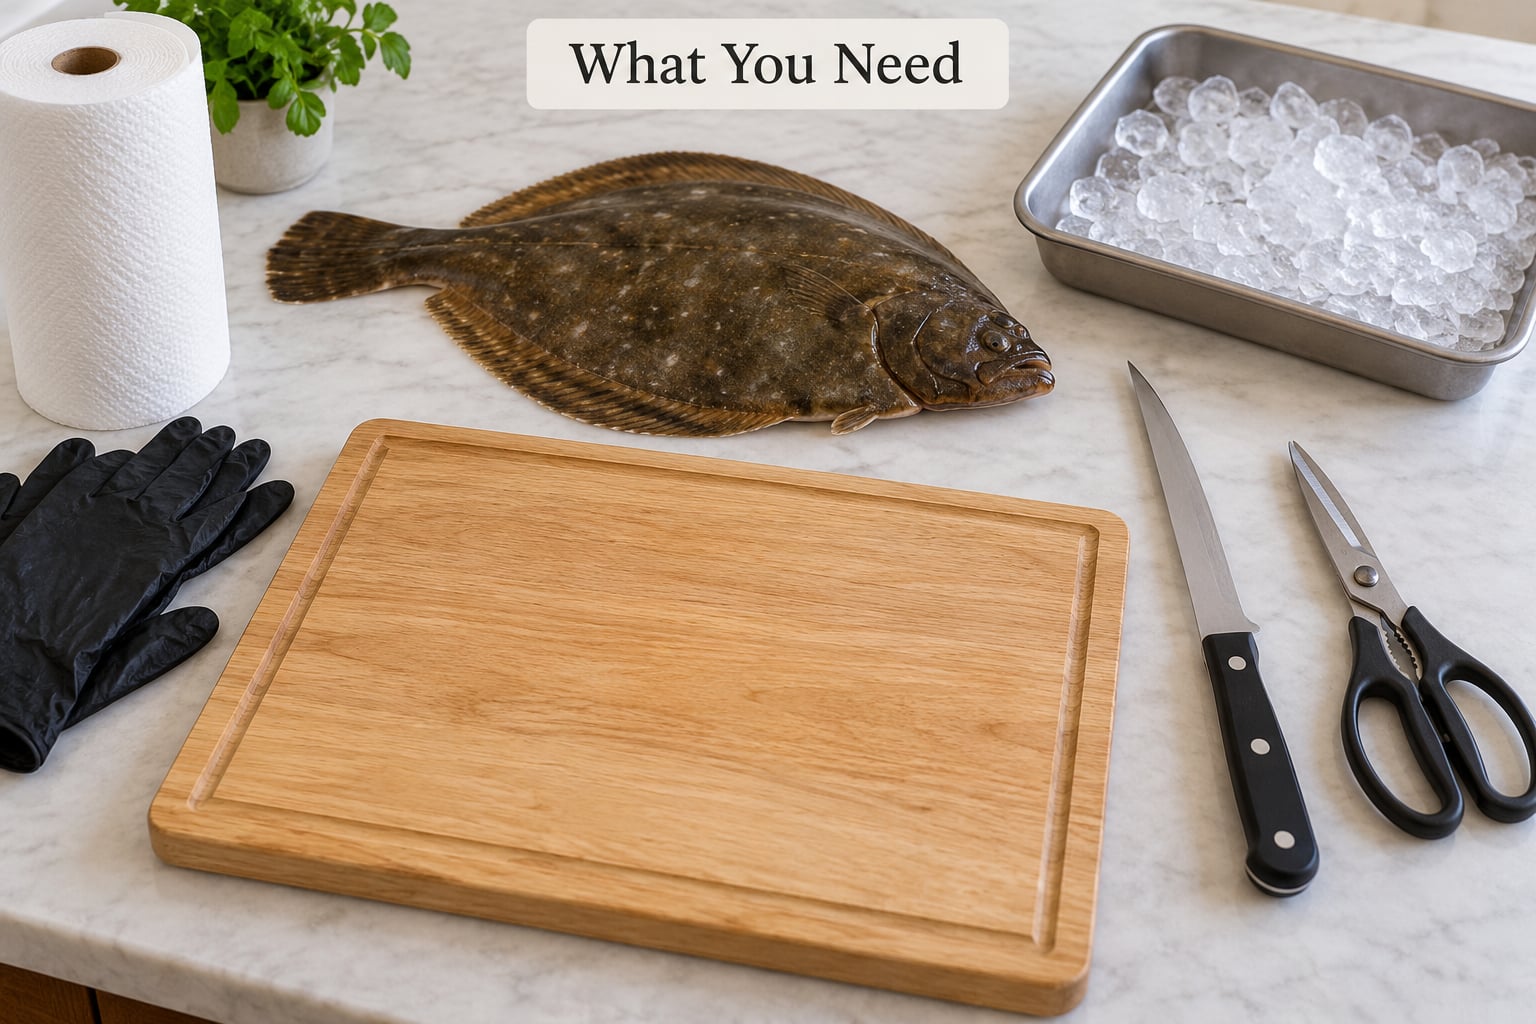
You need fewer tools than most people expect. The only one that genuinely decides whether the fillet comes off clean is a sharp, flexible fillet knife.
- Flexible fillet knife, 8 to 10 inch. The thin, bendable blade is what lets you ride the bones without sawing. A stiff chef’s knife works in a pinch, but you will leave more meat behind.
- Honing steel or sharpener. Sharpen before you start, not after the first fillet goes ragged. Ten strokes on a steel costs nothing and saves the fish.
- Cutting board with a groove, plus a damp towel or non-slip mat underneath so the board does not slide when you press down.
- Kitchen shears for snipping off the fins and the fringe that runs the length of the fish.
- Cold running water and a colander or sink strainer to catch the slime and sand that come off a flounder.
- Cut-resistant glove on your guide hand. A flounder has no sharp teeth to speak of, but the fin bones and the pin bones are pointed and they find knuckles.
- Paper towels. Flounder skin is slimy and it will not stay put on the board for long.
- A shallow pan or bowl of ice for the fillets once they come off.
Optional but useful: a fish scaler or the back of a spoon for scraping loose scales, kitchen tongs for handling the innards, and a spray bottle so you can keep the fish damp while you work.
How to Clean and Fillet a Flounder Step by Step
How to Scale and Gut a Whole Flounder
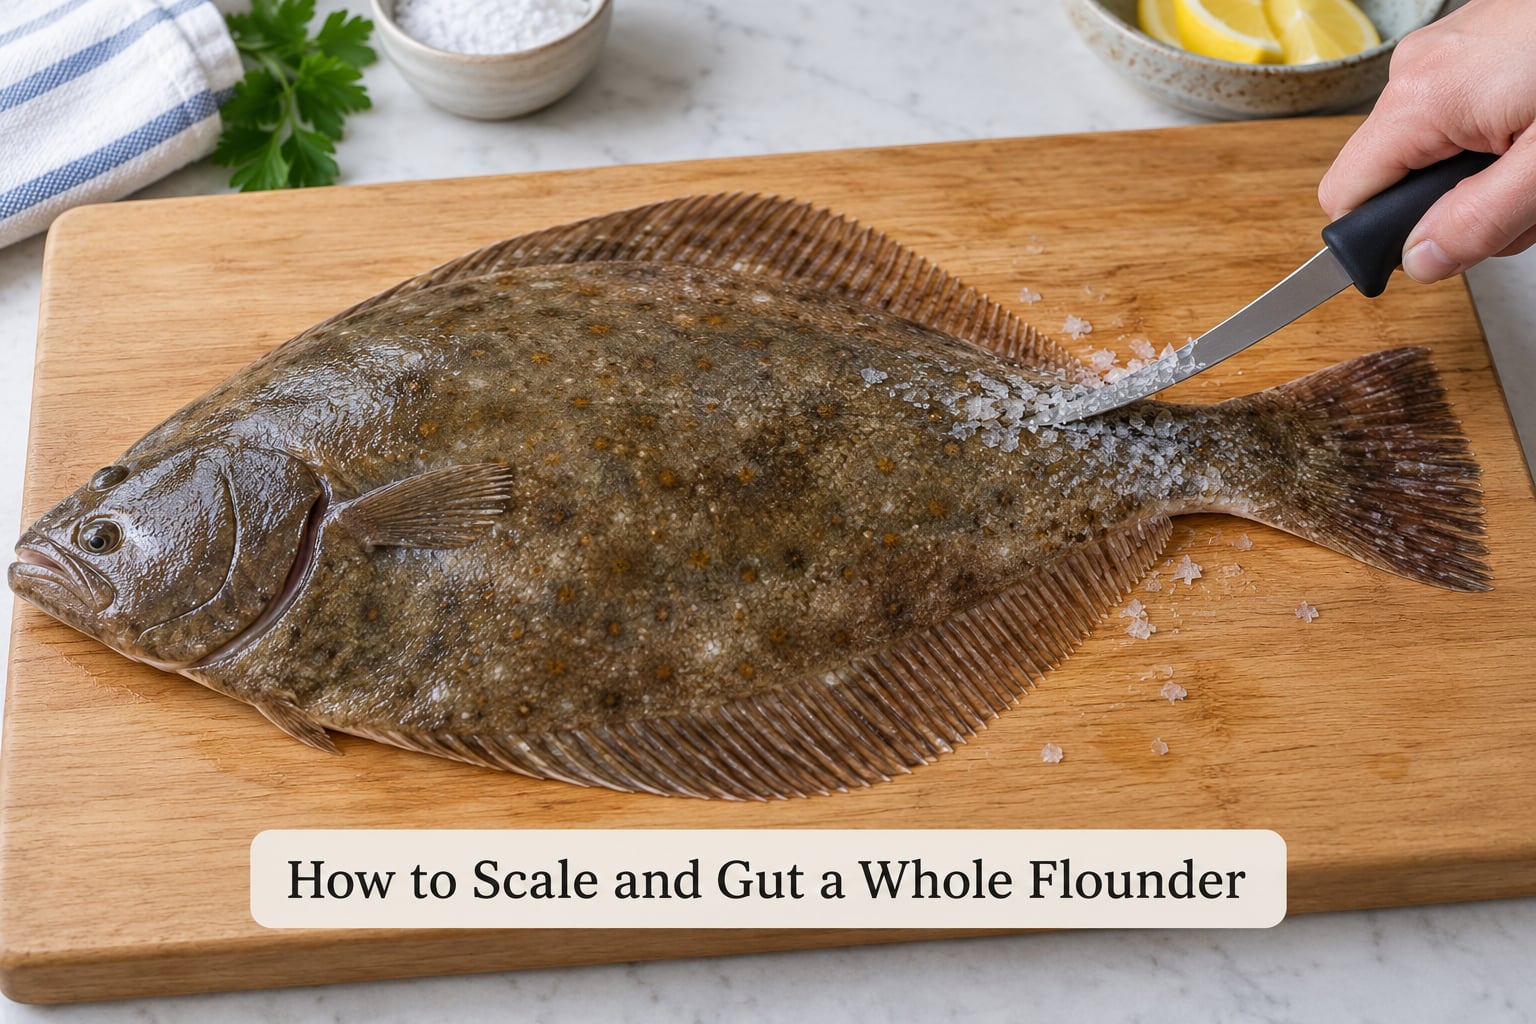
Flounder skin holds only loose scales, so scaling is a thirty-second job at most. Most fishing regulations require the skin and scales stay on for the fish you keep, but any fish you are actually going to eat can be scraped clean first.
Start by rinsing the fish under cold running water. Flounder carries a surprising amount of slime, sand and algae, and it comes off far better now than later. Work the water over the whole body with your fingers, then scrape gently from tail to head with a fish scaler or the back of a spoon.
Snip off the dorsal and anal fins with the kitchen shears. Those fins run most of the length of the fish, and leaving them on makes the filleting cuts awkward and the finished fillet ragged.
Now gut the fish. Find the gill covers and cut a V shape just behind them, cutting down through the skin to the bone. Run the blade along the top of the V toward the backbone, then scoop the innards out with your fingers or a spoon.
Flounder does not carry much roe, so the belly cavity is small. Still, run a clean finger along the backbone inside the cavity and pull out anything that feels soft or slippery. That is bloodline and membrane, and leaving it behind gives the fillet a muddy taste.
Cut the head off behind the gills with the shears, cutting straight down through the spine. Keep the fish wet from here on. Dry surface plus friction is what shreds the skin when you go to lift the fillet.
How to Fillet a Flounder Without Wasting Meat
Lay the fish flat, dark side up, head pointing away from you. The dark mottled side is the side the eyes migrated to, and the flesh beneath it is thicker and cleaner. You want that side facing up for the first cut.
Mark two points. Point A sits just behind the head at the top edge of the fish. Point B sits at the tip of the tail. The line between them runs straight down the middle of the fish and sits directly over the backbone.
Cut straight down that center line, from the tail toward the head, until the knife tip touches bone. Stop at the bone. You are not trying to cut through it.
Turn the knife on its side so the blade lies almost flat against the flesh, angled down roughly 20 degrees, and slide the edge between the meat and the first set of bones. The spine runs straight down the center, but the rib bones fan outward beneath it, so keep following what your fingers tell you rather than what the picture looks like.
Keep the blade flat and use long, single-direction strokes. Move away from yourself along the bone, lift the knife completely, reset at the head end, and take the next stroke. Do not saw back and forth. Sawing is the number one reason a flounder fillet comes off looking like it lost an argument.
Feel your way with the guide hand. The bones under the blade feel like the white keys of a piano, and the meat between them gives slightly. That feedback is faster and more reliable than trying to see the bones through pale flesh.
When the blade reaches the tail end, the fillet is free. Lift it away and lay it skin side down. Do not pull it. Pulling tears the delicate white meat instead of releasing it.
Flip the carcass so the white side is now up, and repeat the whole thing on the second side. The white side yields a slightly smaller fillet because there is less meat over the bone there.
Expect some of the rib cage to stay behind on the skeleton. That is normal, and taking more passes with a sharp knife to scrape it off is where beginners usually shred the meat instead. Leave a little on the bone rather than chase it.
How to Remove Any Remaining Bones
Flounder bones are small and white and they hide against white meat. That is why people find them at the table instead of at the board.
Check the fillet before it leaves the board. Hold it up to a window or under a bright overhead light, or press it flat with your palm and run a fingertip lightly along the surface. You are feeling for a hard spot, not cutting for one.
Pay the most attention to the thickest part of the fillet near the head end, because that is where the rib bones fan out and where pin bones cluster. Most of the trouble in a flatfish fillet is in that first two inches behind the head.
Pull small bones with a pair of tweezers or fishbone tweezers, gripping firmly and pulling in the same direction the bone points. For the fan-shaped bones sitting deep in the meat, lay the fillet flat, hold it taut with your fingers, and slide a paring knife under the bone with the blade angled slightly upward toward the bone.
Y-bones, the fine forked bones near the head end, come out the same way. Find the fork, not the tip, so you know which way it points before you pull.
Cut the fillet into serving portions with a sharp knife straight down through the flesh, and inspect each piece again. A quick check costs five seconds. Chasing a hidden bone with the tip of a knife tends to open a hole in the tenderest part of the fillet instead.
How to Rinse and Store Fillet-Sized Flounder
Rinse the fillets gently under cold running water just before you cook them. Let water flow off them rather than scrubbing or soaking, because flounder flesh is delicate and it turns mushy and loses its juices faster than most fish.
Pat them dry with paper towels and let them sit uncovered in the refrigerator for 10 to 15 minutes to absorb some surface moisture. That dries the skin enough for a pan sear to crisp instead of steam.
Keep the fish cold from the moment it comes out of the water. Put the fillets skin side down on a tray set over ice in the refrigerator, cover loosely, and eat them within a day or two. Do not leave raw fish at room temperature for more than two hours, and only one hour if you are working somewhere above 90°F.
For longer storage, lay the fillets on a tray, freeze them solid, then bag them. Freezing them spread out first stops them from fusing into one solid block, and double-bagging keeps freezer burn off the delicate surface.
If your fish is frozen, thaw it in the refrigerator overnight or sealed in cold water for 30 to 60 minutes depending on thickness. Warm water and microwaving damage the texture badly, and you cannot fillet a frozen fish cleanly anyway because the blade skates on the ice crystals.
Cook flounder to an internal temperature of 145°F, and that is the number to trust no matter how long it sat.
Common Mistakes
Almost every bad flounder fillet comes down to one of eight things. Each one has a simple fix.
- A dull knife. A dull blade cannot cut, so it drags, and dragging shreds. Sharpen before you start and wipe the blade dry between passes.
- White side up for the first cut. Beginners get confused about which side faces up. Lay the fish dark side up, mottled skin facing you, spine running away from you.
- Sawing back and forth. Short back-and-forth strokes cut the meat into strings. Use one long stroke per pass and reset the knife each time.
- Cutting into the belly section. The most common flounder-specific failure, and it spreads innards across the meat. Keep the V cut tight behind the gills and gut the fish before you make any filleting cut.
- Pulling the fillet instead of lifting it. The flesh releases along the bones when the knife does the work. Guide hand holds, blade lifts.
- Leaving the fin fringe on. That strip of fin and fin bones along the top edge looks like a mohawk on the finished fillet. Snip it off with shears before serving, and trim it from the fillet while the fish is still whole.
- Throwing away the tail meat. The tail end is thin but perfectly good. Trim the bone, not the meat, and use the thin pieces first.
- Rinsing too hard and storing too warm. Flounder does not need scrubbing, and flesh left warm loses quality fast. Cool water, a light rinse, ice or refrigerator immediately.
Two more that catch people out. Scaling a flounder as if it were a round fish wastes time and can gouge the skin; the scales are loose and a quick scrape is enough. And cleaning the fish hours before you intend to cook it costs you texture, because the surface starts breaking down. Gut it, fillet it, and get it cold in one sitting.
On an outdoor site like this, the catch-and-release habit changes the conversation anyway. Keeping enough of the fish to eat or give away is what makes the cleanup at the dock worth doing properly, and rinsing the board and knife before you head home takes thirty seconds.
Frequently Asked Questions
Do you remove the skin from flounder before filleting it?
Leave it on for most cooking. Flounder skin is thin, it holds moisture in the flesh, and it gets crisp in a hot pan or fryer. Take it off only when a recipe calls for skinless fillets, or when you are breading the fillet and the texture would turn gummy. If you do skin it, lay the fillet skin side down, hold the tail end, and slide the knife between skin and flesh in one continuous motion rather than sawing.
Can you fillet a frozen flounder?
Not properly. A frozen fish shatters into chips and the knife skates across the ice crystals, so you lose most of the meat and risk a dulled blade. Thaw it in the refrigerator overnight or sealed in cold water for 30 to 60 minutes, depending on thickness. Warm water and microwaving both damage the flesh, and neither is worth the few minutes they save.
Why does my flounder fillet have so many bones?
Because a flatfish carries a spine running down the center plus rib bones that fan outward beneath it on both sides, and most of them are fine, white and hard to see against white meat. It is normal to find a few near the thick head end. Hold the fillet up to a light, feel for hard spots with a fingertip, and pull bones with tweezers or lift them with a paring knife angled toward the bone.
How long should I store fresh flounder fillets?
Keep them on ice or on a tray over ice in the refrigerator and eat within one to two days. Raw fish should not sit at room temperature longer than two hours, or one hour if you are above 90°F. For longer storage, freeze the fillets flat on a tray first until solid, then bag them so they do not fuse together or pick up freezer burn.
What is the best knife for filleting flounder?
An 8 to 10 inch flexible fillet knife with a thin blade. Flexibility lets it ride over the rib bones instead of cutting through them, which is where most of the meat gets lost on a flatfish. A long straight-edged chef’s knife will get the job done but leaves more meat on the skeleton. Whichever you use, hone it first and keep the blade dry so it does not drag across the skin.
How do I remove the Y-bones from a flounder fillet?
The Y-bones are the fine forked bones in the thickest part of the fillet near the head. Lay the fillet flat, hold it taut with your fingertips, and slide a paring knife under the fork with the blade angled slightly up toward the bone, then lift it out in one motion. Pulling with tweezers works too, as long as you grip the fork rather than the thin tip. Check the fillet again under a light before it goes to the pan.
Conclusion
Start with a sharp, flexible fillet knife and a damp towel under the board. Keep the fish cold and wet from the moment you rinse it, cut the head off behind the gills, and take the innards out through a tight V before you make a single filleting cut.
Lay it dark side up, cut straight down the center line to the bone, then work the blade flat along the backbone in long single strokes and lift the fillet off rather than pulling it. Check the thick head end for pin bones and Y-bones under a light, trim the fin fringe, and get the fillets on ice or into the refrigerator right away. Fifteen minutes of work, two clean fillets.