Getting in shape for a backcountry hunt means carrying a 40 to 60 lb pack for 8 to 12 miles a day across steep, broken ground for five to ten straight days, then hauling an animal out on top of that. That is loaded-pack endurance, leg strength, and joint stamina at the same time. Ordinary running or gym lifting builds parts of it and skips the parts that end hunts early.
Most hunters arrive at day four and find out the gap. The first two days feel workable. Somewhere around day four the knees start complaining on descent, the lower back goes quiet, and the pace drops by half. The people who finish strong looked boringly prepared for months beforehand.
Three mistakes show up again and again:
- Too much cardio, no pack. You can run 40 miles a week and still fall apart under load, because running never teaches your shoulders, hips, and trunk to hold 50 lb in place.
- Too much bulk, no endurance. Big muscles help with the carry, but they burn out early and pull more water than a lean, strong body does.
- No vertical work. Backcountry hunters train on flat ground because flat ground is nearby, then meet 3000 ft of gain and 1500 ft of descent in a day.
The rest of this guide lays out a 12-week program, what gear to use as training tools, and how to scale it when you have six weeks, four weeks, or a bad knee.
Table of Contents
- What You Need to Get in Shape for a Backcountry Hunt
- Training gear that does double duty
- Trip details to nail down first
- A six-item starting test
- Step-by-Step Training Plan
- Step 1: Establish Your Starting Point
- Step 2: Build an Aerobic Base
- Step 3: Strengthen Your Legs, Hips, and Core
- Step 4: Practice Carrying a Realistic Pack
- Step 5: Train Uphill, Downhill, and on Uneven Ground
- Step 6: Rehearse Nutrition, Heat, and Recovery
- Step 7: Complete a Shakedown Hike
- Common Mistakes
- Tips for Staying Safe and Progressing
- Frequently Asked Questions
- How long before a backcountry hunt should I start training?
- How much weight should I carry when training for a backcountry hunt?
- Do I need a gym membership to get in shape for backcountry hunting?
- How do I avoid blisters on a backcountry hunt?
- When should I see a doctor before training for a backcountry hunt?
- Where to Start This Week
What You Need to Get in Shape for a Backcountry Hunt
You need far less equipment than most people buy, but you do need a few specific things and a clear picture of the trip you are training for.
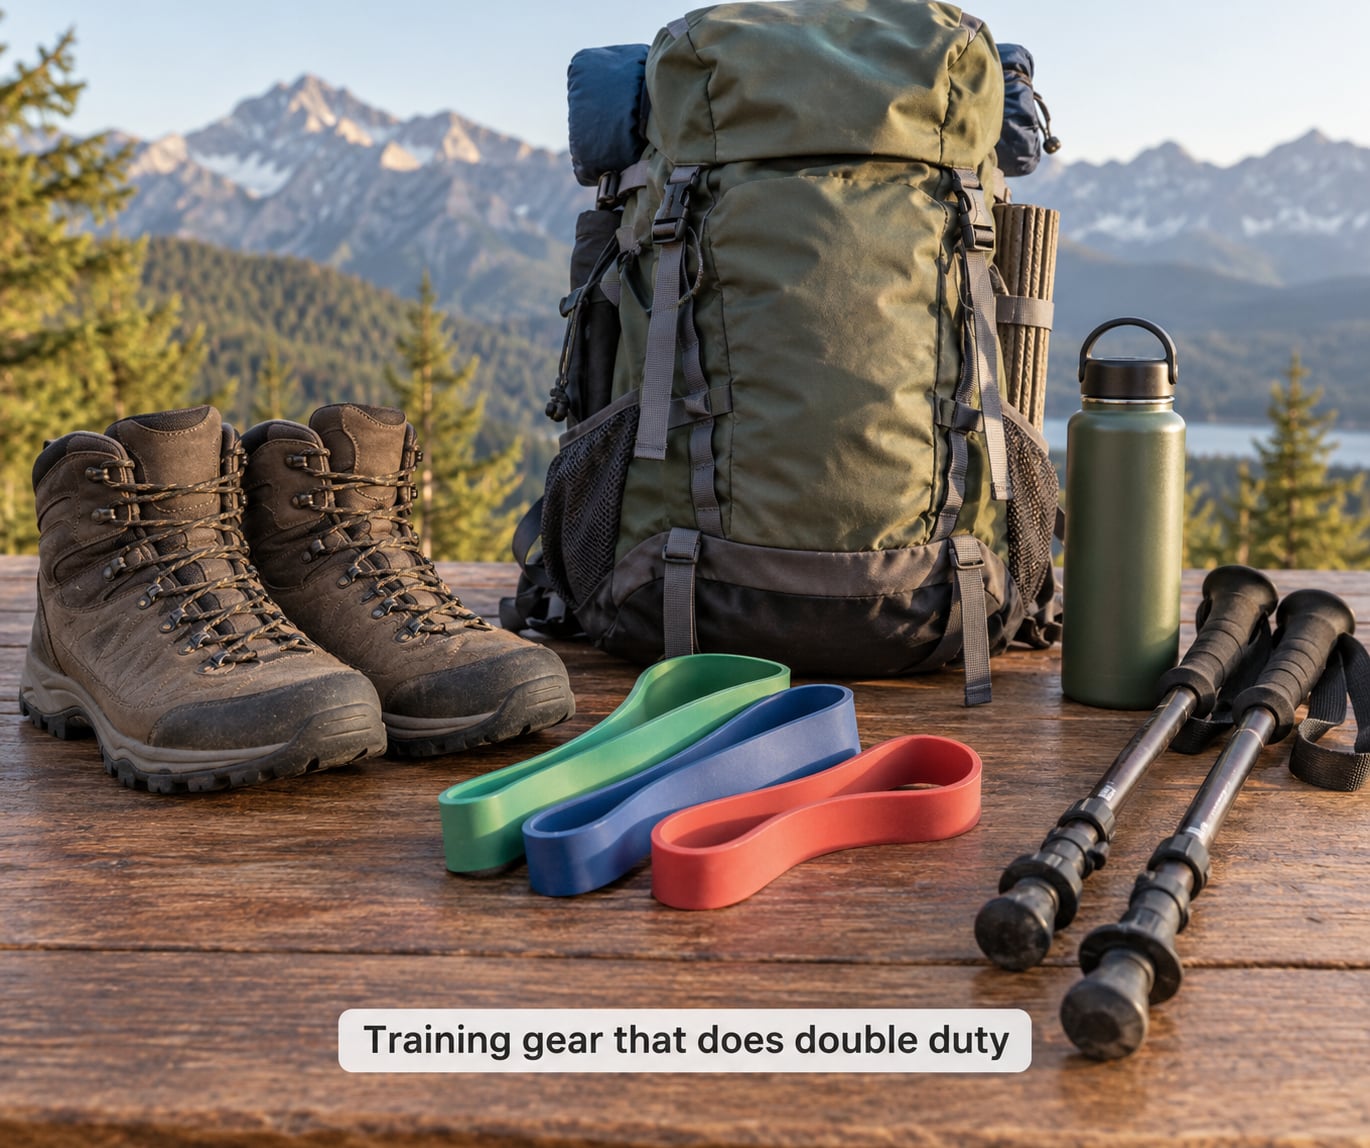
Training gear that does double duty
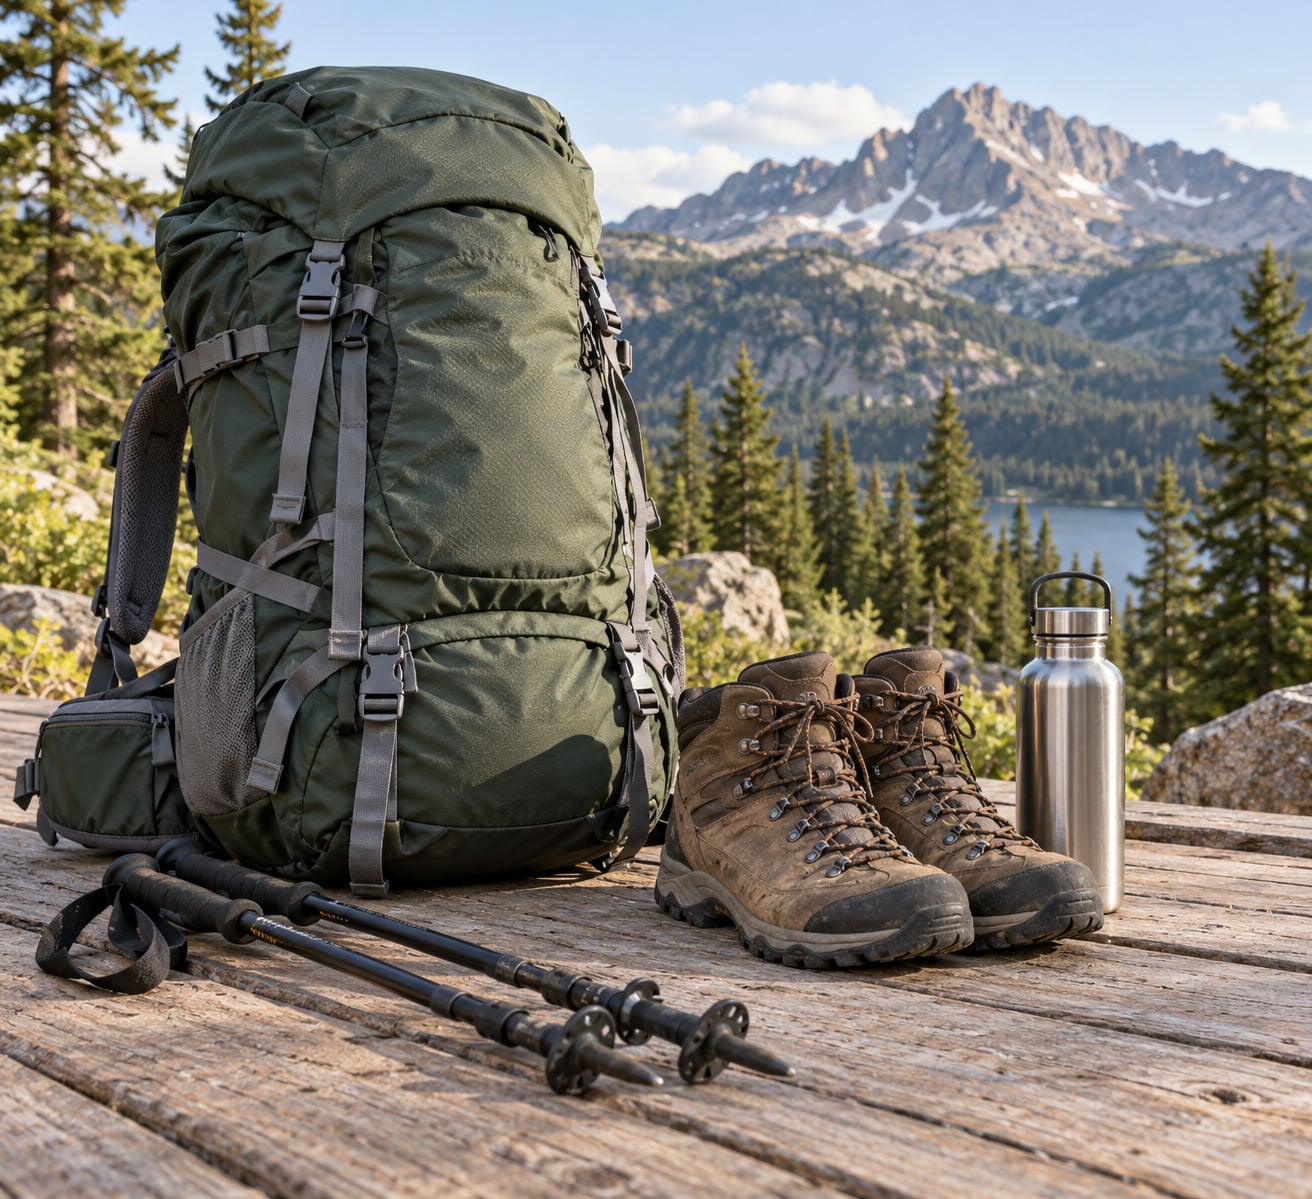
Train in what you will hunt in, as much as you can. Boots, pack, and poles you will carry on the trip should be on your shoulders and feet during training, because unfamiliar gear causes blisters, hot spots, and shoulder rubbing that no amount of fitness fixes.
- A backpack with a working hip belt. Most of the load belongs on your hips. If your training pack has no hip belt, you are training the wrong muscles.
- Load for the pack. Sandbags, a heavy bag of rice, or a couple of dumbbells or kettlebells work. Loose sand rides better in a pack than plates and will not wreck your dry bag.
- Trekking poles. Worth more than most people expect. Poles reduce knee load on descent and help you keep a rhythm on climbs.
- Resistance bands or dumbbells. For rows, presses, and single-leg work if you train at home.
- Water, plus a filter or tablets if no trailhead tap exists. Practice carrying the volume you will actually carry.
No gym is fine. A sandbag, a pack, a set of stairs, and a block of time cover most of the program. The equipment is not what separates prepared hunters from unprepared ones.
Trip details to nail down first
Write down the specific numbers before you train, because your training load comes from the hunt, not from a generic program. Pull the elevation profile, the daily mileage between camp and glassing points, and the expected pack weight for your group.
| Hunt type | Realistic pack weight | What training should emphasize |
|---|---|---|
| Day hunt from a road | 20 to 35 lb | Aerobic base and general leg strength |
| 3-day backpack hunt | 40 to 50 lb | Loaded walking pace and downhill joint tolerance |
| 5 to 7-day solo trip | 50 to 60 lb | Carry endurance, recovery, and self-sufficient pacing |
| Solo with a packout | 60 lb plus 80 to 150 lb of meat and bone | Loaded carries, lugging, and posterior-chain strength |
Also note how many days you will be above 8000 ft if the trip is high country. Sea-level training helps, but it does not fully prepare lungs at elevation.
A six-item starting test
Do this before week one so you know where you stand. Walk 3 miles with a 25 lb pack and time it. Then walk the same distance loaded with 50 lb and note your pace and how your feet and shoulders feel at the end. Time yourself up a long flight of stairs, or a steep 10-minute hill climb. Hold a pack step-up position, twenty reps per leg, and see whether you can control the descent. Do 30 seconds of a loaded plank and a side plank per side. Finally, record resting heart rate after a hard session and how many days of soreness follow a long carry.
Write the numbers down and repeat the same test every four weeks. Comparing the retest to the first test is more useful than any fitness app.
Talk to a clinician before you start if you have had joint surgery, a current injury, heart or blood pressure concerns, or a pregnancy. The general rule is sensible: stop and get advice for chest pain, faintness, unusual shortness of breath at low effort, or joint pain that changes how you walk. Nothing in this guide is medical treatment or a substitute for an exam.
Step-by-Step Training Plan
The plan runs 12 weeks in three phases: base, build, and peak. Move load first, then distance, then elevation, and never increase two of those in the same week. Add weight only when the current load feels easy for two consecutive sessions.
| Week | Phase | Session focus | Pack load | Distance or vert |
|---|---|---|---|---|
| 1 | Base | Easy walking, no pack to light pack | 0 to 15 lb | 3 to 4 miles, flat |
| 2 | Base | Easy walking, first real pack hikes | 20 lb | 4 miles |
| 3 | Base | Add one hill session | 25 lb | 4 miles, 500 ft vert |
| 4 | Base | Strength blocks twice, long walk once | 25 to 30 lb | 5 miles |
| 5 | Build | Long loaded day, conversational pace | 30 to 35 lb | 6 miles |
| 6 | Build | Steep hill repeats, heavy carry day | 40 lb | 4 miles, 1000 ft vert |
| 7 | Build | Longest load hike of the block | 40 to 45 lb | 8 miles |
| 8 | Build | Loaded carries, lunges, pack step-ups | 45 to 50 lb | 6 miles |
| 9 | Peak | Full pack, hunting pace, real elevation | 50 to 55 lb | 7 miles, 1500 ft vert |
| 10 | Peak | Shakedown hike, full kit, overnight | 50 to 60 lb | 6 to 8 miles |
| 11 | Peak | Maintenance, one harder session, less volume | 40 to 50 lb | 5 miles |
| 12 | Taper | Easy movement, no heavy carries | Light or none | 2 to 3 miles |
That table is a ceiling, not a quota. Missed two sessions in a row because of a bad week at work, repeat the week. You lose nothing by repeating and plenty by skipping ahead.
Step 1: Establish Your Starting Point
Run the six-item test from the previous section before changing anything about your training. Most people discover their walking fitness is fine and their loaded-carry tolerance is close to zero.
Then watch for warning signs in the first two weeks: soreness that lasts more than 48 hours after a session, joint pain that changes your gait, rising resting heart rate, or sleep getting worse. Those are signals to cut volume and, where pain is involved, to consult a professional rather than push through.
Step 2: Build an Aerobic Base
Walk and hike most of your training. The aerobic base you need is the boring kind: enough steady walking that a full day of uphill effort does not empty your tank on day three.
Keep easy sessions at a pace where you can speak in full sentences. If you cannot, slow down. Two long sessions a week at 60 to 90 minutes plus one or two short ones will do more than daily hard efforts, and hard daily walking is how people end week three with achy joints and no progress.
Running and stair machines build real fitness but transfer poorly. They load one leg at a time with no pack, they repeat the same movement thousands of times, and they let you coast the upper body. Use them as an addition for joint-friendly cardio if your knees or back need it, not as the main event. If you have no trail nearby, walk a loop with weight in the pack, climb stairs or bleachers, or set an incline treadmill to a hill grade and walk with the pack on.
Step 3: Strengthen Your Legs, Hips, and Core
Two sessions a week, 40 minutes, is enough. The list is short because specificity matters more than variety.
- Bodyweight squats or goblet squats: 3 sets of 8 to 12
- Romanian deadlifts with dumbbells or bands: 3 sets of 8 to 10
- Walking lunges, loaded: 3 sets of 10 per leg
- Pack step-ups or step-downs: 3 sets of 12 per leg, heavy
- Single-leg calf raises: 2 sets of 15 per leg
- Overhead press or band press: 3 sets of 8 to 10
- Loaded plank and side plank: 30 to 45 seconds each
- Heavy carries: 40 yards for 4 rounds with 50 to 60 lb in each hand or on one shoulder
Rest 90 seconds between sets on the heavy lifts and 45 seconds on everything else. Leave two or three reps in the tank early in the block. Hinges and loaded carries matter as much as squats because they train the posterior chain, which is what pulls your hips and spine back into position under load.
With knee or back problems, drop step-ups and lunges first, shorten your range of motion, and lean into hinges, carries, rows, and hip mobility. Biking and elliptical work well for joint-friendly aerobic volume.
Step 4: Practice Carrying a Realistic Pack
This is the step people skip, and skipping it is why fit hunters get wrecked on day one. Start with a 25 lb pack and walk 2 to 3 miles at a pace of roughly 17 to 20 minutes per mile. Add 5 to 10 lb only after the current load feels easy over a mile or two.
Work up to the weight you will actually carry. For most multi-day hunts that lands somewhere between 20 and 30 percent of body weight, and for packout-heavy solo trips you should reach a heavier working load in training, even though you will not start the trip carrying it.
Balance the load, put heavy items close to your spine, and keep about 60 percent of the weight in the bottom two thirds of the pack. Adjust the torso length so the hip belt sits on your hip bones and about 60 to 70 percent of the weight rests there. A poor fit produces the shoulder and lower-back pain that ends trips, and no amount of leg strength compensates for it.
Watch your posture while walking: chin slightly down, shoulders back and down, a short stride, and a steady rhythm. Short steps beat long ones under load. When the pace drops and your form falls apart, that is the session’s real finish line.
Step 5: Train Uphill, Downhill, and on Uneven Ground
Vertical gain is the defining feature of backcountry hunting, and it is the part most often missing from training. Two formats cover it.
Long gradual climbs build the endurance you need for real drain-to-drainage travel: 300 to 500 ft of gain, packed, at a conversational pace, once a week. Short steep repeats build climbing capacity: a 5 to 10 minute hard effort up a hill with heavy pack, recovering at the top, one to two times per week.
Stairs and bleachers substitute perfectly when no hill exists within driving distance. Step up under load, control the way down, and resist letting your pack foot or shoulder touch the rail.
Descent deserves its own attention because it causes more knee trouble than climbing does. Practice walking down stairs and hills slowly, with poles, and shorten your stride on technical ground. Nobody is graded on how fast they descend. If you train knee-dominant movements like deep lunges, box jumps, or long downhill running, balance them with quadriceps and hip work, and treat knee pain during a session as information rather than a challenge.
Step 6: Rehearse Nutrition, Heat, and Recovery
A backcountry hunt is a multi-day endurance event that nobody trains for as one. Practicing food and water logistics takes an hour and prevents the most common late-hunt failure.
Eat before you are hungry and drink before you are thirsty, because thirst lags behind fluid loss by a long way. For long days, aim to eat something every hour or so, with a mix of carbohydrates for quick energy and protein and fat for staying full. Test what you will actually pack. Anything that sits heavy, gets crushed, or spoils gets left at home on day two.
Carry more water than feels necessary and know where reliable sources are on your route, since a dry camp ruins sleep faster than a hard day does. In heat, start early, work in shade during the middle hours, and treat salty sweat loss as a real problem rather than an afterthought.
Recovery is training. Aim for seven to nine hours of sleep, keep at least one day a week light, and cut volume when soreness lingers for more than 48 hours. If you sleep badly or feel flat for several sessions, you are accumulating fatigue that will not pay off on the trip.
Headache, nausea, and unusually poor sleep at elevation are worth taking seriously. Ascend gradually, stay hydrated, and descend if symptoms worsen. Anyone with severe symptoms should get medical help, which in remote terrain means getting out and calling for help rather than waiting it out.
Step 7: Complete a Shakedown Hike
Two to four weeks out, do one full-length hike with the whole kit you plan to use: real pack, real boots, real poles, real sleep system, and the food you will eat. Cover the kind of distance and elevation you expect on a real day.
On this hike you are testing decisions, not fitness. Does the pack fit after three hours? Do the boots create hot spots? Can you navigate at a pace that matches your walking? How does water carry? What did you forget that would matter on day four? How did you sleep on a cold ground?
Then trim the kit. Backpackers almost never need as much food, clothing, or hardware as they packed. Cutting ten pounds means faster miles and fewer knee problems, which matters far more on the way out than any gear debate.
For bowhunters, practice shooting while tired, while wearing the pack, and with a bow at full draw weight. Fatigue and a heavy pack both move your anchor and your release, and steadiness under those conditions is a skill you can train rather than hope for.
Common Mistakes
Increasing distance too fast. Adding a big chunk of mileage or elevation every week is the fastest route to a tweaked knee. Fix: add no more than about 10 percent to your weekly volume, and repeat any week that felt hard.
Starting with a heavy pack. Walking 5 miles with 60 lb on day one produces soreness that ends your training for a fortnight. Fix: start light and add weight only when the current load feels easy, as in the progression table above.
Training through pain. Muscle soreness is normal and joint pain is not. Fix: cut the offending movement, shorten the range, and swap in a joint-friendly option like cycling, swimming, or the elliptical.
Skipping recovery days. Fitness is built between sessions, not during them. Fix: keep one full day off each week and shorten a session rather than skipping sleep or meals to fit training in.
Training only on flat ground. Flat walking never teaches climbing or descending. Fix: find stairs, a stadium, a bridge, or a steep parking lot, and get one vertical session into every week.
Cramming in the final fortnight. The last two weeks before a hunt belong to tapering: reduce volume, keep the movement pattern with light loads, and arrive unfatigued rather than slightly fitter and very tired. Muscles build during recovery, not during the session.
Ignoring the packout. Most people train the trip in and hope the trip out is easier. It is not. Fix: practice loaded carries and lugging the weight of a real animal several times in the final month.
Tips for Staying Safe and Progressing
Match your terrain to your plan. Training for a 10,000 ft Colorado drainage on flat ground at sea level gets you most of the way, but add a hill session each week if any elevation is available. Warm up for five to ten minutes before loaded work, especially your ankles, hips, and thoracic spine.
Adjust for the day rather than for the plan. Heat, smoke, poor sleep, and stress all justify an easier session, and cutting a session costs you almost nothing compared to an injury two weeks out.
Look after the equipment you train in. Retie boot laces differently, check the hip belt and shoulder straps, and dry your boots after wet sessions. Blisters form on the trip you did not prepare for, and a leak in a wet pack on day five is a real emergency.
Log what you did. A simple log of load, distance, elevation, sleep, and how you felt turns a vague plan into a program you can adjust. After four weeks, your log will tell you what your body actually tolerates better than any calculator.
Finally, keep the mental side in view. The hardest part of a backcountry hunt is rarely the last climb. It is sitting in the rain on day four with no shot, hungry, and still having to walk out. People who have trained for the physical version of that week usually handle the mental one better.
Frequently Asked Questions
How long before a backcountry hunt should I start training?
Plan on 12 to 16 weeks for a full program. That window covers an aerobic base, loaded-carry progression, and enough time for tendons and joints to adapt alongside muscle. Six weeks works if you already have a fitness base and can train three to four days a week. With four weeks left, focus entirely on walking with weight and pack fit, skip heavy strength work, and skip anything that leaves you sore.
How much weight should I carry when training for a backcountry hunt?
Start at about 25 percent of your body weight and build to roughly 20 to 30 percent for most multi-day hunts, which usually lands between 40 and 60 lb. Add load only when the current weight feels easy over a mile or two. If your trip ends with a solo packout, train heavier carries than you will start with, because the exit is far more demanding than the trip in.
Do I need a gym membership to get in shape for backcountry hunting?
No. A backpack filled with sand, a set of stairs, resistance bands, and a long walk cover nearly the entire program. Dumbbells or kettlebells add range, and a heavy bag in a pack replaces a barbell for carries and step-ups well enough. The people who succeed are the ones who train three or four days a week for months, not the ones with the best-equipped garage.
How do I avoid blisters on a backcountry hunt?
Wear the boots you will hunt in during every long training session so hot spots show up early rather than in the field. Keep your toenails short, change socks daily, and address any developing hot spot with tape or a blister pad before it tears. A friction blister on day three can end a trip. If you have diabetes, poor circulation, or reduced sensation in your feet, see a clinician before you plan a loaded hiking trip.
When should I see a doctor before training for a backcountry hunt?
See a clinician before starting if you have had joint replacement or surgery, a current injury, heart or blood pressure conditions, diabetes with reduced foot sensation, or are pregnant. Stop training and seek advice for chest pain, faintness, unusual shortness of breath at low effort, or joint pain that changes how you walk. This guide is general fitness information, not medical advice or a treatment plan.
Where to Start This Week
Do three things and ignore the rest for now. Take the six-item starting test and write down your numbers. Walk three miles with 25 lb in a properly fitted pack at a pace where you can still talk. Book two strength sessions and one hill or stair session into next week, and repeat the test in four weeks to see whether you are getting stronger or just more tired.
Twelve weeks from now, you will either have that or you will not, and the difference is decided this week rather than the week before opening day.