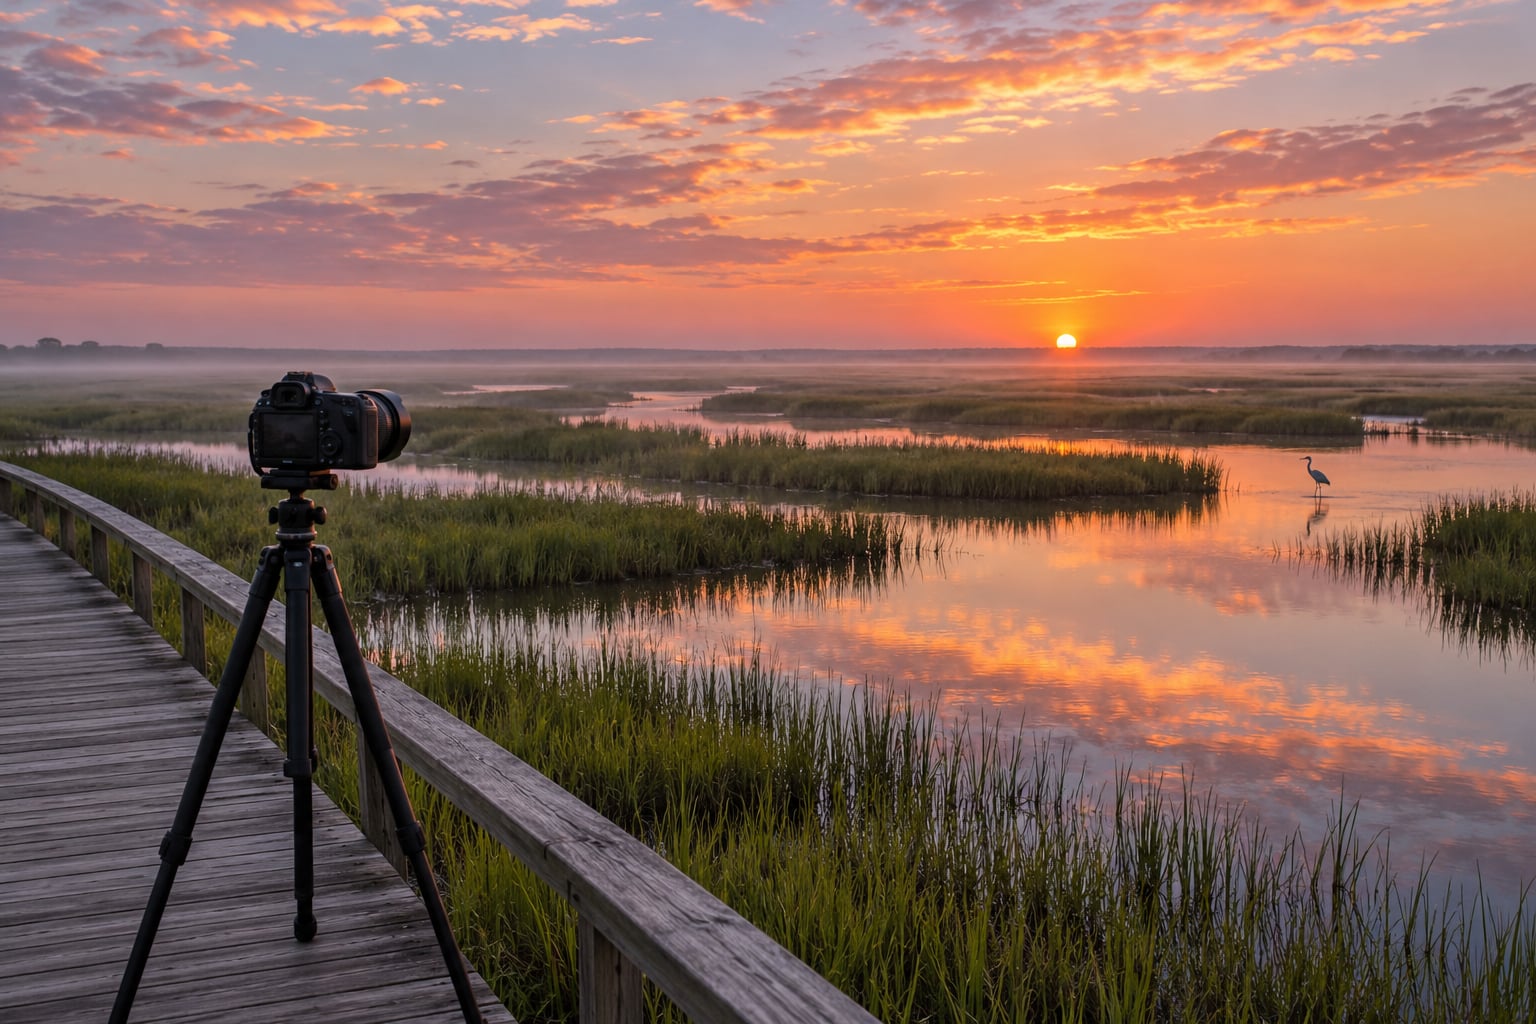
Knowing how to photograph a sunrise over a marsh comes down to three things: be on site well before first light, expose for a scene with a very bright sky and a very dark foreground, and use the water. Still tidal channels act as mirrors at dawn, so the same channel can give you a wide reflection one minute and a subject for a long lens the next. Plan it as a field session, not a snapshot. Budget an hour of setup, fifteen minutes of actual shooting, and most of an hour of standing still.
The word “marsh” covers a lot of ground. Freshwater cattail marsh, coastal salt marsh and brackish tidal creek all photograph differently, and the tide decides which one you get on any given morning. Everything below works for all three once you know which one you are standing in.
Table of Contents
- What You Need
- Step-by-Step
- How to Choose a Marsh Location for Sunrise
- How to Arrive and Prepare Before First Light
- How to Compose a Sunrise Marsh Photograph
- How to Set Camera Settings for Changing Light
- How to Photograph Mist, Reflections, and Birds
- Common Mistakes
- Frequently Asked Questions
- What camera settings are best for a marsh sunrise?
- Do I need a tripod to photograph a sunrise over a marsh?
- How do tide and fog change the plan for a marsh sunrise?
- How close can I get to marsh birds while they are feeding at dawn?
- Conclusion
What You Need
The full kit list is short, and most of it is about surviving a cold hour outdoors. Here is what actually earns its place in the bag.
- Camera body. Any interchangeable-lens camera that shoots RAW. RAW matters more here than on a normal daytime trip because recovering a blown sky from a JPEG is guesswork, while a RAW file gives you roughly two stops of latitude in post.
- Wide-angle lens, 16-35mm or 24-70mm. This is the channel, the reflection and the sky. A 24mm gives you room for a foreground without making the reeds look like toothpicks.
- Telephoto lens, 200-600mm. Optional, but a marsh sunrise is half wildlife shoot. Wading birds feed in the twenty minutes around first light, and they will not come to you.
- Tripod with a ball or fluid head. A long, light tripod is easier to carry across a boardwalk at 5am than a heavy one. A reversible or low-profile head helps when you are shooting from a kneeling position.
- Remote release or two-second timer. Pressing the shutter on a tripod still moves the camera. This is the single cheapest way to fix soft frames.
- Spare batteries and cards. Cold mornings drain batteries faster than you expect. Format the card the night before rather than in the dark.
- Weather protection. A rain cover or dry bag for the body, microfibre cloths, a lens hood, and a blower or blower bulb for the salt spray that dries onto a front element after a bracketing sequence near open water.
- Boots or chest waders. Marsh mud is unstable and holds more than you expect. Waders let you kneel in a channel for a low reflection angle.
- Headlamp with a red mode. Red light keeps your night vision and does not spook birds or neighbouring campers.
- Tide app, weather app and a map. All three offline-capable if the site has no signal. Check the tide height and the gate or boardwalk opening time before you leave the house.
A circular polarizing filter and a graduated neutral density filter are the two optional extras. Both help, both have limits at dawn, and the article covers when to reach for them below.
Step-by-Step
Marsh sunrises run on a tight clock. The useful light is over before you feel ready, so the workflow below is built around arrival, not inspiration.
How to Choose a Marsh Location for Sunrise
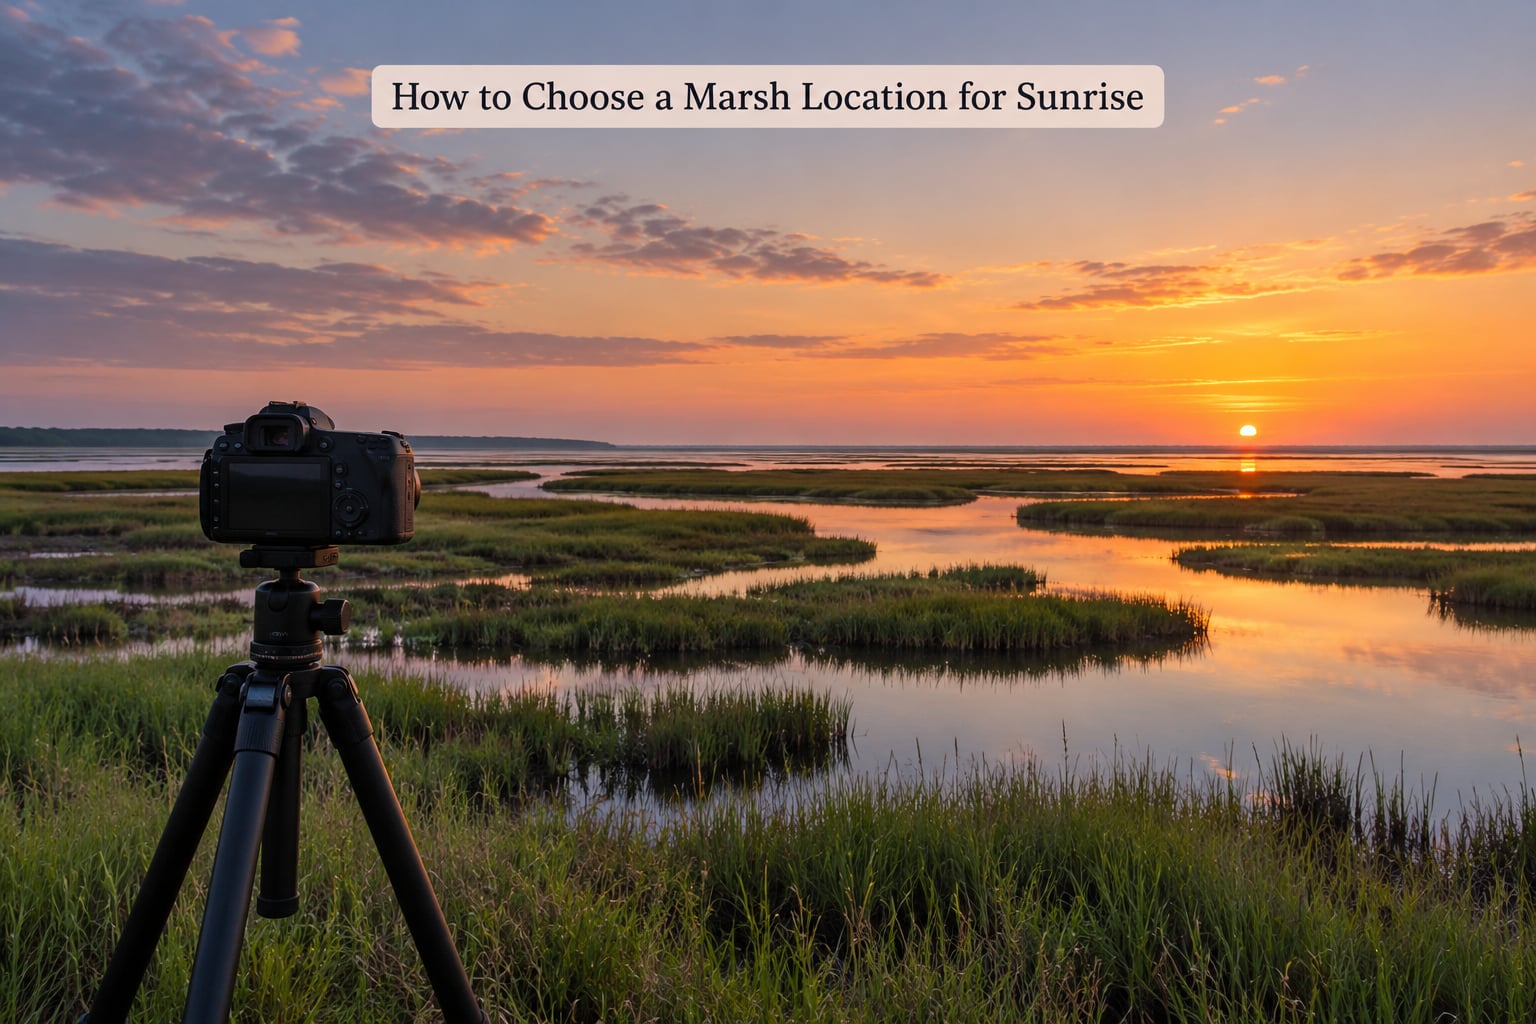
Pick a spot with an open eastern horizon, standing water or a tidal channel, and something in the near foreground with texture. Those three things together are what separate a marsh frame from a wide shot of a field.
The eastern horizon matters because the sun rises behind your back, lighting the marsh rather than silhouetting it. Point the other way and you get a sky gradient and black reeds. North and south facing shores still make good pictures, but the light is flat and the colours last about ten minutes instead of thirty.
Water is the second requirement, and tide decides how much of it you get. At low tide, channels drain into mudflats and you see the S-shaped creek pattern from above. At mid or high tide, water fills the channels and you get reflections. Check the tide table for the actual site, not a nearby town, because tidal range varies enormously over short distances.
Foreground texture is the third. Reeds, standing dead trees, oyster shell, driftwood, boardwalk planks and mud ripples all give a near element for the eye to land on and for the light to catch as a rim.
Then check access. Boardwalk and gate hours decide whether you can legally be standing there at 5:20am, and many sites close the access road at a fixed hour regardless of the sunrise time. Arrive blocked once and you will plan around it forever. Do not plan on leaving the boardwalk, either: in most marsh reserves it is a legal requirement rather than a preference.
How to Arrive and Prepare Before First Light
Arrive 45 to 60 minutes before the listed sunrise, in the dark, and let the marsh tell you where the frame is. Blue hour is not dead time; it is the only window where you can walk, set up, and compose without a single other person on the boardwalk.
Before you unpack anything, walk the site once. Find the direction of the main channel, note where the water is still, and check whether a stand of reeds or a dead tree will block the sunrise. If the site is unfamiliar and the light is not doing yet, this is a good moment to scout the composition with a phone.
Then set up quietly. Sit down to assemble the tripod rather than crouching on one knee, because a cold body holds still and a cramped one shakes. Keep the lens capped until you are composing, and point the front element away from any wind coming off the water. Salt haze and spray will find a front element fast, and a smudged wide-angle is worse than a slightly soft one.
Keep the marsh itself undisturbed while you do all this. Walk the boardwalk rather than cutting across the vegetation, keep your voice low, and give any bird you approach a wide berth. Resting wading birds need to be feeding when the sun is up; if they are still hiding, something already scared them.
How to Compose a Sunrise Marsh Photograph
A strong marsh frame uses the channel as a line and the water as a second horizon. Decide those two things first and the rest falls into place.
For the wide view, put the horizon on the upper third if the water is interesting, or dead centre if you are going for a symmetrical reflection. Centring the horizon is usually wrong for a marsh and right for open still water, and the difference is whether the reflection carries as much information as the sky. Reeds reflected in a calm channel are not a copy of the reeds; they are softer, darker, and often the better half of the image.
Use the channel itself as a leading line. Get low, sometimes down to 20 centimetres above the water, and let the creek run from the bottom corner toward the sunrise. From standing height the creek reads as a thin grey stripe; from kneeling it becomes a road.
Elevation works the other way too. A photographer on the Nature Photographers Network forum described mounting a tripod head on top of a ten-foot ladder so the camera could see back up the channels, which is a real technique on flooded timber where there is nowhere to stand. The safe version is a raised tripod head or a step stool on firm boardwalk, never a ladder on soft ground.
Leave room in the direction the light is coming from. A heron landing in an empty third of the frame is the frame most people miss because they filled the space where the sun would rise. Negative space is not wasted space when a bird chooses it two minutes later.
How to Set Camera Settings for Changing Light
Shoot manual, at ISO 100, f/8 to f/11, and a shutter speed between half a second and two seconds on a tripod. That is your wide-view starting point, and you will adjust from it rather than guess from scratch each time.
The light changes faster than most people expect, so treat the session in three phases:
- Blue hour, roughly 20-30 minutes before sunrise. ISO 100, f/8, 1/2s to 2s. Nothing is moving, so the shutter speed is limited only by wind in the reeds. Turn off autofocus and focus manually at one third into the scene.
- First light, when the horizon brightens and colour appears. ISO 100, f/8 to f/11, 1s. Check the histogram for highlight clipping on the brightest part of the sky. If the warning blinks, drop exposure compensation in steps of one third of a stop until it stops.
- Direct sun above the horizon. ISO 100, f/11, 1/2s to 1s. Diffuse light needs more aperture; direct light and haze need it again. Stop down to keep the sky under control.
Set exposure compensation between -0.3 and -1.3 EV as a starting point. Cameras over-brighten sunrise consistently, and a dark frame that still holds detail is far easier to fix than a white one. Then bracket: two or three frames one stop apart, on a two-second timer or remote release.
Bracket everything within a few minutes of the sun clearing the horizon, and always with a fixed white balance. Auto white balance shifts frame to frame in the first few minutes of dawn, which makes blending impossible. Pick a cloud or a shade of grey card, set it manually, and leave it alone.
For the telephoto, the settings are unrelated to the wide view. A wading bird at first light needs f/5.6 to f/8, 1/1000s or faster, Auto ISO pushed high, and continuous autofocus with animal eye detection if your body has it. Herons stalk slowly, then strike, and a 1/250s will hand you a blur half the time.
If you are shooting on a phone only, tap the sky to set exposure, lock it with a long press so it stops hunting, shoot RAW or the largest JPEG format your model offers, and hold the phone against the boardwalk rail or a bag for support. Bracket by taking the shot, stepping down exposure one notch, and shooting again. Most phones will hold a bright sky and a dark marsh in a single frame; expect noise in the reeds.
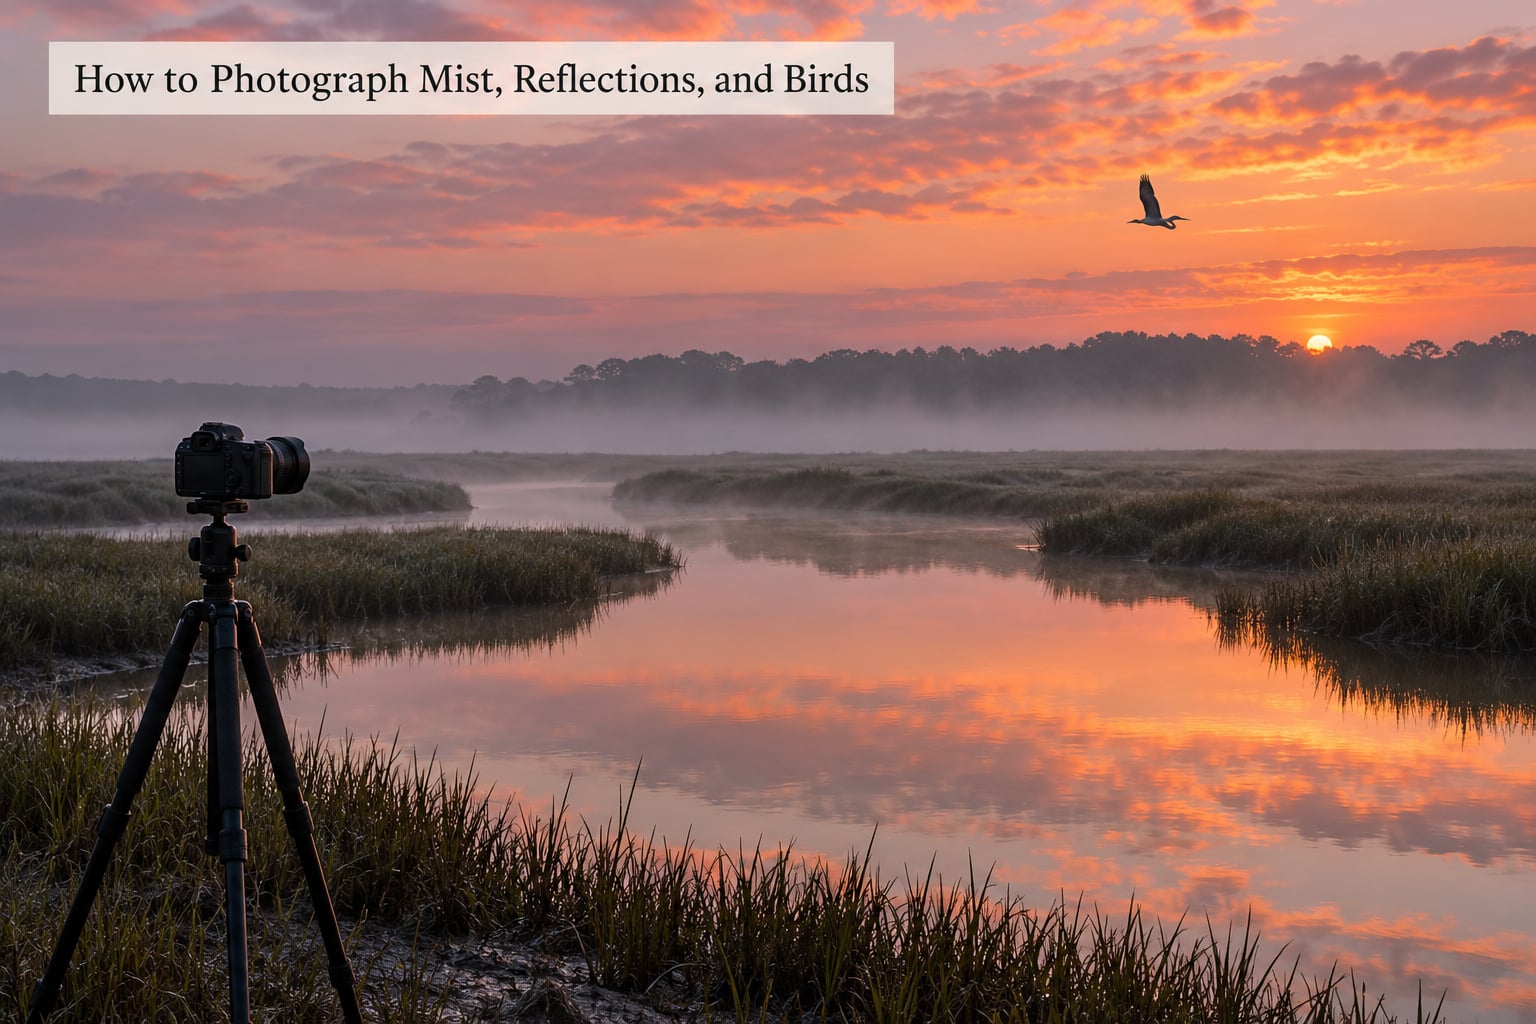
How to Photograph Mist, Reflections, and Birds
Mist is the reason most marsh sunrise images exist, and the mistake is treating it as a problem to be corrected. Expose for it, not against it.
A polarizer cuts glare from the water and darkens the sky, which is exactly what you do not want at dawn when the sky is the light source. It also removes about two stops, which forces you onto a slower shutter and a higher ISO. Use one for a backlit sparkle effect on wet grass, not for a foggy horizon.
To get a mirror rather than a texture, lengthen the shutter. Between half a second and two seconds, wind ripples average out and the channel starts behaving like glass. Beyond a few seconds, reeds and a rising bird start to smear, so work out the limit before the light peaks. A graduated ND filter is the clean way to buy that extra time without touching ISO.
For birds, work the long lens from a low position and never chase. A bird that lifts off a channel is carrying motion and a silhouette at once, and it looks good against the bright band of sky just above the horizon. Set the shutter fast enough, pan with the bird rather than jerking the lens, and stop shooting once the bird has settled. Sitting still for ten minutes usually produces more birds than walking the boardwalk twice.
Keep your distance. A heron needs a clear escape route to water and a safe place to nest, and a flushed bird loses feeding time it cannot get back that morning. If a bird shifts away from you, you are already too close, and no photograph is worth that.
Common Mistakes
Almost every disappointing attempt to photograph a sunrise over a marsh traces back to one of a handful of field errors, and all of them are fixable in the moment.
- Arriving at or after first light. You arrive at 6:05 for a 6:02 sunrise and the fog has burned off, the boardwalk is full, and the low light is gone. Fix: subtract 60 minutes from the listed sunrise, then 15 more for parking, gear and the walk.
- Letting the meter read the bright sky. The result is a glowing sky over mud-black reeds. Fix: turn on the highlight warning and dial in -0.7 EV as a starting point, then adjust from what the histogram says.
- Using autofocus before you compose. Continuous AF hunts in fog and across dark water and then locks onto the nearest reed. Fix: switch to manual, focus once at one third into the scene, and only go back to AF when you have the long lens on a bird.
- Clipping the sun. Direct sun at low angle is brighter than any sensor. Fix: bracket for the highlight and blend in post, or exclude the sun with reeds and let the brightest edge sit just below clipping.
- Touching the tripod while shooting. One hand on a leg ruins the frame. Fix: two-second timer or remote release, and check the frame at 100 percent before you trust it.
- Over-blending the bracket. A heavily blended sunrise looks grey and flat, which is the single most common complaint about HDR sunrise work. Fix: blend two frames at most, or use a graduated adjustment that leaves the foreground natural.
- Ignoring the tide and the rules. Rising water can cut the route back to a ramp you walked in on at low tide, and boardwalks close to nesting birds in spring. Fix: check the tide table for the return trip, not just the shoot, and read the site rules on the sign before you start walking.
Frequently Asked Questions
What camera settings are best for a marsh sunrise?
Start in manual at ISO 100, f/8 to f/11 and a shutter speed between half a second and two seconds on a tripod with a 24-70mm lens. That covers blue hour through first light. Add -0.7 exposure compensation as a starting point, watch the histogram for highlight clipping, and bracket two or three frames as the sun clears the horizon. Set white balance manually so the blend works.
Do I need a tripod to photograph a sunrise over a marsh?
For the wide view, yes. Pre-dawn light means slow shutter speeds, and at half a second or longer you need a tripod to keep reeds sharp. Pair it with a two-second timer or remote release, because touching the camera still moves it. If you are shooting birds with a long lens, the tripod is optional but a beanbag or monopod helps at 1/1000s. On a phone, a boardwalk rail does the job.
How do tide and fog change the plan for a marsh sunrise?
Tide decides what you can see. Low water exposes mudflats and the S-shaped channel pattern; mid or high water fills the channels and gives you reflections. Fog changes the whole morning: a low fog bank that lifts as the sun rises is the best light you will get, while a bank that never lifts means soft, low-contrast frames and a quick exit. Always check the tide for your return walk, because rising water can cut a route off.
How close can I get to marsh birds while they are feeding at dawn?
Far enough that they keep feeding. Wading birds have already burned energy overnight, and if they stop feeding, watch you, walk away or change course, you are too close. Stay on the boardwalk, move slowly, and use a 200mm or longer lens rather than closing distance. Many reserves also close boardwalk sections during nesting season, so read the signs on site before you set up.
Conclusion
Here is the order of operations, starting tonight. Pick a site with an open eastern horizon and standing water, then check the tide table and the gate hours for the exact sunrise time. Set the alarm for 60 minutes before first light minus your walk, and pack the wide lens, the long lens, a tripod and a timer. On site, stay on the boardwalk, dial in -0.7 EV at ISO 100 and f/8, and work from blue hour through first light without moving until the sun is above the horizon. That sequence, repeated a few times, is what turns a marsh sunrise from a memory into a set of frames you keep.