Soft handheld wildlife photos come down to movement at the instant the shutter opens — your own camera shake, the animal’s motion, or a focus point that missed. Learning how to get sharper wildlife photos handheld starts with working out which of those three is ruining the frame, then fixing that one thing instead of raising your ISO.
The encouraging part is that most soft shots are a technique problem, not a gear problem. A 400mm lens braced properly at 1/1000 second will beat an expensive lens waved around at 1/125 second, every time of day. Here is what you need and the seven steps that follow.
Table of Contents
- What You Need
- A camera body that tracks
- A telephoto lens you can actually hold
- Stabilization that works with your stance
- Free support gear
- Step-by-Step: How to Get Sharper Wildlife Photos Handheld
- 1. Stabilize Your Body and Camera
- 2. Use the Right Shutter Speed for Sharper Wildlife Photos Handheld
- 3. Focus on the Eye or Head
- 4. Keep ISO and Aperture Balanced
- 5. Track the Animal Smoothly
- 6. Shoot a Short Burst
- 7. Review and Adjust in the Field
- Common Mistakes That Ruin Handheld Sharpness
- Frequently Asked Questions
- What shutter speed do I need for sharp handheld wildlife photos?
- Should image stabilization be on or off for wildlife?
- Which autofocus mode is best for bird photography?
- What lens gives the sharpest handheld wildlife photos?
- Are handheld wildlife photos as sharp as tripod shots?
What You Need
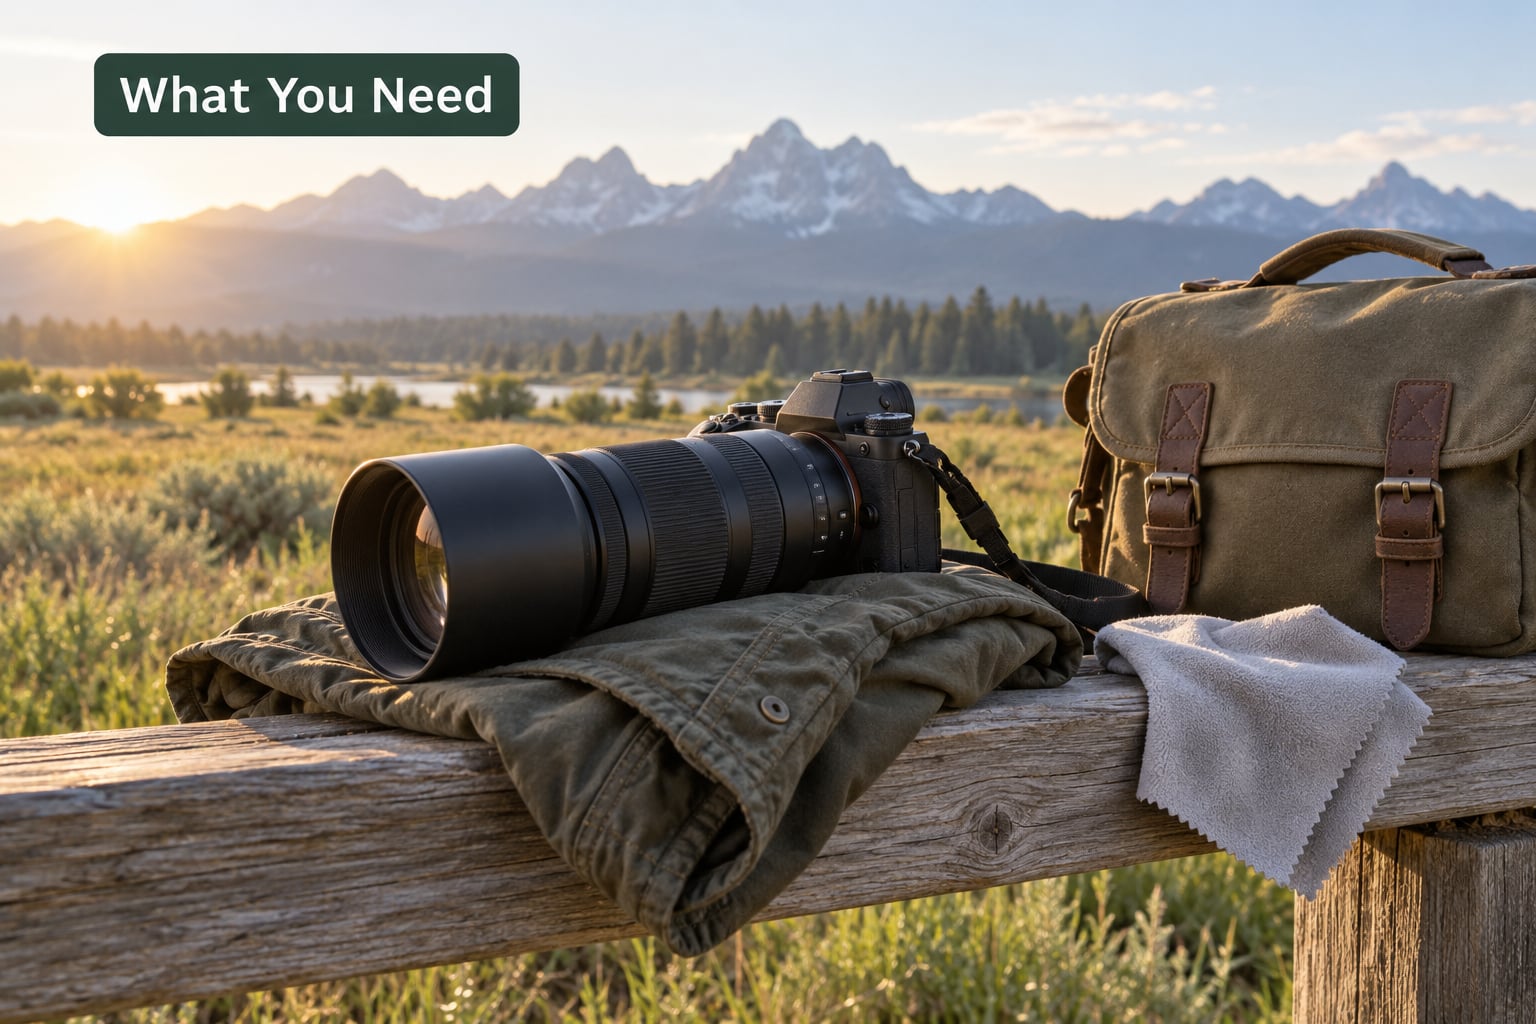
None of this has to be expensive. It has to match the animal.
A camera body that tracks
For handheld wildlife you want continuous autofocus (AF-C on Nikon and Sony, AI Servo on Canon), subject-recognition modes that lock onto an animal’s eye, and a viewfinder with a fast refresh rate. The refresh rate matters more than people expect. A slow electronic viewfinder lags your view of the bird, and a fast one makes panning feel like the camera is glued to your eye.
Burst speed matters too, because step six depends on it. Modern 2026 bodies give you twenty or more frames a second and deep buffers, which is how you keep one sharp frame out of a short burst.
A telephoto lens you can actually hold
Longer glass magnifies both the bird and your own hand movement. A 400mm lens on an APS-C body gives you the framing of a 600mm lens on full frame, because the sensor is smaller and the field of view is narrower. That extra reach is wonderful and it is exactly why a 400mm handheld is hard.
Do not count on a 1.4x or 2x teleconverter to rescue a shaky shot. Extenders cost you two or more stops of light and, past 1.4x, sharpness, so you end up raising ISO even further to compensate.
Stabilization that works with your stance
Lens-based IS, VR or OSS plus in-body stabilization buys you real stops of shake reduction, and it is the single most useful feature to look for if you never use a tripod. It does not rescue a slow shutter speed on a running animal, and it cannot correct your own breathing. Section three covers when to switch it on and when to turn it off.
Free support gear
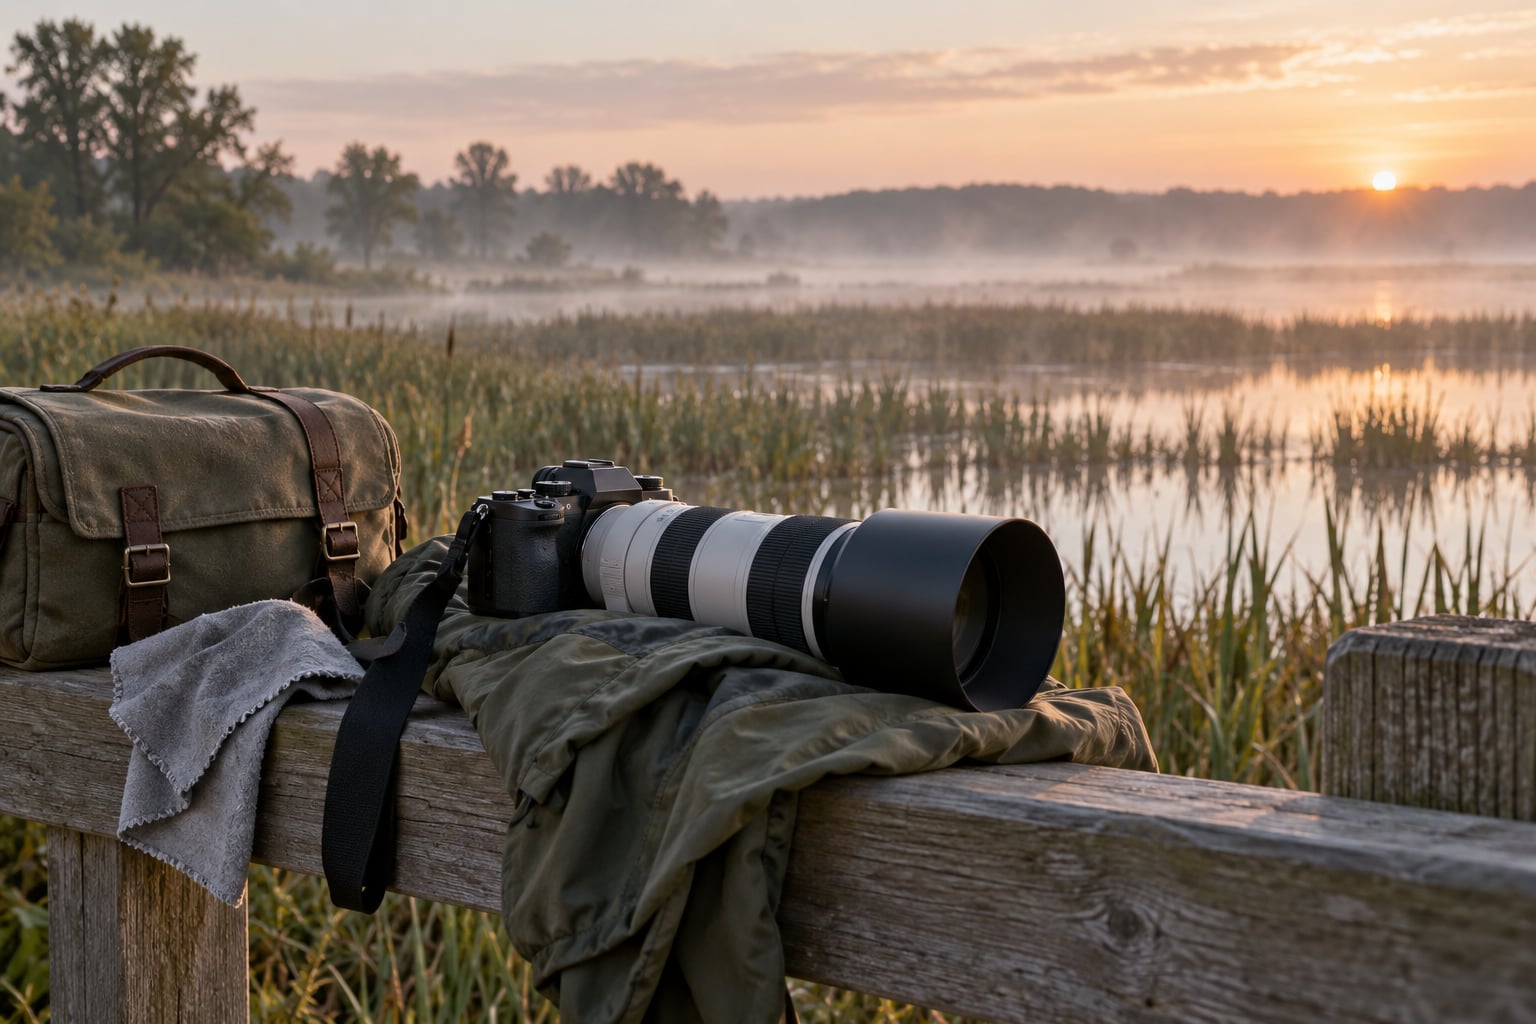
A folded jacket or a filled bean bag is a camera rest, and it costs nothing. A kneeling pad keeps your knees out of the mud when you shoot low, a spare battery matters because tracking drains power faster than any other mode, and a microfibre cloth stops an unnoticed smear on the front element from costing you an afternoon of soft frames.
Step-by-Step: How to Get Sharper Wildlife Photos Handheld
1. Stabilize Your Body and Camera
Stand with your feet slightly wider than your shoulders and weight even across both, then tuck your elbows in tight against your ribs. Loose elbows swing, and swinging is what kills long lenses. Press your eye to the viewfinder rather than holding the camera out at arm’s length, and rest your non-shooting hand under the lens barrel so the weight sits on your palm, not your fingers.
Breathe out, then hold. Do not take a full breath and strain — strain makes your hands shake harder. A relaxed exhale at the end of the release often produces the sharpest frame in the sequence.
Bracing beats gripping. Lean your back or your shoulder against a tree, a fence post, a truck bed or a building wall. Sit, kneel or lie flat when the subject is low or you are shooting ducks. When there is nothing to lean on, stack your elbows on your knees or lay the lens on a jacket over your thigh.
How to tell it worked: shoot ten frames of a stationary object at the same long focal length and check them at full size. If six or more are sharp, your support is solid. If you are getting two out of ten, fix your position before you touch any settings.
2. Use the Right Shutter Speed for Sharper Wildlife Photos Handheld
The classic rule of thumb is to keep the shutter speed at least as fast as the reciprocal of your focal length. A 400mm lens wants 1/400 second or faster, and that number assumes the animal is standing still. Wildlife rarely is, so treat the reciprocal as your floor for perched subjects and ignore it entirely for anything moving.
Set the shutter speed first, then the aperture, then let ISO fill the rest. Most people do this backwards, which is how they end up at 1/125 second wondering why the frame is soft.
Is 1/60 second too slow for handheld? Yes, at any real wildlife focal length. It might be usable with a wide lens and excellent technique at close range, but a 600mm at 1/60 second handheld is a coin flip at best.
| Subject | Starting shutter speed | Notes |
|---|---|---|
| Perched or feeding bird | 1/500 to 1/1000 sec | Head may still turn quickly |
| Bird in flight | 1/2000 to 1/4000 sec | Wing beats need the top end |
| Deer or similar mammal at range | 1/1000 to 1/2000 sec | Falling head turns are fast |
| Large mammals up close | 1/500 sec | Watch for running |
| Insect macro | 1/250 sec or faster | Depth of field is tiny anyway |
| Dawn or dusk low light | 1/400 sec minimum | Brace hard and raise ISO |
How to tell it worked: look for streaks in the feathers or fur. If edges smear in the direction of travel, you are below the speed the subject needs. Zoom to 100% and check a wingtip or a leg, not the middle of the body.
3. Focus on the Eye or Head
Put your autofocus point on the eye, or use animal eye detection when your camera has it, and leave it in continuous mode so it keeps adjusting as the animal moves. One AF point you control is often better than a wide automatic cluster, which tends to wander onto a branch behind the bird.
Back-button focus is the cleanest way to separate focusing from shooting: your index finger holds focus down and your thumb releases the shutter. Once it is muscle memory it stops you from reframing onto the background without thinking.
For a perched bird, focus and recompose is fine. For anything walking or flying, keep the AF point on the animal rather than locking focus and panning around. If you prefer to pre-focus on a flight path, pick the spot where the bird will be at frame size and focus on that plane, then release the moment it arrives.
How to tell it worked: at 100% zoom, if the background is sharp and the animal is soft, autofocus missed. That is a focus problem, not a shake problem, and no shutter speed change will fix it.
4. Keep ISO and Aperture Balanced
Open the aperture as far as the light and the subject allow, then raise ISO until the shutter speed you need is available. A noisy sharp frame is worth far more than a clean soft one, and almost every wildlife photographer I know keeps a card of the latter as proof of a bad day.
For birds you often want a wide aperture anyway, because a shallow depth of field separates the animal from a messy background and gives you less depth to cover. Large mammals at range need the opposite: f/8 to f/11 keeps a whole animal in focus across its body. Pick that aperture, then set ISO to hit the shutter speed.
Auto ISO with a sensible ceiling, around ISO 6400 to 12800 on a modern body, saves a lot of fiddling in changing light. Set your own ceiling rather than letting it climb to a number you would never have chosen.
How to tell it worked: if the frame is bright but flat and lifeless, you have over-shot the ISO and can use noise reduction in editing. If it is dark and soft, ISO was set too low to protect a shutter speed you did not need.
5. Track the Animal Smoothly
Follow the subject with your whole body rather than your arms. Turn from the hips, keep the lens close to your chest as you move, and raise it to eye level only once the animal is in position. Chasing a bird with the camera alone is what creates the long smear down the frame.
Pan horizontally with a bird in level flight and keep moving after it stops, because stopping your pan at the exact moment of the exposure throws away the blur you had already smoothed out. Try the opposite when the bird crosses textured background: pan so the background smears and the subject stays put, using a slower speed such as 1/40 to 1/125 second with manual focus on the flight plane. You are accepting deliberate background blur in exchange for keeping the bird clean.
How to tell it worked: in a pan, sharp streaks running sideways across the whole frame mean you were too slow or you stopped tracking. A single sharp subject over a blurred background means the pan worked.
6. Shoot a Short Burst
Burst mode turns one guess into several chances, which matters most when the animal is turning its head or taking off. Three to five frames at high speed catches the moment; hold the button down for thirty and you get one good shot, two memory card warnings, and a slower camera.
Leave a little room in the buffer. If the buffer fills mid-burst, the viewfinder can stall and you lose frames exactly when the bird is doing something worth keeping.
Newer bodies with pre-capture buffers record frames before you press the shutter, which turns a bird that launches a fraction of a second early from a loss into a keeper. If your camera has it, set it up before you go.
How to tell it worked: open the best sequence at full size. If the first and last frames are soft but the middle ones are sharp, the burst was too long or your tracking arrived late.
7. Review and Adjust in the Field
This is the step most people skip, and it is where the whole method clicks. Zoom to 100% on a shot you thought was fine and decide which of three problems you have.
- Whole frame soft in one direction — camera shake. Fix your bracing or raise the shutter speed.
- Background sharp, animal soft — missed focus. Change AF point placement or mode.
- Subject streaked, background sharp — subject motion. Raise the shutter speed.
Change one setting at a time and shoot ten more frames before judging. Two changes at once and you learn nothing. Note the settings on the frame that worked in your phone, and next session start there.
Last resort for a slightly soft file: shoot RAW, apply noise reduction first, then sharpen in editing. Heavy noise reduction eats fine detail like feather barbs, so doing it in the wrong order costs you more than it saves.
Common Mistakes That Ruin Handheld Sharpness
Letting the camera choose the shutter speed. Auto or shutter-priority mode drifts toward slower speeds as the light fades, and the last frames of a session are the softest. Switch to manual exposure and set shutter, aperture and ISO yourself.
Holding the camera one-handed or at arm’s length. A long lens at arm’s length is a cantilever, and your arm shakes far more than your skeleton does. Tuck your elbows in and use both hands.
Standing square to the subject with your weight on one foot. A narrow, lopsided stance turns your own heartbeat into camera movement. Feet wider than shoulders, weight even, and if you can lean on something, do it.
Treating image stabilization as a licence to go slow. IS corrects for your movement at the moment of exposure. It cannot freeze a flying bird, and on some older bodies switching modes hunting introduces a delay that makes tracking worse. Leave it on for static subjects and slow shutter speeds, turn it off or set panning mode when tracking fast birds.
Focusing on whatever is in the middle of the frame. The centre of the frame is often a branch or a gap. Move the AF point to the animal, or use subject tracking to keep it there.
Fighting high ISO to protect an unrealistic shutter speed. Refusing to go past ISO 3200 in fading light is how you get a soft frame you could have sharpened later. Noise is fixable in a raw file; motion blur is not.
Frequently Asked Questions
What shutter speed do I need for sharp handheld wildlife photos?
Use the reciprocal of your focal length as the floor for a stationary subject, then go faster for anything moving. A 400mm lens sits at 1/400 second as a minimum, but perched birds want 1/500 to 1/1000 second, birds in flight need 1/2000 to 1/4000 second, and mammals at range want 1/1000 to 1/2000 second. Set the shutter speed first and raise ISO until you get it.
Should image stabilization be on or off for wildlife?
Leave IS, VR, OSS or IBIS on for perched subjects and slow shutter speeds, where it buys you several stops of shake reduction. Above roughly 1/1000 second it adds little, and some camera bodies introduce a brief delay while the system switches modes that makes tracking birds worse. If you pan deliberately, switch to the panning mode so the system stabilises horizontally only.
Which autofocus mode is best for bird photography?
Continuous autofocus is the right default: AF-C on Nikon, Sony and Fujifilm, AI Servo on Canon. Add animal eye detection if your camera has it, and prefer a single AF point you control over a wide automatic cluster, which tends to grab the background. Back-button focus keeps focusing on your index finger and releasing the shutter on your thumb.
What lens gives the sharpest handheld wildlife photos?
The sharpest handheld results come from a lens that is light enough to hold steady and fast enough to let you reach the shutter speed you need, rather than the longest lens you can carry. A 200mm or 300mm is far easier to hold sharp than a 600mm and works well on birds within roughly 30 metres. Stabilized glass helps most at long focal lengths and in fading light.
Are handheld wildlife photos as sharp as tripod shots?
For a perched animal, handheld at a fast shutter speed with good bracing matches a tripod and saves you the weight in the field. For a bird in flight, a tripod does not help you pan any better, so your own technique and shutter speed decide the outcome. A tripod earns its place for distant static subjects, macro work and low light, but none of the steps here depend on carrying one.
Start tomorrow with one change: pick a subject, brace properly, and set the shutter speed high enough to freeze it before you touch anything else. Once you know which of the three causes is ruining your frames, the fix takes about ten seconds per shot instead of a whole afternoon of guesswork.