Learning how to go on a night hike safely comes down to a handful of habits: pick a trail you have walked in daylight, start 30 to 60 minutes before sunset, carry two light sources plus spare batteries, tell someone your route and return time, and set a turnaround time you actually keep. Most night-hike mishaps are not dramatic. They are a swollen creek, a headlamp that dies, or a group that spreads out too far on a descent.
That is the good news. Nothing here is technical or expensive. If you can hike a familiar trail confidently in daylight, you can do it after dark with the preparation below. Allow 45 minutes of planning the day before and another 20 minutes at the trailhead, and expect the first 20 minutes after true dark to feel strange before your eyes settle.
For readers who are more interested in the daytime side of the same trails, our trails and destinations guides cover routes, access points and seasonal conditions in more detail.
Table of Contents
- What You Need
- Step-by-Step
- How to Plan the Route and Check Conditions
- How to Tell Someone Where You Are Going
- How to Dress and Pack for Changing Conditions
- How to Use a Headlamp Without Losing Your Way
- How to Stay Aware of Wildlife and Other Trail Users
- How to Handle an Emergency or Unexpected Change
- How to Return Safely and Close the Trip
- Common Mistakes
- Frequently Asked Questions
- Is night hiking dangerous for beginners?
- What time should you start a night hike?
- Do you need a headlamp to hike at night?
- Should you hike alone at night?
- Are trails open at night?
- What do you do if you get lost hiking at night?
- Final Safety Checklist
What You Need
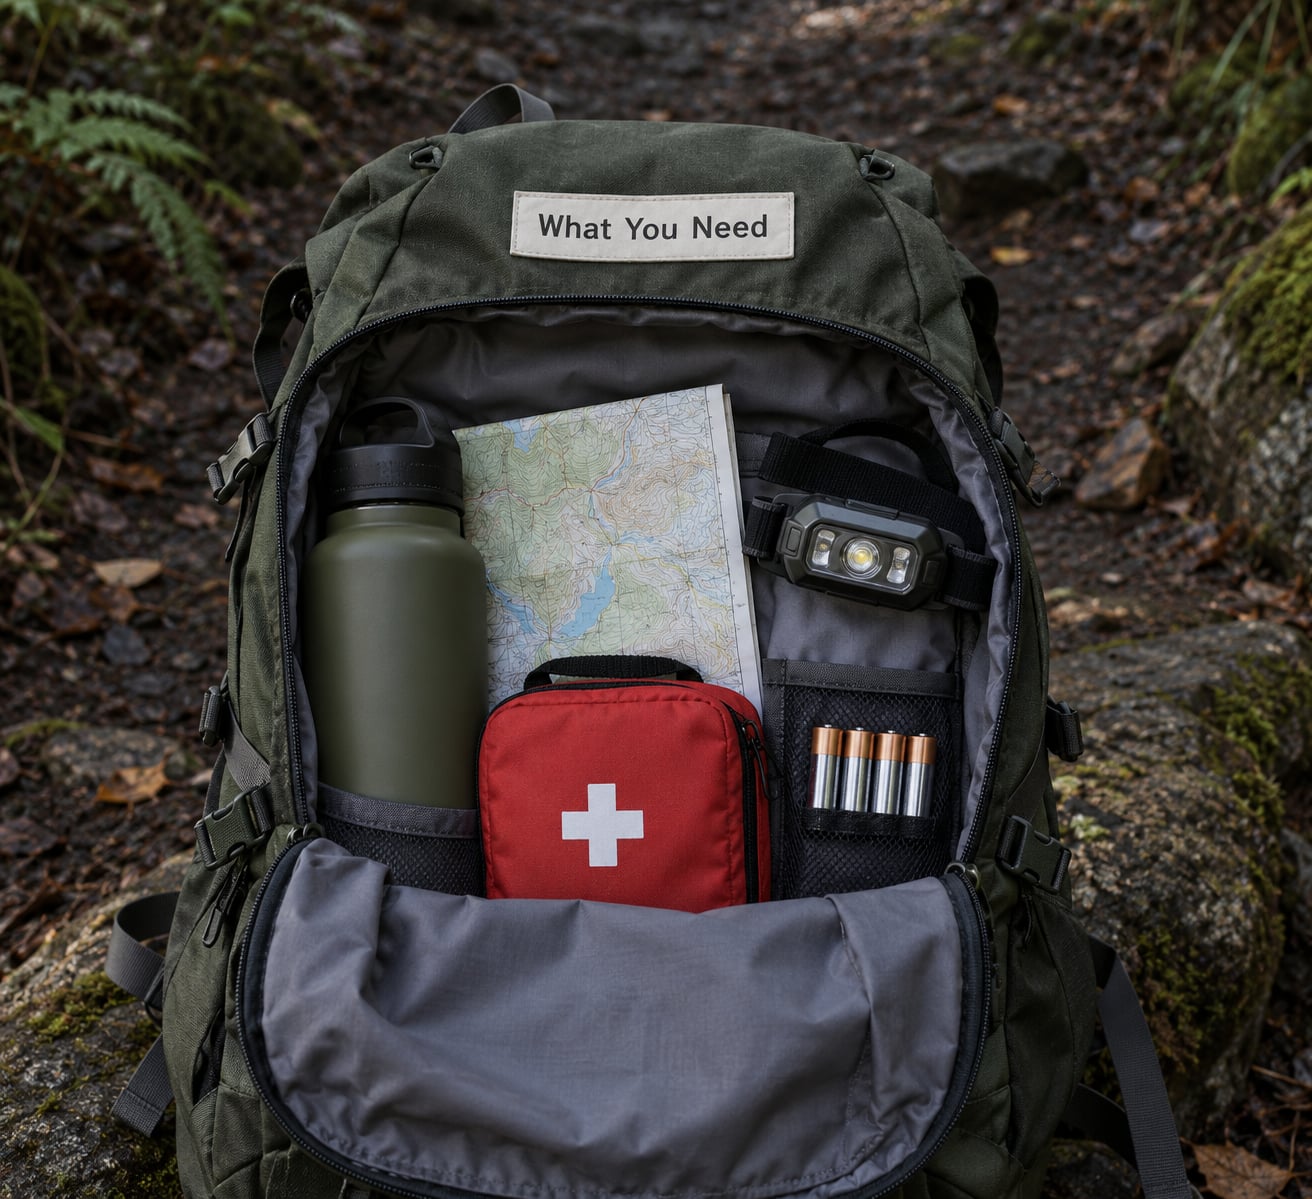
Pack for the walk you expect, then add the walk that could happen. Here is the kit list I check before every night hike, with the reason each item earns its weight.
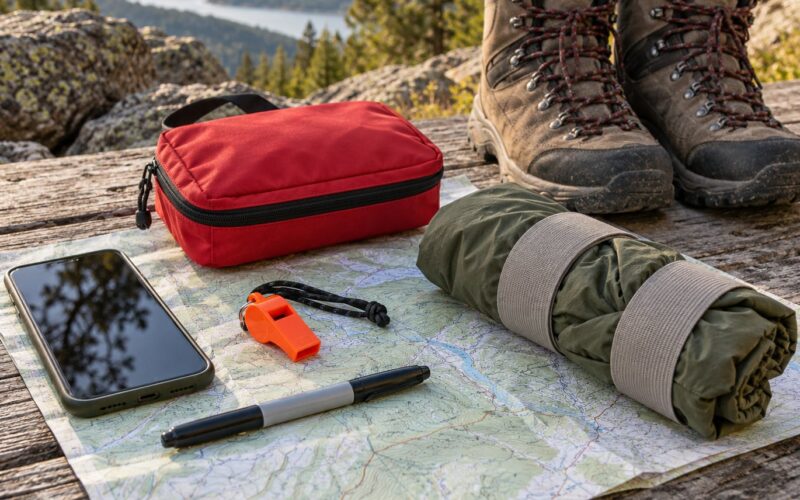
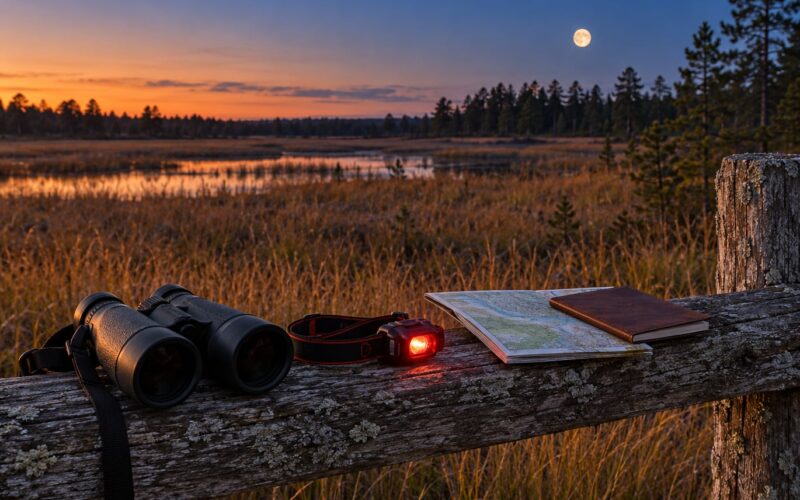
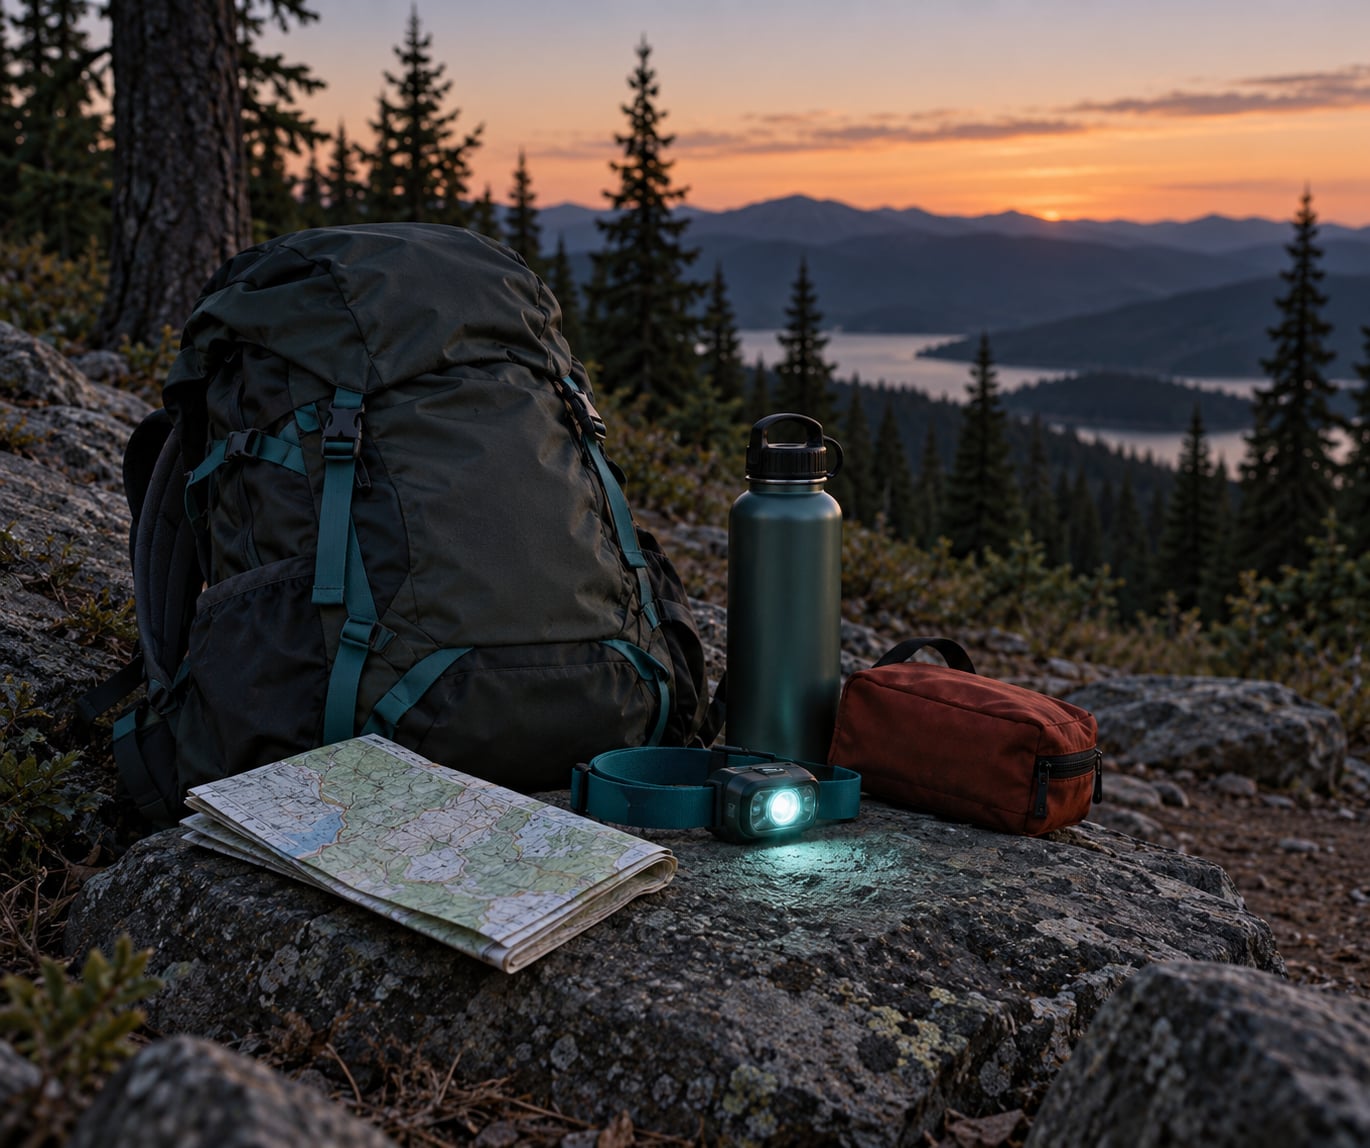
- Headlamp with red light mode. A hands-free light keeps both hands free for balance on rocks. Red mode is useful for reading a map or checking a phone screen without blowing out your night vision.
- Backup flashlight or hand lantern. This is not optional duplication. Hikers on wilderness forums repeat the same advice: carry two independent light sources, because a headlamp can fail, get soaked, or lose a battery contact with no warning.
- Spare batteries plus a power bank. Cold drains battery life faster than most people expect. Fresh alkaline cells beat a dead lithium pack.
- Map and compass, and a phone with the route downloaded. Cell service is unreliable or absent on many trails after dark, so do not count on signal for navigation or for calling for help.
- Whistle clipped to a shoulder strap. It carries much further than your voice and does not need a battery. Three blasts is a distress signal.
- First aid kit and an emergency blanket. Falls on uneven ground are common in the dark, and stopping moving is cold even in mild weather.
- Water and a high-energy snack. Cold suppresses thirst, so drink on a schedule rather than when you feel like it.
- Warm layer, waterproof shell, and a spare dry layer in the pack. Temperature usually drops after sunset, and a wind layer or rain shell does nothing if it is in the car.
- Trekking poles. On the way down they save your knees, and hikers use them to make noise when they want wildlife to know they are there.
- Reflective element on your pack or jacket. This matters most on shared trails with cyclists and other hikers using bright white light.
If you are hiking somewhere with no cell coverage and no reliable road access, add a personal locator beacon or satellite messenger. They only help if someone has subscribed or registered the device ahead of time.
Step-by-Step
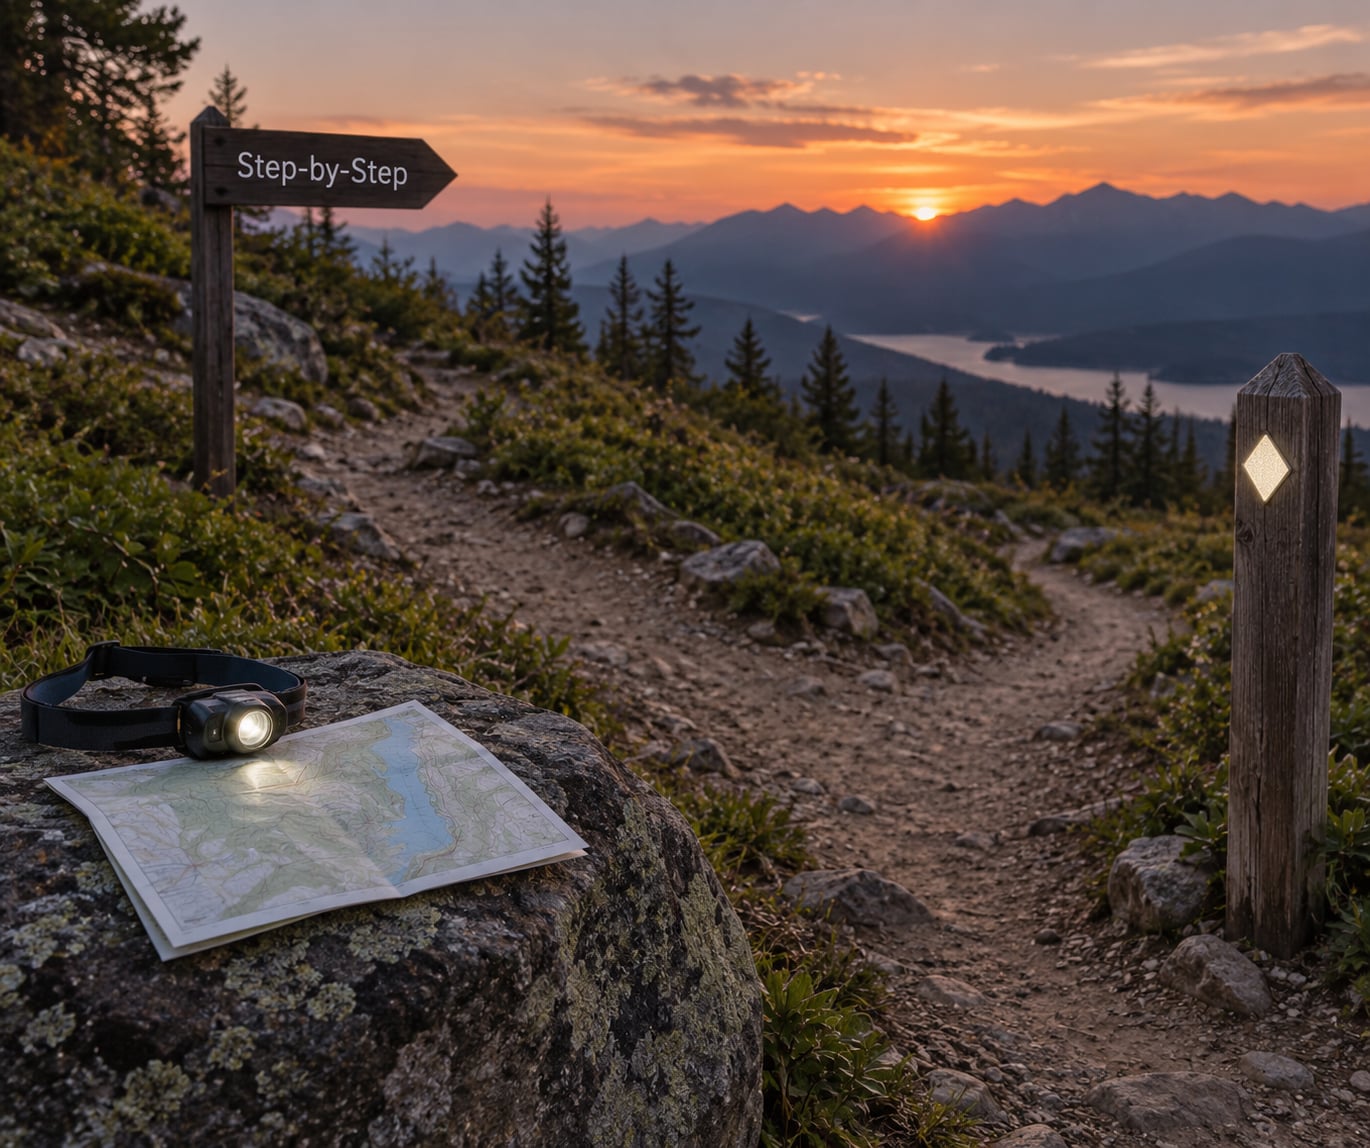
Each step below has a simple test: a way to confirm it worked before you go any further.
How to Plan the Route and Check Conditions
Choose a short out-and-back or a loop you have already walked at least twice in daylight. Familiarity matters more than distance, because a trail that looks completely different under a headlamp is the single most common reason people feel lost on a route they know.
Then run the go or no-go checks before you leave home:
- Do I know this trail well enough to describe the junctions from memory?
- Will the trailhead and gate still be open when I return? Many gates lock at sunset or a set hour in the evening.
- What is the sunset time, the moonrise time, and the forecast for the hours after dark?
- Is there any chance of rain, fog, snow, or strong wind that would make footing or visibility worse?
- Can I be back at the car by a specific time that I set now, not later?
If you cannot answer the gate question, park access can end your night before it starts. Check the land manager’s website or call ahead.
How to confirm it worked: you can state your route, your turnaround time, and the plan for a late return without opening a map.
How to Tell Someone Where You Are Going
Someone at home should hold a plan that is specific enough to hand to a ranger. Give them the trailhead name and parking area, the route name or number, the vehicle description and plate, your expected return time, and when to start worrying.
Decide the worry threshold in advance. Two hours past your expected return is a reasonable trigger for a call to the land manager or emergency services, and saying that number out loud removes the awkwardness of deciding later.
How to confirm it worked: that person can repeat back your route and your return time without reading it off your phone.
How to Dress and Pack for Changing Conditions
Dress in three light layers so you can add or shed one piece instead of opening everything up. A moisture-wicking base layer, a thin insulating mid layer, and a windproof waterproof shell cover most conditions you will meet on a night hike.
Take a spare dry layer and socks in the pack, not the car. Wet feet after dark drive real trouble: your body chills faster, you slow down, and the trail that felt easy an hour ago starts feeling technical.
Adjust for the season and the insects. Summer nights mean a head net, repellent, and extra water. Fall and winter nights mean more insulation, gloves you can operate your light with, and poles if the ground is damp.
How to confirm it worked: you can walk for 20 minutes in your boots without a hot spot forming, which is the honest test of footwear before dark.
How to Use a Headlamp Without Losing Your Way
Your eyes need roughly 45 minutes to adjust fully to darkness, and a single second of bright white light resets much of that adaptation. That is why experienced night hikers use two brightness settings instead of one blazing beam.
Use the high setting for navigation moments: reading a junction sign, checking a map, crossing a road, or climbing a scramble. Use the low setting for everything in between, including the whole descent. On an ungraded path the low beam actually shows you more, because it stops you from being blinded by reflections off wet rock and leaves your peripheral vision working.
Some hikers reading about night-hiking gear obsess over lumens and beam distance. Beam throw matters on open trails; a wide flood matters in trees. Brightness without a red mode and a simple-to-operate interface is a worse tool than a moderate light you know how to use with gloves on.
How to confirm it worked: you switched to the backup light mid-hike, found it in the dark without fumbling, and switched back without losing your place.
How to Stay Aware of Wildlife and Other Trail Users
Most wildlife encounters after dark are noise, not contact. Make yourself audible on blind corners and through dense brush: talk, tap trekking poles together, or let your group call out as you pass.
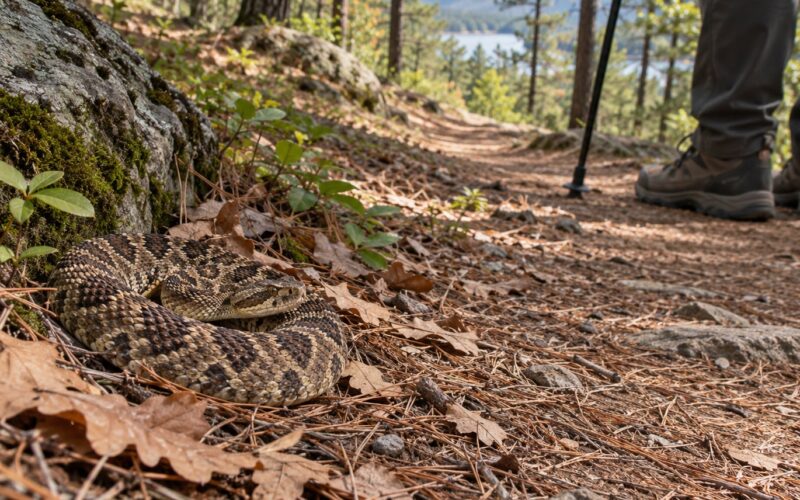
Where bears are a factor, follow local guidance and carry bear spray if it is legal and you know how to use it. Make noise where you cannot see, and give any animal a wide berth without running. Snakes and reptiles along warm rock faces are a genuine hazard in some regions, so keep your hands off ledges you cannot see.
Share the trail. Step to the downhill side to pass other hikers, warn blind corners at a bend or a drop, and never shine your beam into someone’s face at close range. For passing cyclists or fast trail runners, step fully off the trail and point your light down so their vision is not ruined. On trail threads, say hello. A greeting is not small talk; it is how people confirm that the dark figure ahead is a person.
How to confirm it worked: you passed at least one other person or group without either of you startling or guessing who the other was.
How to Handle an Emergency or Unexpected Change
If you realize you are lost, stop walking. Wandering in the dark expands the search area and moves you away from the route. Sit down, switch off your lights, and think: what is the last landmark or junction I am certain of, and which direction was I travelling?
Then work through this order:
- Stop and stay put if you are truly lost. A stationary person is far easier to find than a moving one.
- Turn the high beam back on slowly. Watching your own beam sweep the trees often reveals the trail edge you had lost.
- Retrace only if you are certain of the direction. Go back along the route you just covered rather than cutting across country.
- Blow your whistle in sets of three blasts. Repeat every few minutes and listen for an answer.
- Call or send a satellite message. Give your coordinates, not a description of where the trail was supposed to go.
If your light fails, the backup is already in your hand. If both lights fail, do not begin a blind descent; shelter where you are, get a layer on, and call for help. For an injury that prevents walking, keep the person warm and still, mark the location, and send someone or use a satellite device for help. On public lands, staying put is usually safer than attempting to hobble toward a road in the dark.
Decide your personal abort triggers before you leave, because adrenaline is a poor judge. Mine: a leg injury, thunder and lightning, or arriving at the turnaround point after dark with half the route still ahead of me.
How to confirm it worked: you told a friend what your abort triggers are, so they know when to start asking questions.
How to Return Safely and Close the Trip
Do a headcount and an injury check at the trailhead, not in the car. Ask about blisters, sore ankles, and anything that feels different from the walk out, because minor problems are cheap to treat now and expensive at 2 a.m.
Text your contact that you are back and describe any trail conditions worth flagging: a washed-out crossing, a missing blaze, a downed tree, a damaged gate. Land managers appreciate those reports and they end up on the next visitor’s planning table.
Then put your gear away properly. Hang food and anything scented away from camp if you are staying overnight, charge batteries, and check the headlamp strap for sweat damage. After dark, your noise and your light are the loudest things in a habitat full of animals that hunt and sleep on the same schedule you do. Pack out everything, stay on durable surfaces, and keep wildlife viewing at a distance.
How to confirm it worked: the person waiting at home got a message, and your gear is laid out ready for the next trip.
Common Mistakes
Underestimating how dark it gets. Civil twilight ends well before the sun does, and full dark on a wooded trail arrives faster than expected. Start 30 to 60 minutes before sunset and let your eyes adjust while you can still see the trail.
Carrying one light source. A single headlamp is a single point of failure. Carry a second light that does not depend on the first one.
Skipping the check-in. People treat telling someone as optional, then rely on memory later. Write it down and say the return time out loud.
Wearing what you would wear for a day hike. Cotton stays wet and cold, and boots without a spare pair of socks are a bad bet. Layers and a dry layer in the pack cost you nothing.
Pushing past a safety limit. Fatigue, a headache, wet feet, or an injury that makes you favor one leg are signals to shorten the route, not to push through. Turning back at the turnaround point is a plan working correctly, not a failure.
Leaving the trail for a better view or a campsite. In daylight it is a minor detour. In the dark it puts you in terrain with no markers, no sight lines, and no reliable way back.
Frequently Asked Questions
Is night hiking dangerous for beginners?
Not if you prepare for it, and most beginner trouble comes from preparation gaps rather than from the darkness itself. Walk a familiar trail first, start before sunset, carry two lights, and keep the first outing short. A group of two or more is safer than going alone. If a trail has cliffs, technical terrain, or no cell coverage, save it for a later trip.
What time should you start a night hike?
Start 30 to 60 minutes before sunset. You get a free head start on any route finding while there is still natural light, and your eyes have time to begin adjusting before true dark. Work backwards from your turnaround time, not forwards from dinner. Remember that many trailheads and gates lock at sunset or at a fixed evening hour.
Do you need a headlamp to hike at night?
A headlamp is the most useful single piece of night-hiking gear because it keeps both hands free for balance on uneven ground. Choose one with multiple brightness settings and a red light mode, and check that the strap fits over a winter hat if you hike in cold months. Carry a small handheld flashlight as your backup.
Should you hike alone at night?
For your first night hike, no. Safety in numbers matters more after dark because help is farther away and trip hazards are harder to see. If you do hike solo, tell someone your exact route and return time, set a worry threshold, carry a personal locator beacon or satellite messenger where coverage is poor, and turn back at your turnaround time no matter how good the night feels.
Are trails open at night?
It depends entirely on the land. Many parks and public lands close gates at sunset or a set hour, and some trails close seasonally or to protect wildlife. Check the land manager’s official site or call ahead, park where you are allowed to park, and confirm your vehicle will still be there when you return. Getting locked in after dark is one of the most common first-time hiker problems.
What do you do if you get lost hiking at night?
Stop where you are and stop moving. Wandering in the dark expands the search area and takes you farther from the trail. Turn your high beam back on slowly to look for the trail edge, retrace only if you are certain of your direction, blow your whistle in sets of three blasts, and call or send a satellite message with your coordinates. Staying put is usually safer than walking toward a road you cannot see.
Final Safety Checklist
Before you load the pack, confirm these six things in order.
- Route: a trail you have walked in daylight, with the gate hours and any seasonal closures checked.
- Weather and light: sunset time, moonrise time, and a forecast you have re-checked on the morning of the hike.
- Gear: two light sources, spare batteries, water, a warm layer in the pack, first aid kit, whistle, map and compass.
- Communication: a person holding your route, vehicle description, return time, and worry threshold.
- Turnaround time: a specific clock time written down before you start, with no negotiating it on the trail.
- Return check-in: a plan to confirm everyone is accounted for, check for injuries, and notify your contact that you are back.
That is the whole process. If you know how to go on a night hike safely, you know it by those six items, not by how tough you are. Pick the familiar trail, start before sunset, check in at home, and turn around when you said you would.