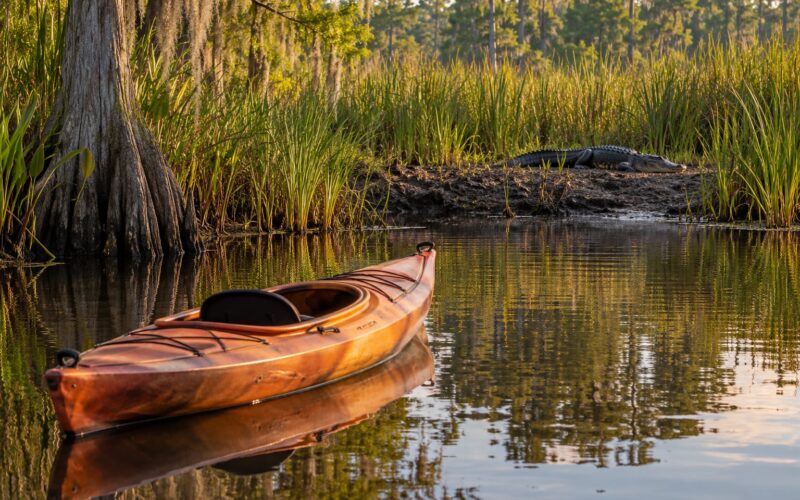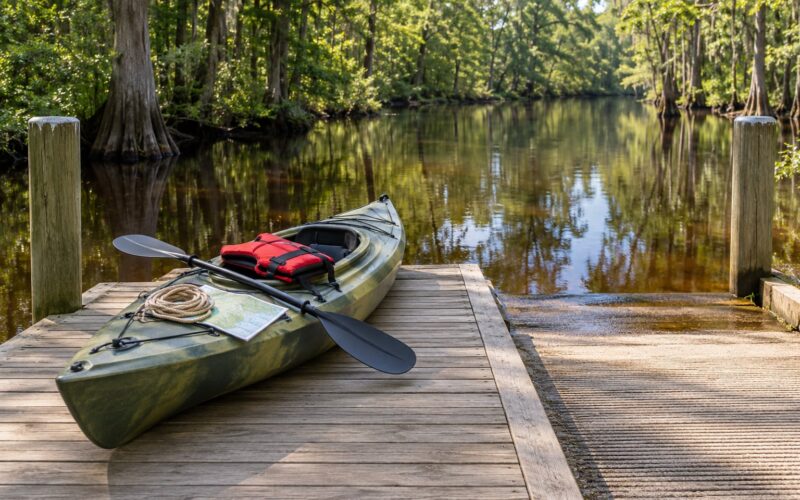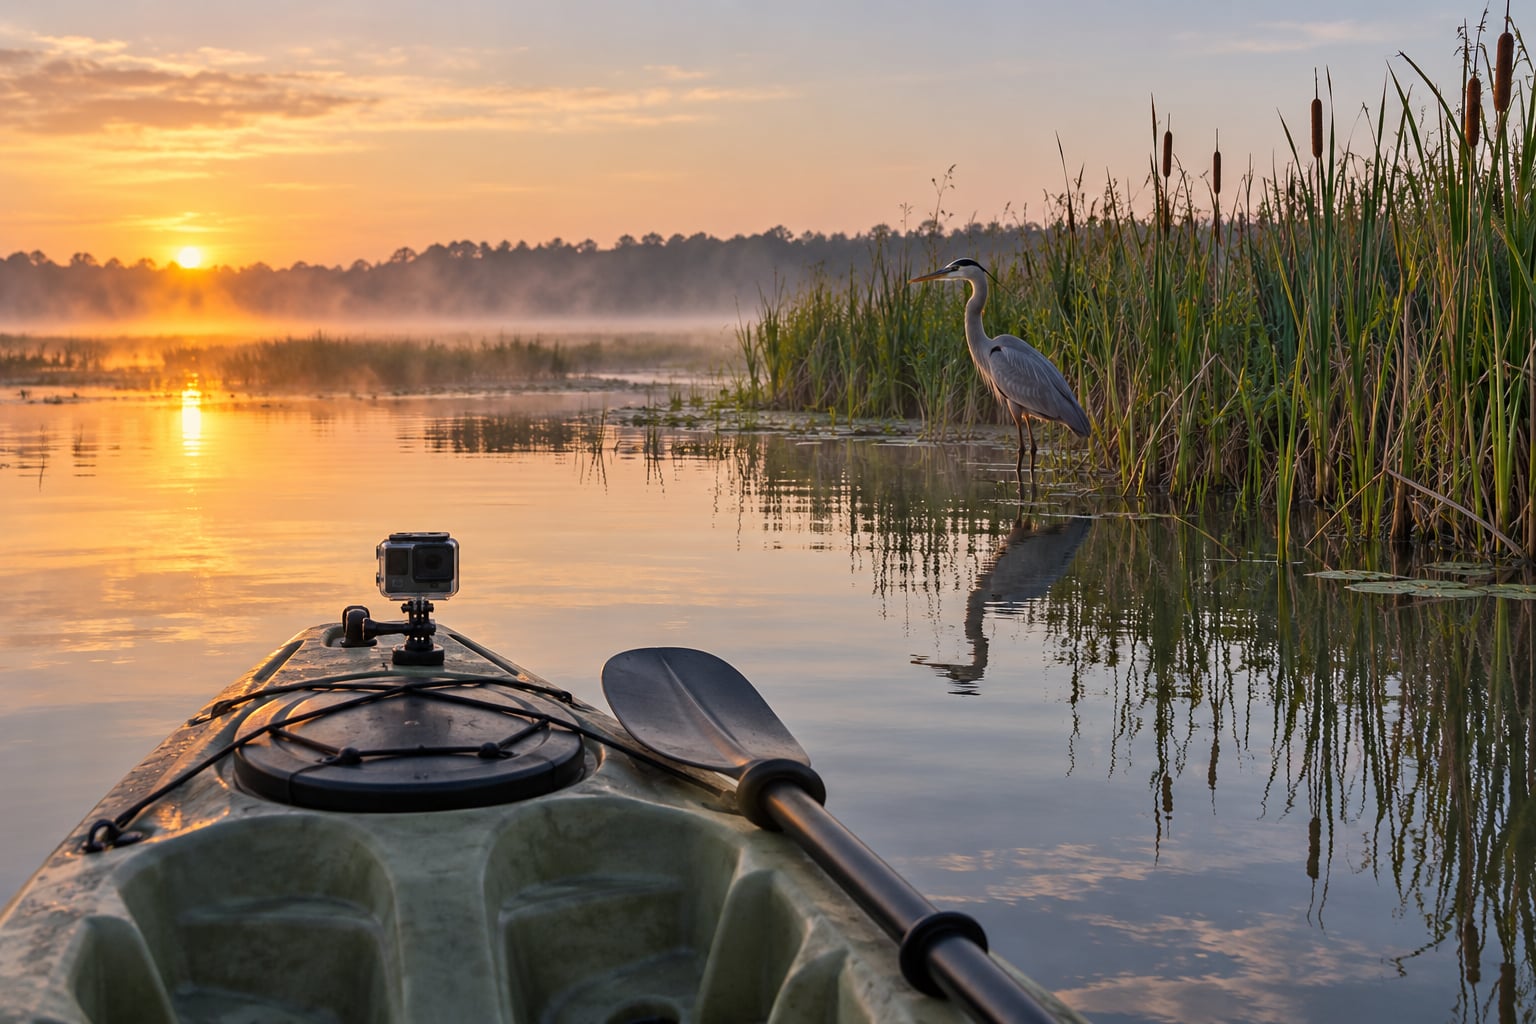
To photograph wildlife from a kayak, you need three things working together: a stable boat, gear that survives spray, and settings that tolerate a floating platform. Sit low, move slower than feels necessary, and shoot in short bursts when the animal does something worth keeping. Most people get better photos in their first season by fixing their approach habits before touching their camera settings.
The reason a kayak works so well is access and angle. You arrive without a bank to crouch behind, you can hold still for twenty minutes in eight inches of water, and your lens sits at eye level with a wading heron instead of thirty feet above it. That perspective is the whole point, and most of this guide is about keeping the boat quiet long enough to use it.
It is also worth being honest about the risks. Water and electronics do not mix, and a tip-over with a long lens in the cockpit is a bad afternoon. Assume gear will get wet and plan for it rather than treating the dry bag as optional.
Table of Contents
- What You Need
- A camera you can hold steady with one hand
- One zoom, not a bag of primes
- Stabilization and a way to brace
- Weather protection that actually seals
- Safety gear that stays on
- Planning tools
- Step-by-Step: How to Photograph Wildlife From a Kayak
- 1. Plan the Route, Weather, and Light
- 2. Set the Camera for a Moving Platform
- 3. Stabilize Your Camera Without Losing Balance
- 4. Approach Wildlife Quietly and Responsibly
- 5. Compose Around Behavior, Not Just the Subject
- 6. Expose for Difficult Light and Subjects
- 7. Review and Back Up Images Safely
- Common Mistakes
- Frequently Asked Questions
- What camera settings are best for photographing wildlife from a kayak?
- Do I need a telephoto lens to photograph wildlife from a kayak?
- How do I keep my camera steady while my kayak is moving?
- How far away should I stay from wildlife while taking photos from a kayak?
- Can I photograph birds without disturbing them while paddling?
- How do I protect my camera and memory cards from splashes and humidity?
- Conclusion
What You Need
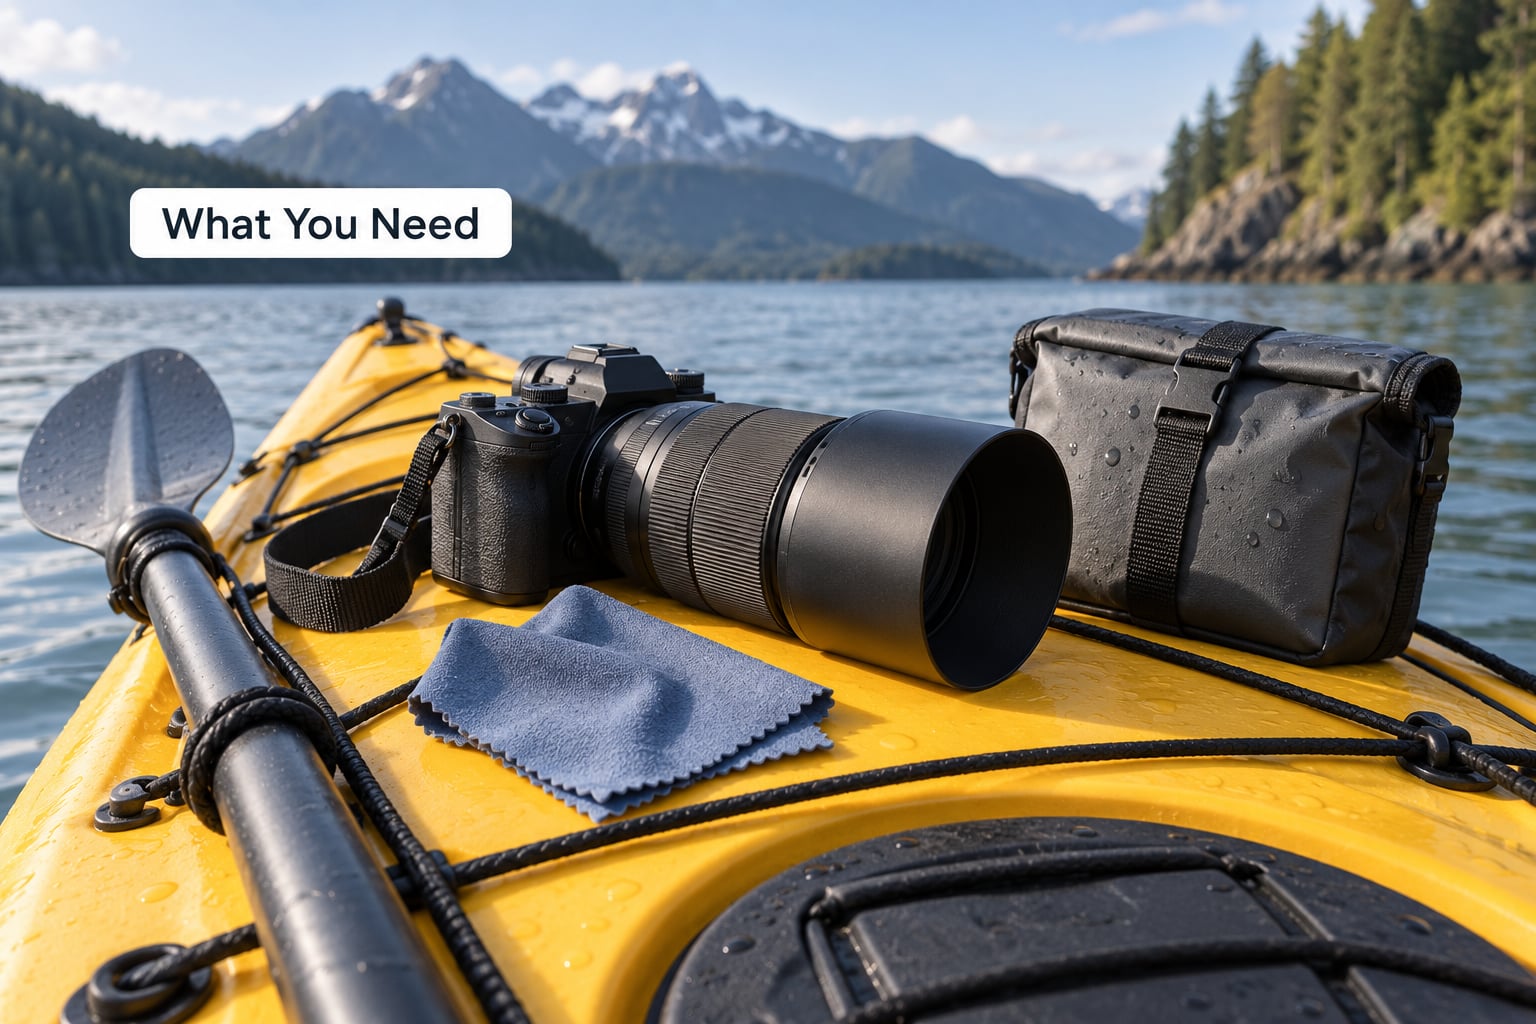
Most of the gear list is about weight and containment. Long lenses are heavy, heavy gear makes boats tippier, and anything not clipped to the hull ends up at the bottom of a creek.
A camera you can hold steady with one hand
A mirrorless body is the easiest to manage from a boat because it has no mirror slap and the viewfinder doesn’t black out between frames. A ruggedised, weather-sealed body is worth the extra weight in rain, spray, or salt air. If you already own a DSLR, use it — just know that anything less than about 8 frames per second will frustrate you when a heron takes off.
One zoom, not a bag of primes
A single 100-400mm class zoom gives you the range to frame a distant flock and still fill the frame with a feeding duck without changing anything in a moving boat. Photographers on the forums repeatedly recommend that mid-range zoom over a fixed 250mm or longer, precisely because lens changes in a kayak mean awkward hands and a rocking boat. If you need more reach, a 1.4x teleconverter is usually easier to manage than swapping glass.
Stabilization and a way to brace
In-body or lens stabilization buys you two or three stops of handhold, which matters on an overcast marsh at dawn. Bring something to rest the lens against — your chest, the paddle shaft laid across your lap, or a small ball head screwed into a deck-mounted plate. A full tripod is overkill inside a small boat; a short monopod or a gimbal head on a rigid mount is enough.
Weather protection that actually seals
You need three layers: a waterproof dry bag for the backup body and lenses, a smaller roll-top dry bag you can reach into without unpacking everything, and a padded case or insert for the working camera. Add a microfibre towel and a lens cloth. On saltwater trips, a freshwater rinse bottle matters more than people expect — salt left on a lens mount will corrode it within months.
Safety gear that stays on
A properly fitted personal flotation device goes on before the camera comes out of the bag, and it stays on for the whole trip. Add a whistle, a paddle float if you paddle a sit-inside, a bail or sponge, and a dry layer sealed separately from your electronics. Leave your route and return time with someone on shore.
Planning tools
A tide table for coastal and marsh water, a weather app you actually look at before launching rather than on the water, and a map with marked wildlife spots. Wind matters more than most beginners assume: above roughly 15 knots the water gets choppy enough that both your shooting and your paddling suffer.
Step-by-Step: How to Photograph Wildlife From a Kayak
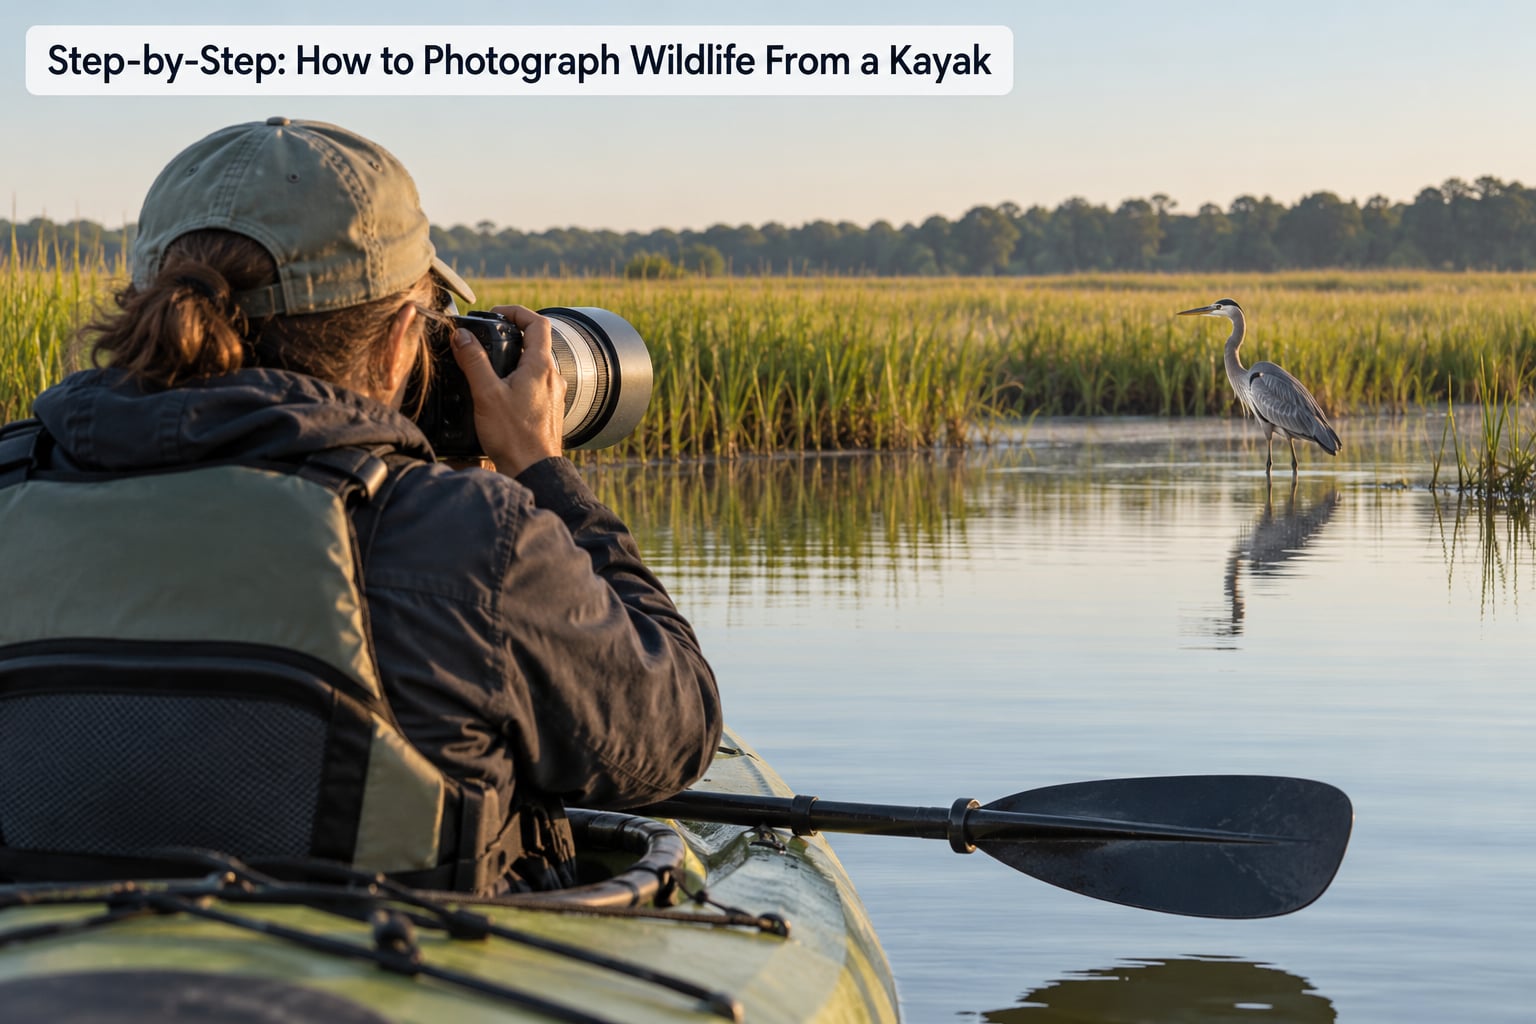
1. Plan the Route, Weather, and Light
Pick a launch point that puts you within photographing distance of your subject before you paddle, not after. Scouting from shore with binoculars tells you where the birds actually are, and it saves you an hour of drifting over empty water.
Then check three things: wind, tide, and light direction. Tide exposes mudflats for shorebirds and submerges the same ground for loons, so the same spot can be excellent on a falling tide and dead on a rising one. Morning light comes from the east, so launching on a west-facing shore puts the sun behind your subject and gives you lit faces instead of silhouettes.
You will know the plan worked when you launch and already have a subject in view within fifteen minutes. If not, you planned the tide wrong.
2. Set the Camera for a Moving Platform
The single biggest cause of soft, disappointing kayak photos is a shutter speed chosen for a tripod. Your platform moves constantly, even at anchor. Use a shutter speed at least as fast as the reciprocal of your focal length — 1/400s on a 400mm lens — and go faster for anything that moves, meaning 1/1000s or higher for birds in flight and 1/1600s if you are chasing a startled flush.
Open the aperture as far as light allows, f/5.6 to f/7.1 is the usual range on a long zoom, then raise ISO until the shutter speed is right. A noisy frame at ISO 3200 is recoverable. A blurred frame at ISO 400 is not.
For focusing, use continuous autofocus with animal eye detection or a single small tracking point, and put that point over the nearest eye. Set drive mode to a short high-speed burst — three or four frames, not thirty. Metering with a slight positive compensation works well against bright water, since the camera tends to underexpose a pale bird against dark reeds.
Keep stabilization on. It is not a substitute for shutter speed, but it rescues your viewfinder image and makes framing far less frustrating.
You will know these settings are right when your histogram shows detail in the whites without clipping and your burst produces several sharp frames instead of several identical smudges.
3. Stabilize Your Camera Without Losing Balance
The instinct to stand up and straddle the deck is where most beginners capsize. A seated position, low in the hull, is both safer and gives you a better angle. Shoot from the seated position and your horizon line will sit closer to the subject’s eye level as a bonus.
Tuck your elbows into your ribs and press the lens barrel gently against your chest or shoulder to create a third contact point. When a gust or wake hits, hold the camera rather than shooting; the wave passes in a few seconds and the frames you take during it are usually the soft ones.
Keep one hand free. If you need both hands to steady the camera while something is happening, drift with the paddle across your lap rather than trying to paddle one-handed. Never paddle one-handed while looking through a viewfinder.
Shoot in short bursts at the moment of action — a strike, a preen, a takeoff — then lower the camera and check the frame. Discipline here is what separates a hundred usable frames from a thousand deleted ones.
4. Approach Wildlife Quietly and Responsibly
Most wildlife tolerates a kayak far better than a human on foot, because a boat has no scent profile and moves slowly. That tolerance depends entirely on how you use it. A slow, quiet paddler can get close; an impatient one gets nothing but a departing tail.
Paddle on alternating sides so you do not send a wake straight at the bird you are watching, and time your approach to the water, not the animal. Point the bow into waves and wind early so you arrive flat and quiet. If you are close enough to see a bird’s eye change or its body angle stiffen, stop paddling and drift. If it takes off, let it go; it usually comes back.
On distance, the honest answer is that no photograph is worth flushing a nesting bird or pushing a mammal off a feeding spot. As a working baseline, give nesting waterbirds and waterfowl at least 50 yards, use 100 yards or more for eagles and herons at nesting sites, and treat bears, elk, and other large mammals as needing far more distance than that — check current guidance for the species and the land manager’s rules before you go, since minimums vary by season and jurisdiction.
A reminder worth keeping: if the animal changes behaviour because of you, you are too close, no matter how good the frame would have been.
5. Compose Around Behavior, Not Just the Subject
A sharp bird sitting on a stick is a record shot. The frame that gets printed is the one where you noticed what the bird was doing before it noticed you.
Watch for the sequence in feeding behaviour: the head cocking, the pause, the strike. Preening birds offer symmetry and texture. Flight gives you the background problem and the exposure problem in one shot. Wait for the action, and start your burst on the movement rather than on the pose.
Composition-wise, work eye level where you can, because the water-level view is what separates these images from shore work. Leave space in the direction the bird is looking or moving. Watch your horizon and correct the tilt on a still camera later, but try to get close in the first place by lowering the boat or raising the frame. Vertical frames work well for a single bird with a clean reed background and give you room to crop a wide shot afterwards.
A polarising filter helps control glare on the water, though it costs light and can leave skies looking flat, so rotate it rather than leaving it fixed.
You will know a composition worked when the frame still reads clearly as a thumbnail on your camera’s rear screen.
6. Expose for Difficult Light and Subjects
White feathers against dark water are the hardest subject in this sport. The camera reads the dark background, drops the exposure, and clips the bird to a pale blob. Add plus one and watch the histogram to keep feather detail.
Backlit subjects have the opposite problem and a better-looking fix. Meter for the subject, let the background go bright, and shoot a rim-lit silhouette only when the outline is doing the work. In flat overcast light, the histogram bunches everything into the middle, which is exactly when noise reduction later will save you.
Set a custom white balance or shoot RAW for consistency, because shifting light on open water will swing colour temperature between frames. Keep exposure compensation as a dial you can reach with one finger rather than a buried menu.
If light drops below what you can shoot at a usable shutter speed, stop. Pack the camera, paddle home, and come back at a better hour. Blurred frames are not better than no frames.
7. Review and Back Up Images Safely
Before you leave the water, sit still for ten minutes and actually review what you shot. Zoom to 100% and check focus on the eyes, not the background. Flag the keepers, and note the settings that produced them so you can repeat them.
Then back up before you leave the launch. Copy files to a second card or a laptop in a dry bag, and keep them in separate folders named by trip and date. A card corrupted by saltwater or a dropped gear bag is unrecoverable, and the lake does not hold still for a second take.
Rinse salt gear with fresh water, remove batteries, and leave lenses uncapped in a ventilated space overnight. Keep the dry bag open until everything is bone dry.
The post-processing pass is short and specific: correct the horizon, apply lens profile corrections, then run noise reduction at a moderate setting. Sharpening last, and less than feels satisfying.
Common Mistakes
Standing up for a shot. The classic capsize. Sit, lower the boat, or wait for the water to settle. A low angle is usually a better photograph anyway.
Dropping the shutter speed “because the bird is sitting still.” Your boat is not still. Match shutter speed to focal length and use ISO instead.
Bursting continuously. You will fill the buffer, drain the battery, and wade through 2000 similar frames. Three or four frames at the moment of action is the better habit.
Chasing the subject with the lens. Panning a long lens from a rocking platform mostly records your own movement. Wait until the boat is steady, then frame.
Approaching with the sun behind you and the wake pointed at the bird. Turn into the wind early, and check your drift before the last few feet.
Tilting horizons in the camera. You cannot correct a wave, but you can correct the frame afterward. Shoot level whenever the boat allows.
Pushing closer for “just one more.” Flushed birds rarely return to that spot in the same session. Distance is what gets you the second, better frame later.
Over-editing. Heavy clarity and aggressive noise reduction turn feather detail into wax. Fix exposure and horizon, then stop.
Leaving gear loose in the cockpit. A camera that slides forward in a wake goes over the side. Clip it or strap it down before you push off.
Frequently Asked Questions
What camera settings are best for photographing wildlife from a kayak?
Use a shutter speed at least as fast as the reciprocal of your focal length, meaning 1/400s on a 400mm lens, and go faster for movement. Shoot wide open near f/5.6 and raise ISO until the shutter speed is right. Set continuous autofocus with animal eye detection, a short high-speed burst, and stabilization on. Shoot RAW and add plus one compensation against dark water.
Do I need a telephoto lens to photograph wildlife from a kayak?
A mid-range telephoto zoom, roughly 100-400mm, is the most useful single lens for kayak work because you can frame a distant flock and fill the frame with a nearby duck without changing anything. That avoids awkward hands and a rocking boat during a lens swap. A 1.4x teleconverter adds reach when you need it, and a wider lens still works for wide environmental frames.
How do I keep my camera steady while my kayak is moving?
Stay seated and low in the hull, tuck your elbows into your ribs, and press the lens barrel against your chest to create a third contact point. Stabilization helps a few stops but does not replace a fast shutter speed. Hold the camera and let a passing wake finish before shooting, and keep one hand free so you can brace or paddle without dropping anything.
How far away should I stay from wildlife while taking photos from a kayak?
No photograph is worth flushing a nesting bird or pushing a mammal off a feeding spot. As a working baseline, stay at least 50 yards from waterbirds and waterfowl, and 100 yards or more from eagles and herons near nest sites. Large mammals need considerably more. Check current species-specific guidance and land manager rules before you go, since minimums change by season.
Can I photograph birds without disturbing them while paddling?
Yes, and it is one of the big advantages of working from a boat. Alternate paddle sides so the wake does not run at your subject, turn into wind and waves early so you arrive flat and quiet, and stop paddling to drift when you get close. If a bird changes its posture or leaves, you are too close. Let it settle and it often returns.
How do I protect my camera and memory cards from splashes and humidity?
Use three layers: a waterproof dry bag for backup gear, a smaller roll-top dry bag you can reach into quickly, and a padded insert or case around the working camera. Keep a microfibre towel and lens cloth in the quick-access bag. Back up files to a second card before you leave the launch, and rinse any salt gear with fresh water before storage.
Conclusion
If you only change one thing, slow down. Most kayak wildlife photos fail because the photographer moved closer or faster than the moment could support, and the fix costs nothing.
Pick a sheltered launch point with known subjects, check the tide and wind forecast the night before, and pack the camera in two layers of dry protection. Then sit low, wait, and let the wildlife come to you — which, from a kayak, it usually does.