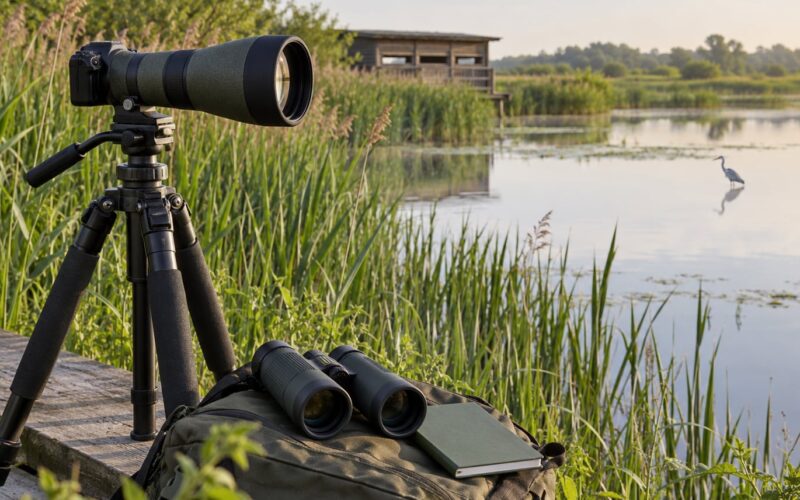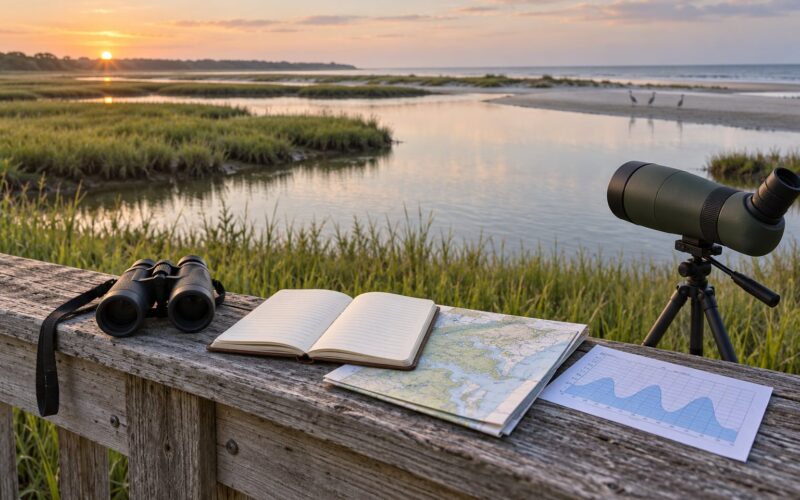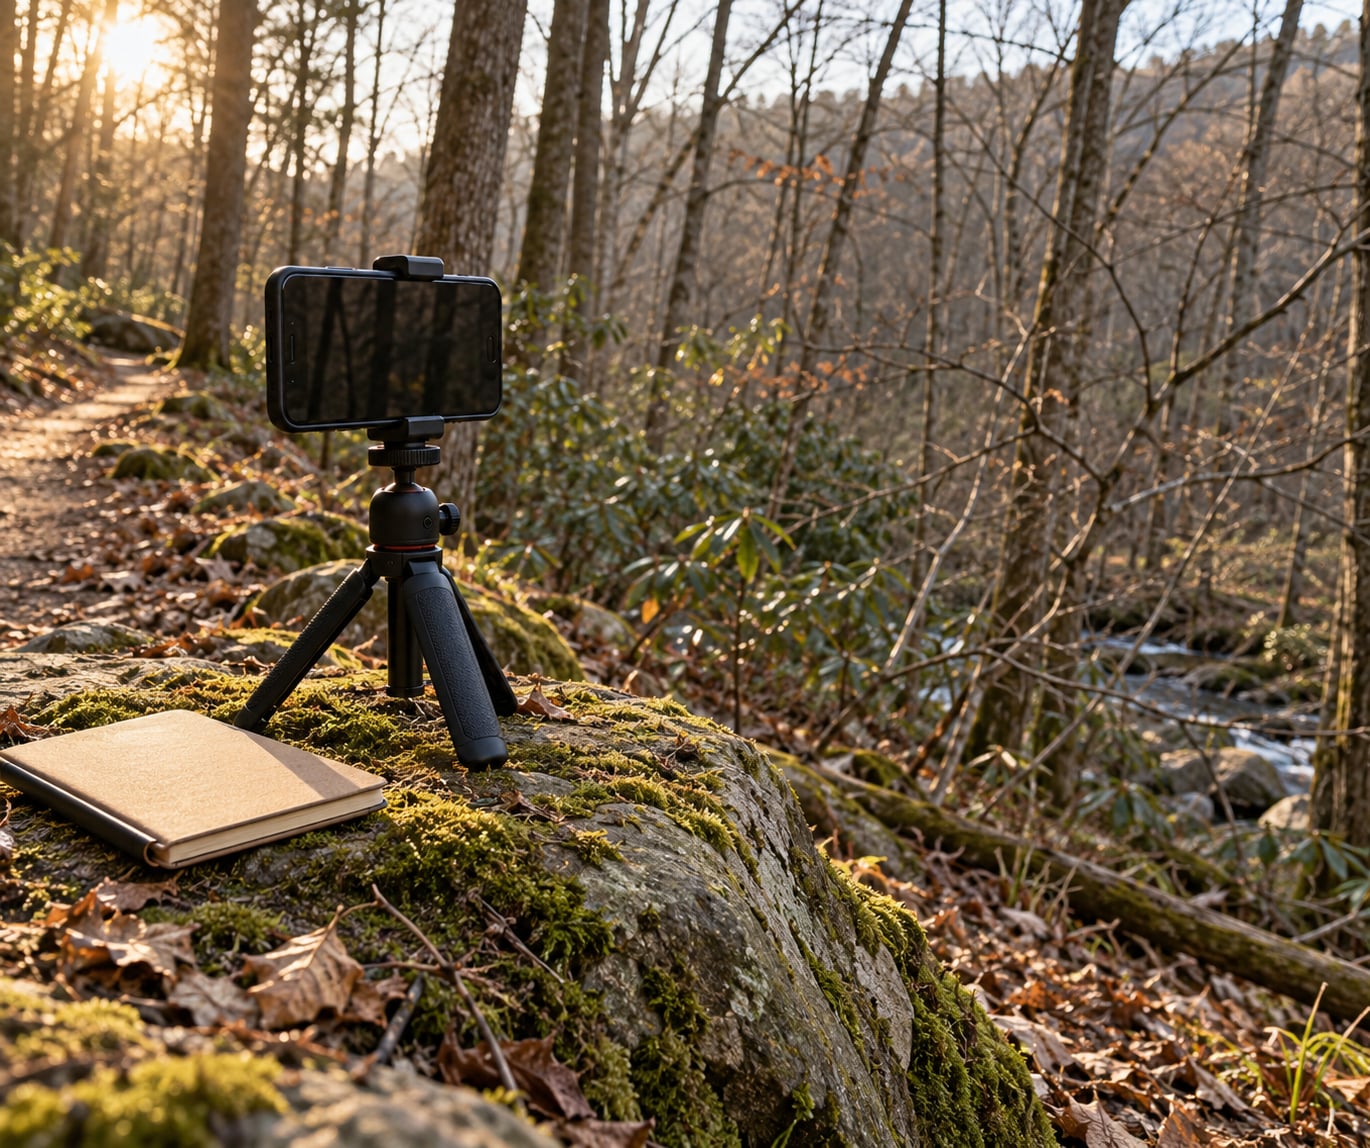
To record bird songs with a phone, open a voice-memo app, switch it to the highest audio quality setting, switch the phone to airplane mode, then hold it still with the microphone pointed at the bird and record a few seconds before the song starts and a few seconds after it ends. That takes about two minutes of setup and works well enough for identification.
A field recording is just audio captured on location rather than in a studio. Most birders make one because memory is unreliable: you hear a call, you look for the bird, you miss it, and then a week later the only version of that song is a fuzzy description in your notes. A recording is evidence you can replay, share, upload for someone else’s opinion, and compare against the same bird next season.
What a phone cannot do is isolate one bird from a busy soundscape. If you are standing next to a road, no setting will rescue that clip. What a phone does well is capture a clean song at close range in still air, and that is where most identification happens.
Table of Contents
- What You Need
- Step-by-Step
- Choose the Recording App and Audio Mode
- Find a Safe Listening Position
- Record the Song and Watch the Meter
- Stop, Label, and Save Each Clip
- Reduce Wind Noise and Improve Playback
- Common Mistakes
- Frequently Asked Questions
- Can you record bird songs with a phone?
- What is the best app for recording bird songs?
- How do I reduce wind noise in a phone bird recording?
- Should I use video mode or audio mode for bird songs?
- How do I identify a bird from a phone recording?
- How should I organize and back up bird-song recordings?
- Conclusion
What You Need
You can start with the phone already in your pocket. Everything else is optional, and each item below solves a specific problem.
- A phone with free storage. A few minutes of uncompressed audio is small, but a season of dawn chorus recordings adds up. Ten gigabytes free removes the anxiety.
- A voice recorder app. The recorder that comes with the phone is fine. Merlin Bird ID, BirdNET, or iNaturalist also record while they identify, which saves a step.
- A windscreen. A small foam cover or a sock over a wire frame costs almost nothing and kills the low rumble that wind produces on bare microphones.
- Something to rest the phone on. A pocket tripod, a folded jacket, a fence post, a flat rock. Stabilising it is the single biggest improvement to handling noise.
- Headphones, optional. Useful for hearing whether a distant bird is even audible before you decide whether to stay.
- An ID app downloaded in advance. Signal disappears the moment you walk into the woods where the birds are.
Skip the external microphone on your first trip. Learn what the built-in microphone can and cannot do, then decide what problem you are actually trying to solve.
Step-by-Step
Choose the Recording App and Audio Mode
On an iPhone, open Voice Memos and tap the record button, then tap it again to stop recording. While stopped, the info icon next to the clip opens a menu with a Format setting. Choose Lossless if you want uncompressed audio, or High Efficiency if storage is tight. On recent iOS versions the same options sit under Voice Memos in the Settings app. Turn off any setting described as noise reduction before you record, because it processes the file as you capture it and tends to dull high-frequency song syllables.
On Android, the Sound Recorder app that ships with the phone exposes the useful controls: channel number, sampling rate, and bit rate under the settings menu inside the recording screen. Set the channel to mono. Birdsong sits in the middle of the stereo field anyway, so stereo gives you two nearly identical copies of the same sound and doubles your file size. Use the highest sample rate your phone offers, 44.1 kHz or 48 kHz.
If you have never adjusted these, leave them alone for one outing, then change one thing at a time. You want to know which setting fixed what. Forum users on Android consistently recommend a dedicated recorder app over the default one because it exposes real control over gain and format; Voice Memos is simpler but pushes harder on automatic gain control.
Find a Safe Listening Position
Stand on a path or in an open viewing area, never off-trail in brush where every step is a noise. Face the bird with the phone between you and it, microphone end pointing directly at the sound, not at the branch it happens to be sitting on.
Distance matters less than people expect. Around 20 to 30 metres is comfortable for songbirds if the air is still. Closer is better for sound quality but risks flushing the bird, and a flushed bird stops singing, which is the opposite of your goal. Choose a spot where the wind and traffic are behind you rather than blowing into the microphone.
Never play a bird’s song back through a speaker to see what reacts. That call is territorial, and playback can pull in mobbing birds or draw a predator in while you stand there. Record and walk away instead.
Record the Song and Watch the Meter
Start the recording before the first note. Birds often begin with a soft, tentative phrase, and a recording that opens with the loud part is missing the identifying context. Keep going for several seconds after the last phrase too.
Watch the level meter, not the elapsed time. Peak song phrases should reach somewhere in the upper part of the meter without touching the top and turning into a flat, crackling buzz. If the display clips every phrase, lower the input gain. If the meter barely moves while you can hear the bird clearly, raise it.
Once the song is running, put the phone down and stop touching it. Fingerprints and knuckles on the case produce a low thump that is nearly impossible to remove later. Stay still for ten seconds and listen, then record another minute of ambient sound so you have a reference bed of what the place sounded like.
Stop, Label, and Save Each Clip
Stop immediately after the song. Speak a short slate into the recording at the start or end: place, date, approximate time, and what you saw if you saw anything. That slate saves you an hour of guessing in the car park a week later.
Rename files straight away with a pattern like 0514_0545_warbler_clear, read as month-day, 24-hour time, species, and how usable it is. Four pieces of information matter: date, time, place or species if known, and a quality note such as clear, wind, or distant. A searchable name is the difference between a sound library and a folder of New Recording files.
Back up the same day. Air it to a computer or cloud folder before the phone drops it, rotates it, or runs out of space mid-song. As a rough guide, mono audio at a 48 kHz sample rate uses roughly 170 megabytes an hour, so a season of ten one-hour dawn sessions fits comfortably on a laptop.
Reduce Wind Noise and Improve Playback
Wind noise is low-frequency rumble, and it is a physical problem rather than a software one. Fit the windscreen over the microphone without sealing the cover airtight, or airflow builds up inside and makes it worse. If the cover sits directly against the mic ports, put a thin layer of foam between the two.
Turn your back to the wind so the gust passes around you rather than across the mic ports. Where you have a choice, a still morning behind a hedgerow beats an open lakeside every time. Moving ten metres away from a road often does more for a clip than any setting you can change.
Apply noise reduction only after you keep an untouched copy. Most phone and desktop editors have a noise-reduction tool that samples a quiet passage and subtracts that hiss from the whole file. It helps on a mildly noisy clip and destroys a faint distant one, so work on a duplicate and keep the original archived.
Common Mistakes
Aiming at the branch instead of the bird. Singers move constantly, and the phone stays where you left it. Track the bird with your eyes and move the phone a few degrees each time it hops. If it stays still, so should the phone.
Starting the recording late. The quiet opening phrase often carries the most identifying information. Hold the button down before the bird commits.
Standing too far away. A distant song records faint, and faint clips are useless to an ID app. Either move closer slowly, or accept the clip as ambient sound and move on to a bird you can actually record.
Holding the phone in your hand. Movement transfers straight into the file as a low knock. Rest it, and use the pause rather than the hand.
Leaving automatic gain control on. AGC pumps quiet phrases up and slams loud ones into clipping, which is why the same bird fades in and out. Manual or low gain plus careful monitoring beats automatic every time.
Deleting the original after editing. Enhanced files are a processed version of the real thing. Archive the untouched original, because an expert identifying an unusual call will want it.
One habit worth building: record ten minutes of ambience at every site you visit. Comparing the ambient bed across dates is often the quickest way to notice a bird has arrived or left before you ever see it.
Frequently Asked Questions
Can you record bird songs with a phone?
Yes. Every modern smartphone has a microphone sensitive enough for close songbird recordings in still air. Most people use Voice Memos on iPhone or the sound recorder that comes with the phone on Android without buying anything. The limits are honest ones: you cannot isolate a single bird from heavy traffic noise, and very distant or soft songs will record too faint to identify.
What is the best app for recording bird songs?
Merlin Bird ID from the Cornell Lab is the most commonly recommended choice because it records, identifies, and stores clips in one place, and it is free. BirdNET is a strong alternative with a large global sound library. For pure capture quality with manual control over gain and file format, a dedicated Android recorder gives you more settings than Voice Memos.
How do I reduce wind noise in a phone bird recording?
Fit a foam windscreen or sock-style cover over the microphone without sealing it airtight, stand with your back to the wind, and move away from roads and open water where you can. If the clip still has heavy low rumble, try noise reduction in an audio editor on a duplicate, never on the original, because the same tool strips the faint high-frequency syllables that identify songbirds.
Should I use video mode or audio mode for bird songs?
Audio mode is better for identification. It gives you higher quality sound, longer recording time, and files that are far easier to trim and send. Video mode is worth it only when you want to see the bird making the sound or are capturing footage for a project, because the audio is compressed and the file size climbs fast.
How do I identify a bird from a phone recording?
Play the clip in Merlin Bird ID or BirdNET and let the app suggest species, then sanity-check the result against a song library. Confirm before you rely on it: apps are good with clear, close recordings of common species and less reliable on faint audio, juveniles, and regional dialects. If the app is unsure, attach the clip to an iNaturalist observation or an eBird checklist where people will look at it.
How should I organize and back up bird-song recordings?
Rename each clip the day you record it using date, time, place or species, and a quality note such as clear or wind. Speak a slate with location and date into the recording too. Then copy files to a computer or cloud folder before the day ends, and keep the untouched original even after you make an enhanced copy for playback.
Conclusion
The shortest reliable method: download Merlin Bird ID or open Voice Memos, switch the phone to airplane mode, set mono and the highest sample rate your recorder offers, rest the phone on something stable with the microphone aimed at the bird, and start recording several seconds before the first note. Stop right after the song, speak the date and place into the clip, rename it before you leave the spot, and back it up the same day.
Start with a windscreen on the microphone and your back to the wind. Everything else on this page is a refinement of those five things.