To volunteer for a habitat restoration project, you find a local group that is recruiting, contact the volunteer coordinator, pick a task that fits your fitness, complete any orientation and waiver, and show up with your own gear. Most shifts run three to five hours on a weekday morning or a weekend morning, and nearly all of them start with the same line: no experience necessary.
That part surprises people. Restoration sites are not staffed nurseries where a science degree matters. They are crews of volunteers working under a crew leader, doing physical tasks — pulling invasive weeds, digging holes, planting seedlings, setting stream boulders, or recording bird counts. Your job on day one is to listen to the briefing and be useful.
What takes effort is the signup. Opportunities are scattered across land trusts, parks departments, watershed districts, native plant nurseries, and conservation nonprofits, and most groups do not advertise in one place. This guide walks through the whole path, from finding a reputable project to logging hours so you get invited back.
Table of Contents
- What You Need
- What most projects provide
- What you should bring yourself
- Step-by-Step: From Finding a Project to Making an Impact
- How to volunteer for a habitat restoration project: find a reputable site
- Choose work that matches your fitness and skills
- Register and complete required preparation
- Prepare the right gear and plan for field conditions
- Arrive early and volunteer safely
- Finish the shift, report issues, and stay connected
- Common Mistakes
- Frequently Asked Questions
- Do I need experience to volunteer for habitat restoration?
- Can beginners join, and are children allowed?
- What should I wear and bring to a restoration project?
- Are habitat restoration volunteer positions paid?
- What happens if the weather is bad or the project is canceled?
- How is progress measured after a restoration volunteer day?
- Start With One Local Project
What You Need
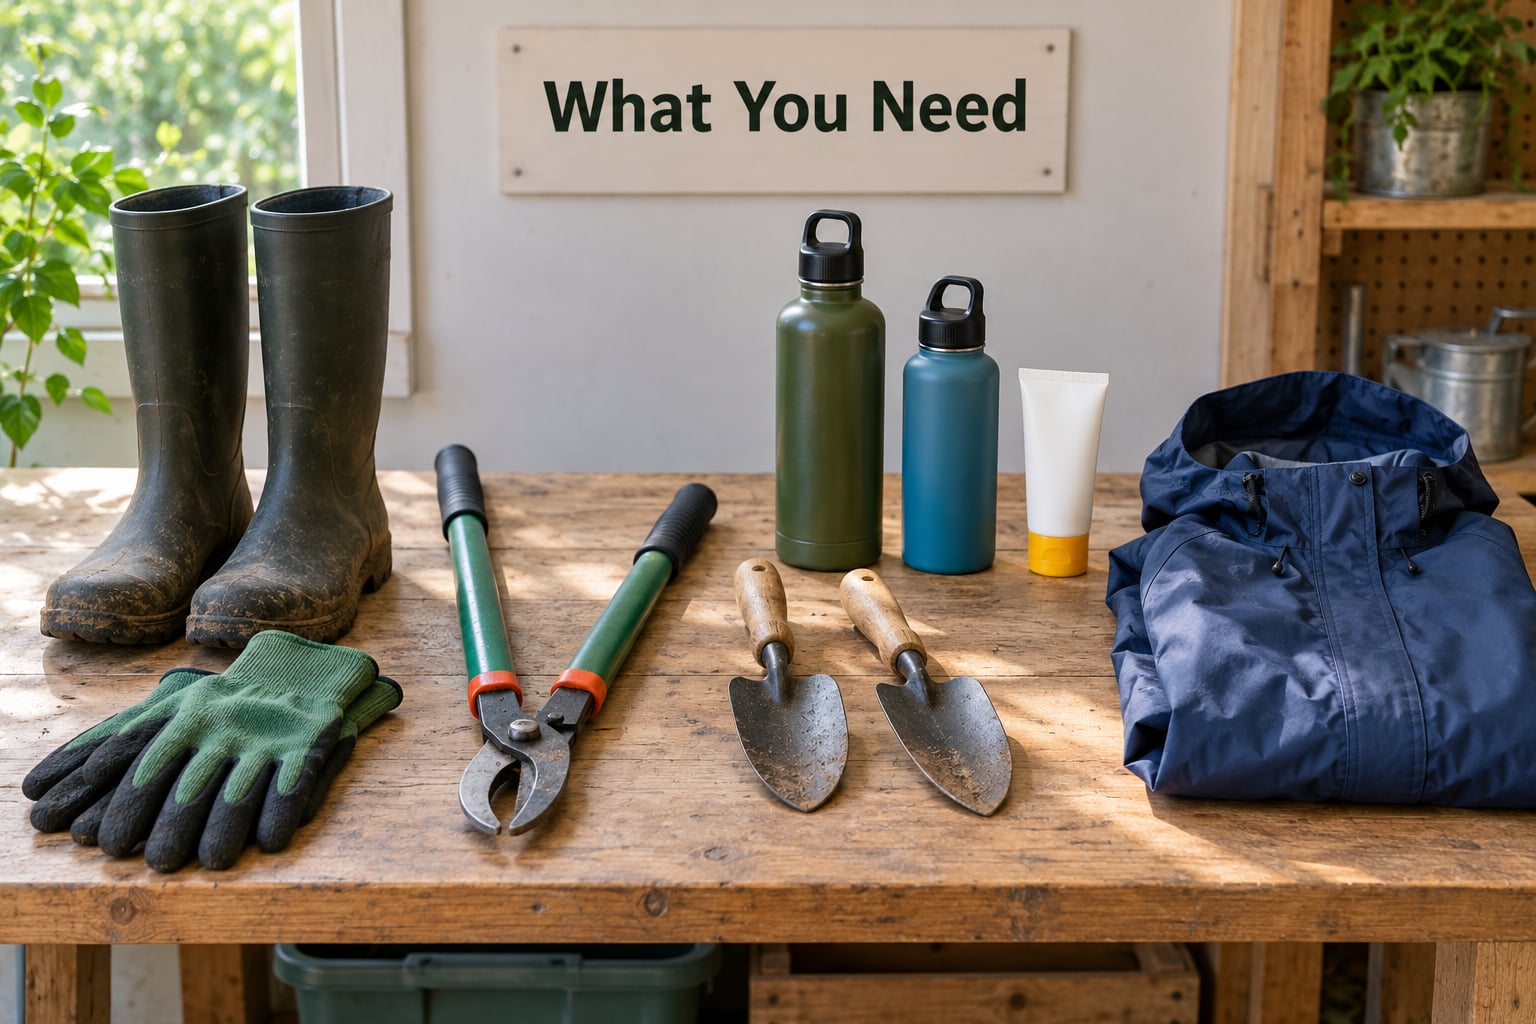
Habitat restoration volunteering needs less equipment than people assume, because organizers supply the tools that matter. What you need is mostly personal: closed-toe footwear that can get muddy, weather layers, water, and enough paperwork to be allowed on site.
What most projects provide
- Hand tools such as loppers, hand forks, trowels, rakes, and buckets
- Work gloves, though many coordinators tell volunteers to buy their own
- On-site training and a safety briefing from the crew leader
- Water, snacks, first aid, and portable toilets at large workdays
- Native plant stock, seed, mulch, and other materials for planting days
What you should bring yourself
- Sturdy closed-toe boots or shoes that tolerate mud; sneakers fall apart in a wetland
- Long pants, a long-sleeved shirt, and layers for wind or sudden rain
- A refillable water bottle plus a second one on hot days, and a packed snack
- Sun hat, sunscreen, and insect repellent, especially for prairie and marsh work
- Your own gloves if you have a pair you like, a small first aid kit, and any personal medication
- A charged phone, the site address, and a contact name in case you get separated from the group
- A photo ID and a signed liability waiver if you filled one out online
One rule saves money and awkwardness: do not buy specialty tools until the organizer confirms what is needed. A weed puller, a dibble bar, or a chest wader may be exactly what a project wants you to own, or it may be the one thing they already have a bucket full of. Ask in the same email where you register.
Age and documentation rules vary more than gear rules do. Minimum ages seen in the field run from about nine or ten years old upward, usually with a parent or guardian on site, and some programs require drivers to be adults with proof of insurance. Longer-term stewardship roles sometimes ask for a background check or a commitment to a season.
Step-by-Step: From Finding a Project to Making an Impact
How to volunteer for a habitat restoration project: find a reputable site
Start with whoever manages land near you. County and state park departments, city open space programs, and county conservation districts run regular workdays. Land trusts and watershed districts restore the land they hold, so their volunteer pages are usually specific about the site, the season, and the crew size.
Then widen out: National Park Service and U.S. Fish and Wildlife Service areas, USDA Natural Resources Conservation Service field offices, Audubon chapters, and native plant nurseries that grow stock for local projects. Search by organization type plus your county name rather than searching for the word volunteer alone.
You can tell a project is real when its listing names a place, a task, and a person. A page that says it restores local ecosystems but never says where or who to contact is a placeholder, not a signup. For background on the organizations themselves, our guides to land conservation and public lands work cover who does what and why.
You know the search worked when you can name the site, the kind of work, and the coordinator’s email address.
Choose work that matches your fitness and skills
Restoration tasks differ a lot in physical demand. Litter cleanup and trail maintenance are mostly walking. Invasive species removal means bending, pulling, and hauling plant material — harder than it sounds once you are four hours in. Native plant planting means kneeling, digging, backfilling, and mulching in the sun. Stream work involves moving rock and working on sloped, slippery ground.
Monitor roles are the lightest option. Counting birds, checking amphibian egg masses, or logging plant plots produces real data that feeds restoration decisions, and much of it happens at dawn when the site is quiet. If you want field experience for a resume or a career in conservation, monitoring and nursery work add well to a resume because they pair the fieldwork with data and propagation skills.
Before committing, ask the coordinator about terrain, how long volunteers stay on task, group size, tool weight, shade and restroom access, whether tasks can be adapted, and whether younger volunteers are welcome. Adaptability questions are normal, not demanding. Crews plan an output goal per shift, and a small volunteer group working in pairs is often more efficient than one person trying to do everything.
On forums where people ask about getting into the field, the recurring worry is signing up for an open-ended recurring commitment without knowing the terms. Ask whether the shift is one-time or recurring, and try one public workday before you commit to a season.
Sign of success: you know the physical demand, the time, and whether you could adapt it to your body.
Register and complete required preparation
Registration is usually an online form, an email RSVP, or both. Group requests — schools, corporate teams, youth clubs — often need to be scheduled a month ahead because crews are planned by the number of people. Individual sign-ups are often accepted up to the week of the workday.
What may sit between you and a shovel: a liability waiver, a volunteer agreement, an orientation session, an online training module, or an age-specific youth consent form. Some long-term roles add a background check. Wilderness-first-aid certification is occasionally required for crews working alone in the backcountry, but it is not a standard requirement for a weekend work party.
Your confirmation should include the meeting location and time, whether to check in at a trailhead or office, what to bring, whether tools and water are supplied, a map or directions, and the name and phone number of the coordinator on the day. If any of that is missing, ask before you drive out. Get the coordinator’s direct number, not just the organization’s main line.
Once you are confirmed, note what happens if the weather turns: most groups cancel or shorten by late afternoon the day before and leave a voicemail or send a text. Put that number in your phone.
Sign of success: you have a confirmation with a time, a place, and a person to call.
Prepare the right gear and plan for field conditions
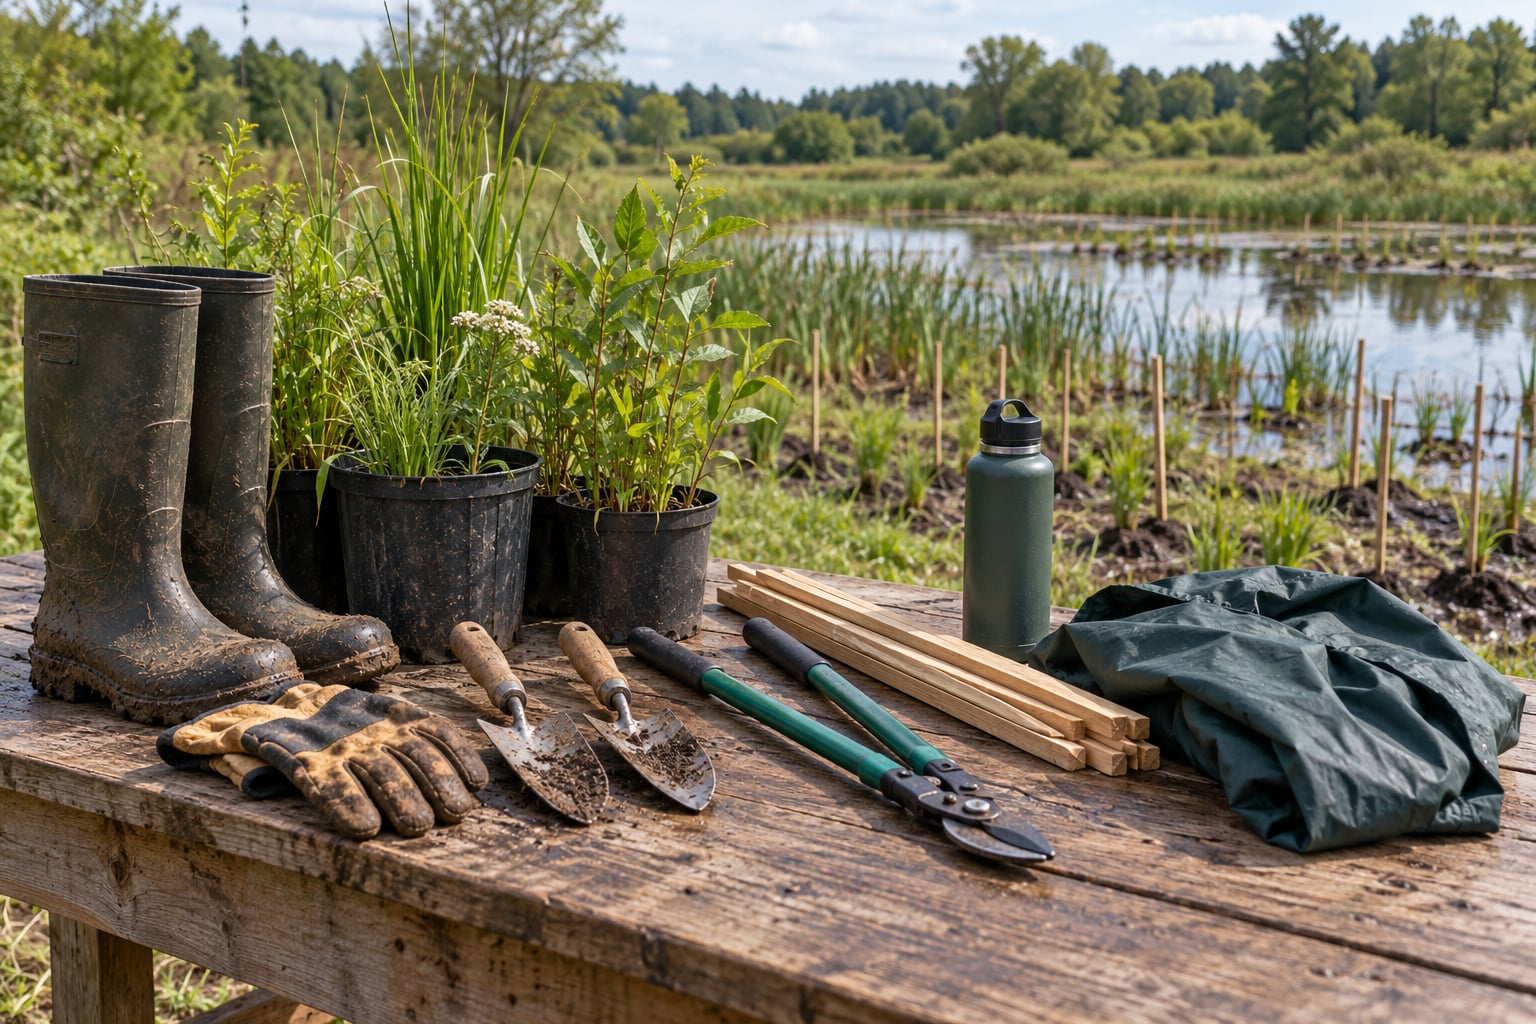
Pack for the site rather than for the forecast in town. A wetland workday in fall means mud up to the ankle and standing water; a prairie seeding day means sun exposure with no shade for miles. Dress in layers you can push up or strip off, and expect to get dirty — that is the point.
Bring more water than feels reasonable. Organizers usually supply a cooler or a jug, but the refill station is often a hundred yards from where the crew is working. A personal snack matters too, since breaks are short and volunteers with blood sugar problems will notice fast.
Add the small things people regret leaving behind: insect repellent for ticks and mosquitoes, a hat, sunscreen you reapply at midday, a small first aid kit, and a hand sanitizer. In tick country, tuck pants into socks and check yourself at the end of the day. Long sleeves also protect against poison oak and rubbing plants along streambanks.
Plan your ride. Trailheads and restoration sites are often a short walk from the parking area, and carpooling is usually encouraged. Let someone at home know where you are and when you expect back, especially for remote sites where cell service is unreliable.
Sign of success: your bag holds water, layers, snacks, sun and tick protection, and your gear stays clean all day.
Arrive early and volunteer safely
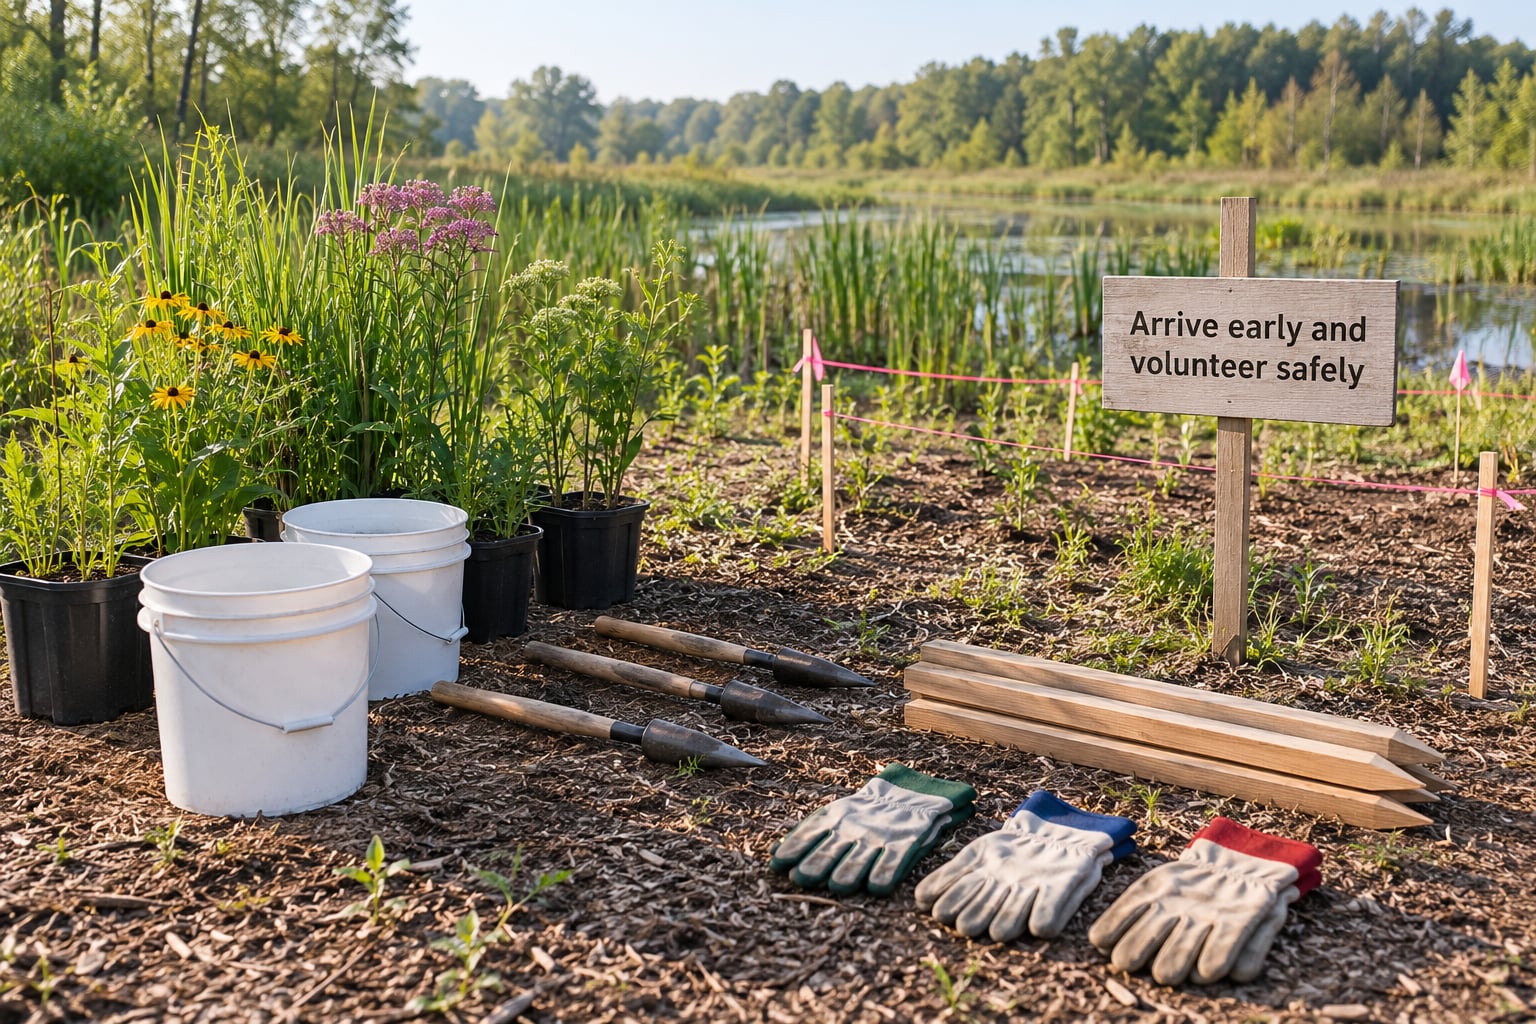
Arrive 10 to 15 minutes early. Check-in gets you counted for the volunteer log, names you a crew, and often gets you coffee. Lateness is the fastest way to not get invited back, because a crew leader short one person shortens everyone’s output.
The briefing covers the site boundaries, the task goal for the day, the tools and how to use them, hazards — wasps, poison oak, unstable banks, snakes, heat — and where the toilets and first aid kit are. Listen to all of it. Restoration sites have rules you cannot guess: which plants are the natives you are protecting, which weeds to bag instead of leaving on site, which plots are nesting habitat, and where you may not step.
Work the method the crew leader gives you. Tool handling is the most common source of minor injuries: carry hand tools with the blade pointed down, pass them handle-first, and keep loppers closed when walking. Take water breaks when offered, and step out of the sun at midday on hot days rather than pushing through a headache. Tell someone immediately about a cut, a tick, a wasp nest, or a piece of equipment that is broken or unsafe.
You can also stop work yourself at any time. Heat, altitude, smoke, or an injury you are unsure about is reason enough to tell the crew leader. Nobody has ever been asked to explain a medical callout.
Sign of success: you completed the assigned task, took breaks, and flagged anything broken, dangerous, or ecologically sensitive.
Finish the shift, report issues, and stay connected
Handoff matters more than most volunteers expect. Clean and return tools, rinse or shake off mud, stack hardware where the crew found it, and account for materials — buckets of weed pulled, seedlings planted, bags of litter filled. An organized tool return saves the crew leader twenty minutes and makes the next workday faster.
Report what you noticed. Broken tools, an eroding bank that looked worse than last time, a leaking culvert, a patch of invasives spreading uphill, or a nest inside the work area all help. Restore crews cannot be everywhere, and volunteer reports often trigger the next site visit or grant application.
If your hours count for school, service learning, court-ordered community service, or a resume, ask before you leave how they are verified. Some groups use an online portal, some email a coordinator confirmation the same week, and some hand you a signed sheet at the end of the shift. Get a named contact and a reference for future applications.
Then say thank you and tell them when you can return. Reliability is the thing coordinators actually rank volunteers on, and people who show up again get shifts, get invited to stewardship roles, and get asked to lead crews. New volunteers who return three or four times routinely move into crew lead, nursery, or monitoring positions.
Sign of success: tools are returned, issues are reported, your hours are documented, and you know the next workday date.
Common Mistakes
- Arriving without confirming. Fix: read the confirmation email the night before and re-check for a weather cancellation message.
- Wearing sneakers or open-toe sandals. Fix: closed-toe boots that can get soaked; ruined shoes are the most common first-workday regret.
- Skipping orientation or the waiver. Fix: finish both before you travel; you may be turned away at check-in without them.
- Overestimating your fitness. Fix: ask about terrain, tool weight, sun exposure, and whether tasks can be adapted or done in pairs.
- Pulling native plants. Fix: learn the species list before you start; a crew leader will happily quiz you, and mistakes here hurt the site.
- Ignoring the boundaries. Fix: treat marked plots, nesting buffers, and closed areas as off limits even if they look harmless.
- Working past your limits in heat. Fix: take breaks when offered and speak up early about dizziness, cramps, or smoke.
- Failing to report hazards. Fix: flag unsafe tools, wasp nests, damaged fencing, and erosion on the way out.
- Vanishing after one shift. Fix: tell the coordinator when you can return and put future dates in your calendar before planning 2026‘s schedule.
A few habits make a first-timer memorable: learn the coordinator’s name, ask one good question about the site’s goal, and stay after the last task for ten minutes of cleanup even when everyone else has drifted off. That is the entire difference between a one-time helper and someone with a standing invitation.
Frequently Asked Questions
Do I need experience to volunteer for habitat restoration?
Almost never. Most organizations state that no experience is necessary, supply tools and gloves, and train volunteers on site during the morning briefing. A few sites require online modules or an orientation first, and long-term stewardship roles may ask for a season commitment. Tell the coordinator honestly what you have done before and which tasks interest you, and they will place you accordingly.
Can beginners join, and are children allowed?
Beginners are the norm, not the exception. Minimum ages in the field typically run from about nine or ten years old, usually with a parent or guardian on site for the whole shift. Some groups run dedicated youth workdays with lighter duties and tighter adult-to-child ratios, and some set a minimum age of 14 for tool work. Ask about age rules for the specific project before you arrive.
What should I wear and bring to a restoration project?
Wear sturdy closed-toe boots that tolerate mud, long pants, and layers you can adjust, plus a hat and sunscreen. Bring a refillable water bottle plus a spare, snacks, insect repellent, personal medication, a charged phone, and a photo ID with your signed waiver if one was required. Most projects provide hand tools, gloves, water, and first aid, so confirm what is supplied before buying anything.
Are habitat restoration volunteer positions paid?
No. Habitat restoration volunteering is unpaid almost everywhere. Organizations fund tools, gloves, training, and sometimes transportation or meals, but the labor is volunteer. Paid restoration work exists as separate jobs such as restoration technician, invasive species crew lead, nursery staff, or field ecologist. Volunteering is the usual way people enter that field, and hours and references from volunteer work often carry into paid applications.
What happens if the weather is bad or the project is canceled?
Most groups make the call the evening before or early that morning and notify everyone who RSVP’d by email, text, or phone. Wet conditions that would normally halt work often become data collection or nursery work instead. Ask your confirmation message who to contact, how late the decision comes, and whether there is a makeup date. Turning up at a canceled site is the one mistake nobody forgives.
How is progress measured after a restoration volunteer day?
Progress is measured at two levels. Per day, crews count what they finished: invasive stems pulled, native plants installed, area treated, litter collected, or survey forms completed. Over months and years, restoration partners track survival rates, species returning, bare ground covered, water quality, or cover on photo points. Ask the coordinator which measures their site uses, since that also tells you what the crew considers a good shift.
Start With One Local Project
Pick one organization within an hour of your home, open its volunteer page, and email the coordinator about the next beginner-friendly shift. Ask what the site goal is, what you would actually be doing, whether training is provided, and what the age and waiver requirements are. Those questions are not a sign that you know nothing — they are how coordinators screen for reliability instead of guessing.
One honest, well-prepared email is all it takes. Turn up early, do what you are told, and come back. Most people who want to volunteer for a habitat restoration project already have the hard part figured out; the rest is showing up twice.