A fish finder will do most of the thinking on your first trip if you mount the transducer correctly, give it a clean fused power connection, and leave the factory settings alone long enough to see what the unit does on its own. The whole setup takes about half an hour at the dock, and the reading part takes a season of short trips to get comfortable.
Most beginners start out moving through menus on the ramp, turning things up because the screen looks empty. It is backwards. Turn the settings down, learn what one clean image looks like, and add complexity only when you can explain why you need it.
Table of Contents
- What You Need
- Step-by-Step: How to Use a Fish Finder for the First Time
- Step 1: Install the Transducer and Unit
- Step 2: Connect Power and Check the Display
- Step 3: Set the Sensitivity and Depth Range
- Step 4: Read the Sonar Display
- Step 5: Test It in Shallow Water
- Step 6: Save a Basic Setup
- Common Mistakes
- Frequently Asked Questions
- Where should I place the transducer on my fish finder?
- What are the best settings for a fish finder for beginners?
- How do I read fish finder arches and know if they are real fish?
- Why does my fish finder say stopped or show no data?
- Can you test a fish finder transducer out of the water?
- Is a fish finder worth it for a beginner angler?
- Conclusion: Start with a Simple Setup
What You Need
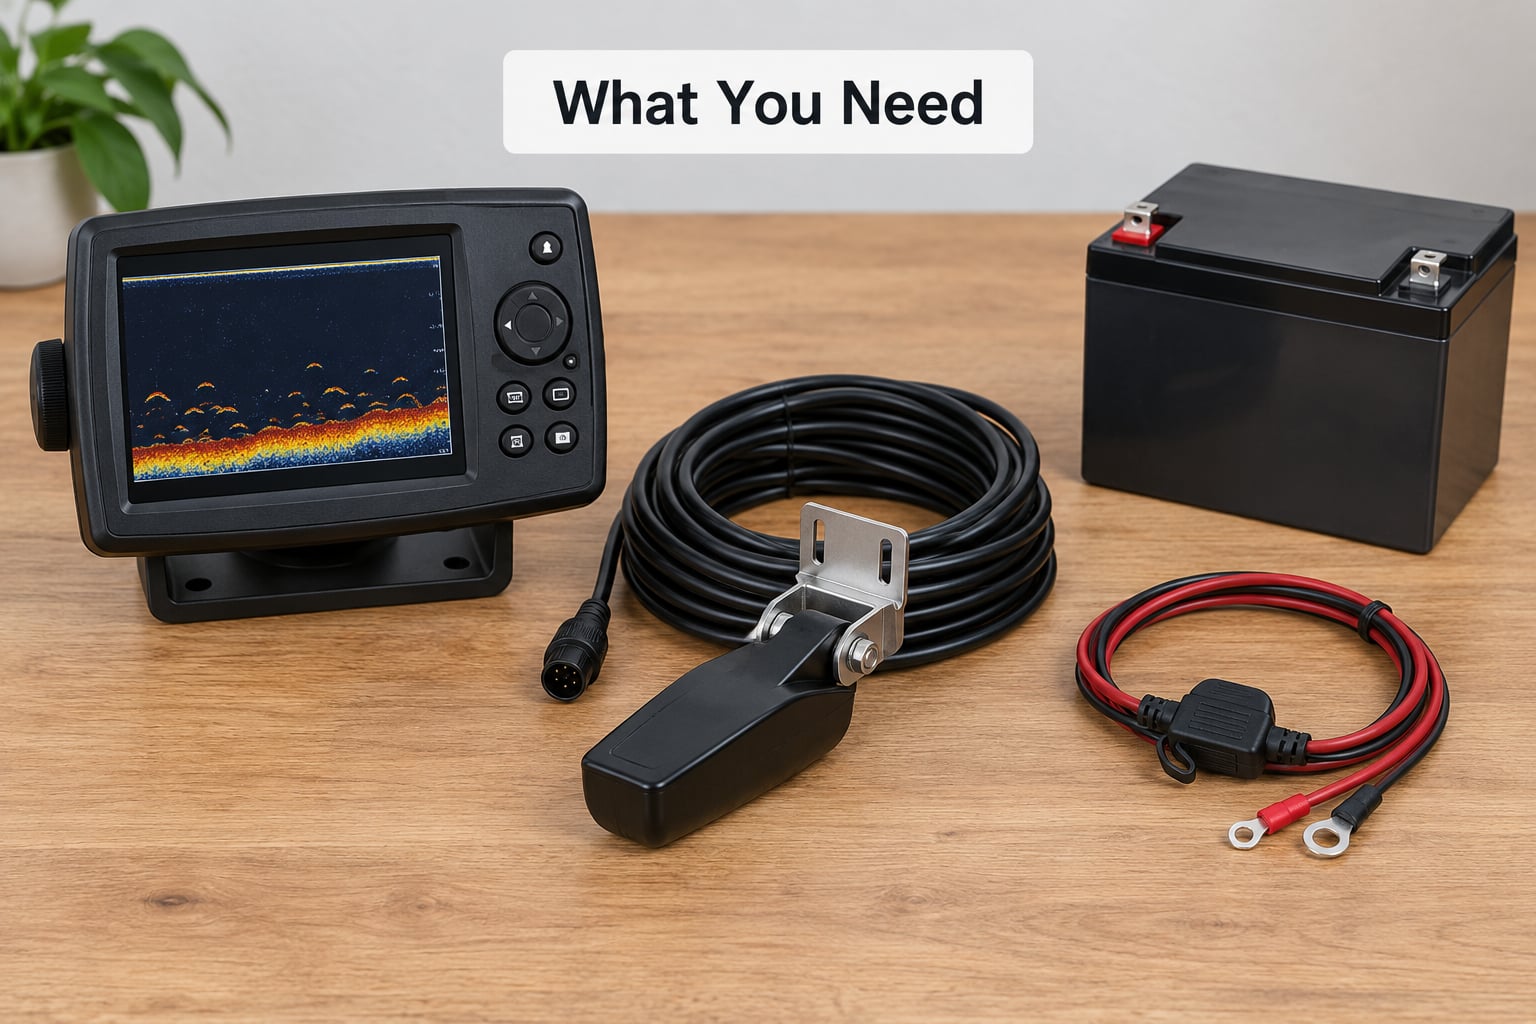
Bring the unit, the transducer it was sold with, and the manual that came in the box. The manual matters more than most people expect, because the same setting has a different name on every brand and the wiring diagram in the back is the only place the fuse size is printed.
- The fish finder itself, or a portable unit if you rent boats. Portable models use a battery clip and a puck that you stick to the hull while you fish.
- The matching transducer, with its cable and bracket. A transducer from a different brand usually will not talk to the unit, even with an adapter.
- Mounting hardware: screws, backing plates, marine sealant, and a strip of protective foam or packing tape for the cable where it crosses the transom.
- Power: a fused red and black lead pair sized for the unit, a ring terminal for the battery post, and either a switch or a clean way to kill power when you leave.
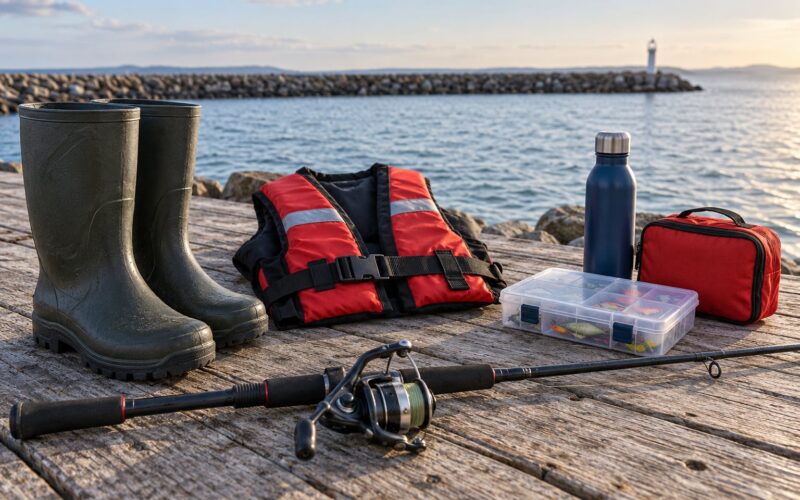
- Safety gear: life jacket, a whistle, and a light that works at dawn. You will be looking down instead of ahead more than you expect.
- A charged phone for the manual and for recording the depth and coordinates of anything you find.
Before you bolt anything on, read the wiring section of the manual. A fish finder draws far less current than a trolling motor, so an under-sized fuse is the only real fire risk in the whole install.
Step-by-Step: How to Use a Fish Finder for the First Time
Step 1: Install the Transducer and Unit
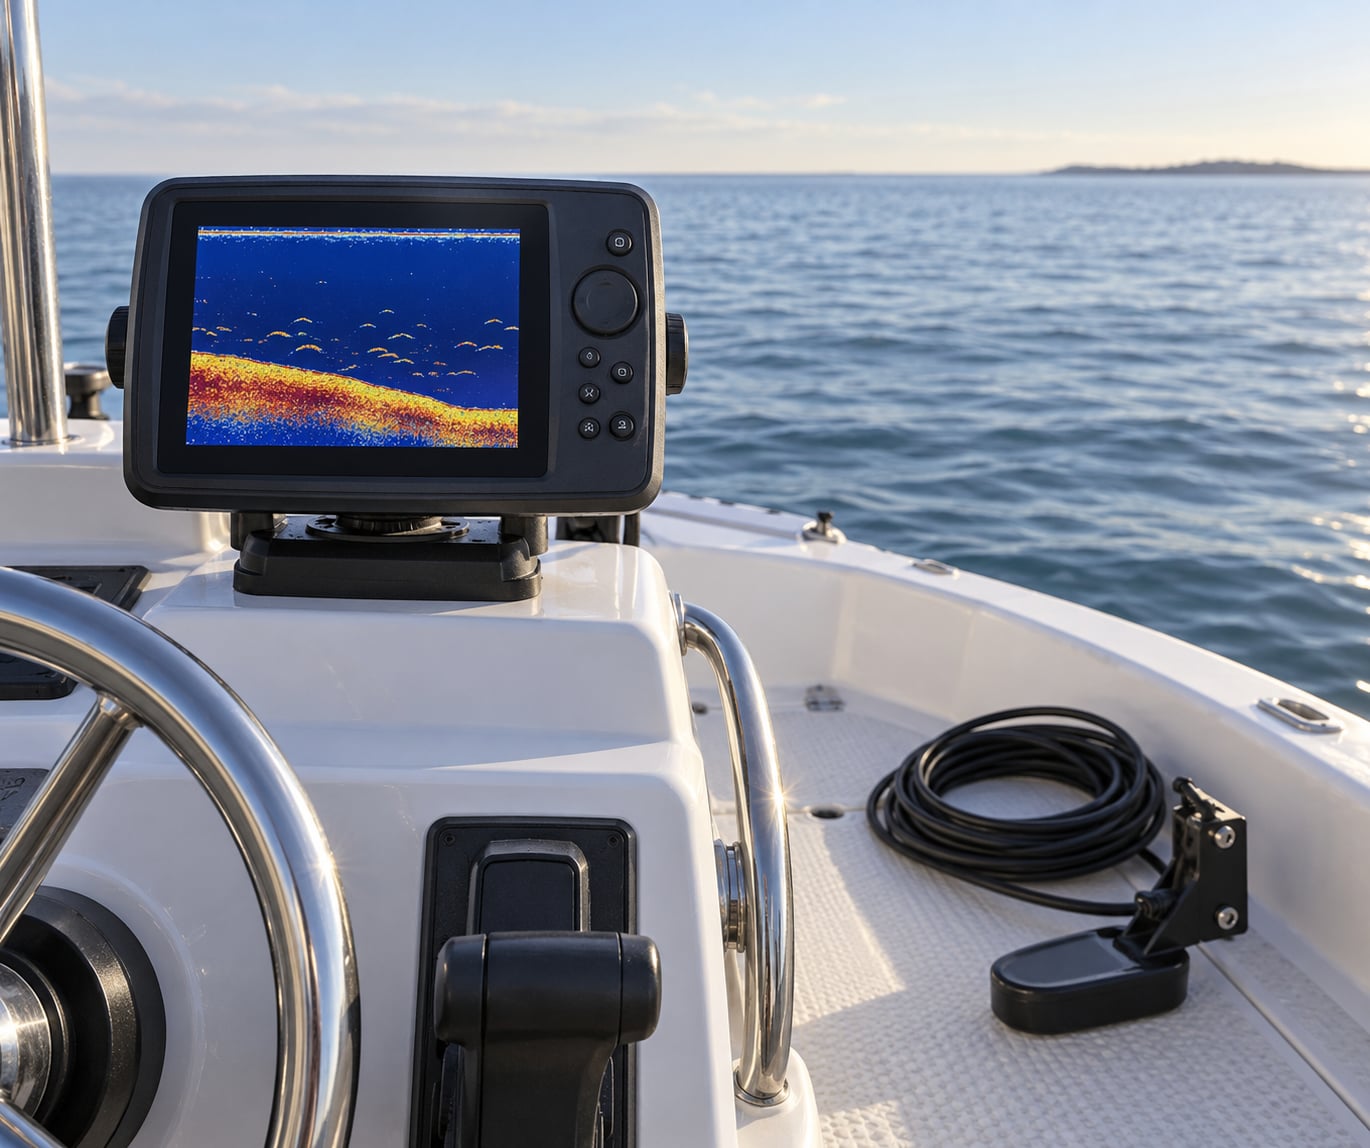
Mount the transducer on the transom, centered on the hull, level with the waterline, and facing straight down with a clear path into the water. Nothing else you do on day one matters as much as this one spot.
Clean the mounting area with a cloth and a little rubbing alcohol first. Sealant smeared over dirt is a permanent leak path, and the same grit under a puck transducer will throw your depth reading off by a foot or two for the rest of the season.
Check the angle before you drill. Most brackets let you nudge the puck up or down by a few degrees so the beam hits the bottom at a square angle rather than shooting forward or back. A beam aimed ahead reads shallower water than is actually under the boat, which is exactly how beginners end up aground on a drop-off they thought was a mile away.
Route the cable through the transom and secure it with foam or tape so it cannot chafe against the edge or get pinched by the tilt of the motor. Leave a loop of slack near the transducer, because the cable takes the strain as the boat moves and a cable that is pulled tight on day one is a cable that is broken by summer.
Mount the display where you can see it without standing up, and lock the ram or the bracket so it cannot swing when you lean over it.
Step 2: Connect Power and Check the Display
Connect the red lead to the battery positive post through the fuse the manual specifies, the black lead to negative, and nothing else. Then turn the unit on out of the water and confirm the screen boots and shows a sonar page.
Look for two things in the first minute. The unit should report a software or transducer connection without an error, and the depth readout should change as you carry the boat toward and away from a dock wall or a shoreline. A unit that powers on but sits at zero depth is telling you the transducer is not being heard.
Leave it running for a few minutes before you launch. Electronics that run warm behind the panel show problems sooner on the driveway than on the water.
Step 3: Set the Sensitivity and Depth Range
Turn the unit on in automatic mode and leave it there for the first trip. Automatic mode adjusts gain and range for you, and until you can explain what a clean picture looks like, you have nothing to compare the automatic picture against.
Once you know the water, adjust sensitivity in small steps. If the screen is nearly empty, raise it a little. If the water column is a mess of faint marks and flickering bands, lower it. Beginners who turn sensitivity all the way up see a snow globe and assume the unit is broken.
Set the depth range to the next step above the water you are fishing. Fishing 32 feet of water on an 80 foot scale squashes every target into a couple of pixels and makes fish look like sticks.
| What it does | Usually called on the menu | Beginner setting |
|---|---|---|
| Controls how faint a return the unit will draw | Sensitivity, Gain, or AGC | Auto for a month, then adjust by small steps |
| Sets how much water fits on the screen | Range, Depth, or Scale | Next step above the deepest water |
| Cuts interference from engines and nearby units | Noise Rejection or Interference Rejection | Raise only when you see false marks |
| Magnifies a narrow band of depth | Zoom or Bottom Zoom | Off until you are marking structure |
| Shows your own path across the bottom | Trails | On, it helps you return to a mark |
Step 4: Read the Sonar Display
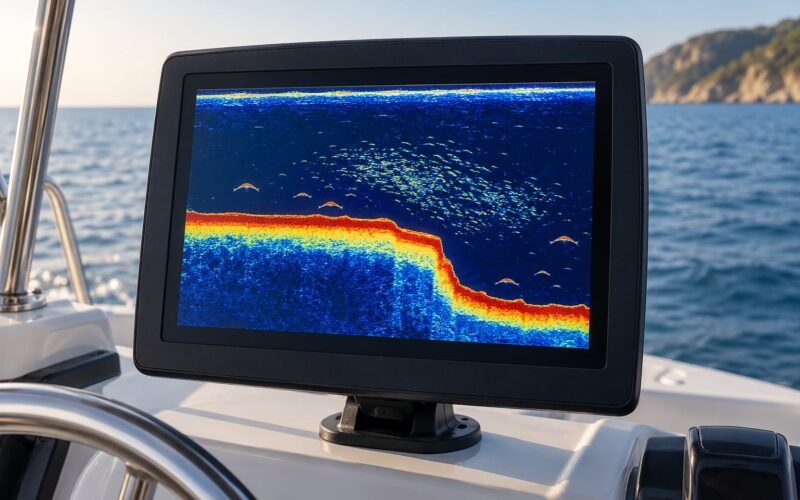
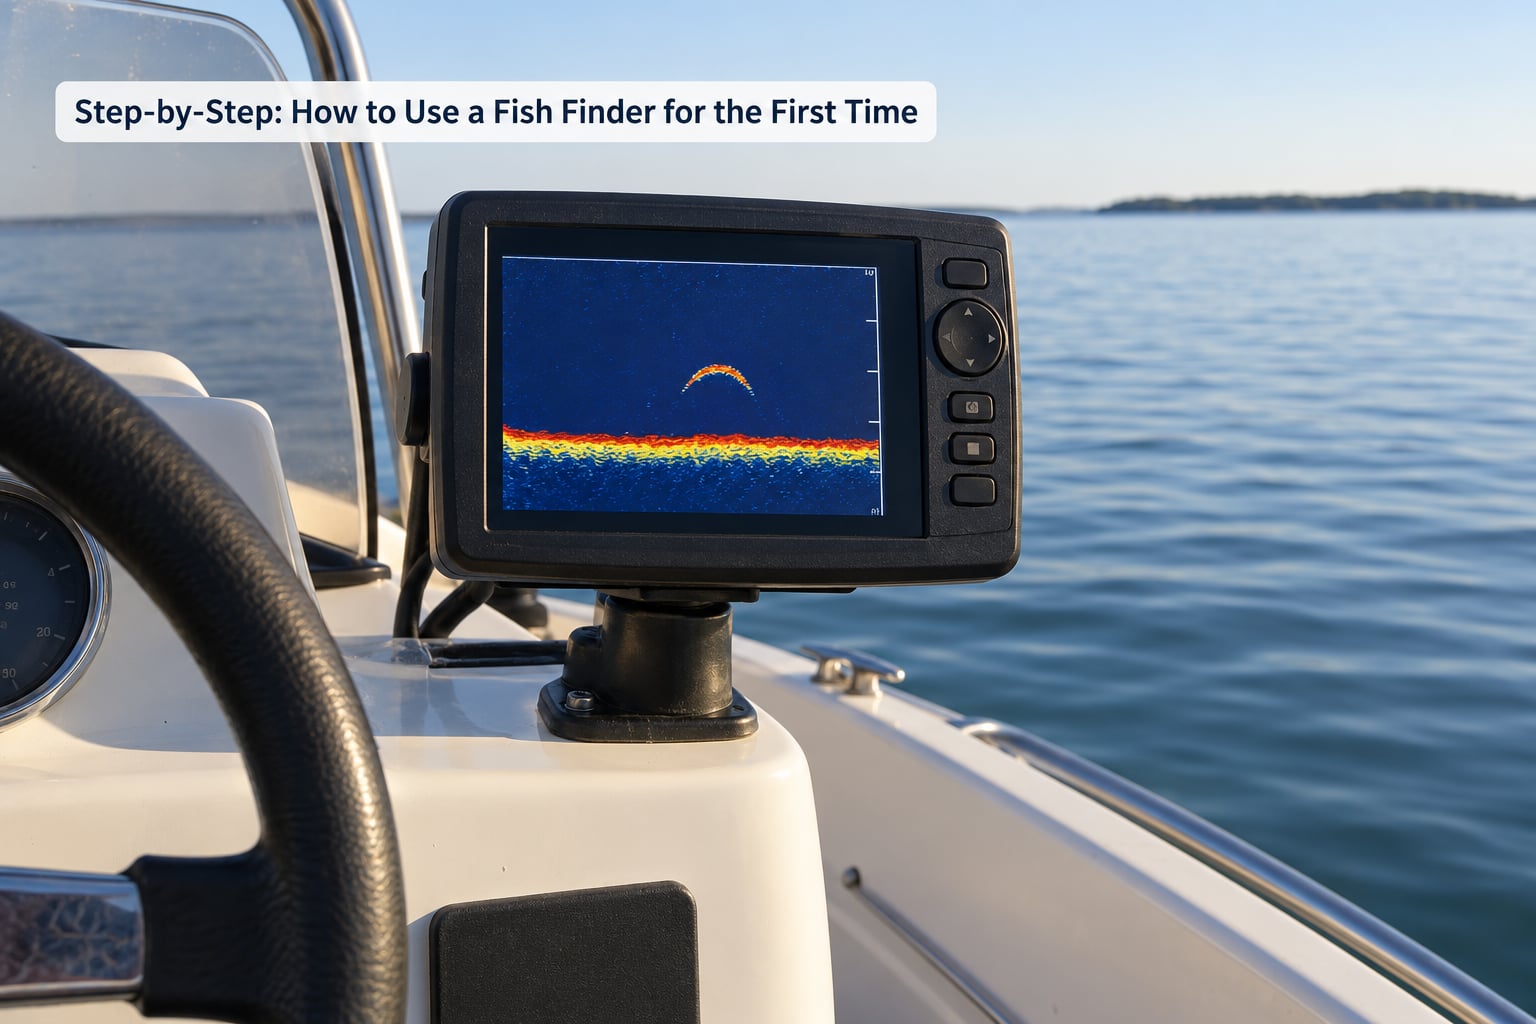
A fish finder sends a sound pulse from the transducer, the pulse bounces off the bottom, structure and fish, and the unit draws each echo as the sound comes back. Newest data appears at one edge of the screen and scrolls away behind it, which is why a fish holding station beside the boat shows up as a steady mark while a fish swimming across your path draws a streak.
Learn four things in order.
- The bottom line. A solid, continuous band. If it bends sharply, you have found a drop-off, a channel edge or a hump, and that bend is where most fish hold.
- Arches. A fish held above the bottom shows as a small upward curve, shaped like an arch, often with a faint shadow trailing behind it. The shadow is the fish blocking your own bottom return, which is why it only appears over hard bottom.
- Clouds and shadows. Baitfish show up as a loose cluster of small marks. A hard, fuzzy shadow under that cluster, or a wide dark patch on the bottom with no marks in it, usually means brush, a rock or a weed edge. Shadows can hide a fish, so check the edges of them.
- Your own bait. When you drop a jig or a worm, it appears as a single mark you can watch fall. Once you can follow your bait, you know exactly what an arch is, because you have seen one on the way down.
The shape of a steep drop-off also fools beginners. On a sharp ledge the cone angle reaches the deep water before the shallow water, so your bait can appear below the bottom line. The bait is fine. The screen is describing the geometry of the beam, not a mistake.
Step 5: Test It in Shallow Water
Practice in water you know, in less than 15 feet, close enough to shore that you can get back in quickly. Find a spot with one feature you already know the depth of, such as a marked channel edge or a boat ramp you have fished before.
Sit still for two minutes and watch the image. Idle over the spot, then move forward slowly and watch how the bottom line changes. Hold position directly over the feature and compare what the screen shows with what you know is there. This calibration is the single most useful thing you will do on the water.
Then do the one test most beginners skip. Watch your own bait fall from the boat and note where its mark appears, how fast it moves down, and how it merges with the bottom when it lands. After five drops you will read arches faster than any manual can teach you.
Step 6: Save a Basic Setup
Save one profile before you pack up, and write down the three numbers that got you there: sensitivity, depth range, and whether zoom was on. Most units restore a saved setup at power-up, and when something does go sideways later you will want the version that worked.
Write the numbers on a card in the console too. Rebuilding a configuration you half remember at 6 a.m. is a good way to talk yourself out of using the unit at all.
Common Mistakes
Mounting the transducer crooked, dirty or inside the hull. A tilted beam, a smear of sealant, or a pocket of air behind the puck produces a depth reading that is consistently wrong. Fix it before anything else, because every other setting assumes a straight, unobstructed beam.
Running sensitivity too high. Extra gain does not find more fish, it makes noise and gas bubbles look like targets. The usual beginner mistake is cranking it up because the screen feels empty in open water.
Leaving the depth range on automatic. On deep water, auto range gives you a stretched, unreadable picture. Set the scale by hand until you know your water.
Believing a clear screen means no fish. Fish suspend well off the bottom and small ones can sit under the cone angle at any range. A quiet screen is a reading, not a verdict.
Reading every mark as a fish. Baitfish, a fallen branch, a boulder, gas bubbles near the surface and your own propeller all draw marks. Learn the difference by watching a known object, like a piling or a rock you can name.
Staring at the screen instead of the rod tip. The screen tells you a fish is there. Your line tells you it moved. Once you can read the water, give the rod your attention and check the screen only when you want to know what is underneath you.
Leaving before the unit proved itself. If the sonar page says stopped, or the depth never changes as you move, the install or the connection is the problem. Twenty minutes on the ramp beats a whole season of distrust.
Frequently Asked Questions
Where should I place the transducer on my fish finder?
Mount it on the transom, centered on the hull, level with the waterline, and pointing straight down into clean water. Angle it so the beam hits the bottom squarely rather than forward or aft, seal it to a surface you have cleaned first, and leave a slack loop in the cable. A tilted or fouled transducer gives you a wrong depth reading no matter how the rest of the unit is set.
What are the best settings for a fish finder for beginners?
Start in automatic mode for the first several trips and change nothing. After that, set the depth range by hand to the next step above your water, raise sensitivity in small steps only when the picture is empty, and lower it when the water column fills with clutter. Leave zoom and interference rejection alone until you have a reason, and save the setup that gives you a clean bottom line.
How do I read fish finder arches and know if they are real fish?
A fish held above hard bottom shows as a small upward curve, often with a faint shadow trailing beneath it because the fish blocks your own bottom return. Baitfish appear as a loose cluster of small marks, while brush and rocks show as fuzzy shadows with few marks. The fastest way to learn is to drop your own bait and watch a single mark fall, then land it and note where it merges with the bottom.
Why does my fish finder say stopped or show no data?
Usually the transducer is not being heard. Check that the cable is fully seated, that the connector is dry and clean, and that the puck is not covered by sealant, grime or an air pocket. Confirm the unit is in sonar mode and not in a mapping or setup screen, and check the power lead and fuse. Testing the unit while it is out of the water tells you quickly whether the problem is electrical.
Can you test a fish finder transducer out of the water?
Yes, partially. With the unit on the ramp you can confirm it boots, connects to the transducer without an error, and responds to movement, but you will not get a true depth reading out of the water. Hold the transducer in a bucket or a deep tub of fresh water and you can see a bottom return and a depth reading close to the true water depth, which is a good bench test before launching.
Is a fish finder worth it for a beginner angler?
It is worth it if you fish water you do not know or you keep losing track of spots you have already found. Beginners get the most from it by using it as a map builder: check depth on the way out, mark the drop-offs and weed edges you find, and return to them. It locates fish, it does not catch them, and you still have to know what to cast and how to work it.
Conclusion: Start with a Simple Setup
Start by installing the transducer clean and level, powering the unit through a proper fuse, and confirming it reads depth before it leaves the dock. Run it in automatic mode and pay attention to one thing only: the bottom line. Once that reads true, save the setup and go find a drop-off you already know in shallow water.
The screen gets easier after a handful of trips, not after a long manual session. Watch your own bait fall once per outing and the arches will start making sense on their own.