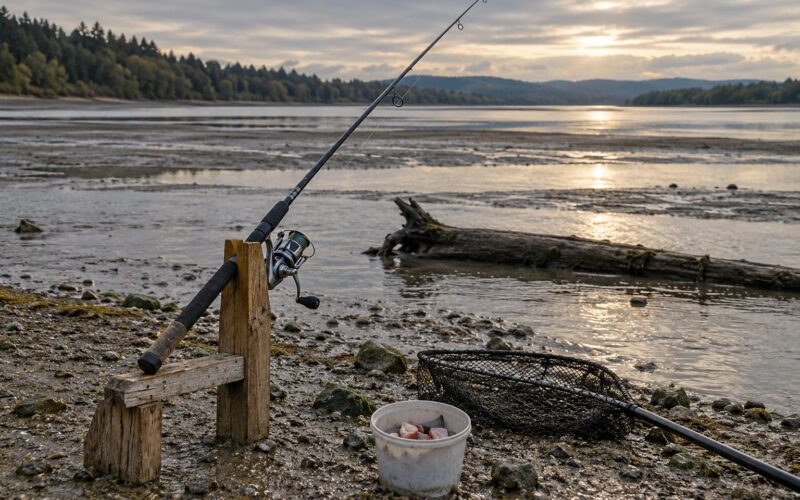
To find a fishing spot on a new river, work through seven steps in order: study the map and access, learn the river’s structure, check depth and water conditions, read the current from the bank, use fish and wildlife as evidence, pick a safe position, then test and log the spot. Most of that work happens before you cast, and a full scouting pass takes a couple of hours at the bank plus an evening of research at home.
It is harder than picking a spot on water you already know, because the cues you normally read automatically — a familiar pool, a known undercut — mean nothing yet. This process replaces instinct with a checklist. You will know a spot is worth working because you saw the current break it, saw something eat there, or confirmed the depth change on a map.
Table of Contents
- What You Need
- How to Find a Fishing Spot on a New River: Step-by-Step
- 1. Start with the river map and access information
- 2. Learn the river’s structure and flow patterns
- 3. Check water depth, clarity, temperature, and oxygen
- 4. How to Find a Fishing Spot on a New River by Reading Water
- 5. Look for fish, insects, and birds as evidence
- 6. Choose a safe casting or wading position
- 7. Test the spot and record what works
- Common Mistakes
- Frequently Asked Questions
- What is the best way to catch fish in a river?
- How do I know where fish are in a river?
- How do I find public fishing access to a river?
- What does a CFS flow reading mean for fishing?
- Is it safe to wade a river I have never fished before?
- Conclusion
What You Need
Scouting a river you have never fished needs less gear than fishing it, and mostly none of it is expensive or brand-specific. Gather these before you drive anywhere.
- Offline maps — download the river reach on your phone’s map app while you still have service. Satellite view and street-level imagery both work well for spotting access points and water shape.
- A paper or waterproof topo map of the same stretch. Contour lines tell you where the land drops toward the water, which is usually where the bank is walkable and where the deeper channel sits.
- Property boundary information — a plat map overlay or a hunting-map app view showing whose ground you would be standing on.
- A stream gauge readout from the USGS or your state agency site, plus a phone or thermometer for the water itself.
- Polarized sunglasses. You cannot see a seam, a submerged rock, or a weed edge through glare, and this is the single cheapest upgrade to your scouting.
- Headlamp or flashlight for arriving in the dark, which most anglers do on new water.
- Wading gear if you plan to enter the water — felt-soled or studded boots, a wading belt, a staff, and a personal flotation device you actually wear. Nylon waders and no PFD is a common and expensive combination.
- Rod, reel, and a couple of lures for the test phase. Bring a net and a disgorger.
- Notebook or phone note and a GPS unit or app, for logging spots worth coming back to.
Add rain gear, water, a first aid kit, and a charged battery bank. Cell service is unreliable at most river access points, which is the entire reason you downloaded the maps.
How to Find a Fishing Spot on a New River: Step-by-Step
Each step produces a specific result. If you cannot name what you learned, you skipped the step rather than shortcut it, and the step after it will not work.
1. Start with the river map and access information
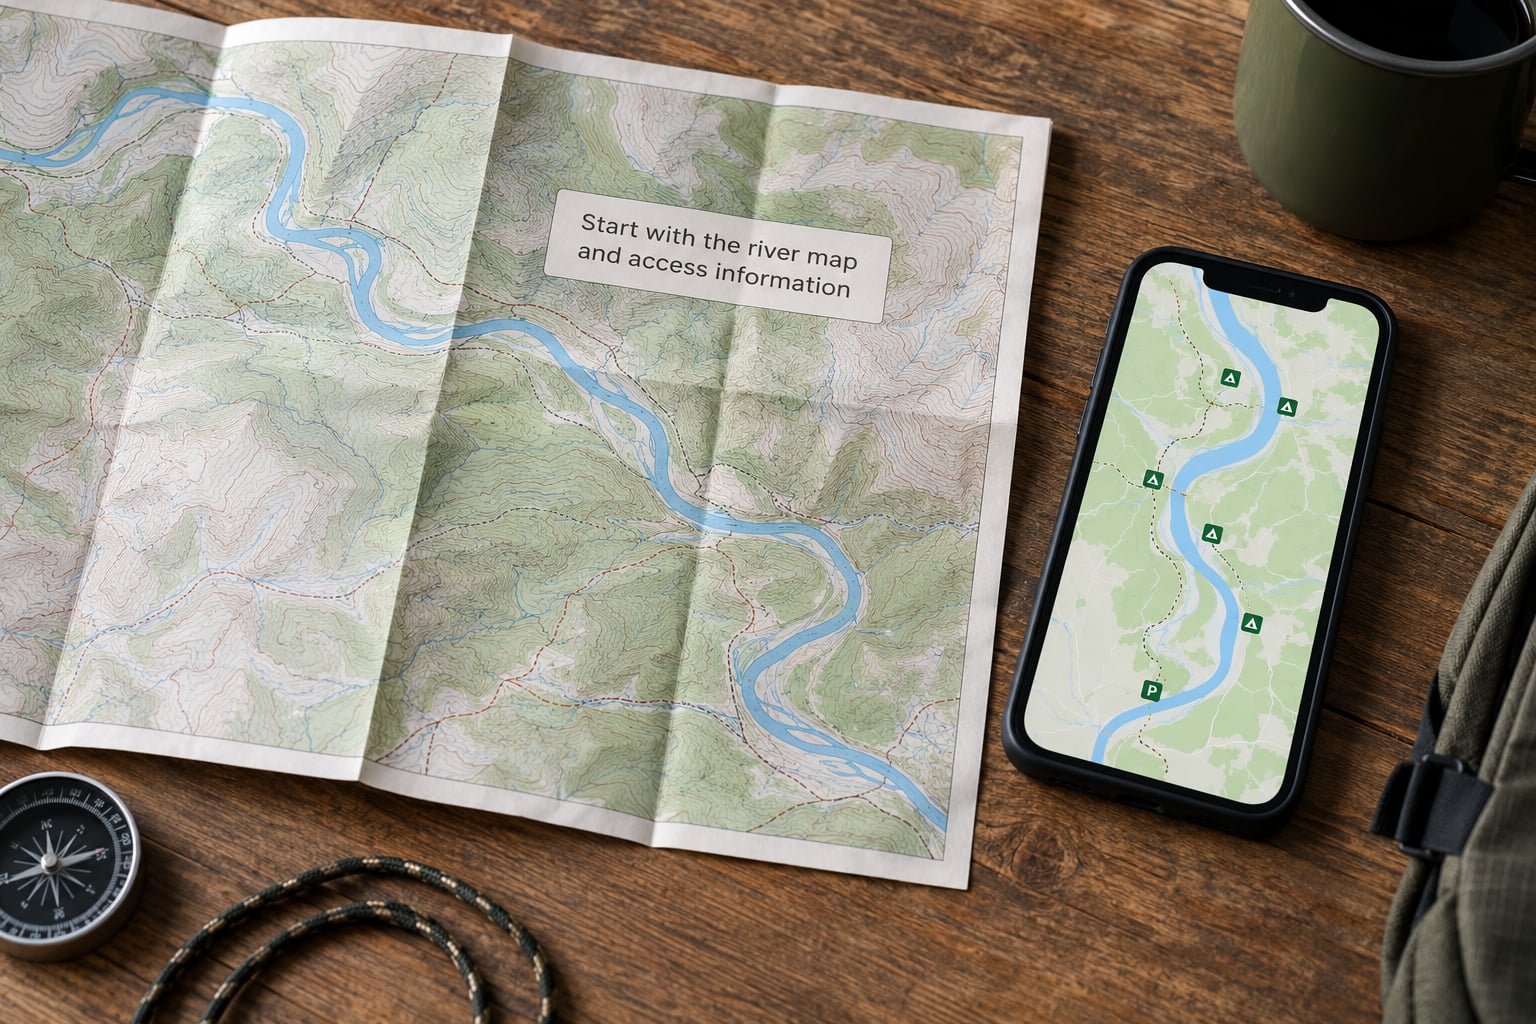
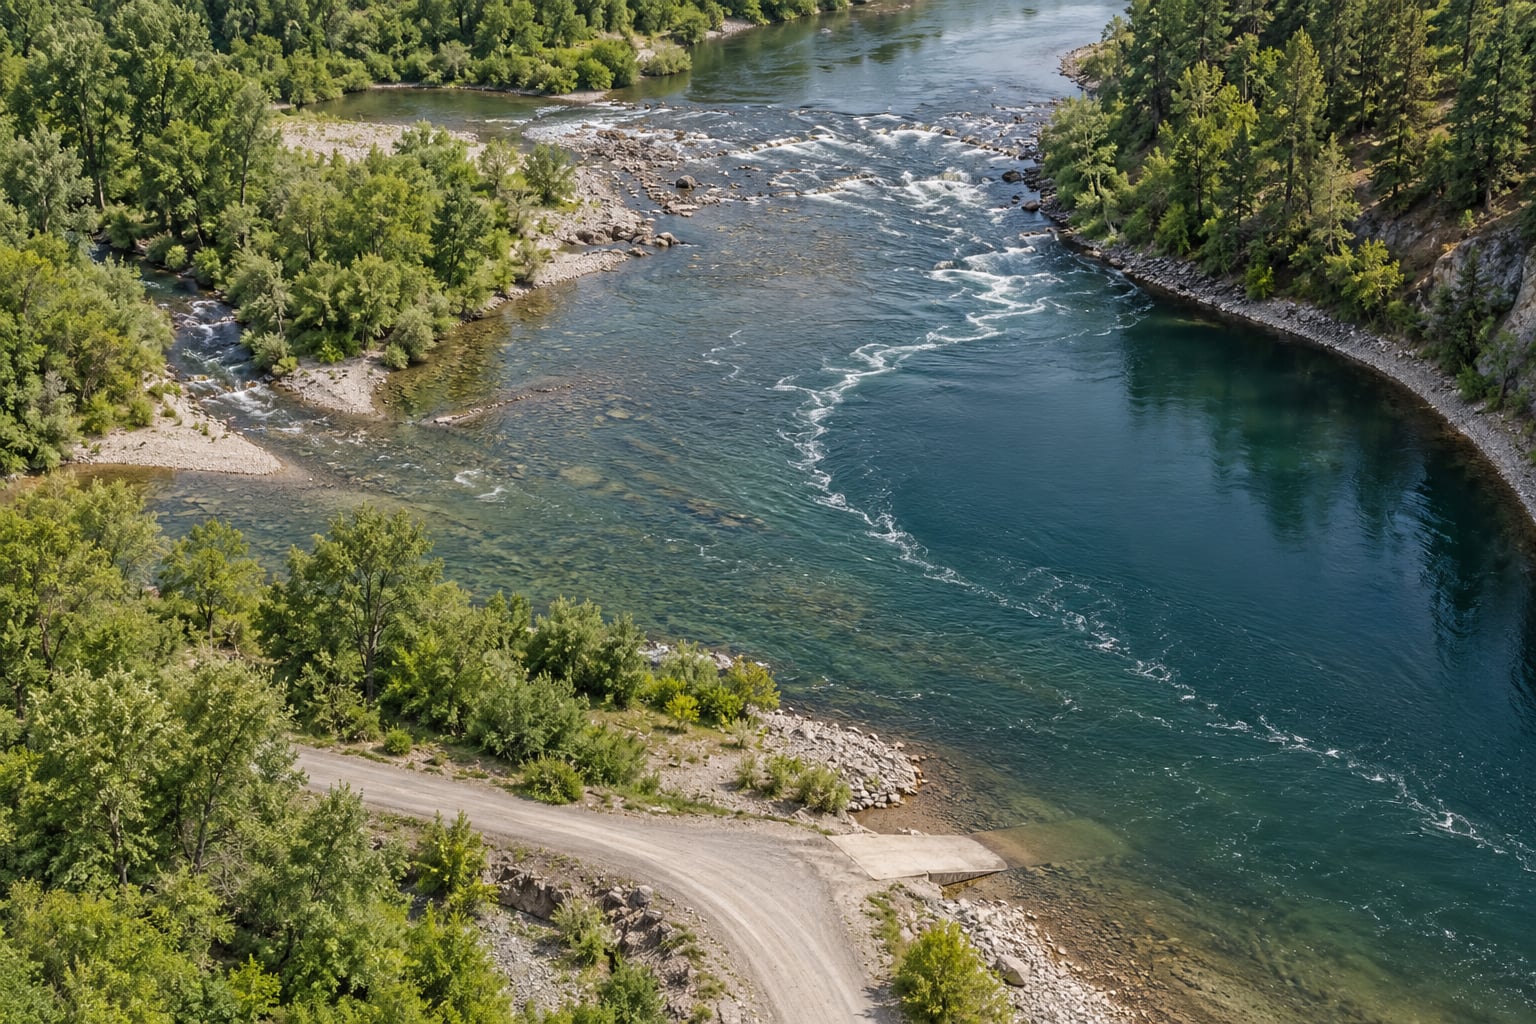
Before you leave, put the river on a map and find out where you can legally stand next to it. Look for boat ramps, state park boundaries, public road crossings, and side roads that end at the water. Satellite imagery is the fastest way to spot a gravel bar with a track leading to it or a paved pull-off that the street map does not show.
Then trace the tributaries. A creek meeting the main stem is one of the most reliable fish-holding places on any river, and feeder mouths are easy to spot from the air because the water changes color where sediment mixes.
You have done this step well when you can point to at least two legal places to put in and at least one backup that does not depend on the same road. Check local regulations too — license requirements, gear restrictions, seasonal closures, and any sections closed to fishing — before the trip, not at the gate.
2. Learn the river’s structure and flow patterns
Every river is a repeating sequence of deep, slow water and shallow, fast water, and that sequence is what you are looking for on the map and from the bank. A pool is the deep, slow section where water piles up on the outside of a bend. A riffle is the shallow, fast, broken water between pools, where the bottom is coarse and the surface is textured. A run is the stretch of steady current connecting them.
The places worth attention are the transitions. A seam — also called a current break — is the line where fast water slides past slower water, and fish station along it facing upstream so they can grab food coming down without fighting the current. An eddy is a pocket of reverse current behind a rock, inside a bend, or downstream of an obstruction. A drop-off is where the bottom falls away from shallow to deep, usually marked on a topo map by tightly packed contour lines near a channel.
Step two works when you can sketch the river’s sequence of pool-riffle-run-pool from memory, and you have circled three transition features on the map.
3. Check water depth, clarity, temperature, and oxygen
You can learn a surprising amount with a stick and your eyes. A wading staff, a canoe paddle, or even a long branch pushed downstream at a few points tells you the relative depth. Water that looks like glass shows you the bottom, which means you can spot boulders, ledges, and gravel shelves that break up the current.
Cold, fast, broken water carries plenty of dissolved oxygen; warm, sluggish, weedy water carries less, and fish move out of it. Check the nearest gauge reading and the water temperature on the same visit. After heavy rain the water runs turbid and drops in temperature, and most fish stop feeding in the shallows until it clears.
Note the readings next to your map. Fish behavior on the same pool in early summer and in late autumn is not the same behavior, and the number tells you which of the two you are looking at.
4. How to Find a Fishing Spot on a New River by Reading Water
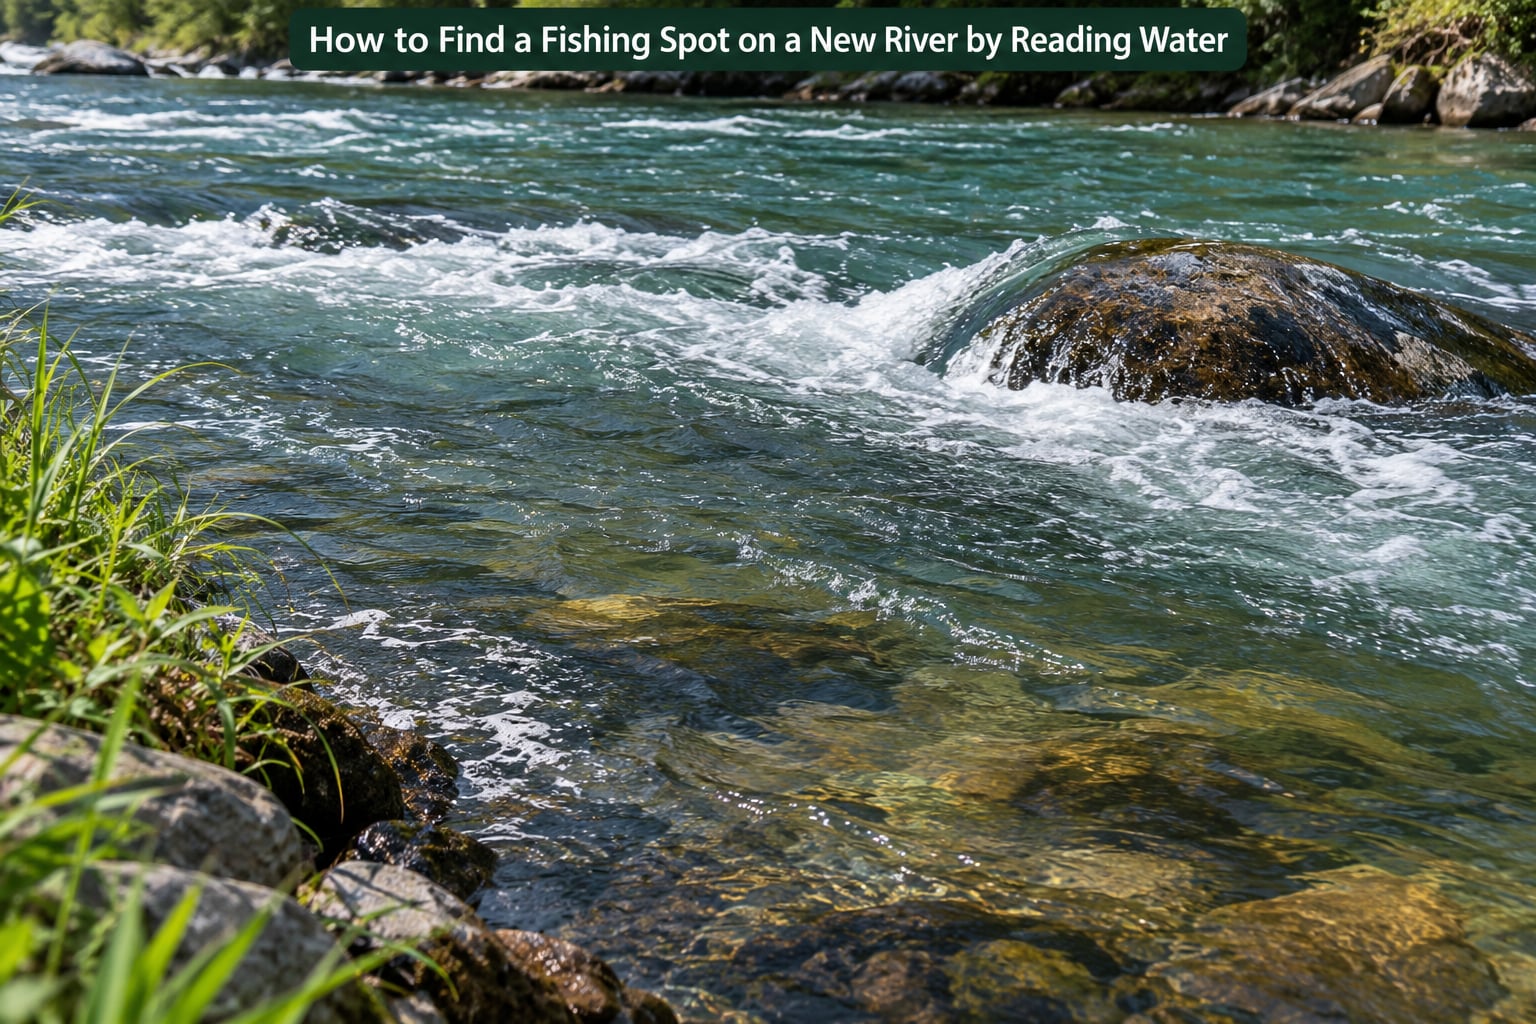
Reading water means watching where the surface tells you the bottom changed shape. Stand still on the bank and give it two full minutes — the eye adjusts, and after that the obvious stuff fades out. Look for a seam where the surface texture changes from rough to glassy, a boil or swirl where current climbs and rolls back, a line of foam and bubbles collecting at an angle, or a seam of darker water drifting over a shallow bar.
Undercut banks are visible as a dark band along the shoreline where overhanging roots or an eroding ledge create cover. Downed trees and root balls push current aside and form a seam on the upstream side. Rock ledges create boils downstream of them. Weed edges mark a depth or temperature change, and the fish sit right on the line between the two.
To confirm a promising target without startling anything, approach from downstream and stay low. Fish face into the current and rarely notice a slow movement from behind. If birds are working the water, the fish are there too, and any spot that is suddenly empty of activity while the rest of the river is not tells you something moved through. You have completed this step when you have two or three targets you could describe to another angler in one sentence each.
5. Look for fish, insects, and birds as evidence
Birds are the most honest signal on a river, because they hunt fish and ignore everything else. Swifts and swallows working low over a seam mean insects are hatching off it, which means fish are feeding there. A heron standing in one spot without moving for several minutes, an osprey on a dead limb over a pool, or a kingfisher perched on a rock at a seam all point at fish. Ospreys will also nest on old channelized riverbanks, so look for the platform itself.
On the water, a rise or a boil in an otherwise smooth surface is a fish feeding. Bubbles trailing from a rock in a shallow run often mean a fish is working the current there.
Know which signs mislead. A distant splash is usually a beaver, a muskrat, or a rock, not a trout. A circling osprey may be watching a bait ball far off your target. Blowing surface water in a warm, stagnant backwater is more often a gas pocket than dinner.
6. Choose a safe casting or wading position
Pick your position before you get excited about the fish. You want stable, level footing, a clean path to get out of the water, and a spot where you are not standing below a dead tree in a bend. Check the ground behind you — undercut bank collapses, and a well-worn trail is sometimes a warning.
Know the exit before you commit. Pick two ways out: the bank you came from, and higher ground upstream. Standing in current with your back to deep water and no route forward is how people get hurt.
If you wade, learn the rule before you step in. Wade at an angle upstream, cross with the current at an angle rather than straight across, and take short steps with the staff planted ahead of you. When water is above mid-thigh, above knee-deep on smooth bottom, or pushing hard against your legs, you are past the safe depth for most anglers — stop and fish from the bank instead. Wear the PFD. Check the upstream weather, because a rainstorm that does nothing here can put a wall of water in your position twenty minutes later, and never wade after rain.
7. Test the spot and record what works
Give the spot a fair trial rather than a cast and a shrug. Make a few controlled presentations to the target, then move. Change one thing at a time: retrieve speed, lure weight, or depth. If a seam is holding fish, the same presentation three or four times will usually tell you; if it is not, the problem is usually the spot, not the lure.
Then fish the second-best target nearby before you leave. Two data points beat one, and comparing them tells you whether you found the good seam or just got lucky.
Log it while it is fresh: GPS waypoint, or a photo of the bank and a landmark tree if you have no GPS, plus notes on water level, weather, and what you caught. A scouting card with those five fields is enough to walk straight back to the same spot months later, and it is the only reason a scouting trip actually pays off.
Common Mistakes
Fishing without confirming access first. The most common failure, and the easiest to avoid. People drive three hours, find a promising bank, and discover a fence between the road and the water. Verify the legal approach on the map and the plat overlay in step one, and treat a spot you cannot reach legally as not a spot.
Trusting satellite imagery alone. Imagery shows you a bend and a gravel bar. It does not show you that a two-foot-deep riffle runs below that bar right now, or that someone built a fence in the last eighteen months. Ground-level street imagery helps, but nothing replaces standing there. Every map is a hypothesis; the water is the evidence.
Ignoring regulations until you are standing there. Check the license, the season dates, the gear rules, and any section closures before you leave. Nothing kills a day faster than finding out the reach you drove to is closed.
Choosing footing by convenience instead of safety. The smooth undercut bank that looks like the best casting platform is the one most likely to give way. Test the ground with your boot, keep an exit route in view, and turn down a good fish to stand somewhere solid.
Moving too quickly through promising water. The instinct is to walk the bank and cast everywhere. Slow down and pick two or three spots and work them properly. You learn far more from one seam fished thoroughly than from a dozen blind casts along a mile of bank.
Approaching from upstream. You will walk straight into every fish’s face and flush the pool before you make a cast. Circle downstream and approach low when you can.
Not asking locals. One question to a tackle shop counter, an outfitter, or a game warden about how the river has been fishing this month is worth an hour of your own guessing. Tell them what species and what water you are after; most will name a specific section.
Frequently Asked Questions
What is the best way to catch fish in a river?
Find where the current is interrupted and the depth changes, then match your approach to the water speed. Fish concentrate at outside bends, seams between fast and slow current, eddies behind rocks, riffles, undercut banks, and tributary confluences. Work two or three of those features deliberately rather than casting randomly along the bank, and approach from downstream so your shadow stays behind you.
How do I know where fish are in a river?
Watch the surface. A boil or swirl marks a rock or a fish pushing into current. A seam where water texture changes from rough to glassy is a feeding line. Foam and debris collecting at an angle, insects rising off the water, and a line of darker water drifting over a shallow bar all indicate fish. A sudden absence of bird activity in one stretch, while the rest of the river is busy, means something moved through.
How do I find public fishing access to a river?
Start with the main-stem boat ramps and state parks on your map, then work back to road crossings on smaller tributaries, which are often public right-of-way. State fish and wildlife agency maps list public land boundaries. Check a plat map overlay before you go so you know whose ground you are on, and verify your state’s river access rules, since the shoreline is not always public.
What does a CFS flow reading mean for fishing?
A flow reading means little on its own. The same number can be low water on a big river and flooding on a small creek, so learn the river’s own baseline from the gauge’s recorded history before you trust a number. Compare the current reading to the past weeks, check how the water looks, and expect fish to be pushed into the deepest, slowest structure when flow is up.
Is it safe to wade a river I have never fished before?
Only after you have read it from the bank. Watch the current for a few minutes first, identify two exit routes, and keep a hand on a staff. Wade at an angle upstream, take short steps, and stop at knee depth on smooth bottom, or earlier if the water is pushing hard against your legs. Wear a personal flotation device, and never enter the water after rain.
Conclusion
Learning how to find a fishing spot on a new river comes down to working through the steps in order instead of casting until something happens. The map tells you where you can legally stand and roughly where the deep water is. The bank tells you where the current breaks, where the seams and eddies are, and where the fish are working.
Start now, before you leave: pull up the map, confirm your legal access, and pick the one bank, pool, riffle, or tributary junction that looks safest and most promising. Give it a proper hour, note the depth and what you found, and write it down. That first scouting trip is what turns the next one into a good day on the water.