Learning how to use trekking poles on soft ground comes down to three habits: fit a mud basket so the tip meets resistance instead of vanishing, shorten the poles slightly, and plant each one deliberately before you step. On mud, sand or peat, poles become your third and fourth foot rather than decoration.
Most of the trouble comes from treating soft ground like pavement. A pole tip driven hard into saturated soil punches straight through, the shaft wobbles, and your weight lands on a wobbling stick instead of your own two feet. A wider basket spreads that load, and a slower plant gives you a real anchor.
The technique below takes about ten minutes to learn and applies everywhere from wet moorland to riverside mud after rain. If you already use poles on trail, the adjustment is small but it changes how the whole day feels.
Table of Contents
- What You Need
- Baskets and tips: what each one is for
- Step-by-Step: How to Use Trekking Poles on Soft Ground
- Set your base position
- Use the plant-test-commit sequence
- Adjust technique for mud, sand, and wet terrain
- Using trekking poles on descents and steep slopes
- Common Mistakes
- 1. Driving the tip straight down like a spear
- 2. Planting the pole after the foot lands
- 3. Skipping the test
- 4. Pushing off hard through the strap with a tight fist
- 5. Leaving the basket off “just for a bit”
- 6. Keeping the poles at full flat-ground length
- 7. Ignoring locks until a section collapses mid-stride
- 8. Never cleaning the shafts
- Quick safety and etiquette notes
- Frequently Asked Questions
- What are the downsides of using trekking poles?
- Should you use rubber tips on trekking poles?
- Why do my trekking poles sink in mud?
- How do I use trekking poles correctly on flat ground?
- How to use trekking poles for seniors on uneven ground?
- Are cheap trekking poles okay for soft ground?
What You Need
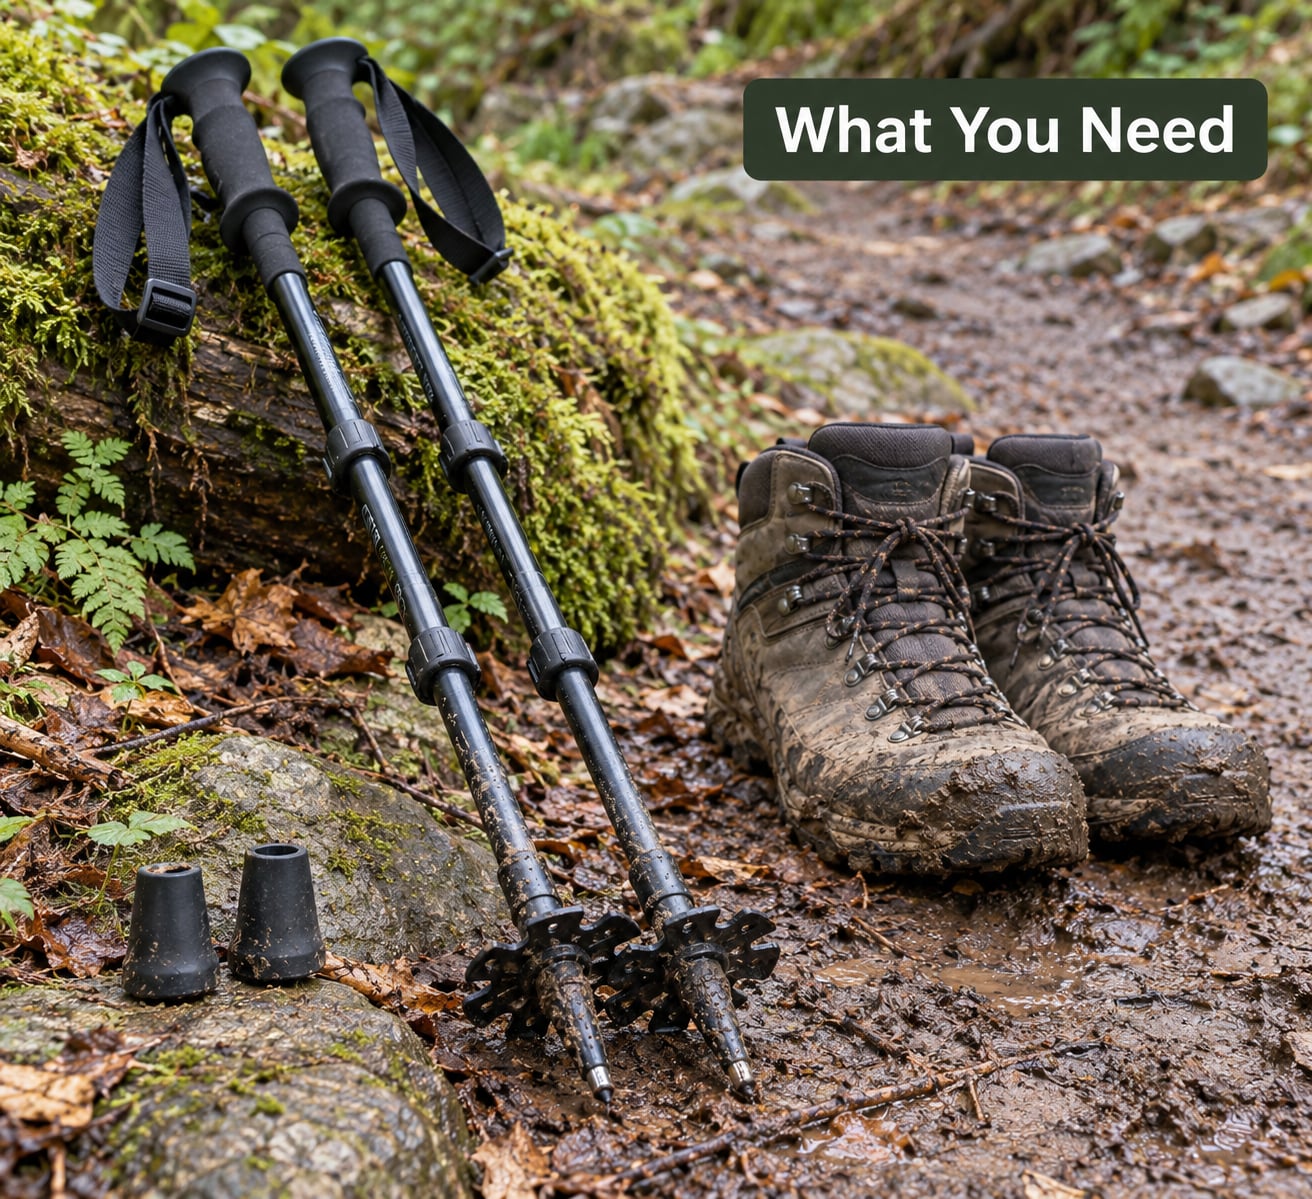
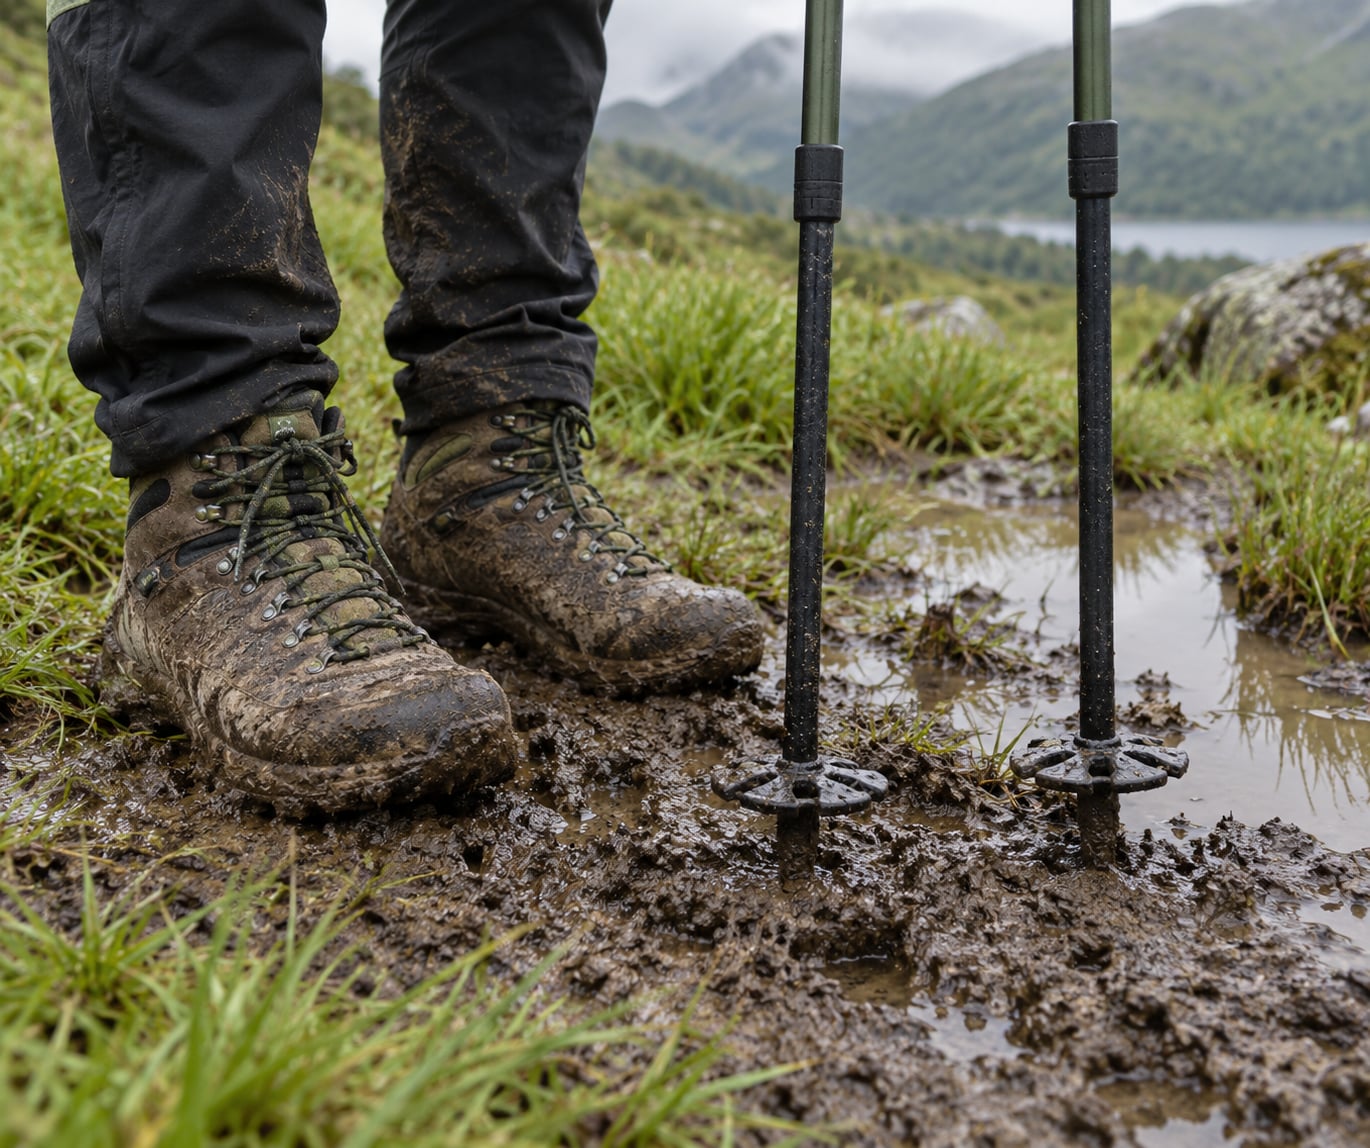
Start with the basket, because it decides how everything else works. A mud basket (also sold as a trekking basket) is a small plastic disc that screws or threads onto the shaft just above the tip, spreading the point load over a wider circle so the pole meets resistance instead of sinking. Without one, a trekking pole on soft ground is a stiletto in a cake.
Baskets and tips: what each one is for
- Mud basket — the wide disc for bog, peat and deep mud. Most hikers carry one spare in a hip pocket and swap it on when the trail turns soft.
- Snow basket — larger still, for deep snow where a mud basket would let the tip drop out between flakes.
- Rubber tip — a wide, blunt cap that grips soft dirt, wet grass and pavement without scratching anything. Trekking forums are full of people who put these on precisely because a point tip on an unstable surface is unsettling.
- Carbide tip — the hard default tip. Excellent on rock and gravel, and the reason poles sink when driven hard into mud.
Swap the basket before you need it, not during the bog. On the Camino de Santiago, hikers routinely carry removable baskets in a hip pocket and change them several times a day — hard ground with baskets off, soft ground with them on.
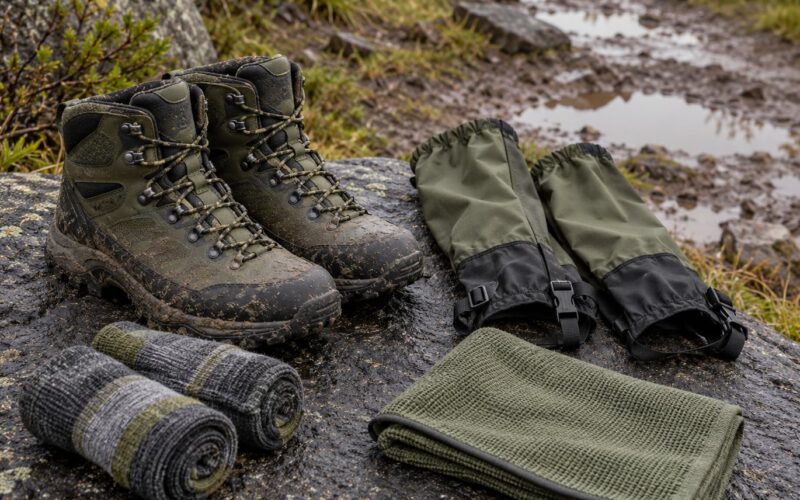
Two more pieces of kit matter more than people expect. Tall gaiters keep mud out of your boots, which matters more than any pole setting when a step disappears on the descent. And spare pole tips, because a carbide point that snaps on a hidden rock ends your pole use for the day.
Check your locks before you leave. External lever locks and twist locks both fail the same way: a section creeps closed under repeated loading. On soft ground you load each pole hard with every plant, so a loose lock that survived a day on pavement may not survive a mile of mud.
Finally, grip. Cork moulds to your hand and gets slick when wet. Rubber grips hold better in rain but can blister your palm if you grip too hard. Either works — the technique below assumes a standard wrist strap loop.
Step-by-Step: How to Use Trekking Poles on Soft Ground
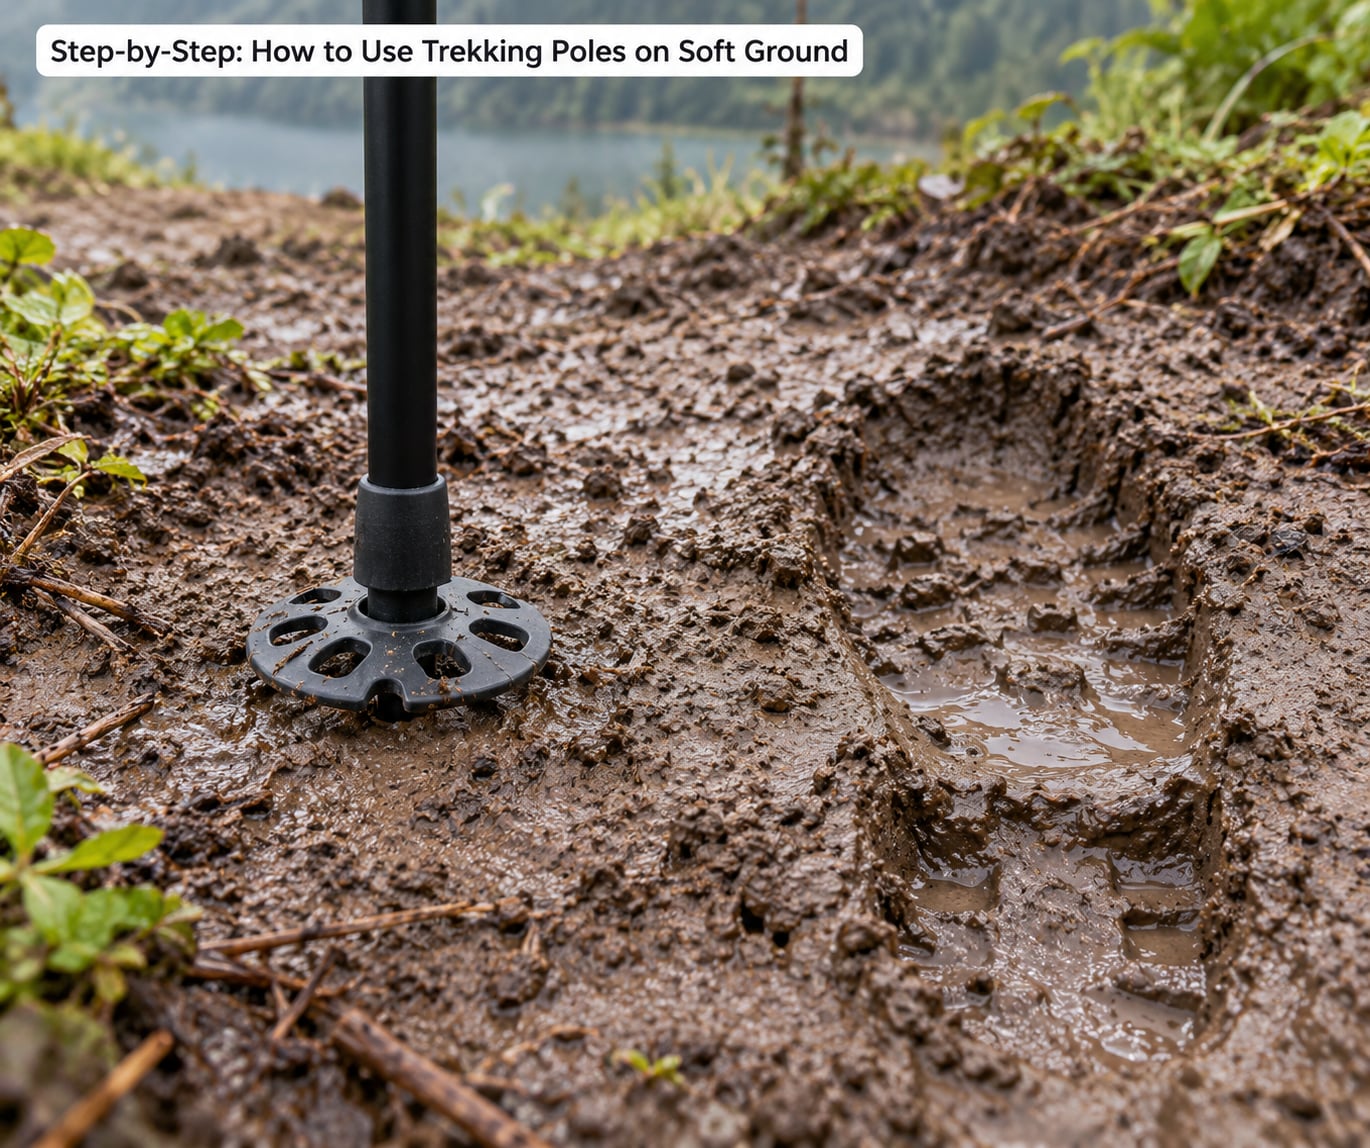
Set your base position
On firm ground, the rule is simple: elbows at roughly 90 degrees. On soft ground, shorten each pole by about 5 to 10 cm from that flat-ground setting. A shorter pole stands more upright, pushes load down toward your feet instead of into your shoulders, and plants at a steeper angle into the ground — three things that matter when the surface will not hold much.
Push the baskets on fully and confirm each twist lock or lever is engaged before you set off. Then take your strap properly: loop it around your wrist, pull the webbing snug so the strap sits across the base of your thumb, and make sure your fingers can still open and close.
Use the plant-test-commit sequence
This three-part cycle is the whole technique. Plant, test, commit.
- Plant — set the tip down beside or slightly ahead of your forward foot, angled back toward your body at roughly 20 to 30 degrees from vertical. Drive it with a short, firm push through the strap rather than a long shove.
- Test — before you transfer weight, lean a little into the pole. If it flexes, twists or slides, the ground is not holding. Plant somewhere else, closer to firm ground or on a root or tussock.
- Commit — once the shaft is rigid, push through the strap and step forward into the gap between your planted poles.
That test step is the part people skip, and it is the part that keeps you upright. A pole that looks planted can be sitting in nothing more than loose surface film over saturated soil.
On uneven ground, plant both poles together before stepping — double planting. You get a four-point base and you can look where you are going before your foot goes there. Save it for descents, side slopes and any place where a single plant feels vague.
Match the plant to your step. One pole plant per step keeps a rhythm on gentle ground and saves effort. If your pole goes down while your foot is already moving, you have overreached: bring the plant closer to your body and shorten your stride.
Adjust technique for mud, sand, and wet terrain
Deep mud. Keep the basket down, plant at a steeper angle, and push rather than jab. Mud punishes fast, hard plants because the basket displaces water and the pole skates sideways. Take shorter steps and slow your cadence; hurried foot placement is what actually causes falls in mud, not the lack of poles.
Peat bog and marsh. Poles earn their weight here more than anywhere else. Always test before committing, and keep the plants close so a failed plant costs you a step rather than a lurch. Where the ground is saturated, a stake-style use helps: turn the pole handle-up, angle it into the peat beside you, and use it as a short anchor while you test the ground with your boot before standing up.
Sand. Sand swallows a tip no matter how wide the basket, because the failure is shear rather than point load. Use less force and more cadence — a light rhythmic plant each step rather than one hard push. Wide planting angles (about 30 degrees out from the body) keep your base broad in ground that shifts under you.
Wet roots and wet rock. Roots stay slick whatever the ground does. Plant onto the root itself, not beside it, and expect the pole to move; two quick plants beat one confident one. Scree and gravel reward keeping the basket off, since it stops the tip diving between stones.
Wet moorland and grass. Gentle, but deceptive. A rubber tip gives noticeably better purchase in wet grass and peaty ground than a carbide point, at the cost of a little grip on rock. For anyone who feels unsteady on uneven ground, that trade is usually worth making.
Whichever surface you are on, if a pole does sink, do not yank it. Twist it a quarter turn to break the suction, lean your weight back until the shaft is free, and re-plant on firm ground. That recovers the position without the sudden lurch that wrecks your balance.
Using trekking poles on descents and steep slopes
Descending is where poles earn their place on soft ground, because a failed step goes downhill instead of stopping. On a normal slope, lengthen the poles a few centimetres from your flat-ground setting and plant them wide, ahead and slightly outboard, so they act as brakes rather than pushers.
Keep the elbows soft and let the shaft slide through your grip with a downslope hand on the strap. A locked, rigid arm turns every bump into a shock load through your shoulder and knee.
On steep or boggy ground, double planting in front of you as you step down turns your body into something closer to a controlled descent than a series of arrests. Getting the technique right here matters most, because a pole that skates on a wet descent takes your footing with it. People doing long descents on wet ground often report the poles matter most for knees on the way down, not uphill on the way up.
Do not treat poles as anchors on a slope you would not walk without them. If the face is a steep peat bank with a drop underneath, the right call is to turn around or pick a line. A pole that flexes under a fall tells you nothing useful about your weight.
Common Mistakes
1. Driving the tip straight down like a spear
A near-vertical plant punches through a basket’s entire purpose. Angle the shaft back toward your body so the basket meets the surface broadside and the ground can push back against it.
2. Planting the pole after the foot lands
A pole planted after your weight is committed is decoration. Plant first, then step. If you cannot plant before your foot, your steps are too long for the ground you are on.
3. Skipping the test
Leaning into a pole takes half a second and tells you whether the ground is holding. On mud and bog it is the difference between a step and a fall.
4. Pushing off hard through the strap with a tight fist
Gripping the handle hard through soft ground causes the hand cramps hikers complain about on long wet descents. Keep the hand relaxed, let the strap carry the load, and take more steps instead of harder ones.
5. Leaving the basket off “just for a bit”
Baskets come off for hard ground and go back on before the first patch of soft stuff. Changing them takes about thirty seconds: unscrew the old one, thread the new basket on until it seats, and run a thumb around the rim to confirm it is level.
6. Keeping the poles at full flat-ground length
Full-length poles on soft ground push work into your shoulders and plant at a shallow, unstable angle. Shorten by 5 to 10 cm and stand taller.
7. Ignoring locks until a section collapses mid-stride
After a long bog crossing, collapse every section and check each lock. Mud works into the threads and the mechanism, and a section that will not hold can put you on the ground without any warning.
8. Never cleaning the shafts
Let mud dry and it becomes a grinding paste inside the joints. At the end of the day, wipe the shafts, run warm water through the sections, spin them closed, and dry them before storing. Check that the lock springs still snap back freely.
Quick safety and etiquette notes
Wet soft ground is fragile ground. Repeated walking on saturated trail turns it into mud, which is why some hiking communities advise staying off trails entirely during and after rain. Poles do not solve that.
Carry a spare basket and a spare tip. On a long walk through bog country, a broken tip with no basket means carrying a heavy stick for the rest of the day.
If you are walking with others on soft ground, stagger your line rather than following single file through the same rut. It protects the ground and it protects your ankles from the step above’s divot.
Frequently Asked Questions
What are the downsides of using trekking poles?
The main drawbacks are extra effort to carry, straps that rub or blister your hands on long descents, and tips that slip on wet rock or hard pavement if you plant them badly. Poles can also snag in scrub or brush, and cheap models may have locks that slip under load. On genuinely soft ground, most of those problems disappear.
Should you use rubber tips on trekking poles?
Yes on soft dirt, wet grass, peat and pavement, where the wide blunt cap grips instead of piercing. No on rock, gravel or scree, where a sharp carbide tip bites between stones and prevents the pole from skating downhill. Many hikers carry both and change them with the terrain.
Why do my trekking poles sink in mud?
Usually one of three reasons: no mud basket fitted, the pole is being driven almost straight down so the load concentrates on a tiny area, or you are planting without testing first. Fit a basket, angle the shaft 20 to 30 degrees back toward your body, and lean on the pole to test the ground before committing weight.
How do I use trekking poles correctly on flat ground?
Set the height so your elbow makes roughly a 90 degree angle when the tip is planted beside your foot, use the strap around your wrist rather than holding the handle, and plant each pole as your opposite foot steps forward. Keep a relaxed grip and let the pole swing rather than planting it stiffly at the same spot every time.
How to use trekking poles for seniors on uneven ground?
Shorten the poles a little, slow the cadence and take smaller steps so balance is never tested. Plant both poles before stepping on anything uneven, and choose rubber tips if points on unstable ground feel unsettling. The goal is a wide, unhurried base of support rather than pace.
Are cheap trekking poles okay for soft ground?
They work, but soft ground punishes poor hardware hardest. What matters is that the twist locks or lever locks hold under repeated loading and that the shafts do not bend permanently when planted. Aluminum is often preferred over ultralight carbon for this reason, because a pole that bends gives way before it snaps.
Do one thing first: fit a mud basket to both poles before you walk, shorten them 5 to 10 cm, and plant your first three poles with the plant-test-commit rhythm rather than a jab. Everything else in this guide — the wider angle in sand, the double plant on descents, the stake-style anchor in bog — falls into place once that habit sticks. If you remember one line about how to use trekking poles on soft ground, make it that one. Updated for 2026.