The short answer: spread your gear across two or three small bags mounted low on the bike, keep the heavy items near the rear axle and below saddle height, strap everything down so nothing swings, and ride ten minutes before you commit to the route. Learning how to carry gear on a bike for a day ride is mostly a placement problem, not a buying problem.
Most riders fail this in one of two ways. They bring a backpack that turns their back into a sauna and their shoulders into the weak point of the whole ride, or they hang everything off the handlebars and discover at 30 km that the steering feels vague. Neither is necessary. A day ride is a light load, and light loads are easy to carry well.
This guide covers paved roads, gravel and mixed trail routes. If your ride involves a camera, a thermos or field gear, there are notes for that too, since awkward shapes behave differently than soft ones.
Table of Contents
- What You Need
- Bags, matched to your bike
- The kit worth carrying
- Route questions to answer first
- How to Carry Gear on a Bike for a Day Ride: Step-by-Step
- How to Carry Gear on a Bike for a Day Ride: Choose the Right Setup
- How to Carry Gear on a Bike for a Day Ride: Pack by Access and Weight
- How to Carry Gear on a Bike for a Day Ride: Secure and Weatherproof the Load
- How to Carry Gear on a Bike for a Day Ride: Test the Ride
- Common Mistakes
- Packing one bag with everything
- Strapping a bag at a single point
- Loading one pannier only
- Putting weight in the handlebar bag
- Filling the seat pack above the saddle
- Leaving small items loose inside
- Packing more than the ride needs
- Frequently Asked Questions
- What is the best way to carry gear on a bike for a day ride?
- How much weight can I safely carry on a bicycle?
- Should I use panniers or a backpack for a day ride?
- How do I keep bicycle bags from bouncing or falling?
- Where should heavier items go when carrying bike gear?
- Can I carry a day ride backpack with a hydration reservoir?
- Conclusion
What You Need
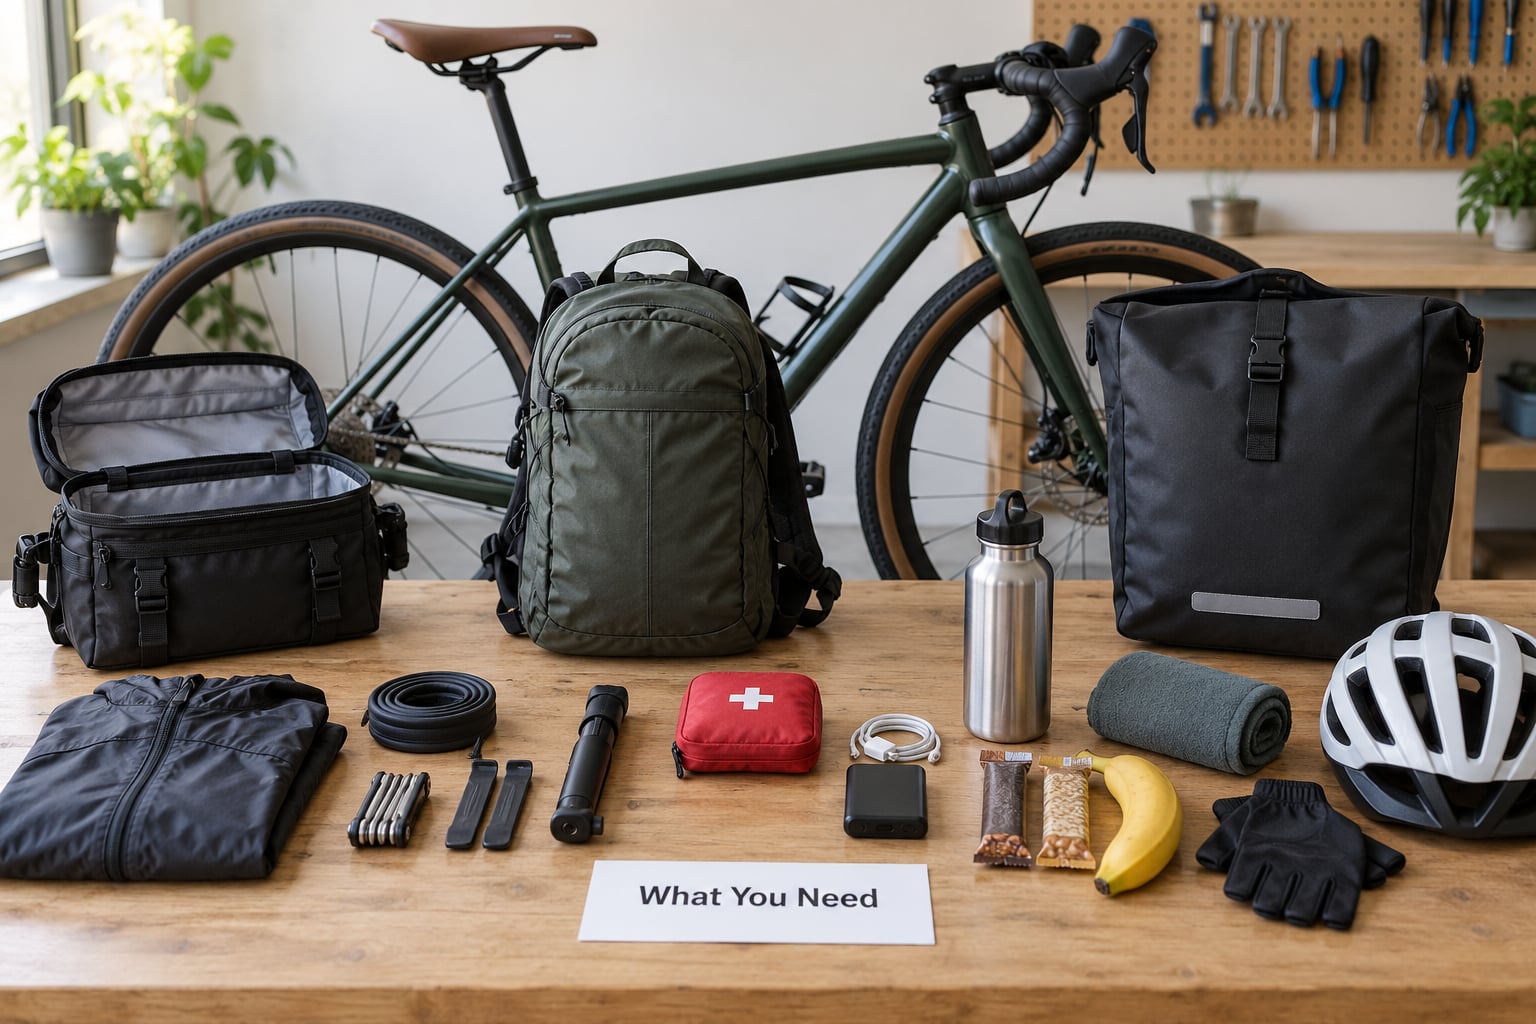
You need far less equipment than most packing lists suggest. A day ride is defined by the fact that you ride home tonight, so shelter, cooking kit and multi-day clothing are all optional.
Bags, matched to your bike
Start by checking what your frame already offers. Nearly every bicycle has a seatpost clamp, which takes a seat pack or saddle bag, and a top tube that accepts a strap-on bag. A rear rack needs mounting eyelets near the seat stays or the mudguard, which not every frame has.
Two to five litres covers most day rides. Anything larger and you will find things rattling in empty space at the bottom, which is exactly the frustration forum riders describe when they lose a tube or a set of keys inside a big bag.
Useful soft goods are unglamorous but decide how the load behaves. Two elastic hook-and-loop straps, a short length of webbing or a bungee cord, a cargo net for a rack, and a pack liner for wet weather are enough. Add a couple of plastic bags for wet layers, which stops a soaked jacket soaking everything around it.
The kit worth carrying
- A multi-tool with a chain breaker, tyre levers and a spare tube, plus a patch kit and a method of inflation beyond a top-up pump.
- Water, plus electrolytes if the route is long or hot. A bottle in a cage stays findable in a way water inside a bag never is.
- Food you can eat one-handed without dropping crumbs down a zip.
- A phone, keys, a card and a small amount of cash, in a bag that stays closed while you ride.
- A rain layer and a spare warm layer, packed so they can stay dry.
- A front light and, if there is any chance of a late return, a rear light.
- A small first aid kit, blister plasters and a sunscreen.
Route questions to answer first
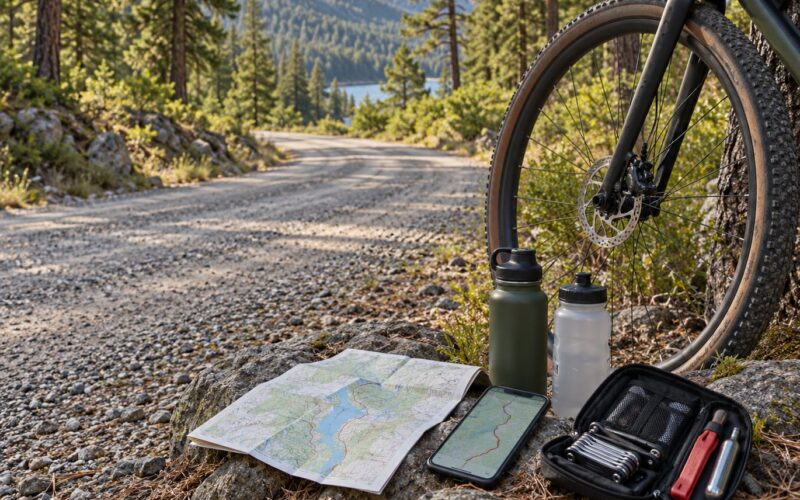
Distance decides the load. Past roughly 25 km, food and water scale up fast and the capacity of a single small bag stops being realistic. Surface matters too: gravel and trails punish loose straps and unbalanced loads far faster than tarmac, because the small chatter compounds. And remote routes change the repair kit: two spare tubes instead of one is common advice on rides far from a bike shop.
Weather is the last input. If there is a rain chance, waterproofing is not optional, and it changes how you pack rather than just what you buy.
How to Carry Gear on a Bike for a Day Ride: Step-by-Step
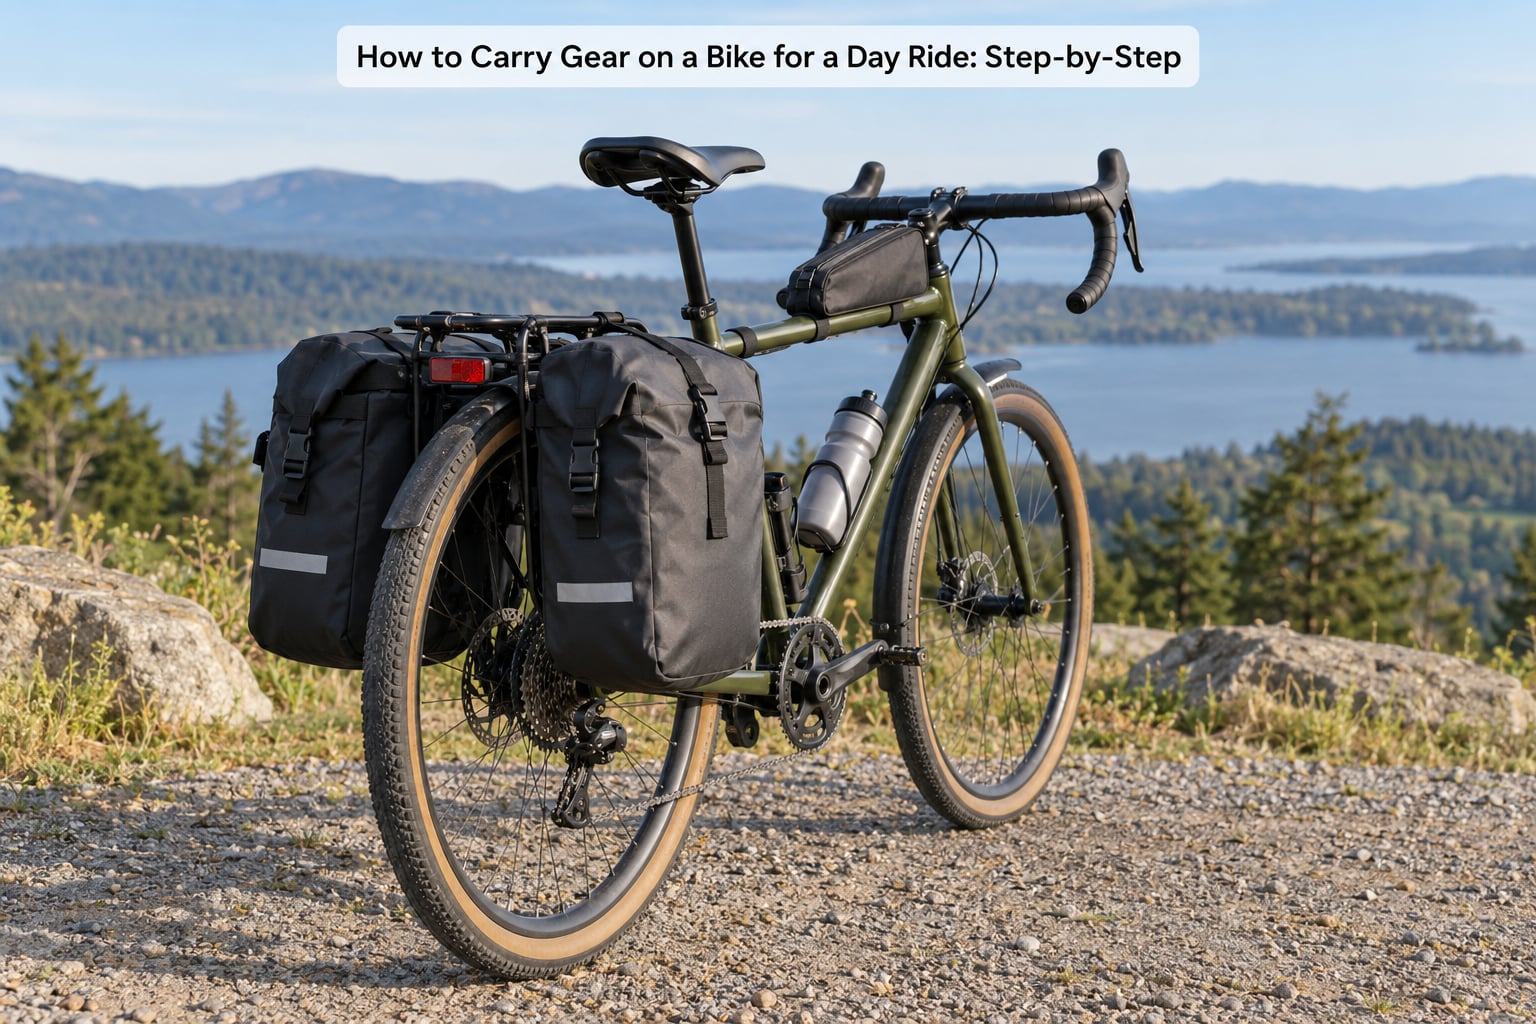
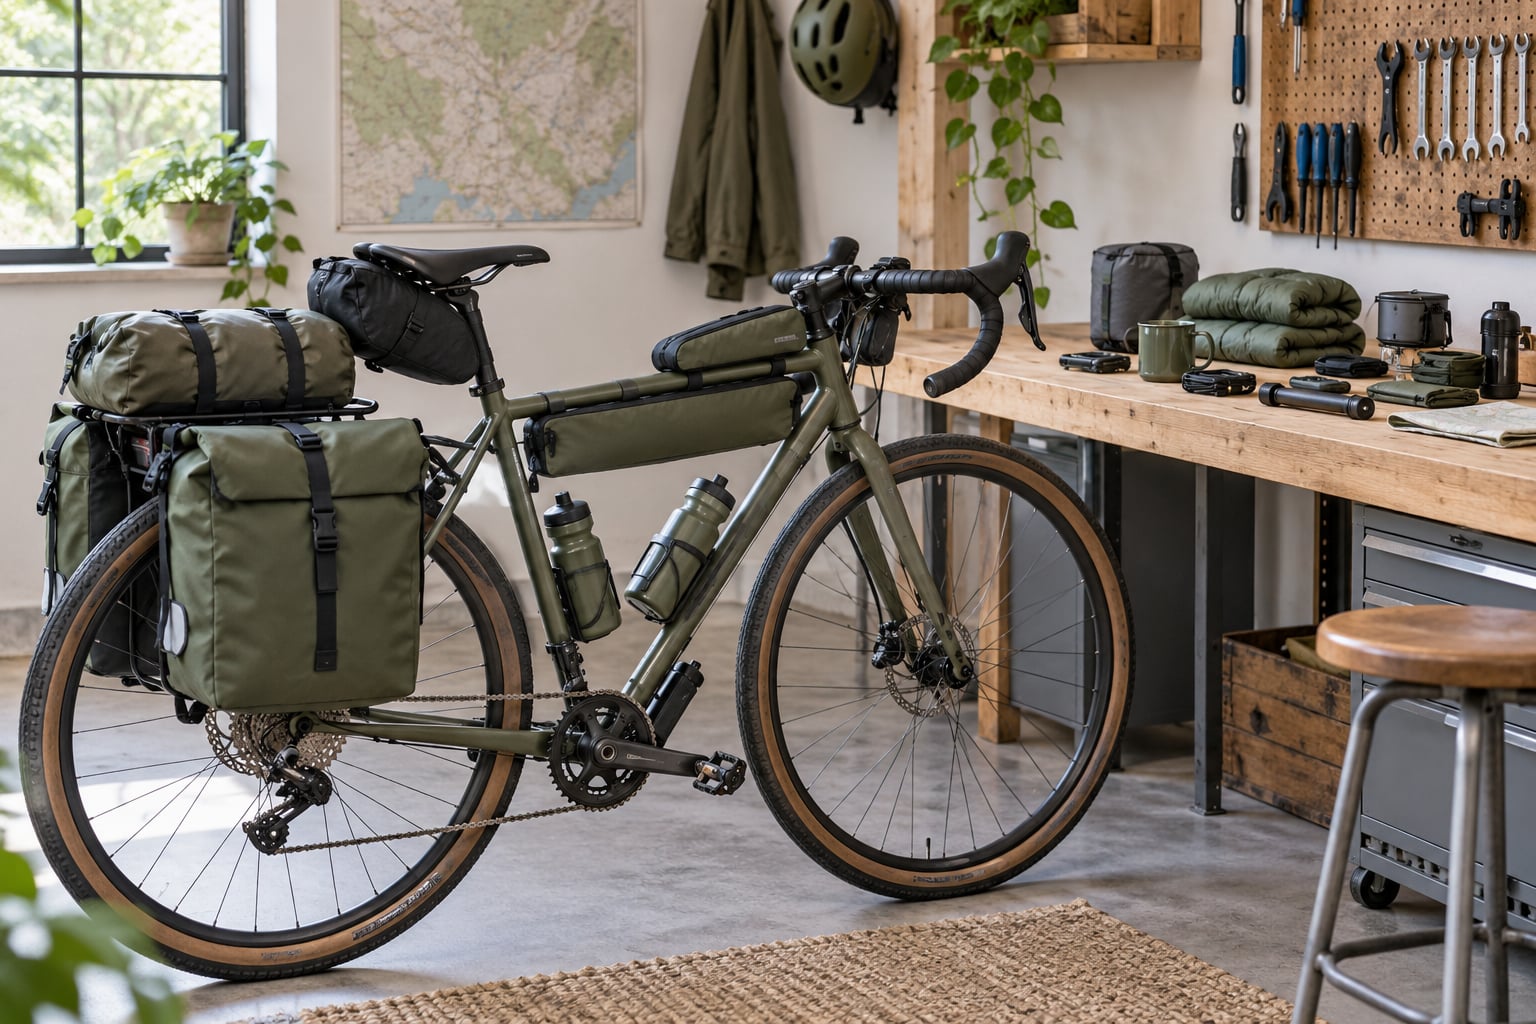
Six carrying systems cover almost every day ride: a backpack, a top tube bag, a handlebar bag, a seat pack, panniers on a rack, and a dry bag on a rack or frame. The method below works with any combination of them, and the sequence matters more than the choice.
How to Carry Gear on a Bike for a Day Ride: Choose the Right Setup
Pick by load weight first, then by where your bike has mounting points, then by route surface. Comfort is a close third, because comfort is what you feel two hours in.
| Option | Typical capacity | Effect on handling | Weather protection | Best for |
|---|---|---|---|---|
| Backpack | 10 to 30 litres | Load sits high and behind you; adds shoulder and back fatigue, no sway | Varies; a dry bag inside handles rain | Off-bike walking, very short rides, no frame mounts |
| Top tube bag | 0.3 to 1.5 litres | Negligible; weight is close to the head tube | Often water-resistant, rarely sealed | Keys, cash, phone on a racked or racking-free bike |
| Handlebar bag | 3 to 9 litres | Pulls the steering heavy and raises the centre of gravity; can dip on rough ground | Roll tops handle rain well | Snacks, phone, map, short rides on smooth roads |
| Seat pack or saddle bag | 0.7 to 2 litres | Stays low and central; minimal effect | Good in welded-seam and roll-top models | Repair kit, tube, multitool, keys |
| Panniers on a rear rack | 15 to 40 litres per pair | Low and symmetrical if both sides are loaded; sways if only one side is loaded | Roll-top and welded models are genuinely waterproof | Longer rides, wet weather, carrying a change of clothes |
| Dry bag on rack or frame | 10 to 25 litres | Depends on mount; frame and seatpost mounts sit close to the axle line | The point of a dry bag is that it keeps water out | Gravel, mud, bulk soft goods, wet-weather kit |
A backpack is the honest starting point when your bike has no mounts at all, and it is the right answer when you are parking at a trailhead and walking a mile to a lake. It is the wrong answer for a 60 km road ride in July. Forum riders name sweat-soaked backs as the top reason they moved off backpacks and onto bike bags, and that comes up every time.
Top tube bags are the cheapest upgrade and the easiest to fit: strap around the top tube, add an elastic band to the stem, done. Keep them for small items you want mid-ride, never for weight.
Handlebar bags feel useful and behave badly on anything rough. The mass sits out ahead of the steering axis, so the front wheel wants to follow road chatter rather than your hands. On a gravel or trail route, put those items in a top tube bag instead and keep the bars clear.
Panniers earn their place once the load passes a backpack’s comfort limit. They hang low beside the rear wheel, which is where mass belongs for a bike. Load both sides, and match the left-right weight closely, or the bike will pull to one side through corners.
How to Carry Gear on a Bike for a Day Ride: Pack by Access and Weight
This is the part nobody writes down: decide what each item is for, then give it one fixed home. A repeatable map means you stop digging and you stop losing small items at the bottom of a bag.
Handlebar bag or top tube bag: things you need while riding at a full stop or slowly. Phone, snacks, energy gel, a folded map, a lip balm. Nothing heavy, nothing breakable.
Seat pack: the mechanical emergency kit, where you can reach it without taking the bike off your shoulder. Spare tube, patch kit, tyre levers, multi-tool, small inflator, a rag. Most seat packs run 0.7 to 2 litres, which is exactly enough for this and nothing more.
Panniers: the bulk that you will not touch mid-ride. Warm layer, spare jersey, rain shell, extra food, water. Put the densest items low and against the rack, not stacked on top.
Bottle cages: water, always. A bottle you can find without unpacking anything is worth more than a litre sitting in a bag you have to open on a descent.
Backpack, if worn: only what you need away from the bike, such as a water reservoir, a first aid kit, and the odd camera. Keep it under about 15 per cent of your body weight.
For weight, a simple rule travels well: keep total carried gear under roughly 10 per cent of your body weight for a comfortable long day, and treat 12 to 15 per cent as the ceiling before handling starts to suffer. A rider at 75 kg is comfortable at 7.5 kg of gear and will feel every kilogram above about 9.
Keep heavy items low and close to the wheel. A one-litre item on the handlebars changes the bike’s behaviour far more than the same item in a pannier, because the handlebar load sits ahead of the steering axis, where a small push moves it a long way.
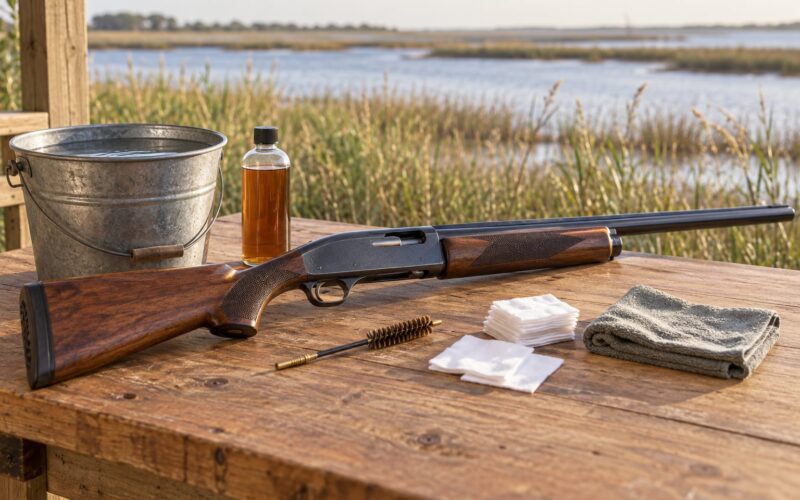
Awkward and fragile shapes need their own rules. A long lens or a thermos goes low and vertical in a pannier, padded by a soft layer, never in a handlebar bag where a bump goes straight into it. Fish, firewood or anything that leaks goes in a sealed bag or a dry bag, positioned so a leak cannot reach anything else.
How to Carry Gear on a Bike for a Day Ride: Secure and Weatherproof the Load
A bag that moves is a bag that will eventually be empty. Straps exist to stop three things: swinging side to side, bouncing over bumps, and flapping into the spokes.
Strap each bag at two points, not one. A seat pack held by a single clamp rotates under load and dumps its contents; a second strap around the seatpost or saddle rail fixes it. Panniers sit on hooks or clips, then get a strap or bungee across the top as a bounce limit. Anything loose on a rack goes under a cargo net, tight enough that a flat hand cannot slide underneath.
Cut dangling strap ends short. Long ends flap, and a flapping strap near a wheel is how a load shifts mid-ride.
Check for rubbing before it starts. Straps and bag bases slowly grind frame paint and can wear through a mat. Where a strap crosses a painted tube, run a small piece of clear tape or a protective sleeve under it, and check the spot when you clean the bike.
For weather, use a two-layer approach. Put cheap items inside a pack liner or dry bag, and keep one waterproof layer on the outside as your wind and splash protection. Wet cotton against skin in a cool breeze is miserable, so never pack your last dry warm layer at the bottom of an unlined pannier where it will soak first.
Dust and road spray follow the same rule as rain. Ride with a dry bag or liner holding anything breakable, close every zip fully, and accept that on a dusty gravel day the outside of your bags will be filthy no matter what you do. Some grit will end up inside your top tube bag. Keep a dry bag for electronics rather than trusting a zipped opening.
How to Carry Gear on a Bike for a Day Ride: Test the Ride
Ten minutes now saves an hour at the roadside. Do this before every ride longer than about an hour, and always before a new route.
Start with a shake-and-roll check. Lift a wheel off the ground and shake the bike hard, then roll it forward a few metres and brake. Anything that shifts, taps or rattles is going to rattle for two hundred kilometres. Re-pack, tighten, or move the item to a different bag.
Then ride at walking pace in a straight line, with a hand off the bars. Any pull to one side means your left and right loads are unbalanced. Fix the imbalance before you test speed, not after.
Next, weave slowly and steer through a low-speed turn. If the front feels vague or the bars want to wander off bumps, the load out front is too heavy, usually a handlebar bag packed with more than you need. Shift the weight rearward and low.
Finally, sit and stand from the saddle a few times while loaded. If the bike sways, a seat pack or rear load is sitting too high, or you have only one pannier filled.
On the road, the test continues. Stop after ten minutes, look at every strap, and check that nothing has migrated to a new bag. Riders who do this usually find one or two items that simply fit better somewhere else, and then the ride settles down.
Common Mistakes
Packing one bag with everything
Dumping everything into one large bag puts weight high and in one place, and buries the tube at the bottom. Fix it by splitting into at least two bags: one for mid-ride access, one for bulk.
Strapping a bag at a single point
Single-point mounts let a bag rotate and spill. Add a second strap or bungee across the bag and fix the tail.
Loading one pannier only
A single loaded pannier pulls the bike sideways through corners, which riders often describe as twitchy handling. Fill both sides, and if the load is odd, add ballast on the empty side until it sits even.
Putting weight in the handlebar bag
The bars feel convenient and hold a lot, but mass there sits ahead of the steering axis. On rough surfaces move soft, heavy items down to a pannier or the seatpost.
Filling the seat pack above the saddle
Piled high, small weights feel like they are balanced on top of the bike. Keep the seat pack’s contents flat and low against the frame.
Leaving small items loose inside
Keys, coins and a spare tube sink to the bottom of any bag and take far too long to find. Give each one a fixed place and a small pouch or zip bag, and place that pouch near the top.
Packing more than the ride needs
Overpacking is the most common error and the least noticeable. Every extra kilogram is carried up every hill. Lay everything out before it goes in the bags, and remove anything you have not used on previous similar rides.
A few habits keep the setup working. Count your kit before every ride so you know if something is missing later. Standardise which bag each item lives in, so repacking is fast. Check straps after the first ten kilometres. And carry a bag you can get to in the rain without taking the whole bike down.
Frequently Asked Questions
What is the best way to carry gear on a bike for a day ride?
Spread the load across two or three small bags mounted low on the bike. Keep repairs and keys in a seat pack, phone and snacks in a top tube or handlebar bag, and bulky warm layers low in panniers if the load exceeds about 10 per cent of your body weight. Strap every bag at two points, then do a ten-minute test ride to check balance and rattles.
How much weight can I safely carry on a bicycle?
For a comfortable long day, keep total carried gear under roughly 10 per cent of your body weight, and treat 12 to 15 per cent as the ceiling before steering and climbing suffer. A 75 kg rider is comfortable at about 7.5 kg. Placement matters as much as total weight: mass low and even across both sides changes handling far less than the same mass high or on one side.
Should I use panniers or a backpack for a day ride?
A backpack works well for short rides, warm weather, and routes where you park and walk a distance. Panniers suit longer rides, wet weather, and carrying a change of clothes, because the load hangs low beside the rear wheel and leaves your back dry. If you already own a backpack, add a seat pack for repairs before buying racks, then upgrade once you outgrow the pack.
How do I keep bicycle bags from bouncing or falling?
Mount each bag at two points rather than one, so it cannot rotate under load. Sit panniers on their hooks and add a strap or bungee across the top, and secure anything loose on a rack under a cargo net pulled tight enough that a flat hand cannot slide underneath. Trim long strap tails so they stop flapping, and shake and roll the bike before riding.
Where should heavier items go when carrying bike gear?
Put heavy items as low as possible and as close to the wheel as you can, ideally in panniers hanging beside the rear axle. Avoid handlebar bags, where mass sits ahead of the steering axis and makes the front vague on rough ground. Keep the seat pack flat against the frame rather than piled high, and load both panniers evenly so the bike tracks straight.
Can I carry a day ride backpack with a hydration reservoir?
Yes, and it works well for rides under about two hours if the pack sits close to your back and has both a sternum strap and a waist strap. A reservoir of one to three litres removes the need to stop for water, though you still carry spare water for long rides. For anything longer, hydration in bottle cages on the frame beats drinking from a tube on rough ground.
Conclusion
Four things decide whether a day ride feels easy or fussy: choose a carrying system that matches your bike’s mounting points and the weight you actually need, pack heavy items low and even on both sides, secure each bag at two points so nothing swings, and ride ten minutes before you commit.
Start with what you own. A seat pack and a top tube bag cover most day rides, and everything else is a refinement. Updated for 2026.