To plan a bicycle route on gravel roads, you build the line yourself in a planner that understands surface types, then verify every segment on satellite imagery and land-manager pages before you ride. Hand the whole job to a general cycling app and it will send you down a busy highway or, worse, straight onto a muddy bridleway with no way to ride it.
That mismatch is why gravel riders plan differently than road riders. A road planner optimises for speed on tarmac; a gravel route needs surfaces you can actually pedal, legal access you can confirm, and a time estimate that survives contact with a farm track in the wet.
Budget two hours for a proper first plan and about forty minutes once you have a few of your own routes in the library. What follows is the workflow I use, in the order it works. If you only do three things, verify the surface, confirm the access is legal, and download the whole route to your device before you leave the house.
Table of Contents
- What You Need Before You Plan a Bicycle Route on Gravel Roads
- A mapping tool with real surface awareness
- Surface verification sources
- Land-manager pages for legal access
- Navigation, water and repair kit
- A way to share your plan
- Step-by-Step: How to Plan a Bicycle Route on Gravel Roads
- Step 1: Define Your Ride Goal and the Limits of Your Day
- Step 2: Choose a Starting Point and End Point
- Step 3: Check the Road and Surface Conditions
- Step 4: Estimate Distance, Time, and Difficulty
- Step 5: Build the Route and Add Alternatives
- Step 6: Check Weather, Access, and Local Rules
- Step 7: Pack and Do a Final Route Review
- Common Mistakes When You Plan a Bicycle Route on Gravel Roads
- Trusting a general cycling app’s surface choice
- Estimating time at paved-road pace
- Ignoring access closures until the gate
- Carrying too little water and no repair kit
- Leaving without an offline copy of the route
- Planning no bail-out route
- Frequently Asked Questions
- What is the best app for finding gravel bike routes?
- Is Ride with GPS better than Strava for planning gravel routes?
- Can I use cycling navigation apps offline?
- Do I need a GPS bike computer if I have a phone app?
- How accurate is elevation data for route planning?
- Can I create a gravel bike route in Google Maps?
- Conclusion
What You Need Before You Plan a Bicycle Route on Gravel Roads
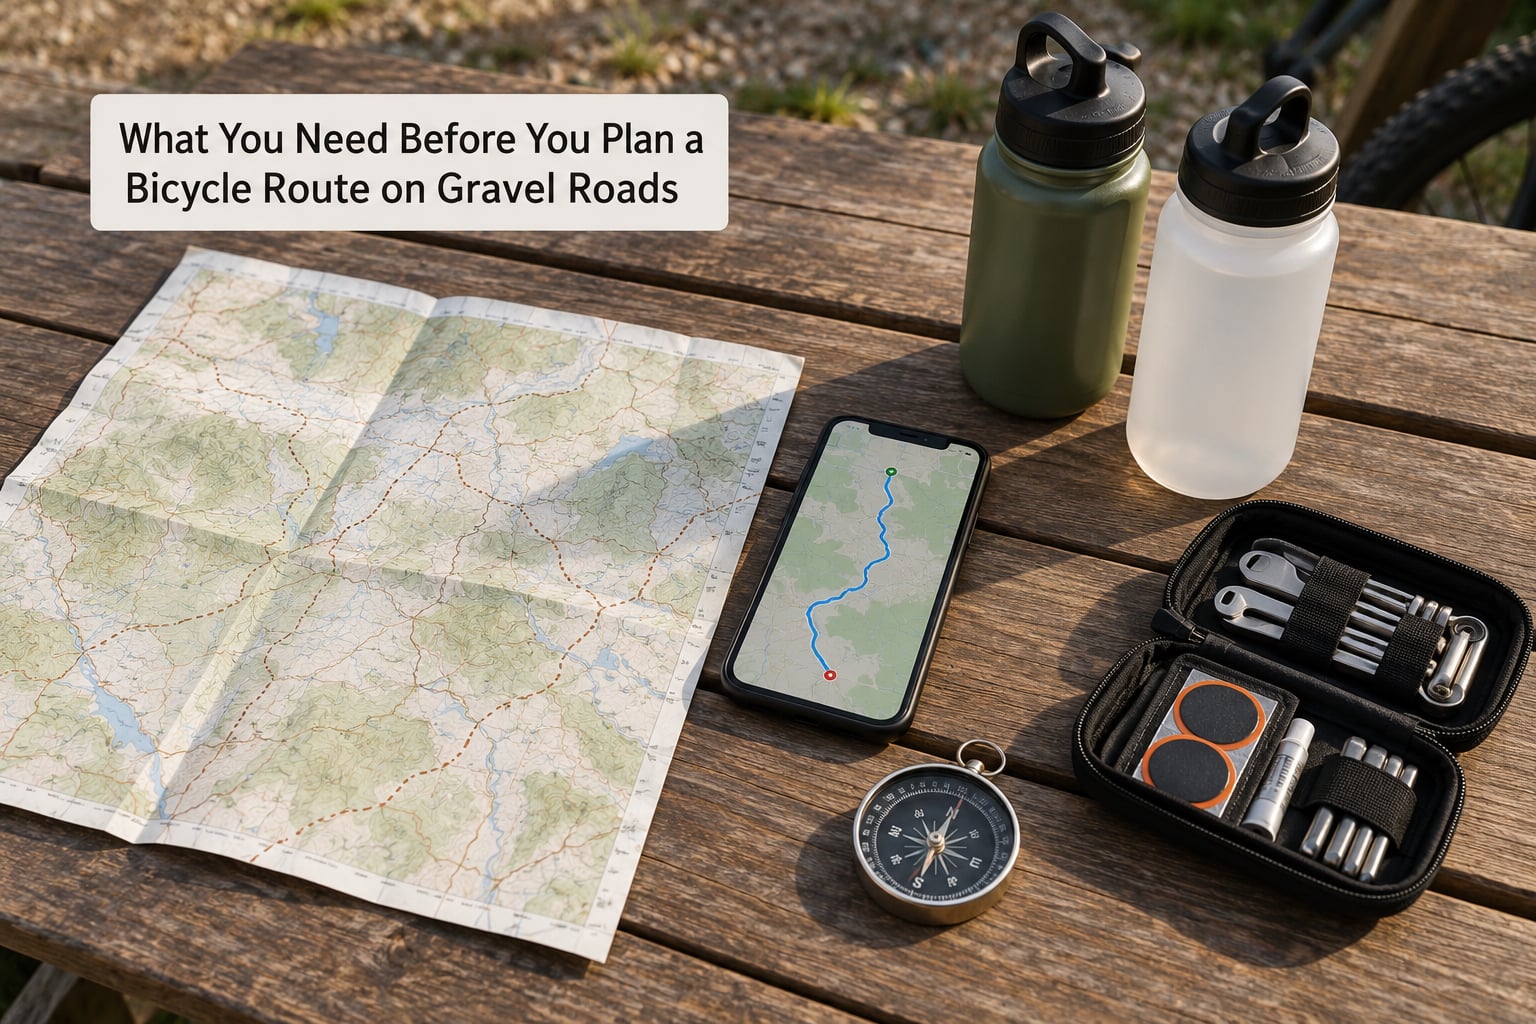
Gravel planning needs four separate things: a way to draw the line, a way to check what is under your tyres, a way to check whether you are allowed to be there, and a way to get home if the route falls apart. Most riders own three of those four and wonder why their plans go sideways.
A mapping tool with real surface awareness
Not every planner treats unsealed roads the same way. The tools worth having let you bias routing toward unpaved surfaces, show surface type along the line, and export a GPX file you can load onto a bike computer or GPS watch.
Komoot has the best surface-type metadata of the bunch and a Trail View feature that drops real photographs onto the map at intervals along your route. Ride with GPS gives you far more control over the shape of the line, detailed cue sheets and turn-by-turn directions you can print. Komoot’s own routing is optimistic away from well-known cycling corridors, so treat what it hands you as a starting sketch rather than a verdict. Check the surface on a second map before you commit.
Strava built one of the best route libraries there is, but route creation moved behind a subscriber paywall and the tool still leans towards point-to-point road routes. That makes it a good source of ideas and a poor place to draw your own line. Bikemap and Wikiloc are worth browsing for routes other people have ridden; quality varies with whoever uploaded the track.
| Tool | Surface detail | Offline use | Best for |
|---|---|---|---|
| Komoot | Strong, with Trail View photos | Downloadable maps and routes | Scouting a new area quickly |
| Ride with GPS | Good surface tags, editable | Routes work offline once synced | Precise control and cue sheets |
| cycle.travel | Good, with a gravel mode | Limited | Quiet-road routing over speed |
| Strava | Weak on unpaved roads | Good for tracking, weak for routing | Finding popular local routes |
| Bikemap / Wikiloc | Varies by uploader | Varies | Borrowing vetted routes |
| Google Maps | None reliable | Yes | Getting to the trailhead by car |
Surface verification sources
A map label is a claim, not evidence. To check what a road is really made of before you get there, work through three things in order: satellite imagery for the shape and width of the track, street-level imagery where it exists, and a rider heatmap for evidence that somebody has been down it recently.
Satellite imagery tells you whether a line is a wide graded forest road or a field edge that only exists on the map. OpenStreetMap’s surface tags and OpenCycleMap both add layers that mainstream map apps hide. A Strava or Komoot heatmap tells you somebody rode it, which is more than the map says, but it does not tell you what they were riding or how recently.
Land-manager pages for legal access
In the US, the US Forest Service and the Bureau of Land Management publish travel management orders and recreation maps for the roads they manage. A road closed to motor vehicles is frequently open to bicycles, but the order is what governs, and some gates are genuinely locked to everyone. State parks and counties have their own rules, and a handful of states restrict bikes on unpaved state highways.
For a day loop inside a single land-management area, you can check access from your car. For a route that crosses two or three, budget time to read each agency’s orders or call the local ranger district.
Navigation, water and repair kit
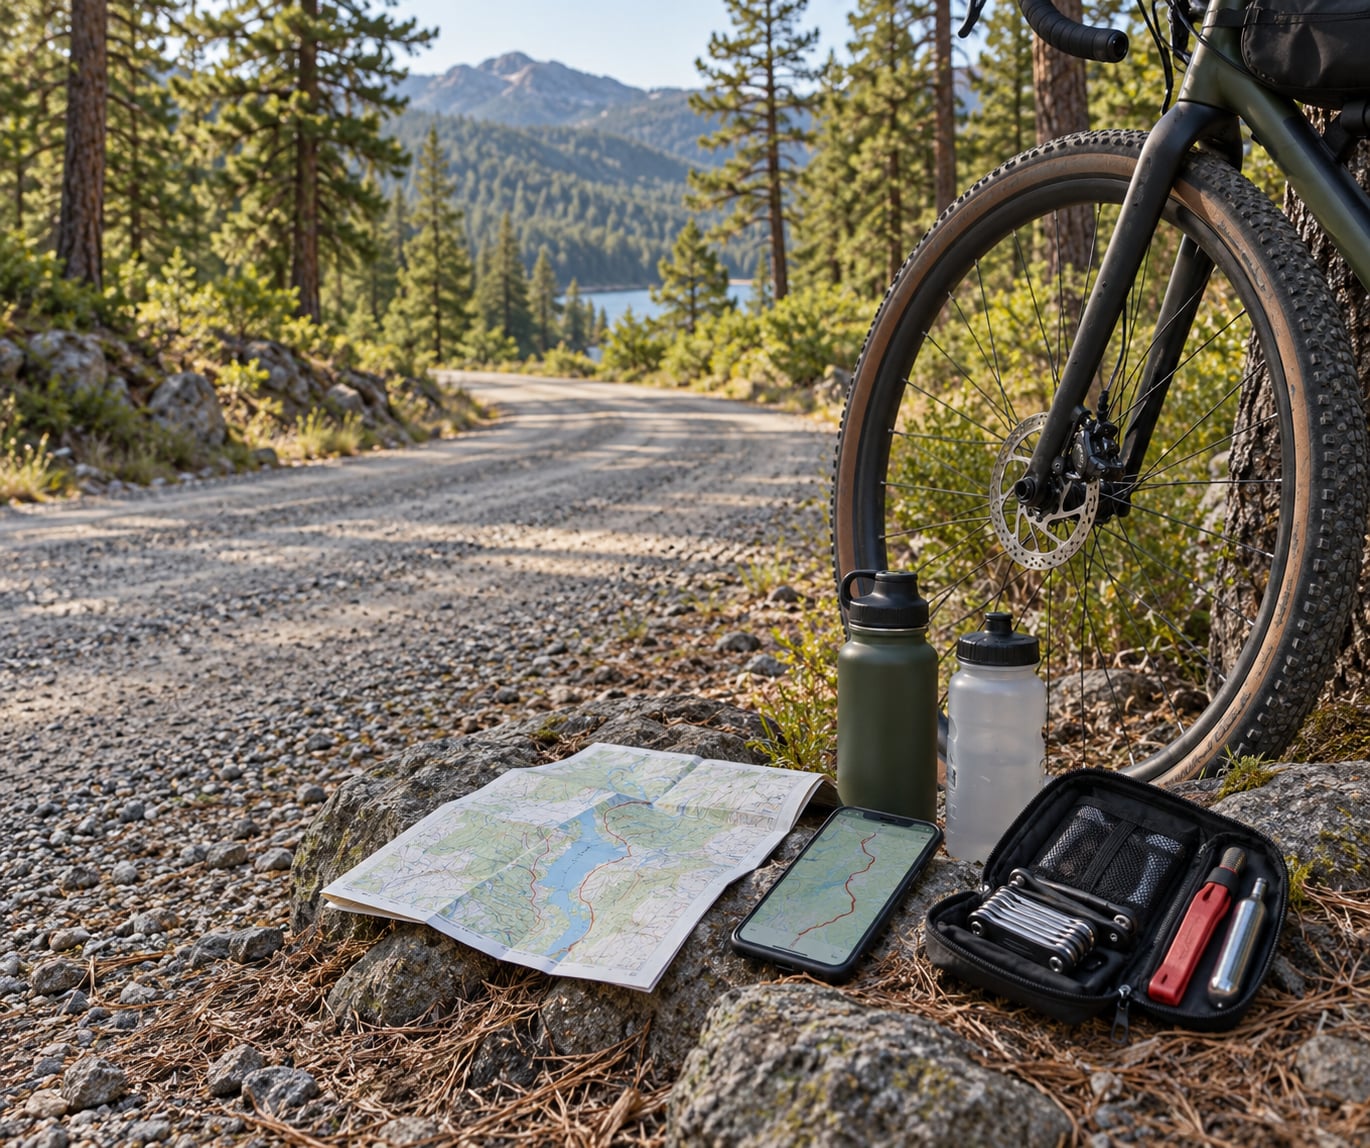
Assume no mobile signal once you are 20 minutes from a town centre, and plan for the phone to die anyway. Download the route and the surrounding map for offline use, carry a small power bank, and know which bike computer you own and whether your route file transfers to it.
Carry more water than the route needs for a dry day. Gravel pace is low enough that heat is the limiting factor more often than fitness, and the places you would refill up are exactly the places a gravel route avoids. Tubes, tyre levers, a compact multi-tool, a tubeless plug kit if you ride tubeless, and a couple of spare brake pads cover nearly every roadside repair.
A way to share your plan
Send your planned route to somebody who is not riding with you. A link, a screenshot of the cue sheet, or an export to a shared list all work. It takes thirty seconds and it is the difference between a mechanical problem and an incident.
Step-by-Step: How to Plan a Bicycle Route on Gravel Roads
Step 1: Define Your Ride Goal and the Limits of Your Day
Start with the purpose, not the distance. A short training loop, a scenic outing, a commute, and a point-to-point ride have completely different planning problems, and the same map tool handles each badly.
For a first gravel loop, most people do best with 20 to 35 miles of mixed surface, under 1,500 feet of climbing, and one town or shop as a resupply point. That combination gives you bailouts without needing a support plan.
Write down four numbers before you open any app: total distance, total elevation gain, the furthest point you want to be from a road, and the time you must be back. Everything later gets judged against those four. If the route you drew breaks one of them, change the route, not the number.
Match the plan to what you ride. Road tyres on 32mm or narrower will wash out on loose gravel and will make short, steep pitches genuinely unpleasant. Underbiking is fine as a training day and miserable as an accident, so if your route relies on hike-a-bike sections for a kilometre at a time, say so out loud before you commit.
Step 2: Choose a Starting Point and End Point
Pick a trailhead that a non-rider can reach. If the only parking is 4 miles down a private farm track, you will spend the first 40 minutes of the ride managing anxiety instead of riding.
Loops are the default for day rides because they return you to the car, and a return leg in reverse is a built-in bailout. Out-and-back gets you further from the start for the same time and is worth it when one direction has the climbing and the other has the views. Point-to-point needs a solid answer for getting home if you bail, whether that is a bus, a taxi number saved in your phone, or a friend with a car.
Check the practical things now rather than at 8am. Is there public parking or a day-use fee? Are gates open, and what time do they lock? Is there a shop, a water fountain or a pub within reach of your turnaround point? On a hot day that last question matters more than the route line.
Step 3: Check the Road and Surface Conditions
This is the step that separates a good ride from a wasted one, and it is the one most riders skip. Walk the route segment by segment rather than eyeballing the whole line at once.
For each segment, work through four questions. Is the surface loose gravel, hardpack, sand, clay or rock? Is the width consistent, or does the road narrow to something you would be happy walking a bike down? Does it cross a watercourse, and does that crossing have a bridge? What happens where it meets a fast paved road?
Satellite imagery answers most of it. A graded forest road shows as a wide, smooth, continuous line with clear hairpin curves and side drainage. A double-track through fields shows narrow, wandering, and often crossing a gate. Field edges and bridleways, which general planners love, tend to show as thin lines running between tree shadows, and those are the ones that turn into wet grass and push you on foot.
Then check what riders say. Look for recent condition reports on AllTrails or Trailforks where the area has trail coverage, and look at heatmap density. Recent Strava or Komoot activity on the exact segment is stronger evidence than a route someone planned three years ago and never rode.
Finish by auditing the junction points. The dangerous kilometres on a gravel route are usually the two or three road crossings and the fast descent back onto pavement, not the quiet dirt in the middle.
Step 4: Estimate Distance, Time, and Difficulty
Distance is the easy part. Time is where gravel routes go wrong, because most planners assume a road speed and then quietly pretend the surface is fine.
A useful rule of thumb: assume roughly half your paved-road speed on loose gravel, and slower again on sand, thick mud or sustained steep pitches. Check the elevation profile before you commit to a distance, because a route that looks gentle in plan view can hide a 400-foot climb right where you have no legs left.
| Surface | Rider speed | Time vs paved |
|---|---|---|
| Smooth tarmac | 16-20 mph | 1.0x |
| Roller roads | 14-17 mph | 1.1x |
| Hardpacked gravel | 11-14 mph | 1.4x |
| Loose gravel and washboard | 8-12 mph | 1.8x |
| Sand, mud, rocky track | 4-8 mph | 2.5x or worse |
Then add the stops. A gravel ride usually includes two or three unplanned ones: a mechanical, a long photo break, and someone asking directions from a rancher. Build in about fifteen per cent on top of your moving time, and more than that if the route has no resupply.
Difficulty has two halves. Ride difficulty is gradient, surface and length. Access difficulty is whether you can legally be there, whether the gates are open, and whether anyone is home if you need help. Plenty of easy-looking routes score badly on the second half.
Step 5: Build the Route and Add Alternatives
Now draw the line. Work outward from your start point in a planner with a gravel-friendly profile, and use waypoints to force the line onto roads you have already verified instead of letting the algorithm reconnect them.
Waypoints are the whole trick. A planner given a start and an end will happily bridge across open country, through a marsh or straight over a hill that a road would have gone around. Dropping three or four verified junctions as via points removes that freedom.
Add your bailout plan while the route is still on screen. For every remote stretch, name the paved road or town that a side road gets you back to. Mark two bailouts minimum, one around a third of the way in and one near the far end. Note how long the bail-out detour adds, because a bail-out that doubles your ride is not really a bail-out.
Identify water and food stops in advance. Know which shops have hours, and know which sections of the route run past a functioning water fountain. Then check the daylight math: add your buffer to the moving time and compare it to sunset, not to the time you hope the ride takes.
Export the route as a GPX file. That single format is the handoff between planners, phones, Garmin and Wahoo devices, and it is what lets you fix a bad segment later instead of redrawing the entire ride.
Step 6: Check Weather, Access, and Local Rules
Check the forecast 48 hours out and again the morning you ride, and pay attention to rain rather than temperature. Two days of rain turns a hardpacked forest road into a mud pit that will mark your bike and your drivetrain, and a low creek crossing after a storm can be unrideable and un-crossable.
Season changes what is open and what is rideable. Northern forest roads can still be under snow into late spring while southern routes are fine. Grading cycles matter too: a road resurfaced with fresh loose gravel in May behaves very differently from the same road in September, and maintenance schedules change from year to year.
Check access rules for every land manager the route touches. Read the travel management order for US Forest Service roads, the BLM recreation map, and the state park or county rules for anything in between. Note gate hours, any seasonal closure dates, and whether bicycles are permitted on that particular road. If the road crosses private land, check whether it is a legally established public right of way or a permissive track that can close at any time.
Two seasonal checks riders often miss: hunting seasons, when some rural roads are busy with vehicles and dogs at dawn, and fire restrictions, which can close roads entirely in dry months.
Step 7: Pack and Do a Final Route Review
Load the GPX file onto your bike computer or phone while you still have Wi-Fi, then open the app in airplane mode and follow the line in your driveway. If it cannot find your route without a connection, it will not find it in the woods either.
Charge the phone, download the map area at a detail level that covers the whole route, and open the map once so the tiles are cached. Send the plan to somebody: route link, expected return time, and your phone number. Add the local emergency number and the nearest hospital to your notes before you leave the house rather than searching for it at 6pm on a back road.
At the trailhead, re-read the segments that concerned you most. Skim recent condition reports one last time, check whether the wind is in your face on the return leg, and confirm your turnaround time against the actual clock, not your optimistic one.
Afterwards, spend five minutes logging what was wrong. Note the washed-out crossing, the sand you had to push through, the gate that was locked, the section a farmer had clearly graded last week. Add your own condition notes or ride report to the route in your planner, so the next person planning this route gets better data than you did. Routes that get ridden and annotated get better the same way trails do.
Common Mistakes When You Plan a Bicycle Route on Gravel Roads
Trusting a general cycling app’s surface choice
Most routing engines treat unsealed roads as a minor penalty, not a decision. That produces lines full of field edges, greenways and green bridleways that are legal, short and completely unrideable on a gravel bike. Check the awkward-looking segments on satellite imagery rather than accepting the line.
Estimating time at paved-road pace
A planner quoting you 55 km/h has not looked at your surface. Halve it for loose gravel, cut it again for sand or mud, and add fifteen per cent for stops. Riders who skip this end up walking the last ten miles because they planned to be home before dark and are not.
Ignoring access closures until the gate
Gates, seasonal closures, road work and hunting restrictions are all published by the agency that manages the road, and none of them show up in a cycling app. Cross three agencies and you have three sets of rules to read, which is the unglamorous part of planning that quietly saves the ride.
Carrying too little water and no repair kit
Long sections between services are the defining feature of a gravel route, so the failures you have to survive happen away from anywhere. Plan refills as part of the route rather than as a hope, and carry the kit that fixes the three things that actually go wrong: punctures, broken chains and worn brake pads.
Leaving without an offline copy of the route
Losing signal halfway round a loop is the normal case, not the exception. A route that needs a live connection is not a route, it is a suggestion. Sync offline before you leave and test it in airplane mode.
Planning no bail-out route
Weather turns, a tyre splits, a dog appears. A bail-out is a named paved road at a known distance with a known detour time, decided in advance while you are calm. Riders who improvise it in the moment always pick the wrong one.
Frequently Asked Questions
What is the best app for finding gravel bike routes?
Komoot is the strongest all-rounder for gravel because its surface-type data and Trail View photographs let you see what a road is actually made of before you commit. Ride with GPS gives better control over the shape of your line and better cue sheets. Strava and Bikemap are best for browsing routes other people have already ridden, not for drawing your own.
Is Ride with GPS better than Strava for planning gravel routes?
For planning, yes. Strava’s strengths are tracking, social features and a huge library of routes other riders have done, but its route creator moved behind a subscriber paywall and it still leans toward point-to-point road routes. Ride with GPS handles GPX editing, surface tags, elevation profiles and printable cue sheets far better. Use Strava to find ideas and Ride with GPS to build the route.
Can I use cycling navigation apps offline?
Yes, but only if you set it up in advance. Komoot, Ride with GPS and most dedicated cycling apps will store a downloaded route that navigates without any connection, and Google Maps can cache map tiles for a chosen area. The failures come from not doing it beforehand: download the route, download the map area, open it once so tiles cache, and test in airplane mode at home.
Do I need a GPS bike computer if I have a phone app?
Not always, but a phone is a fragile navigation tool on a gravel route. Screens get unreadable in glare, mounts loosen on washboard, batteries drain fast with the screen on, and a dropped phone can take your navigation with it. A bike computer runs all day, survives vibration and rain, and does not cut out when a call arrives. Most riders who ride remote routes regularly end up owning one.
How accurate is elevation data for route planning?
Good enough for planning, not for competition records. Barometric altimeters on phones and watches track elevation within roughly 10 to 30 feet on open ground, but trees and switchbacks cause error, and public elevation datasets smooth out small features. Expect the total gain figure to be off by several percent, and add a margin when you are using climb to decide whether a route fits your day.
Can I create a gravel bike route in Google Maps?
Technically yes, practically no. Google Maps has no reliable surface-type layer and will not filter for gravel, so it happily routes you onto motor-traffic-heavy roads or a bridleway with no gravel at all. It is genuinely useful for the drive to the trailhead and for confirming parking. Draw the line in a cycling planner, then use Google Maps to check the road access end of the trip.
Conclusion
Define the ride before you open the app: distance, climbing, daylight and the furthest point you want to be from a road. Then verify surfaces on satellite imagery, confirm access with the land manager, and export the route to a device that works with the screen off and the signal gone. Download it, share it, pack water and a spare tube, and go ride it.