Breaking in hiking boots quickly is about time on your feet, not a secret product. Wear them indoors with thick hiking socks, work up to longer outdoor walks in stages, and treat the few places that rub before they turn into blisters. A synthetic boot usually settles within a few short walks; a stiff full-grain leather boot takes two to four weeks of real wear.
The method below takes 30 to 90 minutes a day and is moderately difficult, mostly because it asks you to stop a session while your feet still feel fine. That last part is the whole trick. Most blisters happen when someone pushes through the first hour of discomfort hoping it fades.
It also assumes the boots already fit. No amount of conditioning rescues a boot with a badly wrong width, and you can find that out in ten minutes indoors, before the boots ever touch a trail.
Table of Contents
- What You Need
- How to Break In Hiking Boots Quickly, Step by Step
- 1. Check the Fit Before You Wear Them Indoors
- 2. Reduce Friction at the Boot’s Hotspots
- 3. Wear the Boots Around the House
- 4. Stretch the Upper and Calf Area Gently
- 5. Complete One Short Outdoor Test Walk
- 6. Increase Distance Gradually
- 7. Know When the Boots Are Ready
- Common Mistakes and How to Fix Them
- Frequently Asked Questions
- Can I use Vaseline or another home lubricant to break in hiking boots?
- How many days does it take to break in new hiking boots?
- Do hiking boots really need to be broken in, or is that an outdated idea?
- What should I do if I get a blister while breaking in new boots?
- Can I return hiking boots after wearing them at home?
- Does wearing hiking boots in the rain affect the break-in process?
- Conclusion
What You Need
The kit is short, and most of it costs nothing. Gather it once and the routine takes a few minutes a day.
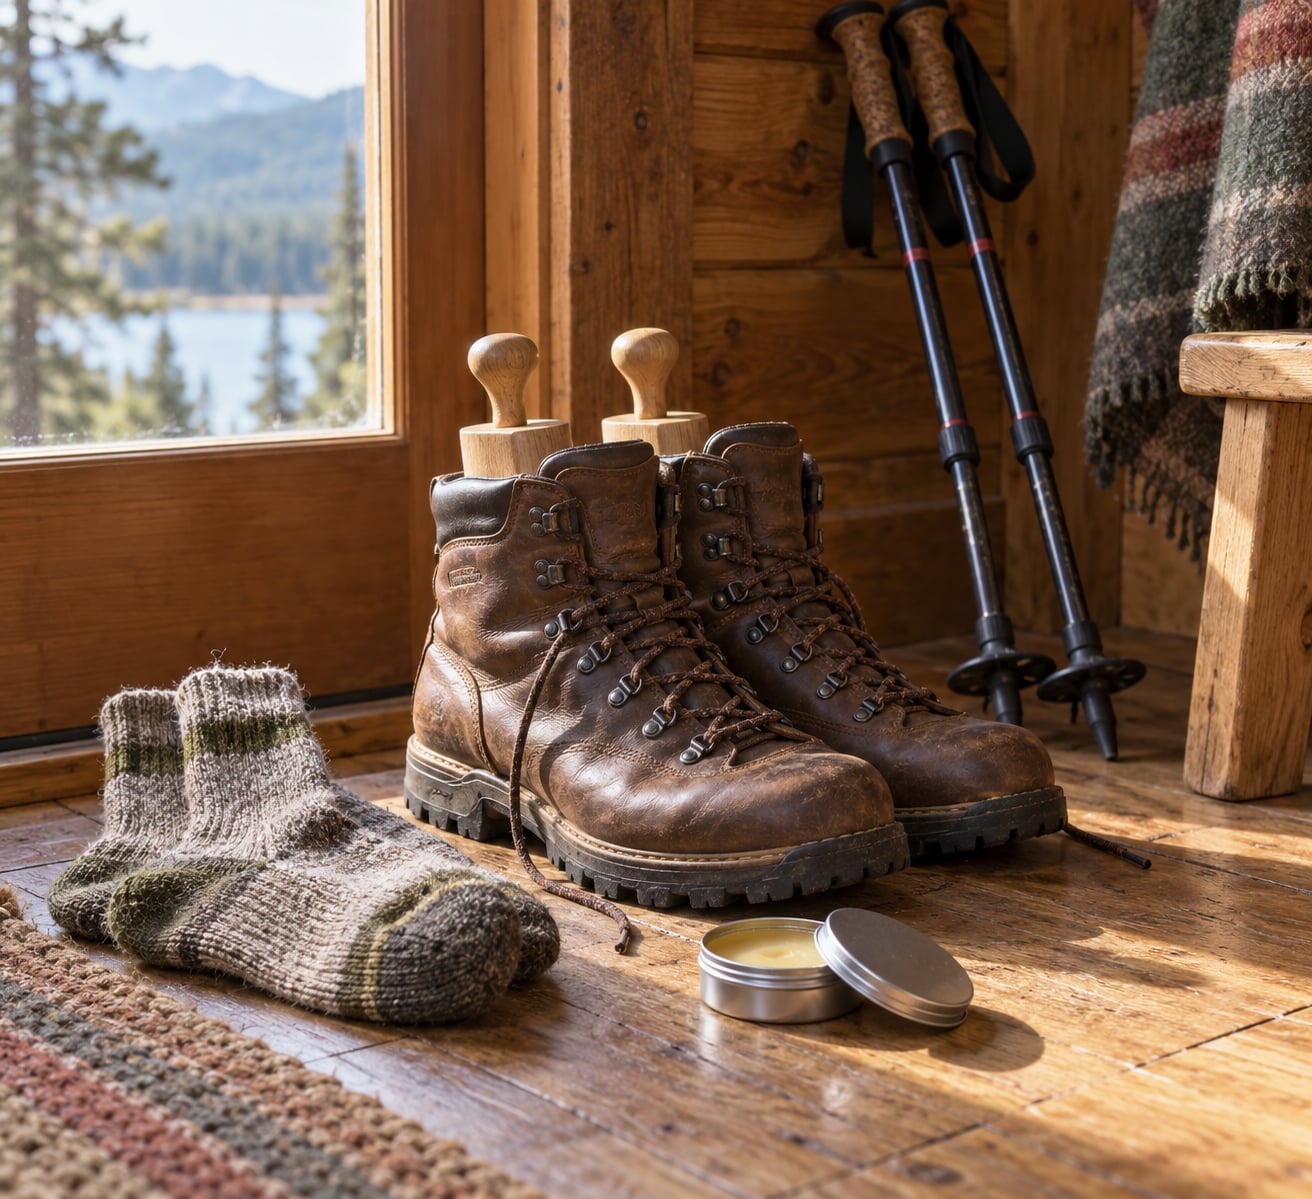
- The boots, with any factory adhesive backing pulled off the upper and the laces threaded as you like them.
- Hiking socks that fit properly, ideally merino or another moisture-wicking blend, plus a thin liner pair if you use them.
- A boot tree or two, or rolled-up magazines sized to hold each boot’s shape between sessions.
- Lubricant or conditioner recommended by the manufacturer for the upper material. Leather and synthetic uppers take different products.
- A foot pump or rolling pin for gentle work on the forefoot and calf area.
- A clean floor, so you can walk indoors without creating problems you will blame on the boots.
- A wall or sturdy chair for balance during calf and ankle stretches.
How to Break In Hiking Boots Quickly, Step by Step
Work through these seven stages in order, and do not skip ahead because a stage feels easy. The observable result of each step tells you when you are ready to move on.
1. Check the Fit Before You Wear Them Indoors
Put on the socks you would actually hike in, then buckle the boots and stand up. You want roughly a thumb’s width of space in front of your longest toe, a heel that stays put when you lift one foot, and no spot where the upper presses hard against a knuckle or the base of your big toe.
Now walk indoors for five to ten minutes. Mild pressure that fades as you walk is fine. Sharp pain, numbness, or a hard edge that stays sharp is not, and it will not soften with wear.
2. Reduce Friction at the Boot’s Hotspots
Friction concentrates in predictable places: around the heel collar, along the sides of the forefoot where your toes splay, and across the top of the foot under the lacing. Flex the upper by hand at those points for a minute and notice where the material resists most. Those are your hotspots.
Apply a thin layer of manufacturer-approved conditioner or lubricant only to those contact areas. The upper should feel less stiff and slightly darker where it is damp. If it feels slick or transfers to your sock, you have applied too much, and wipe the excess off.
3. Wear the Boots Around the House
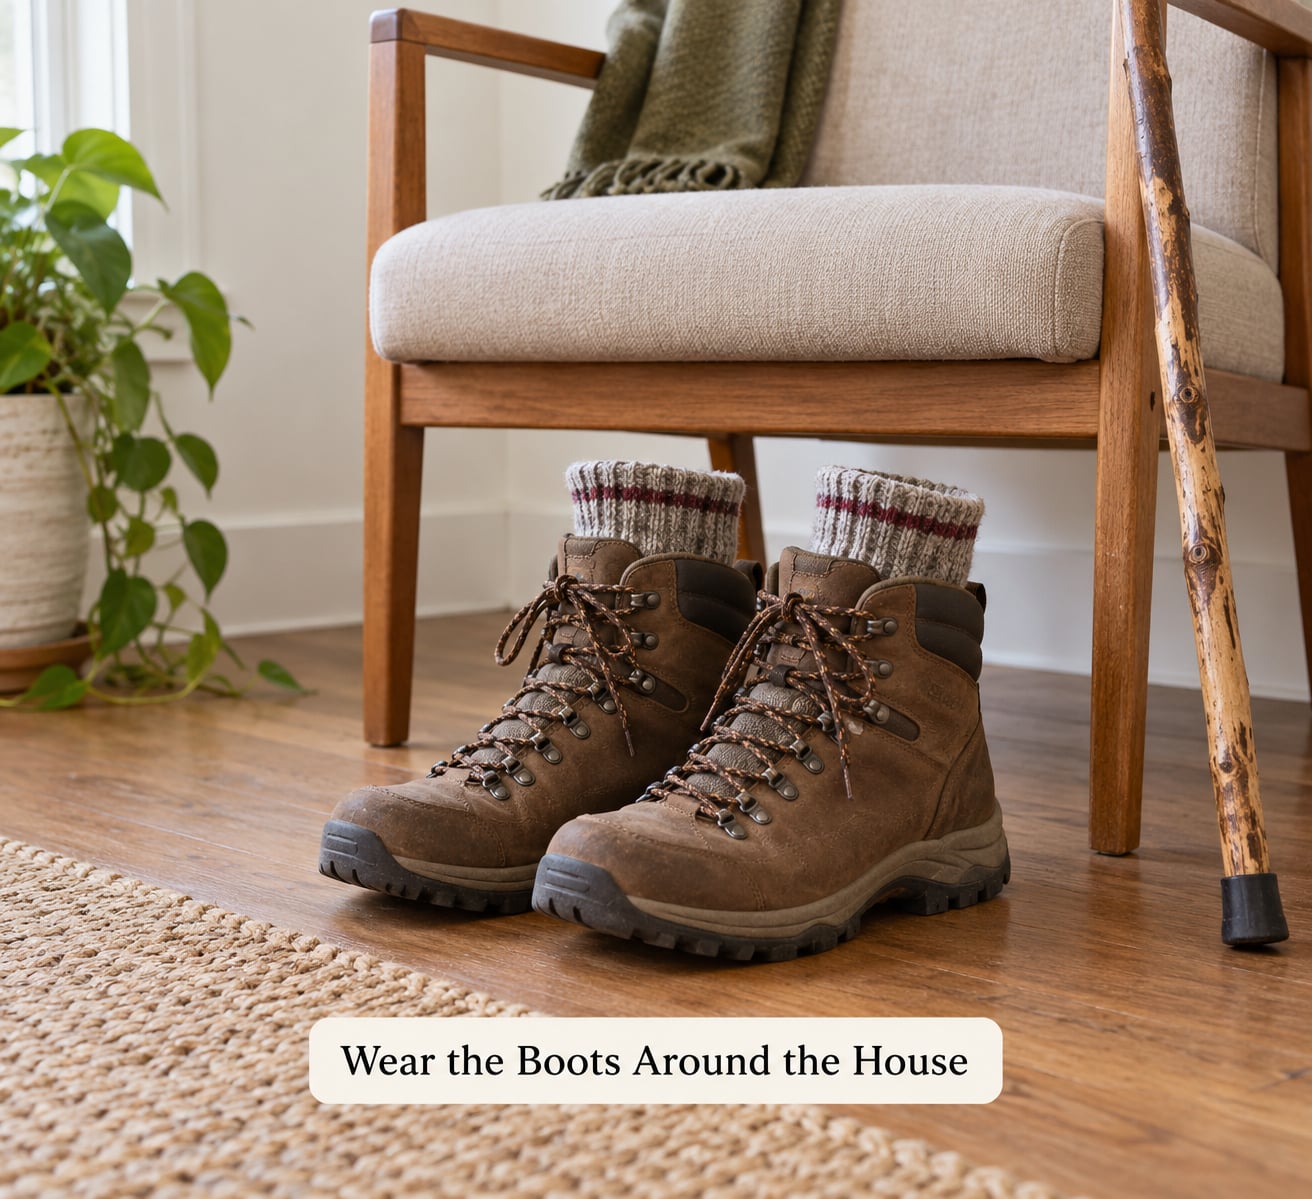
Wear the boots with thick hiking socks and lace them properly snug, not loose. Walk a clean indoor space for 20 to 30 minutes, several times a day. Household chores count, and so does standing on a stair step or an incline board if you have one.
The result you are watching for is a boot that no longer feels like a stiff object around your foot. Stop the session if anything hurts sharply; mild warmth in the toe box on a cold day is normal.
4. Stretch the Upper and Calf Area Gently
With the boot off, work the forefoot area with your thumbs in small circles, then rotate the ankle and extend the calf while the boot is on or over a rolled towel. A foot pump or rolling pin rolled along the arch and calf for a minute each side is enough. Aim for mild stretching that you can stop at any moment.
Do not force the toe box open with your hands the night before a long hike. That stretches the material for an hour, not for the ten hours it needs to stay shaped. Between sessions, leave the boot trees or magazines in place so the shape is held, not squeezed.
5. Complete One Short Outdoor Test Walk
Around the fourth day, walk 20 to 30 minutes on flat ground close to home, carrying only a light daypack. Flat and short is deliberate: you are looking for information, not distance.
When you get back, sit down and look at your feet. Check for redness that has not faded within a minute, small fluid-filled blisters, numbness, and rubbing marks along the outside edge of the forefoot or the heel. Write down where the marks are. That location tells you what to adjust, and it is usually socks or lacing rather than the boot itself.
6. Increase Distance Gradually
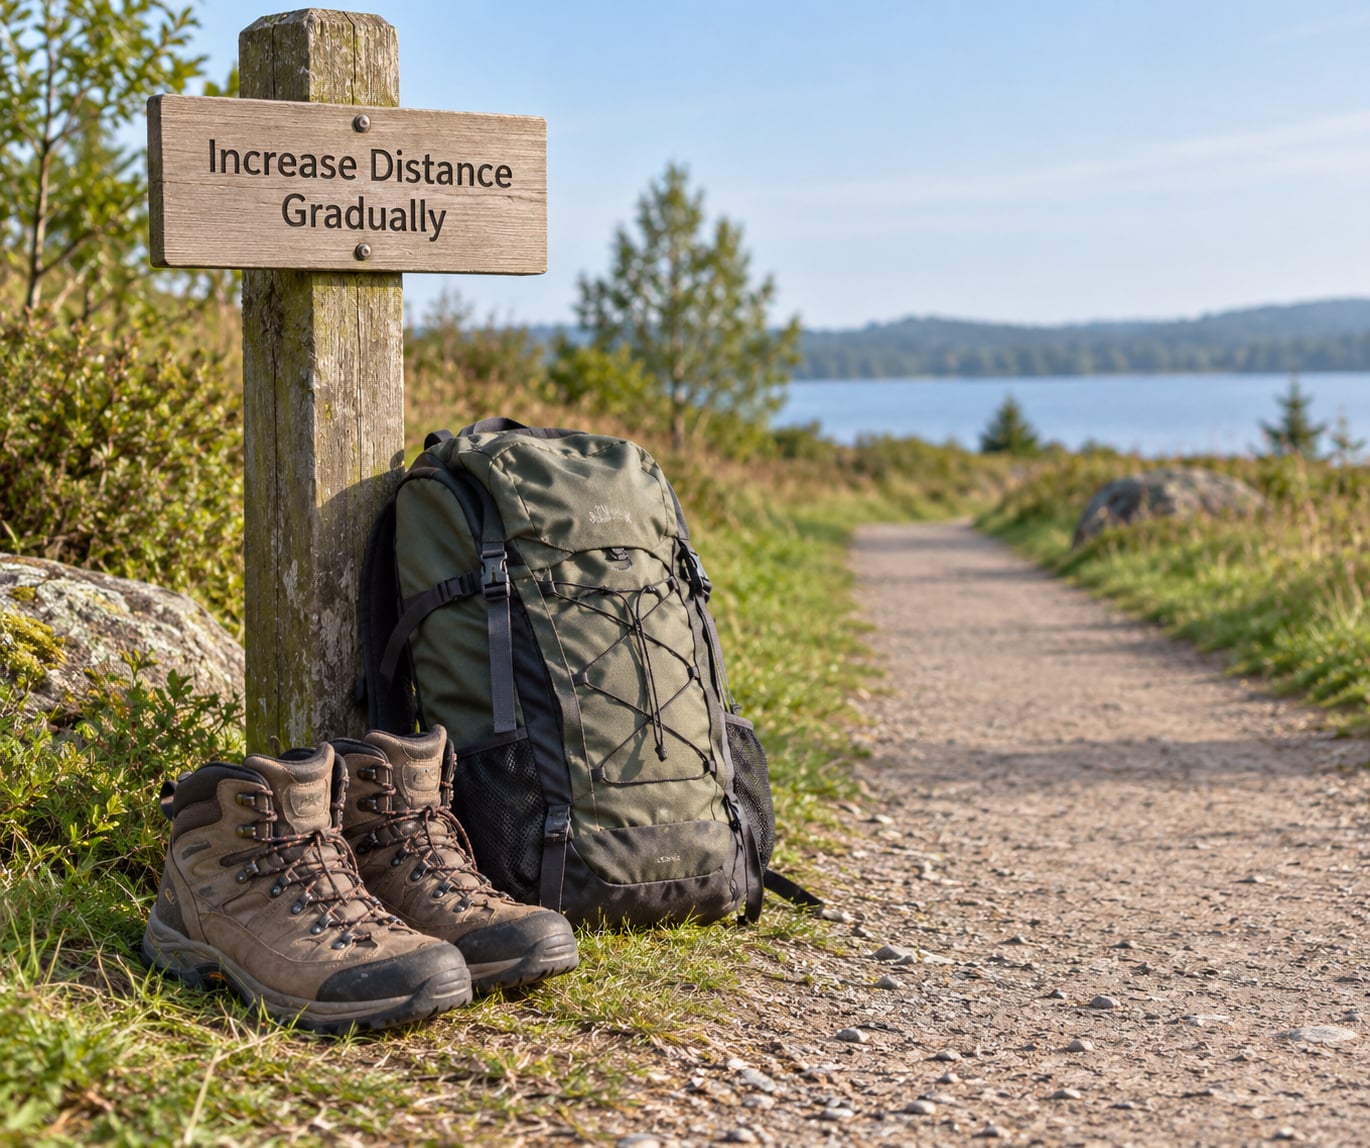
Add time before you add anything else. A practical starting point is no more than 10 to 20 extra minutes per session, and only once a session ends with no marks on your feet. After that, introduce hills, then a heavier pack, then uneven ground, one at a time.
Here is the seven-day progression most people need for new boots.
| Day | What to do | How to tell it worked |
|---|---|---|
| 1 | Fit check, hotspot lubricant, 20 to 30 minutes indoors | Upper feels less stiff, no sharp pressure |
| 2 | Two indoor sessions of 30 minutes, stretch between them | Boots feel less like an object you are wearing |
| 3 | One 20 to 30 minute flat walk near home | No marks that last more than a minute |
| 4 | Same walk, add light pack weight or gentle hills | Warmth in the toes, no rubbing |
| 5 | Extend to 45 minutes, check feet after | No redness at the same spot on both feet |
| 6 | Add 10 to 20 minutes, include a slope | Comfortable at the end, not just the start |
| 7 | Longest walk of the week, unpacked terrain | No hot spots during or after |
| Week 2 | Load the pack, extend toward planned trip mileage | Two to three consecutive comfortable days |
Leather boots on this schedule still have a way to go. Expect two to four weeks before long days feel effortless, and keep the sessions in the same order after week one.
7. Know When the Boots Are Ready
Run four tests before a trip. The boots should feel comfortable through a 60 to 90 minute walk, not merely tolerable for the first half hour. The upper should flex naturally when you crouch, with no creases forming only near the laces. The heel should stay secure when you walk downhill.
And your feet should show nothing after the walk. No redness, no blisters, no rubbing marks. A properly broken-in boot should not require a painful period. If yours still does after ten to fifteen hours of progressive wear, the fit is wrong, and more wear will not fix it.
Common Mistakes and How to Fix Them
Nearly every bad break-in story comes from one of these, and each has a simple correction.
- Wearing new boots straight into a long hike. The fix is a week of ordinary walks before the trip, and if the date cannot move, bring backup footwear for the trailhead.
- Wearing cotton everyday socks. Cotton holds moisture, and a damp sock is what turns a hot spot into a torn skin. Switch to merino or another moisture-wicking blend.
- Skipping the foot check. Redness is the warning that arrives before a blister. Look after every session while it is still a free fix.
- Forcing a tight area. Pain that stops you is information. Stop, adjust socks or lacing, and start the session again shorter.
- Over-lubricating. A greasy upper attracts dust, weakens stitching over time, and can crack early. Thin layers, and only on the hotspots.
- Increasing duration and terrain at the same time. Add time first, then hills, then pack weight. Changing everything together gives you no way to tell what caused a problem.
- Treating persistent pain as normal. The same spot on both feet, every session, is a fit problem. Exchange the boots while the return window is open.
- Soaking leather overnight or reaching for WD-40. Water overnight swells the leather and can loosen adhesives and warp the shape, and WD-40 leaves an oily film that stops conditioner from working later. Neither softens the boot in a way that lasts.
- Drying boots on a radiator or in a dryer. Direct heat cracks leather and can damage a waterproof membrane. Use airflow and room temperature instead.
One habit does more than the rest: if a session feels good, end it there and write down the minutes. Next time starts from a number, not a guess.
Frequently Asked Questions
Can I use Vaseline or another home lubricant to break in hiking boots?
Vaseline is a lubricant for skin, not for leather, and rubbing it into the upper does nothing to soften the material. Used sparingly on a hot spot or on the outside of a thin liner sock, though, it does cut friction, which is the mechanism behind most blisters. Stop if it makes your feet warm and slippery. Use the boot maker’s own conditioner on the upper instead.
How many days does it take to break in new hiking boots?
Synthetic boots are usually comfortable after three or four short walks. Full-grain leather generally needs two to four weeks of steady use before long days stop creating hot spots, and mesh hiking shoes need almost nothing. Remember that most early discomfort comes from your skin rather than the boot, so expect tenderness to fade before comfort arrives.
Do hiking boots really need to be broken in, or is that an outdated idea?
Partly outdated. A boot that fits correctly should never require a painful break-in. What is real is that stiff uppers and rigid heel counters flex with use, and thin skin on pressure areas thickens. Modern synthetics reach that state in a few walks. If a pair still hurts after ten or fifteen hours of progressive wear, the fit is wrong, not the break-in.
What should I do if I get a blister while breaking in new boots?
Stop walking, clean and dry the skin, then cover the spot with a moleskin patch or blister tape before replacing your sock. Do not pop an intact blister. If it has already opened, rinse it, cover it, and change socks. Then find the cause: thin cotton socks, a loose heel, or a lace pressing the same spot on every single walk.
Can I return hiking boots after wearing them at home?
Often yes, because indoor wear leaves no tread marks, but the policy belongs to the retailer. Check the return window before you start, keep the box and tags, and wear the boots on carpet or a clean floor only. Wear them enough indoors to learn the fit, and return them at the first sign of a hard pressure point rather than hoping wear fixes it.
Does wearing hiking boots in the rain affect the break-in process?
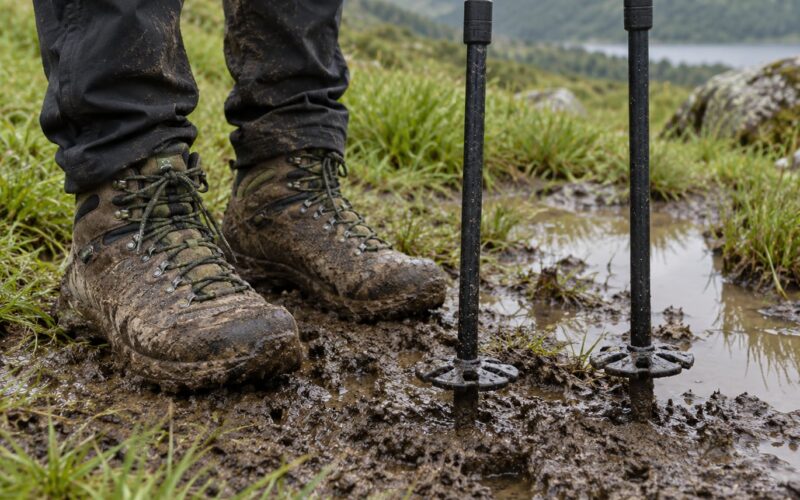
It cuts both ways. Leather absorbs water, expands when wet, and tightens as it dries, so a damp session teaches you about both states at once. Synthetics and waterproof membranes dry faster and behave more predictably. Walk damp grass rather than deep puddles, and never store leather while it is wet. A wet session is also harder on your feet, so shorten it.
Conclusion
Start with the fit, in the socks you will hike in, for five minutes indoors. If nothing digs in, put a thin layer of the maker’s lubricant on the heel, the sides of the forefoot, and across the top of the foot, then start short indoor sessions and graduate to flat walks, then hills, then pack weight.
How to break in hiking boots quickly comes down to repetition you can measure and stopping while it still feels fine. Most discomfort during that process is skin reacting to friction, and friction is something you can fix with socks, lacing, and a foot check rather than something you have to walk through.