A creek maze is a network of interlacing channels where a main creek splits, rejoins, and re-splits until every bend looks like the last one. You find your way by treating the water as data: read the flow, count the junctions, match what you see to a map you studied before launch, and turn back at a time you decided on in advance.
It takes about 20 minutes of prep to make a creek paddle routine. The hard part is not steering the boat. It’s resisting the urge to keep going when the channel stops matching the one on your screen.
Table of Contents
- What You Need
- Step-by-Step
- 1. Study the Creek Map Before Launch
- 2. Check Tides, Weather, and Water Conditions
- 3. Turn the Map Into Landmarks
- 4. Set GPS Waypoints and Offline Navigation
- 5. Start With a Simple Route and Checkpoint System
- 6. Confirm Your Position at Every Major Junction
- 7. Move Carefully When Visibility Drops
- 8. Know When to Backtrack
- 9. Finish With a Headcount and Exit Check
- Common Mistakes
- Frequently Asked Questions
- What should I do if my GPS loses signal in a creek maze?
- Can I navigate a creek maze with only a paper map?
- How do tides affect creek navigation and getting lost?
- How far can a beginner safely paddle into a creek network?
- What landmarks work best for navigating marsh creeks?
- Is it safer to follow GPS coordinates or visible landmarks?
- A Simple Creek-Navigation Plan
What You Need
The prep list for a creek maze is short, and every item on it has a job.
- A chart or map of the whole network, not just the launch basin. If it shows only your starting reach, the rest of the system is invisible to you and every fork becomes a gamble.
- Two navigation tools that are not the same device. A chart plotter or phone app plus a paper chart or a compass baseplate. Creek country has walls and canopy that break electronic fixes, so one tool failing should never mean you have none.
- Offline maps downloaded before you leave the dock, and tested. Open the screen in airplane mode and confirm the chart still draws the creek you are standing on.
- A compass, plus the local magnetic declination for the area. A handheld compass is the instrument that keeps working when batteries die and screens go dark.
- A fully charged phone in a waterproof case, with location sharing switched on for a person who is not on the water with you.
- Tide and weather information for the specific creek, checked the morning of the trip, not the night before.
- A shareable trip plan: launch point, planned route, checkpoints, turn-around time, and when you expect to be back.
Two of those deserve a note of their own. First, the paper chart is not a backup of last resort; in a narrow creek with a cut bank on one side, it is often the instrument you trust most, because satellite signals that bounce off that bank can throw a fix tens of meters into the marsh.
Second, cold water changes the whole plan. Most southeastern tidal creeks run in the 50s and 60s Fahrenheit through much of the year, and submersion there can disable someone in well under an hour regardless of the air temperature. If a forecast puts you near or past low water with a cold front behind it, shorten the trip rather than pushing the limit.
Step-by-Step
1. Study the Creek Map Before Launch
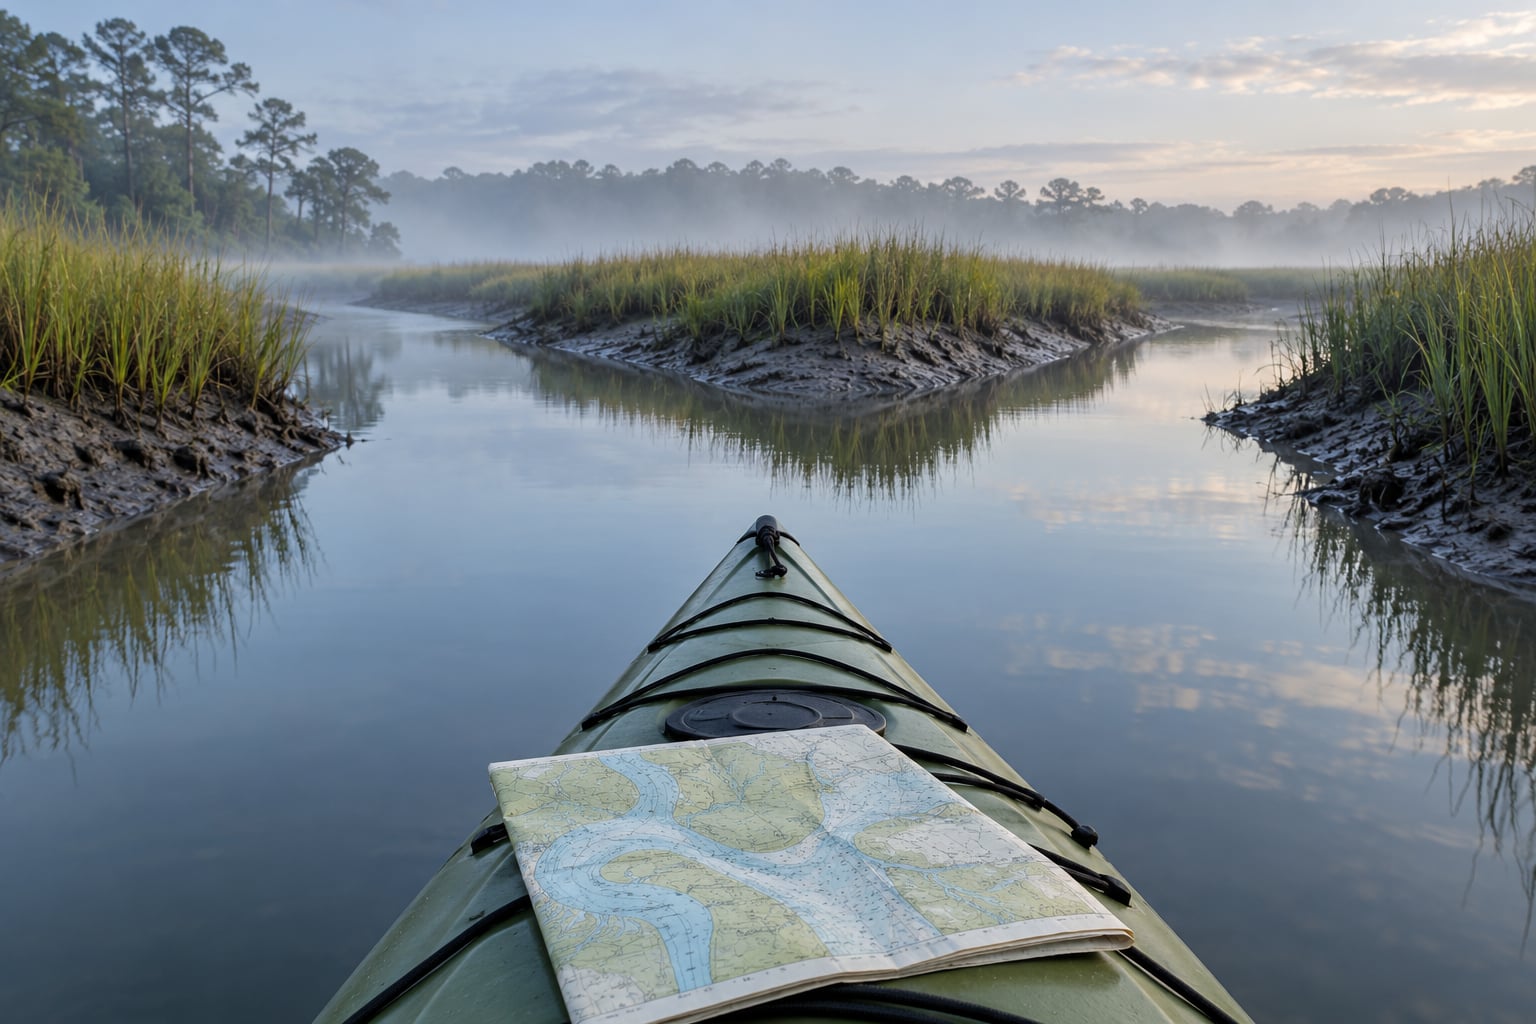
Before your bow touches the water, mark the launch point, your destination, and every creek branch between them. Then find the things that can only be in one place: bridge spans, road fords, dock complexes, island groups, and the channels that dead-end into impoundments or thick marsh.
Count the junctions on the planned route and write that number down. Confluence counting only works if you know the number you are counting toward.
2. Check Tides, Weather, and Water Conditions
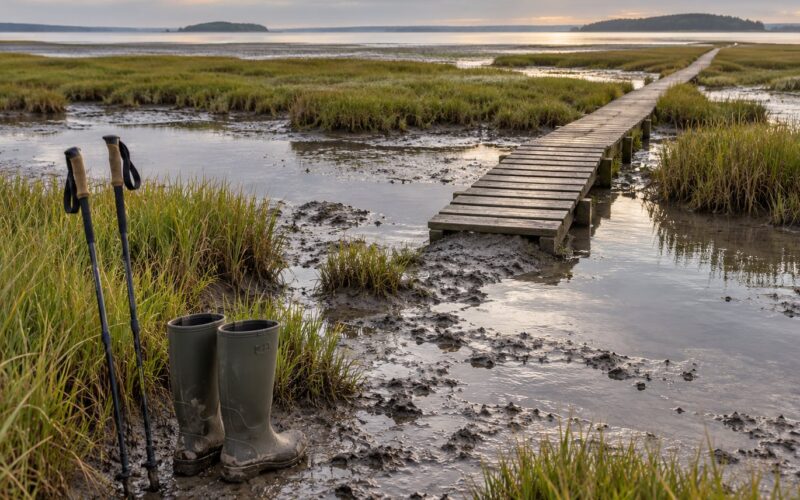
Tide stage changes the map. A channel that is a comfortable paddle at mid-flood can become a wall of water over a gravel bar at the peak, and a wide tidal creek can shrink into a mud-and-root obstacle near low water.
Look at the forecast for wind direction, thunderstorm risk, and visibility, and check recent rainfall upstream. Fog matters more than most paddlers expect, because a creek has no landmarks above the treeline and fog erases the difference between two bends a quarter mile apart.
Decide now, at the truck, when you turn around. A tide table gives you a number, and a number is easier to obey in the field than a feeling.
3. Turn the Map Into Landmarks
A map feature is only useful once you can recognize it from the water. Convert each checkpoint into something with a shape, a color, or a sound.
Bridge spans work well. So do the mouth of a tributary that enters at an obvious angle, a straight levee line that runs along one bank, a stand of dead trees on a point, a sand or mud flat that shows as a pale band, and any stretch where the marsh grass changes pattern. Sound counts too: a road bridge carries traffic, a pump station runs continuously, and falling water at a drop marks a hard change in gradient.
Pick at least three checkpoints that stay visible from more than one direction. A landmark you can only see from upstream is useless for confirming where you are after the creek curves.
4. Set GPS Waypoints and Offline Navigation
Save five waypoints before you launch: the launch, the first checkpoint, the last checkpoint, the turn-around point, and the landing. Recording the return point separately is what makes a backtrack fast, because you can steer to it rather than reversing the route by eye.
Check your position accuracy before you paddle away. A fix that reads ten meters while you are standing still on the ramp is trustworthy. A fix wandering across fifty meters is not, and you should start with the paper chart as the primary source instead.
Set an alert or a timer for your turn-around time. A reminder that fires in your pocket is more reliable than a judgement call made at the moment you are tired and still moving.
5. Start With a Simple Route and Checkpoint System
Your first trip into an unfamiliar system should be a loop with an easy bailout, not a point-to-point run. Plan to be back at the launch ramp with daylight to spare, and build the route out of short legs between checkpoints you can see.
Estimate your pace in creek miles per hour rather than open-water speed. Channels with tight bends, current, and wind against you can cut your speed by half, and that slower number is the one that sets your turn-around time.
6. Confirm Your Position at Every Major Junction
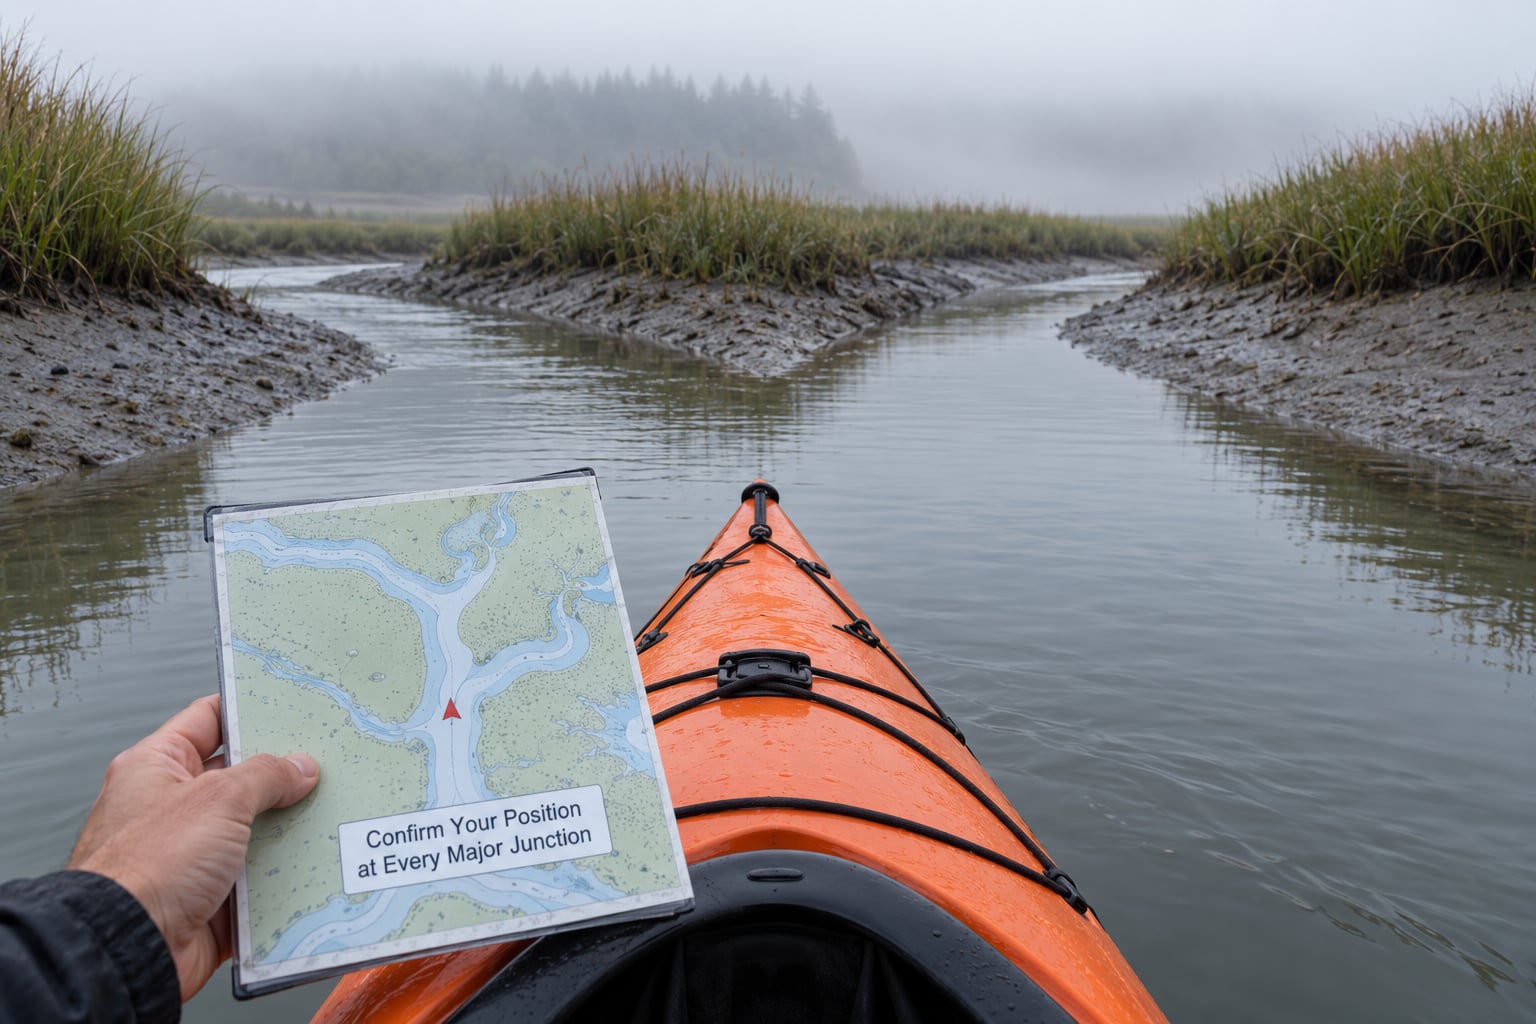
Every time the channel splits, do the same four checks in order: match the chart shape ahead, take a compass heading, look for the checkpoint landmark, and read the GPS position. All four should agree before you commit to a branch.
Disagreement is information. If the GPS says one thing and the chart and compass say another, trust the slower sources and wait for the electronic fix to settle, especially near a bank or a high bluff where satellite signals bounce and produce a position that is tens of meters off.
Say the junction count out loud or tap it on your chart. On the return leg you will be glad you have the number.
7. Move Carefully When Visibility Drops
When fog, rain, or flat light cut your sight distance, drop your speed and let the water do the steering. Slow paddle strokes keep the boat quiet enough that you can hear the current change, which is often the first clue that a channel has shifted character.
Avoid making a major directional decision in poor visibility. If a fork looks ambiguous, stop and let the fog lift or drift, or hold position in open water until you can match the chart confidently.
Watch the banks as well as the channel. Exposed mud, a change in vegetation, or a line of stake markers often shows you the shape of a bend before the water itself does.
Visibility is the moment where discipline pays off most. On a clear day a creek reveals its own route: the muddy scuff above high water traces every bend, gravel bars mark where the channel has been, and the tributary mouths announce themselves as dark seams cutting into the bank. In fog, all of that softens at the same distance, and a junction that looked trivial an hour earlier becomes a coin flip. The correction is cheap: slow down, stop at the fork, and wait for a clearer moment rather than committing on a guess. Twenty minutes of patience costs almost nothing compared with a backtrack over a mile of bad decision-making.
8. Know When to Backtrack
Turn around the moment any of these appear:
- You cannot name your current position or the next checkpoint.
- You passed a planned checkpoint without recognizing it.
- Your map, compass, and GPS stop agreeing.
- Wind, thunder, or fog is worse than it was at launch.
- The tide has risen against the route you planned.
- Battery, phone, or chart electronics are failing.
- You are cold, or paddling harder than the plan allowed.
Backtracking is not a failure of navigation. It is the plan working, and it costs minutes instead of a night out.
9. Finish With a Headcount and Exit Check
Confirm your landing point against the chart before you commit to the last channel, then count everyone in the group and check that the boat count matches. Notes about conditions belong here: which channel was passable, which crossing was marginal, and where the mud made you drag.
That log is worth more to the next paddler than any published route, and it takes two minutes to write at the tailgate.
Common Mistakes
Most disorientation in a creek network comes from a small number of repeated errors.
Treating the creek as a handrail. Water is a useful reference, but a meandering channel curves back on itself. You can be paddling confidently and still be pointed a quarter mile away from your route with no visible mistake. Match the channel shape to the chart at every bend instead of assuming continuity.
Following the water because it is easier. Downstream looks like progress and is usually the wrong choice when you need to reach a fixed landing point. Downstream takes you away from your exit, widens into broad channels that are hard to cross, and adds current to every turn.
Skipping the junction count. Without a count, a return trip is guesswork. Write the number down at launch and increment it at each split.
Relying on one electronic device. Screens go dark, batteries die, and satellite signals degrade against banks and in canopy. Carry a paper chart and know how to use a compass before the day matters.
Starting late and turning later than planned. Creek flows often rise through the afternoon, so a crossing that was fine at 9 a.m. can be impassable by late afternoon. Set the turn-around time from the tide and the sunset, not from how the day is going.
Not telling anyone the plan. A written plan with a check-in time gives the people on shore something to act on.
Frequently Asked Questions
What should I do if my GPS loses signal in a creek maze?
Stop paddling and hold position in open water rather than in a tight channel. Confirm your last known fix, switch the unit to use all available satellite systems if it supports them, and wait for a stable reading. Then fall back to your paper chart and compass, match the nearest landmark, and continue only when all three agree. If they do not agree, backtrack to the last checkpoint you confirmed by eye.
Can I navigate a creek maze with only a paper map?
Yes, and in a creek network a paper chart is often the more trustworthy instrument. Learn the channel shapes on the launch bank, use a compass for headings, and count junctions as you pass them. The limitation is that a paper chart cannot show your live position, so it works best when paired with landmarks you have listed in advance.
How do tides affect creek navigation and getting lost?
Tide changes both your route and your speed. At higher stages, secondary channels flood and can look passable while carrying strong current, and low marsh routes disappear. Currents reverse through the tidal cycle in many creeks, so a channel that pushed you one way at mid-flood may set the other way on the way back. Plan your return around the tide you will actually meet, not the tide at launch.
How far can a beginner safely paddle into a creek network?
Far enough that you can still reach your launch point within your planned paddling time, with a comfortable margin. That means a loop rather than an out-and-back on your first trip, checkpoints spaced so you never travel more than fifteen minutes between confirmations, and a route you can complete in three to four hours on a first outing.
What landmarks work best for navigating marsh creeks?
Landmarks with hard vertical edges and strong shape differences work best: bridge spans, levees, standpipe or power infrastructure, dock complexes, and large tree groups at point bars. Marsh grass patterns work because a cut bank reads differently from a smooth shoreline. Flat water with no vertical reference is the hard case, so use bank shape and grass lines together rather than relying on either alone.
Is it safer to follow GPS coordinates or visible landmarks?
Use both, and let each cover the other’s weakness. GPS gives you a live position that landmarks cannot, but it is least reliable in exactly the places where creek navigation is hardest, near steep banks and under heavy canopy. Landmarks and channel shape stay reliable everywhere but require that you studied the chart beforehand. Agreement between the two is your strongest confirmation.
A Simple Creek-Navigation Plan
If you remember five things from this guide, make them these. Study the chart for the whole network before launch, including the dead ends. Turn three map features into landmarks you can recognize from the water. Set your turn-around time from the tide and sunset, and put an alarm on it. Carry a chart and a compass that do not share a battery with your phone. And tell someone your route and your expected return time.
Then follow one rule above all the rest: if you cannot name your position and the next checkpoint, turn around. Learning how to navigate a creek maze without getting lost is not about never making a wrong choice. It is about noticing the choice early enough to reverse it.