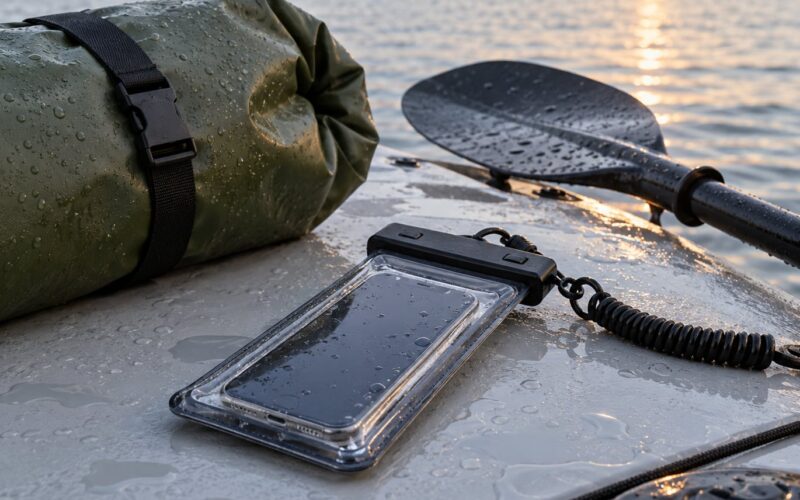
Dry bags fail for a handful of predictable reasons: they get overpacked, the roll-top closure gets loose instead of tight, the bag gets folded over something sharp, or it was never water-resistant to begin with. The fix is not a better bag, it is a slower pack job. Here is the short version of the technique: press the air out, roll the top three to five times, buckle both sides, then test the closure in a sink before you rely on it.
That last step is the one most people skip. A dry bag can look perfectly sealed on deck and fail two hours later when a wave comes over the bow and finds the one crease that was never flat. Testing takes ten minutes and it is the difference between a wet phone and a dry one.
What follows is the full routine: how to pick a bag for the load, how to arrange the gear, how to roll and buckle it, and the mistakes that cause most failures on the water. Read it once before your next trip and the packing job takes about the same time as before, minus the soggy sleeping bag.
Table of Contents
- What You Need
- Step-by-Step: How to Pack a Dry Bag Without Failures
- Choose the Right Dry Bag for the Load
- Protect Gear and Leave Room for Folding
- Arrange Gear for Easy Retrieval
- Roll, Seal, and Secure the Closure
- Test the Bag Before It Gets Wet
- Common Mistakes
- Frequently Asked Questions
- How many times should I roll a dry bag?
- Can dry bags be submerged in the water?
- Why did my dry bag leak?
- How do I stop condensation inside a dry bag?
- Do dry bags float with gear inside them?
- How do I care for and store a dry bag?
- The One Thing to Fix First
What You Need
Before you pack anything, three things decide whether your dry bag will keep water out: capacity, closure style, and material. Get those three right and packing is straightforward. Get them wrong and no amount of careful rolling will save the load.
Capacity matters more than people expect. A bag filled to its brim cannot be rolled properly, because there is no slack material left to fold over. Most paddlers find that a bag advertised at a given volume holds comfortably about two-thirds of that volume in real gear. If your dry bag is for a weekend of clothing, size it so the clothes sit loosely, not compressed.
Closure style is the second variable. Roll-top closures with side-release buckles are the standard for paddling because they create the tightest seal and the least chance of a mistake. Zipper closures are faster to open, which is useful for a bag you dig through on shore, but they are only as good as the zipper and they are rarely submersible. Plastic clip closures are the weakest of the three and show up mostly on small accessory pouches.
Material comes in three families. PVC is heavy, cheap and permanently stiff, which means it rolls well but never packs flat in a hatch. TPU laminates are lighter, fold down small and stay flexible in cold water, which is why they are popular for backpacking. Coated nylon sits between them, usually at 210D to 500D denier, lighter than PVC and tougher against abrasion.
One more thing to check before packing: what the manufacturer says the bag is rated for. A genuine waterproof dry bag is rated for submersion and carries an IPX6, IPX7 or IPX8 rating. A water-resistant bag is built to keep spray and drizzle off and will leak the moment it goes under. Bags labelled splashproof are meant for a deck bag and nothing more. Those are not bad products, they are just the wrong tool if your boat takes spray over the rail on a windy crossing.
| Label on the bag | What it actually stops | What it lets through |
|---|---|---|
| Splashproof or water-resistant | Drizzle, spray, wet decks | Submersion, a wave over the rail, a dunk in the river |
| Waterproof, IPX6 | Heavy spray and rain, brief submersion | Nothing under a few minutes of dunking, if the closure is sound |
| Waterproof, IPX7 | Full submersion to a stated depth | Nothing, provided the closure was rolled and buckled correctly |
| Pack liner | Rain through the pack opening, spray | Nothing inside the pack itself, which is the point |
Worth noting on that last row: a pack liner is not a carry bag. It sits inside your backpack and takes the beating so the pack does not. Paddlers who try to fit a 20 litre liner into a day pack usually give up on it, but a single liner inside a fully loaded overnight pack is a simpler system than three external dry bags strapped to the outside, and it is far lighter.
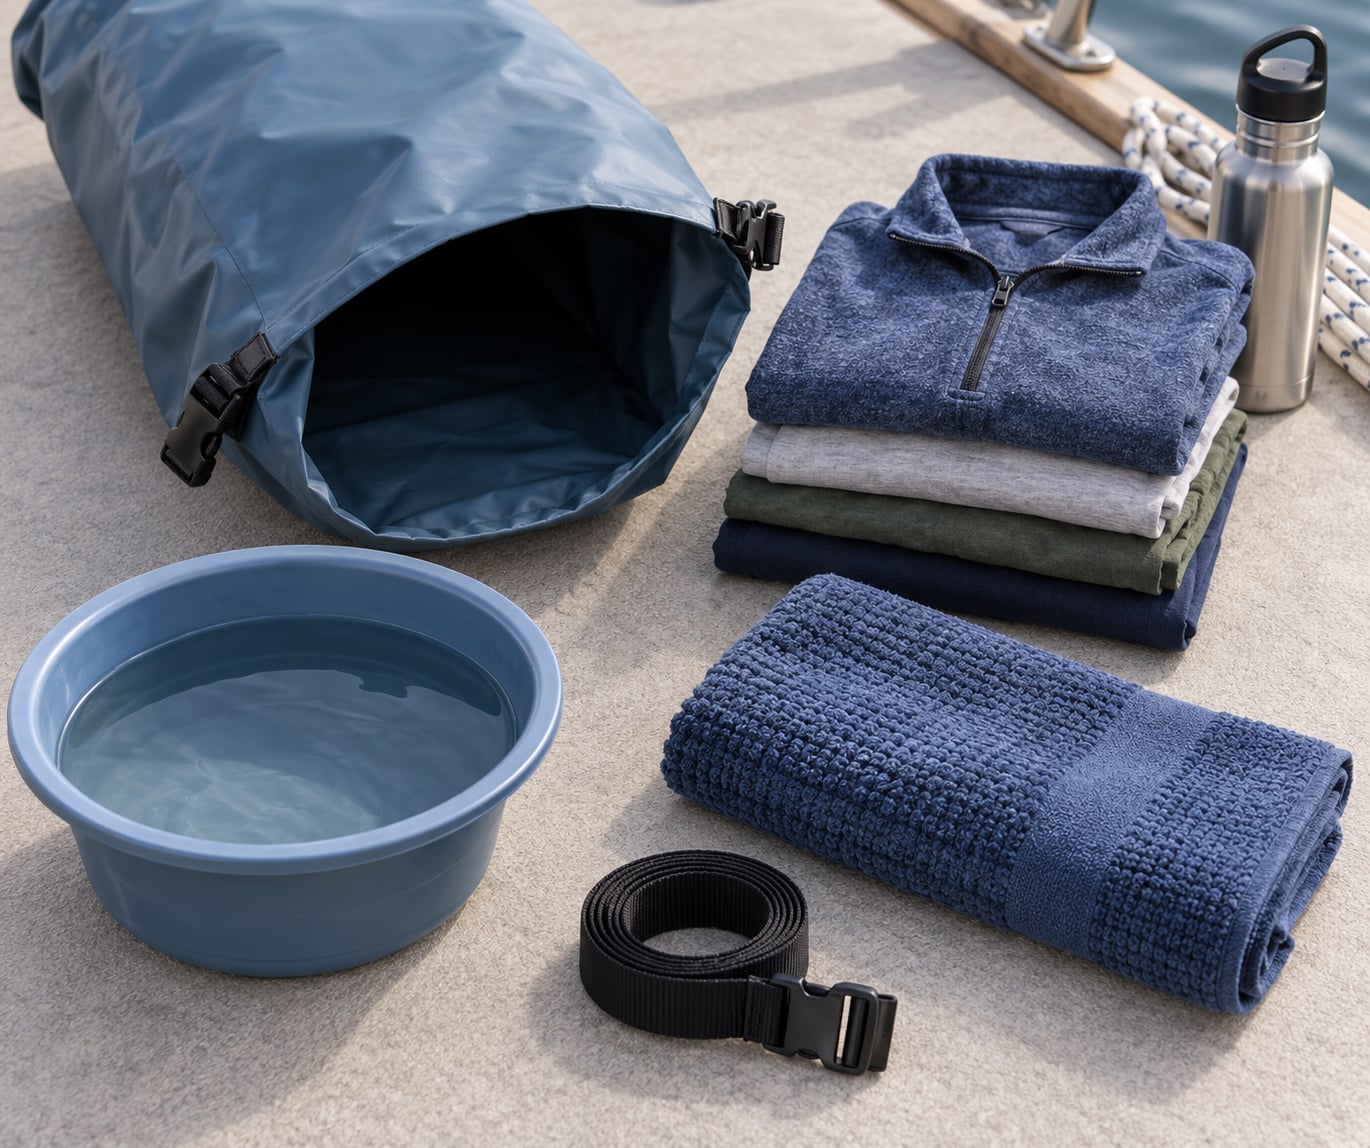
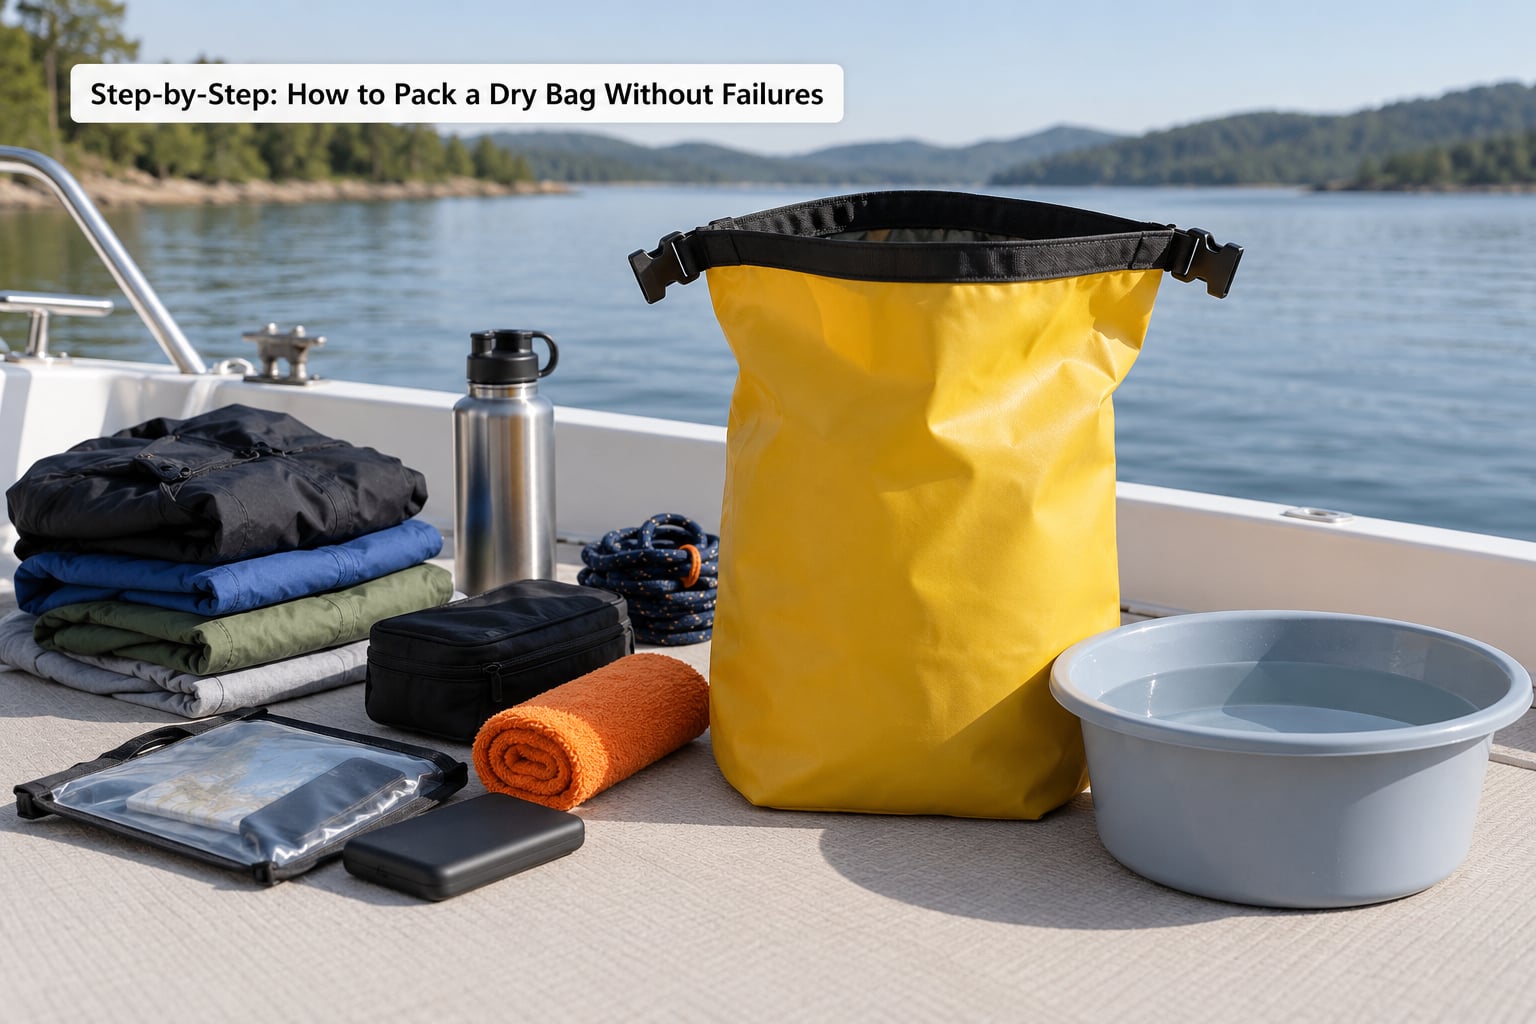
Before you start, gather the basics: the bag itself, a small towel for pushing air out, whatever liners or stuff sacks you want to use for protection, and a basin or bathtub for the water test. That is the whole kit.
Step-by-Step: How to Pack a Dry Bag Without Failures
Choose the Right Dry Bag for the Load
Start by asking what the bag will actually do. A bag that gets lashed to the deck and dunked in a rapid needs welded seams, a roll-top closure and a reinforced base. A bag that lives inside a pack needs less: any decent closure and enough capacity for the load.
Match volume to the trip. A 10 litre bag handles a day of layers and a first aid kit. A 20 litre bag takes an overnight sleep system or a change of clothes for two. Anything over 40 litres stops being a dry bag and starts being a duffel you cannot lift into a kayak alone.
Match material to where it lives. PVC holds its shape and rolls cleanly, which matters on a wet deck where you are working one-handed. TPU folds flat for a pack liner and stays limber when the water is cold. Coated nylon is a reasonable middle ground for gear that gets dragged over rock.
Match weight to handling. A heavy bag full of dense gear is hard to control in current and, as a lot of paddling forum posts point out, will not float. Whatever bag you pick, keep the two heaviest items low and near the hull side.
Protect Gear and Leave Room for Folding
The number one cause of dry bag failure is overpacking. When a bag is stuffed to the top, the material cannot fold over cleanly, so the roll comes out fat, loose and full of creases. Water finds those creases every time.
Fill to about two-thirds. That leaves enough slack for the top to roll three to five times without straining the fabric or fighting the buckle. If your gear only just fits, it is in the wrong bag.
Anything fragile gets its own layer. A dry pouch or a zip bag inside the dry bag costs nothing and protects against a failed seal. Electronics deserve this every time, because a soaked camera or phone is the one failure you cannot walk away from.
Anything sharp gets a hard cover. Tent poles, knife sheaths, fish hooks, axe heads and cookset handles have all punctured bags from the inside, and a pinhole in a welded seam is a permanent leak. Cap points, wrap tools, and keep anything with a rigid edge against the wall of the bag rather than in the middle of the load.
Arrange Gear for Easy Retrieval
Order matters more than people think. Put the things you need at a rest stop in the top third, and heavy items in the bottom third where they sit lower in the hull and ride better in a current.
Use separate pouches or stuff sacks inside the bag so you are not digging through a tangle of wet clothing to find a rain shell. Compression sacks and mesh organiser pouches are the cheap, light solution and they cost almost nothing in weight.
Keep fuel, stove, food and anything that must stay completely dry in its own bag, ideally at the top. If you are expecting to open the bag in the rain, split the load into two bags rather than one big one, and colour-code the closures so you grab the right one without thinking.
Roll, Seal, and Secure the Closure
This is the part that decides whether water gets in, and it is where most failures happen. Work through the sequence in order.
- Squeeze the air out. Push everything away from the mouth of the bag, press the contents down into the base, and roll the fabric toward itself to drive the air out. Air left inside expands in cold water and works the closure open.
- Drain and wipe the mouth. If anything inside the bag is wet, get it out or dry it. Water trapped in a seam is moisture you will find a week later, and it can grow mildew on the lining.
- Align the edges. Bring the two sides of the opening together so the material lines up flat, with no fabric pulled sideways and no corner sticking out.
- Roll three to five times. Each roll should be tight and even. Three is the minimum for a loose load, five or more for a bag packed firm or made of stiff material. Do not rush this and do not cheat by leaving a fold loose because the buckle is hard to reach.
- Buckle both sides and secure the excess. Clip both buckles, then roll or clip the strap so the folded top cannot spring open when the bag flexes.
The check for whether it worked: the rolled top should look like a flat, even cylinder with no gaps and no loose flap. If you can see daylight through the roll, add another roll. If the bag is a zipper style, close every zipper fully and confirm each slider is seated and the fabric around it is not pinched, because a pinched zipper is a leak that looks sealed.
Also confirm no strap is twisted. A strap running backwards or with a buckle half-on is what causes a bag to open the moment it hits a wave.
| Do this | Not this |
|---|---|
| Roll three to five tight, even turns | One or two lazy rolls and a hope |
| Fill to roughly two-thirds of the volume | Pack to the top so nothing moves |
| Cap or cover sharp points | Drop tent poles or a knife in loose |
| Buckle both sides, then secure the strap | Clip one buckle and leave the other |
| Check the roll for gaps in daylight | Trust the buckle to hold tension alone |
| Dry the bag fully before storing it | Fold a wet bag into a locker for a month |
Test the Bag Before It Gets Wet
Ten minutes of testing tells you more than any spec on the packaging. Do it at home, in daylight, over a basin or in a bathtub where you can see where any water lands.
Pack the bag the way you intend to on the boat, seal it, then run fresh water over the closure and down the outside for a full minute. Pay attention to the roll and the bottom seam, which is where fatigue usually shows first. Put a dry sheet of tissue or paper towel inside under the roll: even a few damp fibres tell you the closure is not right, while a dry sheet confirms it.
For a full submersion check, sink the sealed bag in a bath or a deep sink for two minutes with something dense inside it so it cannot float, then pull it out and open it. Check the tissue, the seams and the base. Do this once per bag, and again any time a bag has been through a trip where it was in the water but you are not sure how it was closed.
Signs the bag is ready: the tissue is bone dry, the roll shows no weeping, and the seams look flat with no lifting or bubbles. Signs it is not: any dampness at all, a soft or springy feel in the roll, a base that has gone stiff or scuffed through, or a buckle that hangs loose when the bag is laid down.
Common Mistakes
Why dry bags fail comes down to six habits, and every one of them has a simple correction.
Overpacking. A stuffed bag cannot roll properly. Fill to two-thirds and let the top fold over. If the gear will not fit loosely, move some of it to a second bag.
Under-rolling. Two loose turns is the single most common seal failure. Do three to five tight rolls, and add one more for stiff PVC material or a firm load.
Trapped air and trapped moisture. Air expands in cold water and pushes the closure open. Wet gear inside a sealed bag grows mildew, and paddlers who stored a damp bag through a humid month have had to throw it out. Press the air out, keep the contents dry, and let the bag air out before you roll it shut.
Sharp objects. Punctures from the inside are common and permanent. Cap poles and tools, put hard items against the wall, and use a liner pouch for anything with a point.
Wrong bag type. A splashproof deck pouch will fail the moment it goes under. Check for a stated waterproof rating, and check it before you rely on it.
No test, no second check. Bags fail from age and fatigue too. Seams lift, coated fabric goes stiff, buckles crack and roll points delaminate. Test a bag you have had for a season, and inspect it when you notice it feels different in your hands.
Two practical tips that cover a lot of ground. First, treat dry bags as float-and-find equipment: lash one to the hull with a line so that if you lose the boat, the gear comes with it. Second, dry bags are not personal flotation devices. They float because of trapped air, not because they are built to hold a person up, and plenty of bags packed with dense gear sit low in the water from the start.
Frequently Asked Questions
How many times should I roll a dry bag?
Roll the top three to five times, and go with more rather than fewer. Each roll needs to be tight and even, with the edges of the opening aligned before you start. Three turns suits a loosely loaded bag; stiff PVC material or a firm load usually needs five. After buckling both sides, hold the bag up to a light and check for gaps between the rolls. Any daylight means another turn.
Can dry bags be submerged in the water?
Only if they are rated for it. Look for a stated waterproof rating such as IPX7, which covers submersion to a stated depth, rather than a splashproof or water-resistant label that is built for spray and drizzle. Even a well-rated bag will leak if the closure was rolled loosely, so submerge it only after a proper roll and buckle, and remember a closed dry bag is a container, not a flotation device.
Why did my dry bag leak?
In order of likelihood: it was overpacked so the roll could not be tight, the top was rolled only a couple of times, a sharp point punctured the bag from inside, or the bag itself was never rated for submersion. Less common reasons are a failed buckle, a crease folded into the roll, and seams that have gone stiff with age. A tissue paper test in a basin tells you which one it is in about ten minutes.
How do I stop condensation inside a dry bag?
Condensation comes from warm moist air meeting a cold bag, and a sealed roll traps it in there. Pack only what is completely dry, leave the bag open and aired overnight before you seal it, and add loose silica gel pouches to clothing and sleeping gear. Long trips benefit from splitting gear across several bags and opening one at a time rather than opening the whole load each time.
Do dry bags float with gear inside them?
Sometimes, and you should never plan on it. A closed dry bag floats because of the trapped air at the top, so how well it floats depends on how much air is inside and how dense the contents are. Gear packed tight with little air volume brings the average density up fast and the bag sits low or sinks. Lash your dry bags to the hull instead of trusting them to stay on top.
How do I care for and store a dry bag?
Rinse with fresh water after a salty or muddy trip, dry it completely in the shade with the roll open, and only then roll it shut. Never store a bag damp in a sealed locker; mildew will find the lining and the coated fabric. Keep it out of prolonged direct sun, which degrades coatings, and check the seams and buckle each season by doing a quick sink test before you rely on the bag again.
The One Thing to Fix First
If you change one habit after reading this, make it the test. Fill a dry bag the way you normally would, roll it properly, buckle it, and put a dry sheet of tissue inside before it goes under water. Ten minutes in a basin tells you whether the bag you have been trusting for seasons actually holds a seal, and it tells you before you find out on the river.
Everything else on this list, filling to two-thirds, capping sharp points, keeping the mouth dry, rolling three to five tight turns, is quick. The test is what turns all of it into gear you can rely on. Do it at home in 2026 and your kit stays dry when it matters.