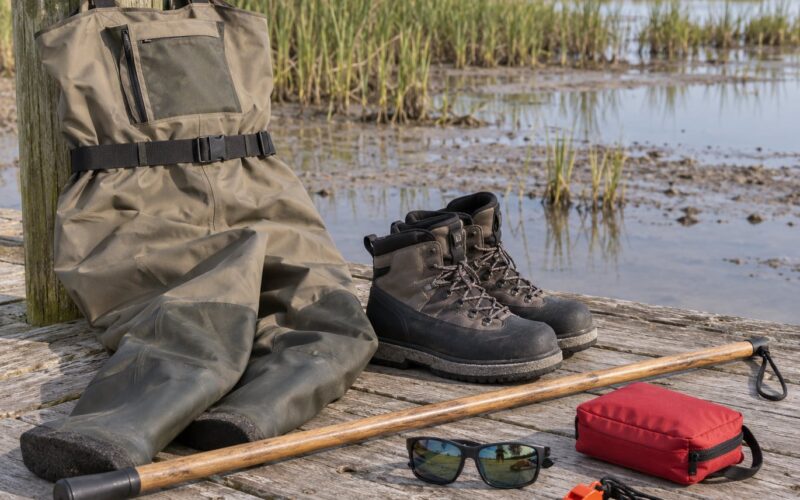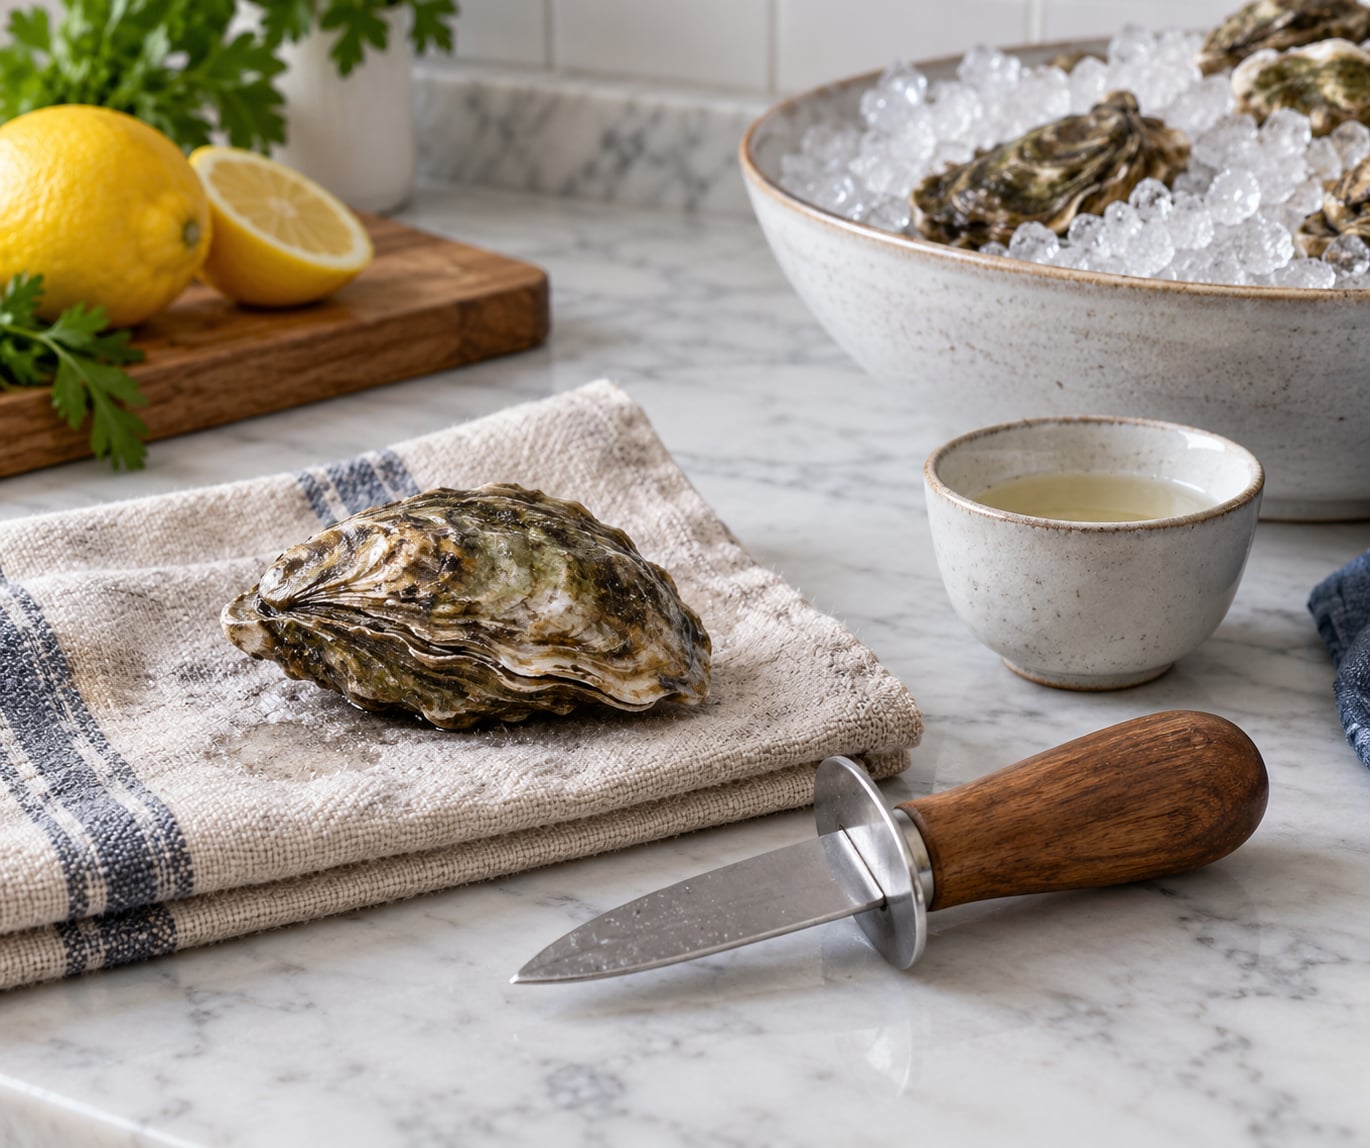
Shucking oysters at home is safe once you build a stable workstation first: the oyster sits cup-side down on a damp towel, your gripping hand wears a cut-resistant glove or holds a thick folded towel, and a short stout oyster knife goes into the hinge. Wedge, twist, pop, slice the muscle. About 30 seconds an oyster once you have the feel.
The word safely in “how to shuck oysters safely at home” is doing more work than it looks. The knife is rarely what cuts you. Shell edges are closer to broken glass, and a blade that suddenly loses its purchase travels wherever your hand was already headed.
You will also ruin a couple of oysters while you learn, and everybody does. Nobody kept score. Buy fifteen if you are feeding six people, and put a damp towel down before you crack a single one.
Table of Contents
- What You Need
- Step-by-Step: How to Shuck Oysters Safely at Home
- Check the Oysters and Set Up Your Workspace
- How to Shuck the First Oyster in the Cup Method
- Open the Oyster With a Shucking Knife
- Inspect, Chill and Serve the Oysters
- Common Mistakes
- Frequently Asked Questions
- What is the safest way to shuck oysters?
- Can I shuck oysters without an oyster knife?
- Should I wear gloves when shucking oysters?
- How long can oysters stay out of the refrigerator?
- Do oysters need to open before cooking?
- How can I tell if an oyster is bad?
- What to Do First Tonight
What You Need
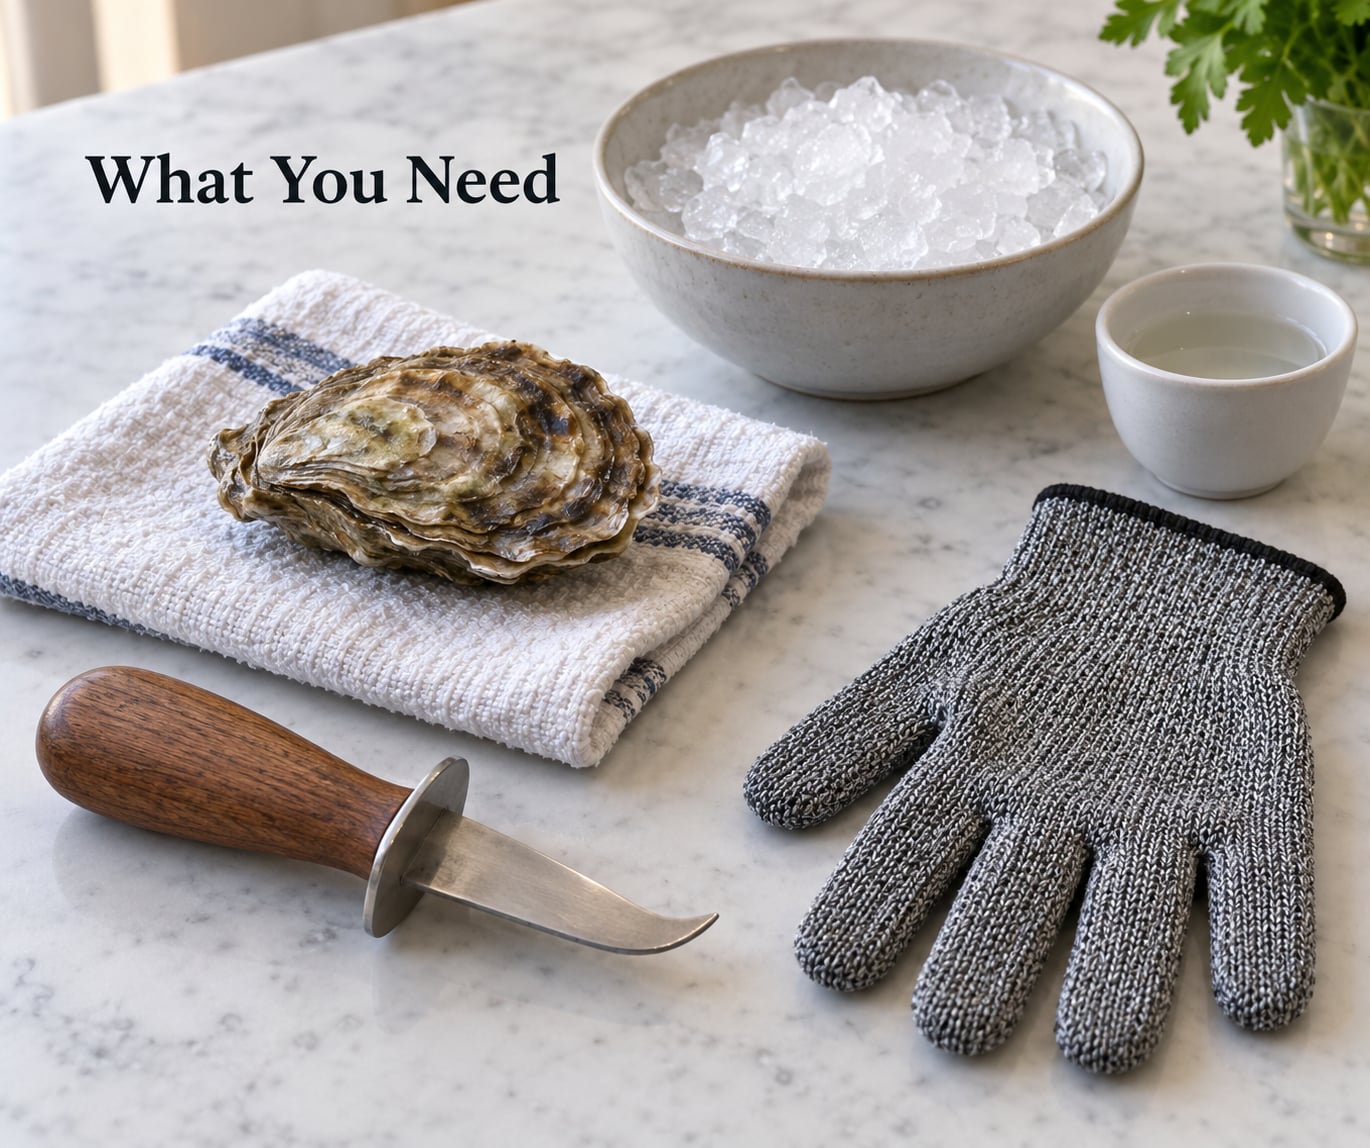
The essentials are short. Fresh live oysters from a seller who can tell you when they were harvested, a proper oyster knife, something to grip the shell with, and a cold place to stand. Everything else is convenience.
- Fresh live oysters. The shell should be shut, wet, and reasonably heavy for its size. Ask for the harvest tag and check the date.
- A stout oyster knife. Short blade, thick spine, blunt or upturned tip, handle that will not slip when wet.
- A cut-resistant shucking glove or a thick dish towel. One goes on the hand holding the oyster, never on the knife hand.
- A damp towel for the counter. This is what stops an oyster from skating across wet granite.
- A cup or small container, roughly the width of an oyster, for the cup method.
- A shallow tray or platter and a bag of crushed ice to hold the finished oysters cold.
- A stiff brush and cold running water for scrubbing grit off the shells before they are opened.
Optional but useful: a rubber shelf liner as a non-slip surface, a lemon wedge, and shallow metal cups if you are serving twelve or more people. None of that matters more than the towel.
What not to use: a screwdriver, a bottle opener, a butter knife, or a thin paring knife. None of them have the spine and tip shape to wedge into a hinge, and all of them slide at the worst moment. This is not a style preference. Long-time shuckers use a cheap knife from a hardware store rather than forcing a kitchen blade, and a flat-head screwdriver hack that circulates on fishing forums is dangerous enough that I will not print it here.
Set your station before the oysters come out. Wipe the counter, lay the damp towel flat with no wrinkles or folds under the oyster, and work near the middle of the counter rather than at its edge. Good light matters more than any gadget, because you are looking for a hinge, not prying blindly.
Step-by-Step: How to Shuck Oysters Safely at Home
Check the Oysters and Set Up Your Workspace
Put the oysters in a bowl set in ice the moment you get them home. Keep the container closed and upright in the coldest part of the refrigerator, and do not let them stand in meltwater, which drowns them and strips the brine that keeps them plump.
Discard any oyster whose shell is cracked, leaking, or open and will not close when you tap the lip. Cold oysters that feel unusually warm have been out of refrigeration too long. Wash your hands with soap and water before you touch them, and scrub each shell under cold running water with a stiff brush. Not hot water. Hot water starts cooking the oyster and kills the delicate texture, plus a hot shower of water is exactly the slippery setup you do not want over a towel.
How to Shuck the First Oyster in the Cup Method
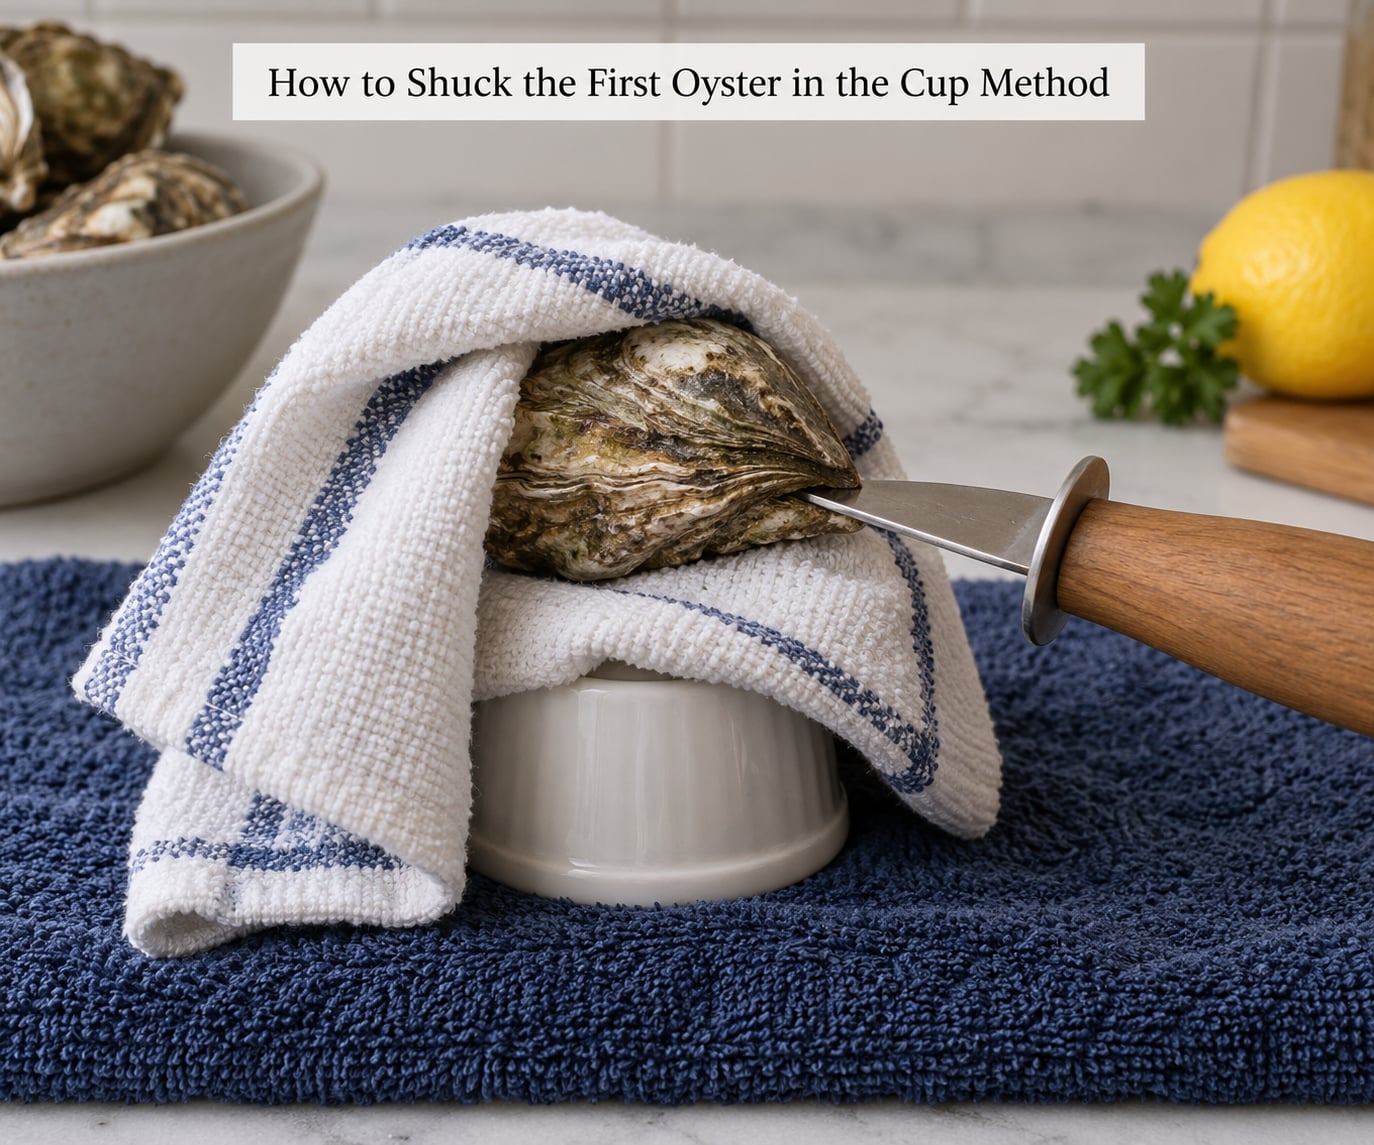
Set the oyster cup-side down, meaning the deep rounded shell facing the cup and the flat shell facing up, with the hinge at the end away from your knife hand. The hinge is the pointed joint where the two shells meet, and it is the only place the knife should go.
Wrap a folded dish towel around the oyster and hold it firmly, or put a cut-resistant glove on that hand. Place the rounded side down over the mouth of a cup or a wide container and press down gently. Firm pressure is fine. Crushing pressure is not. A moderate press cracks the hinge for you, which is the whole point of this method.
Now find the hinge at the pointed end and press the knife into the crack. Aim the blade down into the shell, never sideways toward your fingers, and keep the fingers on the holding hand tucked behind the shell as far as they will go. The shell should start to give without any real force. If you are leaning on the knife, the angle or the spot is wrong.
Open the Oyster With a Shucking Knife
With the blade buried at the hinge, turn your wrist. That twisting motion cuts the abductor muscle, the tough band that holds the oyster shut to the top shell, and the top shell lifts away. Long-time shuckers describe this as using the knife as a key rather than levering with force, and that is exactly right.
Work slowly from here. Hold the top shell in your towel, scrape off any loose shell fragments with the flat of the blade, and loosen the oyster from the bottom shell with the knife tip. Shuffling the oyster around in its cup loosens the abductor muscle so it comes free cleanly instead of tearing.
Keep every movement small and deliberate, and treat your other hand as the thing that is always in danger. The towel or glove protects that hand from shell edges; it does not protect it from a knife you control badly.
Inspect, Chill and Serve the Oysters
A fresh shucked oyster should look glossy and plump, and it should sit in the bottom cup in a clear, briny liquor. The shell liquor carries most of the flavor, so if a good oyster comes out dry and pale something went wrong upstream. Fresh oysters smell like clean salt water, not fishy or sour.
Keep shucked oysters on a bed of crushed ice and eat them the same sitting. Shucked meat is more perishable than live oysters in the shell, so if you are not serving within an hour or two, refrigerate them in a sealed container over ice in the coldest part of the fridge and use them within a day.
Discard an oyster that smells sour, sits in milky liquid, or looks dry and grey. You can also serve oysters fully cooked. Cook them to an internal temperature of 145°F (63°C) for at least 15 seconds if you are serving someone with liver disease, diabetes, alcoholism, cancer, HIV, or a weakened immune system, or if you just prefer the flavor cooked. That same temperature applies to anyone who is pregnant, elderly, or otherwise at higher risk from raw shellfish.
Set the tray on a bed of crushed ice, add a small cup of mignonette, sliced lemon, and whatever else you like. Squeeze the lemon over the oysters right before they go out, not earlier, and get the tray to the table fast.
Common Mistakes
Nearly every cut and every wasted oyster comes down to one of these. Each one has a straight fix.
- Forcing the knife. If the blade will not go in, you are in the wrong spot or at the wrong angle. Back out, find the hinge again, and re-wedge. Pushing harder wastes oysters and dulls your knife.
- Cutting toward your fingers. The blade goes down into the shell, angled slightly away from your supporting hand. Keep those fingers curled back behind the shell.
- Using a bottle opener or screwdriver. These are for bottles and screws. They slip, they do not have the wedge shape, and they throw shell fragments.
- Placing the oyster flat-side down. The deep cup side goes down so the muscle is on top where the blade can reach it. Upside down, you will crush the meat and lose the liquor.
- Prying from the lip. The hinge is the softest point. The lip is thick, and forcing there shatters the shell into the oyster.
- Cutting the oyster instead of opening the shell. Once the top shell is off, you are loosening, not slicing. Slide the blade under the oyster and free it from the cup.
- Working on an unstable surface. A dry towel on a slick counter is an accident waiting to happen. Damp towel, flat, plenty of counter left in front of you.
- Leaving oysters standing in meltwater. A closed container sitting in a puddle of melted ice kills them. Keep the container closed, upright, and out of the puddle.
- Storing shucked oysters in a warm sealed container. Sealing them traps warmth and the container keeps the meat in the danger zone. Shucked oysters go on ice, and the ice has to be cold.
- Serving oysters that smell off. Fresh means salt water and brine. Sour, ammonia, or slimy means you are not serving it.
Two sanitation habits cover most of the rest. Wash hands with soap and water before and after, and treat the shell side of the tray as contaminated, which is why the knife and the towel do not travel to the food side of the counter.
If you cut yourself, wash the cut with soap and running water, cover it with a clean bandage, and watch it over the next few days. If the wound turns red, swells, drains pus, or you develop red streaks or a fever, get medical care, and tell the clinician you handled raw shellfish. People with liver disease, diabetes, or a weakened immune system can develop serious infection from bacteria carried in coastal seawater through a wound, and early treatment is what makes the difference.
Frequently Asked Questions
What is the safest way to shuck oysters?
The safest setup is the cup method: oyster rounded side down, a damp towel underneath, your gripping hand wrapped in a thick towel or wearing a cut-resistant glove, and the hinge pointed away from your knife hand. Press down over a cup until the hinge cracks, then work the blade in rather than forcing it. Small, slow movements keep the knife path predictable.
Can I shuck oysters without an oyster knife?
You can, but buy a cheap stout knife with an upturned tip before your first attempt rather than risking a kitchen blade. A dull knife, butter knife, or screwdriver slides unpredictably and can throw shell fragments. Fifteen seconds in a microwave loosens stubborn shells enough to open by hand, so that works as a fallback on a difficult few.
Should I wear gloves when shucking oysters?
A cut-resistant shucking glove is worth having, because most injuries happen to the hand holding the oyster rather than the knife hand. A thick folded dish towel costs nothing and does fine, though it shifts once the shell gets wet. Never put a glove on the hand holding the knife, and skip loose gloves entirely.
How long can oysters stay out of the refrigerator?
Treat two hours at room temperature as the ceiling, and one hour if the counter sits above 90°F (32°C). Shucked oysters are more perishable than live ones in the shell, so keep them buried in crushed ice and serve them the same sitting. Live oysters in a closed container on ice tolerate longer, but keep the container out of the meltwater puddle.
Do oysters need to open before cooking?
No. Oysters that are still closed and smell like clean salt water can go straight into the oven, grill, or steamer, and heat makes them pop open on their own. A closed shell is a good sign. A shell that gapes open and will not close when tapped has died and should be discarded before cooking.
How can I tell if an oyster is bad?
Before opening, a live oyster stays shut and feels heavy. After opening, it should be plump and glossy, sitting in a clear briny liquor that smells like clean sea air. Discard anything dry, greyish, or sitting in milky liquid, and anything that smells sour or of ammonia. A bad smell is the clearest signal you will get.
What to Do First Tonight
Put the oysters on ice, lay a damp towel on the counter, and place the cup next to it before you open anything. Shuck the first two slowly and on purpose. By the fourth, the wrist twist takes over from the pressure, and the whole thing stops being a fight.
If you only remember one thing, remember that the shell is the hazard, not the knife. Grip the oyster properly, keep your fingers behind it, and never force the blade.