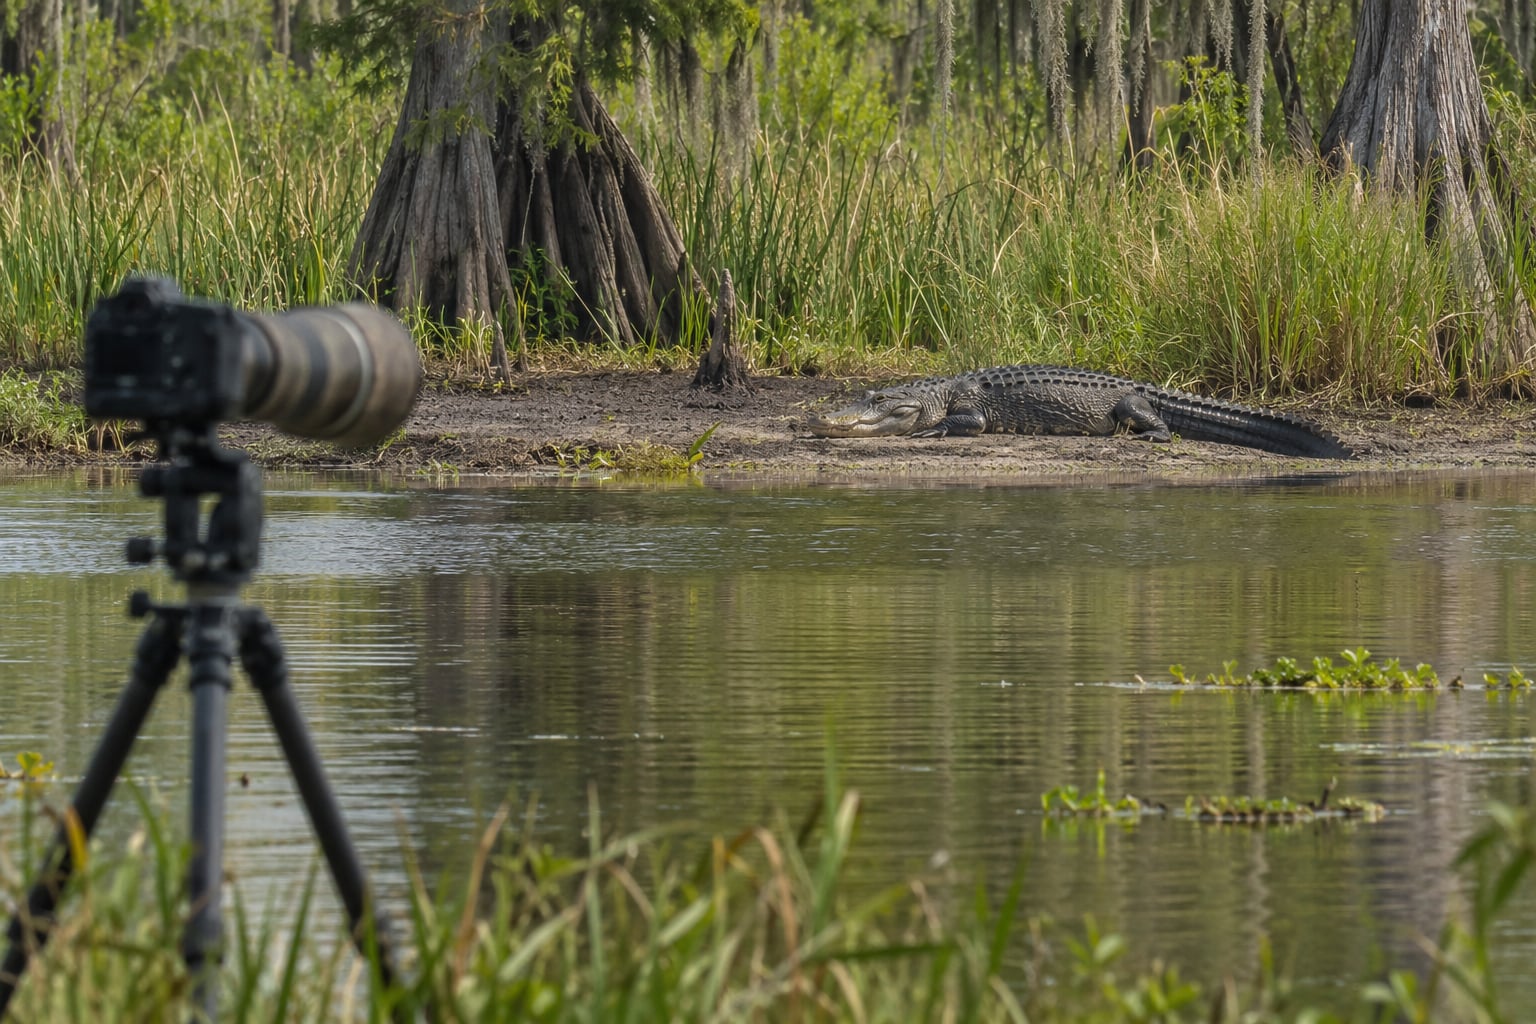
The short version: keep at least 100 feet (30 metres) between you and any American alligator, use a telephoto lens so you never have to close that gap on foot, and never approach a female guarding hatchlings. That 100-foot figure is a legal minimum at many Florida and federal sites, not a recommended shooting distance. Work farther back than the rule requires, and treat every technique decision in this field as a safety decision first.
Here is how to photograph alligators safely in practice, from choosing a platform to leaving without disturbing the animal. I have laid it out in the order you actually work a morning in the field, with the distances, the warning signs, and the emergency steps most guides skip. Updated for 2026.
Table of Contents
- What You Need
- A long telephoto, 400-600mm effective
- Support that keeps you standing still
- Remote release and quiet shutter behaviour
- Weather and water protection
- Safety gear and a spotter
- The phone option most people skip
- Step-by-Step: How to Photograph Alligators Safely
- How to Photograph Alligators Safely From a Distance
- Read the Alligator’s Behavior Before Shoting
- Use Cover, Light, and Composition Without Getting Closer
- Finish the Shot and Leave the Area Calmly
- If an alligator closes on you
- Common Mistakes
- Frequently Asked Questions
- How close can you safely get to an alligator to take a photo?
- Is kayaking safe in alligator water?
- Will an alligator flip a kayak?
- What time of day is the best time to see and photograph alligators?
- Why do alligators hiss at you?
- What should I do if an alligator approaches while I am photographing?
- Conclusion
What You Need
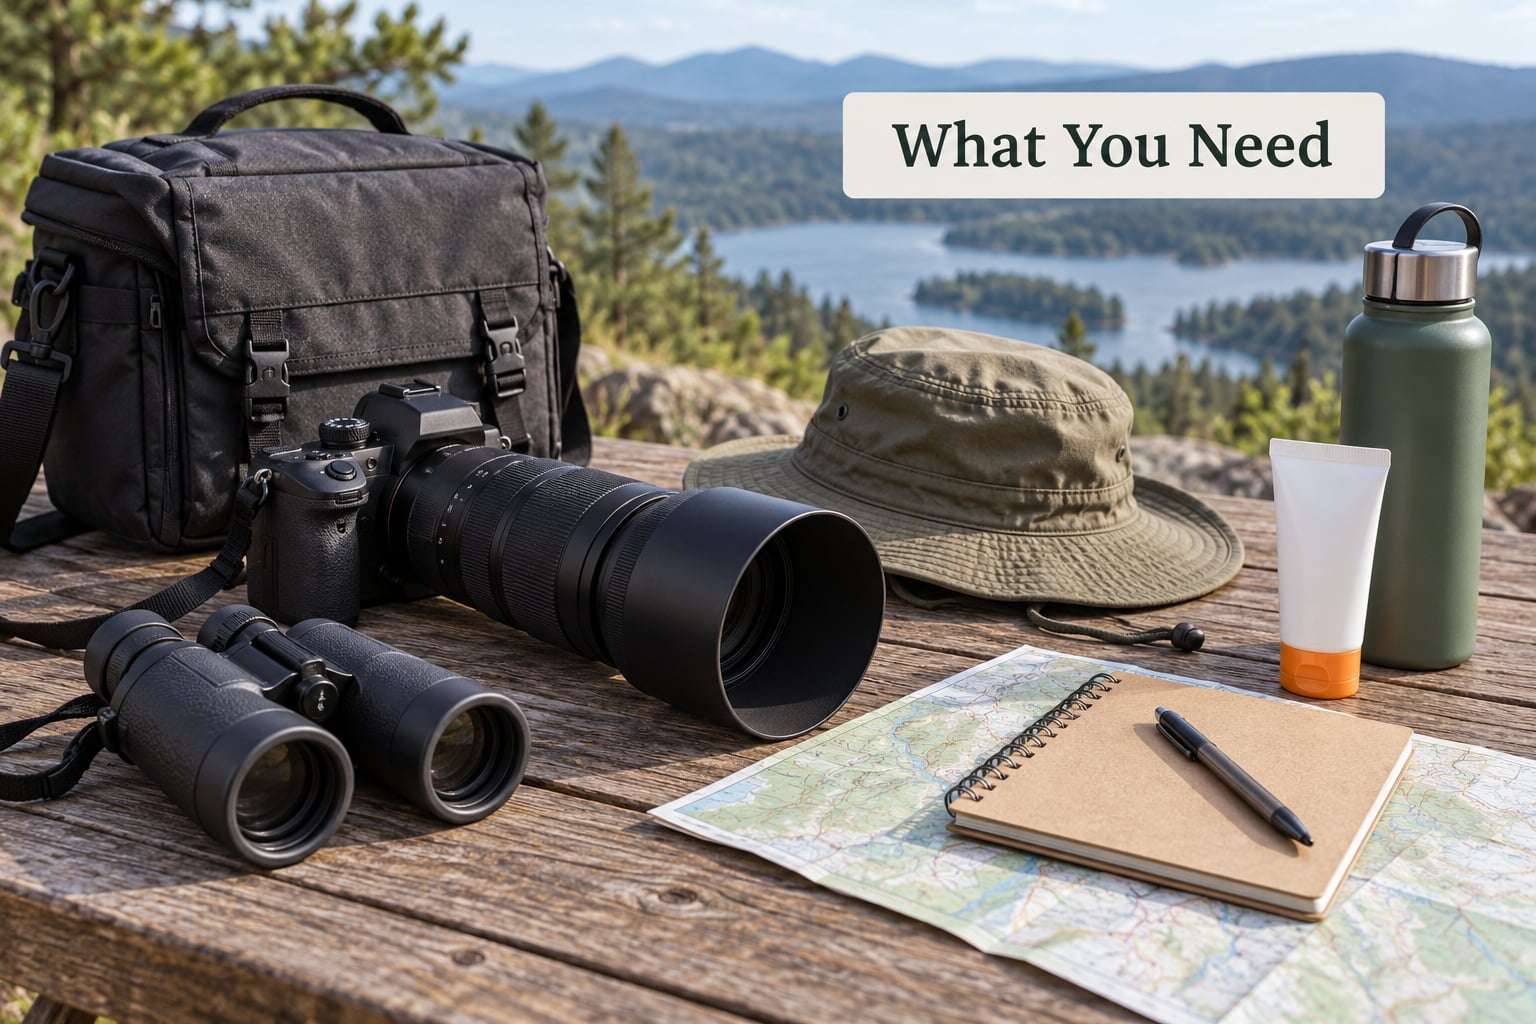
Your reach is your safety gear. Everything else in the kit exists to support the lens without putting a tripod leg, a hand, or your face inside striking range.
A long telephoto, 400-600mm effective
A 300mm lens on a full-frame body gives you roughly 300mm of reach. A 200mm on a crop body gives you about 300mm too, because the 1.5x crop factor. Add a 2x teleconverter and you are at 600mm, which is where most serious gator work happens.
The reason to buy reach rather than aperture: at 600mm you can fill a frame with a gator’s head from 100 feet away. At 85mm you cannot, so the temptation is to walk closer. Aperture buys you light and background blur at distances you already have.
Support that keeps you standing still
A beanbag or a skimmer pod (a beanbag with a bowl on top for a gimbal head) lets you frame low to the water without lying down. Lying prone at the waterline is the technique most often written about online and the one that puts your elbows, your bag, and your face at ground level next to an ambush predator.
If you use a tripod, check that the legs are outside the animal’s path to water before you spread them. A tripod over a drop-off is how gear ends up in the river.
Remote release and quiet shutter behaviour
A two-second timer or a cable release means your hands are not on the camera when an animal moves. Mirrorless bodies also make noise, so on those bodies check for a mechanical or electronic shutter option, or use a silent mode if your model has one.
Weather and water protection
Keep the lens hood on. A photographer on a southeast Texas forum reported a mother alligator shattering a lens hood while striking at a photographer working a hatchling pile, which is the cheapest possible lesson about what travels through the air at close range.
Bring a dry bag or a zip bag for the body, a lens cloth, insect repellent, sunscreen, a wide-brim hat, and more water than you think you need. A red-light headlamp keeps you from wrecking your night vision if you are out at dusk.
Safety gear and a spotter
On the water, wear a personal flotation device clipped before you launch, not after. Carry a whistle, keep your phone in a dry bag, and tell someone your route and return time.
Never work alone in true swamp. Bring a companion whose only job is watching behind and beside you while your attention is on the viewfinder. Alligators are ambush predators and they can approach from water you thought was behind you.
The phone option most people skip
A phone with the 2x and 5x lenses is a genuinely safe tool here, precisely because it forces distance. You will never fill the frame with a full animal, and that is the correct outcome. The phone is a good excuse to be where the rules say you should be.
Step-by-Step: How to Photograph Alligators Safely
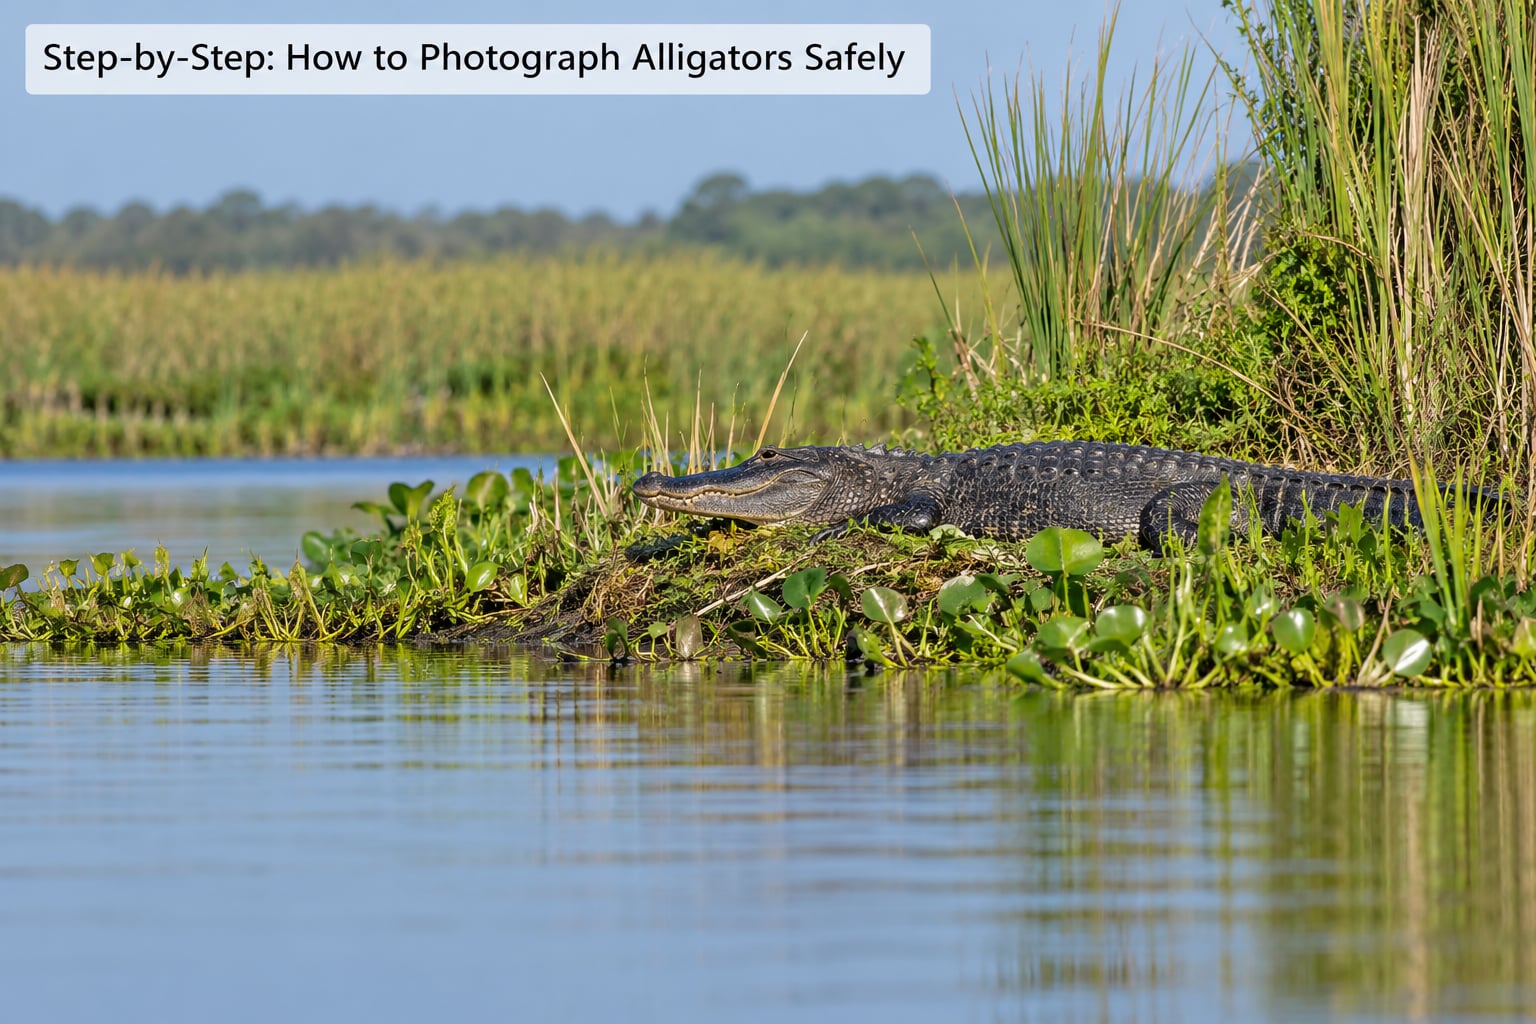
How to Photograph Alligators Safely From a Distance
Before you walk out, decide where you will shoot from. Access type matters more than patience: a boardwalk or a bank that puts a channel of water between you is worth more than any amount of creeping forward along a mud trail.
Then measure the buffer on the ground rather than trusting your eye. Thirty adult strides is a rough 100 feet, and it is worth counting on the first location you scout so you recognize the distance later. Remember that the rule is a floor. If the site feels exposed even at 100 feet, move.
| Setup | Legal minimum | Recommended working distance | Notes |
|---|---|---|---|
| Boardwalk or observation platform | Per posted site rules | Whatever the platform allows, never leaning over the rail | Check the rail height before you commit to a low angle |
| Dry bank or trail | 100 feet (30 m) at many Florida and federal sites | 150 feet or more | Slope or vegetation between you changes how far you can see, not how far it can reach |
| Kayak or canoe | 100 feet (30 m) | More if the animal is moving toward you | Paddle noise travels; expect a closer encounter than a silent boat |
| Motorboat or airboat | 100 feet (30 m) | 100 feet plus the boat’s length | Idle or shut down; a running motor pushes vibration into your frame and noise into the water |
| Remote or trail camera | Set and retrieve without approaching a defended animal | Whatever the camera lens reaches | Zero human risk once placed, provided placement is legal on that land |
Check three things before you raise the camera. You are at your planned distance or beyond. The animal has an unobstructed path to open water. And you have a clear retreat route that does not require turning your back or stepping backwards into water.
Read the Alligator’s Behavior Before Shoting
Alligators communicate well before they commit, if you know the vocabulary. Learn the signals below and treat each one as information rather than as part of the performance.
| Signal | What it means | What you do |
|---|---|---|
| Hissing | A direct warning to back off | Stop shooting, stand up slowly, increase distance immediately |
| Open mouth, head raised | Threat display | Do not approach or attempt to reposition closer; leave |
| Tail lift or tail lash | Alarmed and ready to move or strike | Give the animal a wide berth and a clear line to water |
| Bellowing, mouth wide, head on water | Adult male, often spring mating activity | Do not approach; males in this state are not habituated to people |
| Slow repositioning toward cover or water | Deciding you are not worth the effort | Hold still and stop the noise, or leave quietly |
| Sudden direct movement toward you | Everything about your situation has changed | Follow the emergency steps below, immediately |
Two things to hold onto. A hissing alligator is an alligator telling you to back off, and a defensive mother is the single most dangerous situation you can photograph in this field. Photographs of hatchlings are the most-requested gator images and also the most common reason tourists get hurt, because the babies are well protected while the adults are not.
Juveniles are also better defended than a photo suggests. They have the least predation pressure of any life stage and the most attentive mother, so the animals you most want to approach are the ones whose guardians have the most to lose.
Use Cover, Light, and Composition Without Getting Closer
Almost every technique that gets you a better image is available from where you already stand. This is the fun part of the craft when you accept the constraint.
Vegetation works as a natural blind. Move a few steps sideways along the same distance until cypress trunks and sawgrass break up your outline rather than hiding the animal. Repositioning on an arc at a fixed radius keeps the buffer intact while changing the background.
Light does more work than proximity. Winter gators basking on a bare bank are side-lit in the morning, which is when you get scutes, ridges, and eye detail. Low sun also puts reflections in still water, and a mirrored gator under a cypress canopy is a stronger image than a tighter crop of a backlit one.
For composition, put the eye high in the frame and give the snout room to point into. Shoot one full-body frame for scale, because an alligator cropped to the eyes is unidentifiable and a 16:9 crop suits a long body on a 4:3 sensor. Clone distracting background later in post, not by moving closer in the field.
One more thing about habituation. Gators at heavily visited parks tolerate far closer human presence than gators at quiet water, and photographers rely on that. Treat it as a risk multiplier, not as permission. A relaxed animal is not a safe animal, and you have no way to know how that individual reacts under stress.
Finish the Shot and Leave the Area Calmly
Work in short bursts. A handful of frames, a check of the animal’s state, then stop, rather than a long burst that rattles a resting gator into the water and costs you the whole sequence.
Skip flash. It startles, it ruins the ambient light, and it removes any argument for why you needed to be close. If you are shooting after dark, work only from a platform with a rail between you and the water.
Then back away along the route you planned, slowly, sideways where you can, with the animal in view. Do not turn your back. Before you leave the site, look behind you: other visitors, children on the bank, a dog off a lead. A gator moving because of you is a gator moving toward whoever is nearest, and that is not theirs to manage.
Write down the date, the water level, the spot, the time, and what the animal was doing. Those notes are worth more than the frame you missed, and they make the next visit faster. If an animal behaves aggressively or has lost its wariness of people, report it to a park ranger. In Florida, the FWC Nuisance Alligator Hotline is 866-392-4286.
If an alligator closes on you
Most gator incidents follow a predictable script, and knowing it is worth more than any lens.
- Do not run. Sprinting triggers a chase response, and a short burst in an alligator is far slower than a sprint in a fit adult over a short distance.
- Do not turn your back or let it get behind you. Keep it in view.
- Back away slowly and diagonally, giving it room to leave rather than cornering it.
- Get to higher ground, or into your boat, or onto a bank where you can stand tall. Height ends most approaches.
- Put solid objects between you and it if you can reach them without turning away.
- If it bites, fight back. Aim for the eyes and girth, and do not play dead.
Wildlife agencies commonly cite roughly 35 mph in a short burst for an adult alligator, but that number is worthless after the first few seconds, which is exactly why the plan is not to run.
Common Mistakes
Approaching to fill the frame. The fix is reach, not footsteps: extend to 600mm, switch to a body that crops harder, or accept the wide frame. Every great gator photograph on the internet was taken from far enough away that the photographer could still walk away.
Feeding or baiting to get a better pose. Never feed an alligator, and never bait one. It is dangerous, illegal in many places, and it teaches the animal to associate people with food, which turns a tolerant gator into a dangerous one. Report fed animals to rangers.
Blocking the path to water. If you are between an alligator and open water, you are the obstacle. This is the single most reliable way to turn a calm animal into a charge, and it is the mistake most likely to end with a park section closure.
Using flash and startling noise. Flash at close range pushes an animal into the water and can provoke a defensive reaction. Silent shutter modes and a two-second timer do the same job without the drama.
Backing into the water. Keep the animal in view and back away, never reverse blind. On a bank, your heel finds the drop-off before your eyes do.
Treating a hiss as a bluff. A hiss is the animal asking for space. Treating it as a warning display to be photographed is how a routine outing becomes a hospital visit.
Bringing children, pets, or a group. The highest-risk real scenarios. A dog on a loose lead pulls toward the water and a screaming child runs the wrong direction. If either is coming, you are not working close to the bank today.
Flying a drone over a nest or a resting animal. Drones disturb basking gators, are restricted in many refuges and parks, and are illegal in some jurisdictions. Leave them in the bag, and check the rules for the specific unit before you fly anywhere near a nest.
And one last correction. If you have already broken the 100-foot buffer, get out. Do not push for the shot, do not reason that you have already been close so one more minute is fine, and do not stay to see what happens. Distance is not something you spend.
Frequently Asked Questions
How close can you safely get to an alligator to take a photo?
At least 100 feet, or 30 metres, is a legal minimum at many Florida and federal sites, and it is not a recommended working distance. Aim for 150 feet or more, add the length of your boat if you are on the water, and never close in on a female guarding hatchlings. Legal minimum and safe working distance are two different numbers.
Is kayaking safe in alligator water?
Paddling through alligator habitat is common and mostly uneventful, but it is not risk free. Wear a clipped personal flotation device, keep both hands free of the camera while moving, never dangle arms or gear over the gunwale, and give any gator you pass a wide berth with the paddle noise kept down. Paddle splashing is what draws attention.
Will an alligator flip a kayak?
Attacks on small boats are extremely rare, and a mid-size alligator is not going to overturn a loaded kayak. The realistic risk is a startle encounter or a defensive animal reacting to paddle noise or a dangling hand. Keep your hands inside, keep moving slowly, and back away if an animal starts toward you.
What time of day is the best time to see and photograph alligators?
Early morning on a sunny winter day is the strongest window, and November through February is the most reliable season because gators bask to thermoregulate. Morning light is low and side-lit, which shows eye detail and scutes. In summer they stay in already-warm water and vegetation blocks sightlines, so you are more likely to find them by sound and patience.
Why do alligators hiss at you?
A hiss is a warning, and it usually means the animal feels cornered, surprised, or approached closer than it wants. Treat it as a signal to stop shooting, stand up slowly, and create distance rather than a behaviour to capture. A hissing alligator that is still pressed against cover has nowhere left to retreat.
What should I do if an alligator approaches while I am photographing?
Do not run, do not turn your back, and do not lunge for your camera. Back away slowly and diagonally while keeping the animal in view, gain height if you can reach a bank or your boat, and give it a clear path to open water. Keep children and dogs back, and report aggressive behaviour to a ranger or the FWC Nuisance Alligator Hotline at 866-392-4286.
Where to shoot matters as much as how. Boardwalk and observation-platform access at Anahuac National Wildlife Refuge, Corkscrew Swamp National Park, and the boardwalks in Everglades National Park keeps the buffer built into the structure. Boat-only water in Ten Thousand Islands National Wildlife Refuge, Caddo Lake, and Horsepen Bayou gives you reach without a bank approach. Brazos Bend State Park is a popular winter basking spot, and the animals there are habituated to crowds, which is a risk factor rather than a green light.
Conclusion
To photograph alligators safely, start here: stay at or beyond 100 feet, work from a platform that puts water or a rail between you, and use 400-600mm of reach so the lens does the walking. Keep the animal’s path to water open and your own retreat route clear, and bring a spotter when you are in real swamp.
Read the behavior before you read the exposure. A hiss, an open mouth, a head raise, or a tail lash means the same thing: back off now. Never approach a mother guarding hatchlings, never feed or bait, and if the buffer is already gone, leave rather than pushing for the frame.
No photograph is worth stressing an animal or putting a child, a dog, or another visitor between you and open water. Report aggressive or habituated gators to a ranger, or in Florida to the FWC Nuisance Alligator Hotline at 866-392-4286.