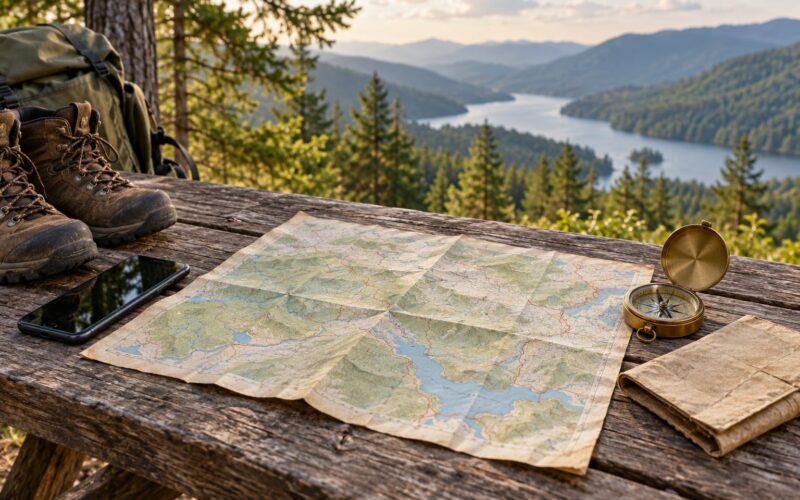
A topographic map is a flat picture of the ground where every contour line joins points of the same elevation, so hills, ridges, saddles and draws show up as shapes you can read months before you walk in. Learning how to read a topographic map for hunting is mostly pattern recognition: find the saddles, follow the draws uphill, then mark where a quiet road meets a funnel.
Set aside an evening with the map of a place you already know well. That is the fastest way to close the gap between squiggly lines and real ground, and experienced hunters will tell you it is the one hour that makes the rest of the season make sense.
Table of Contents
- What You Need
- Step-by-Step: Read a Topographic Map for Hunting
- Start With the Map Scale, Legend, and Grid
- Decode Contour Lines and Elevation Changes
- Find Water, Drainages, and Wet Ground
- Locate Habitat Edges, Woodlands, and Open Ground
- Trace Access Routes and Plan a Safe Route
- Match the Map to the Ground and Your GPS
- Common Mistakes and How to Fix Them
- Frequently Asked Questions
- What is a topographic map in simple terms?
- What are the 5 rules of contour lines?
- How do I find the contour interval on a map?
- What does a saddle on a topo map look like?
- What should I look for on topo maps for deer?
- Is a topo map better than satellite imagery for hunting?
- Conclusion
What You Need
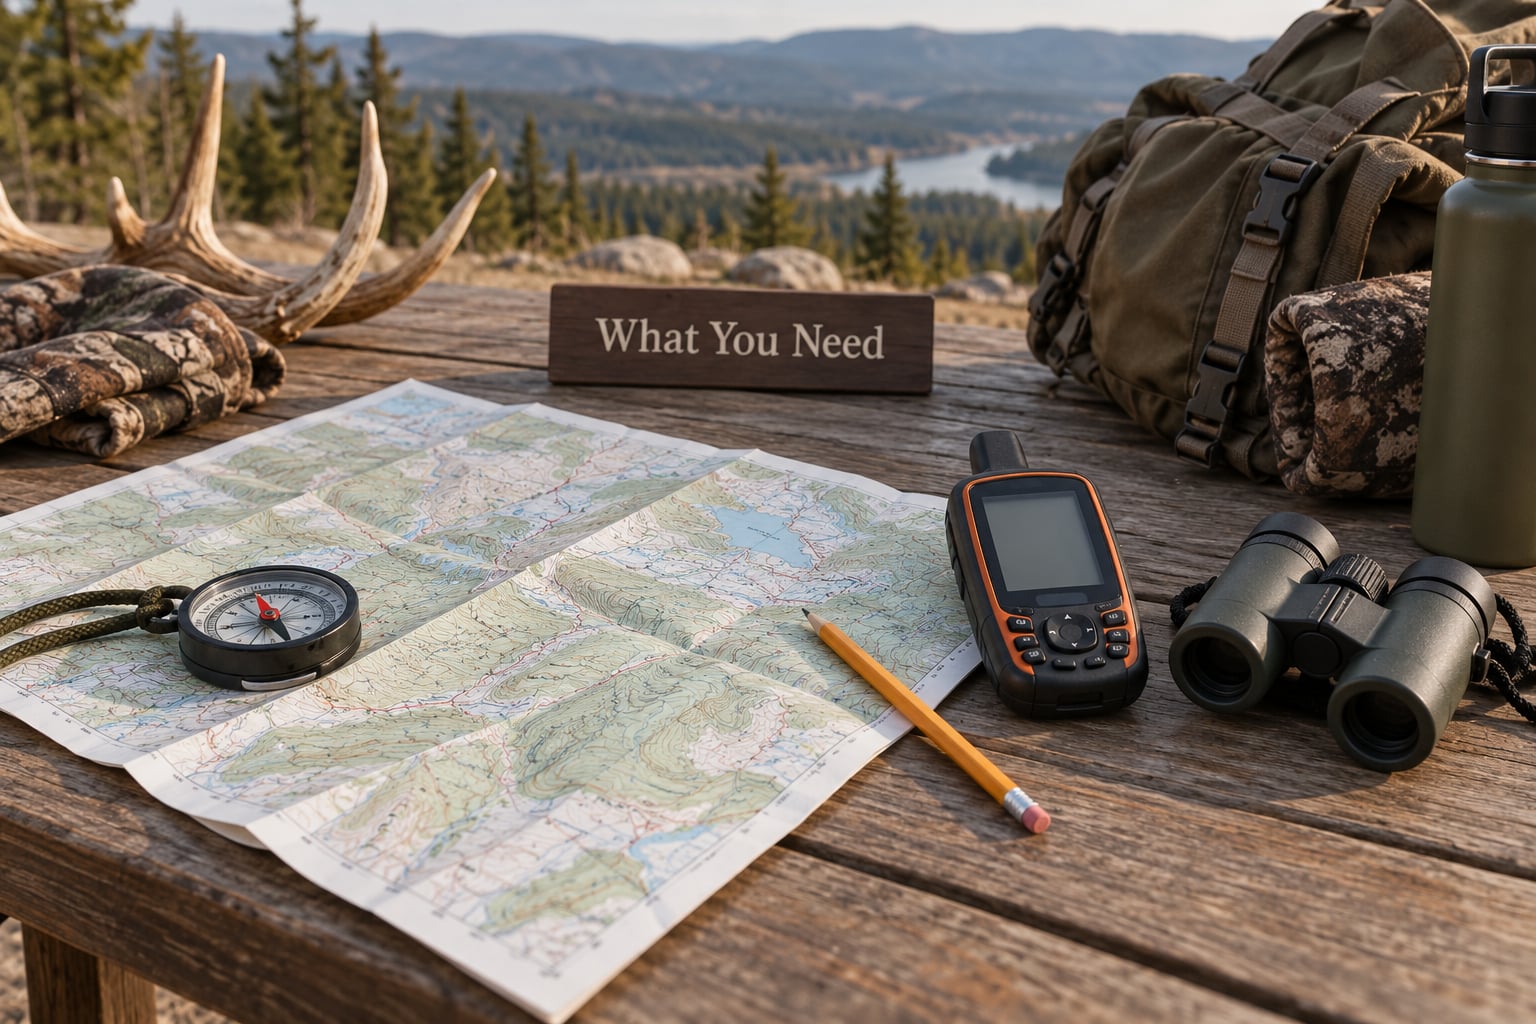
You need four things, and only one of them costs money beyond the first season. Start with a paper map of your hunting unit, because it never dies, never needs a charge, and folds into a shirt pocket.
Where to get it:
- USGS topographic quadrangles. Free downloads from the USGS cover nearly all of the country. Every 7.5-minute quad is 1:24,000, and most of them now come with a LiDAR layer showing ground detail.
- State wildlife agency hunting unit maps. Montana FWP and its counterparts elsewhere publish the legal boundaries, and a unit that is closed to one hunter may be open to another.
- US Forest Service and BLM visitor or travel maps. Free, and they show the roads, gates and trailheads that actually get you anywhere.
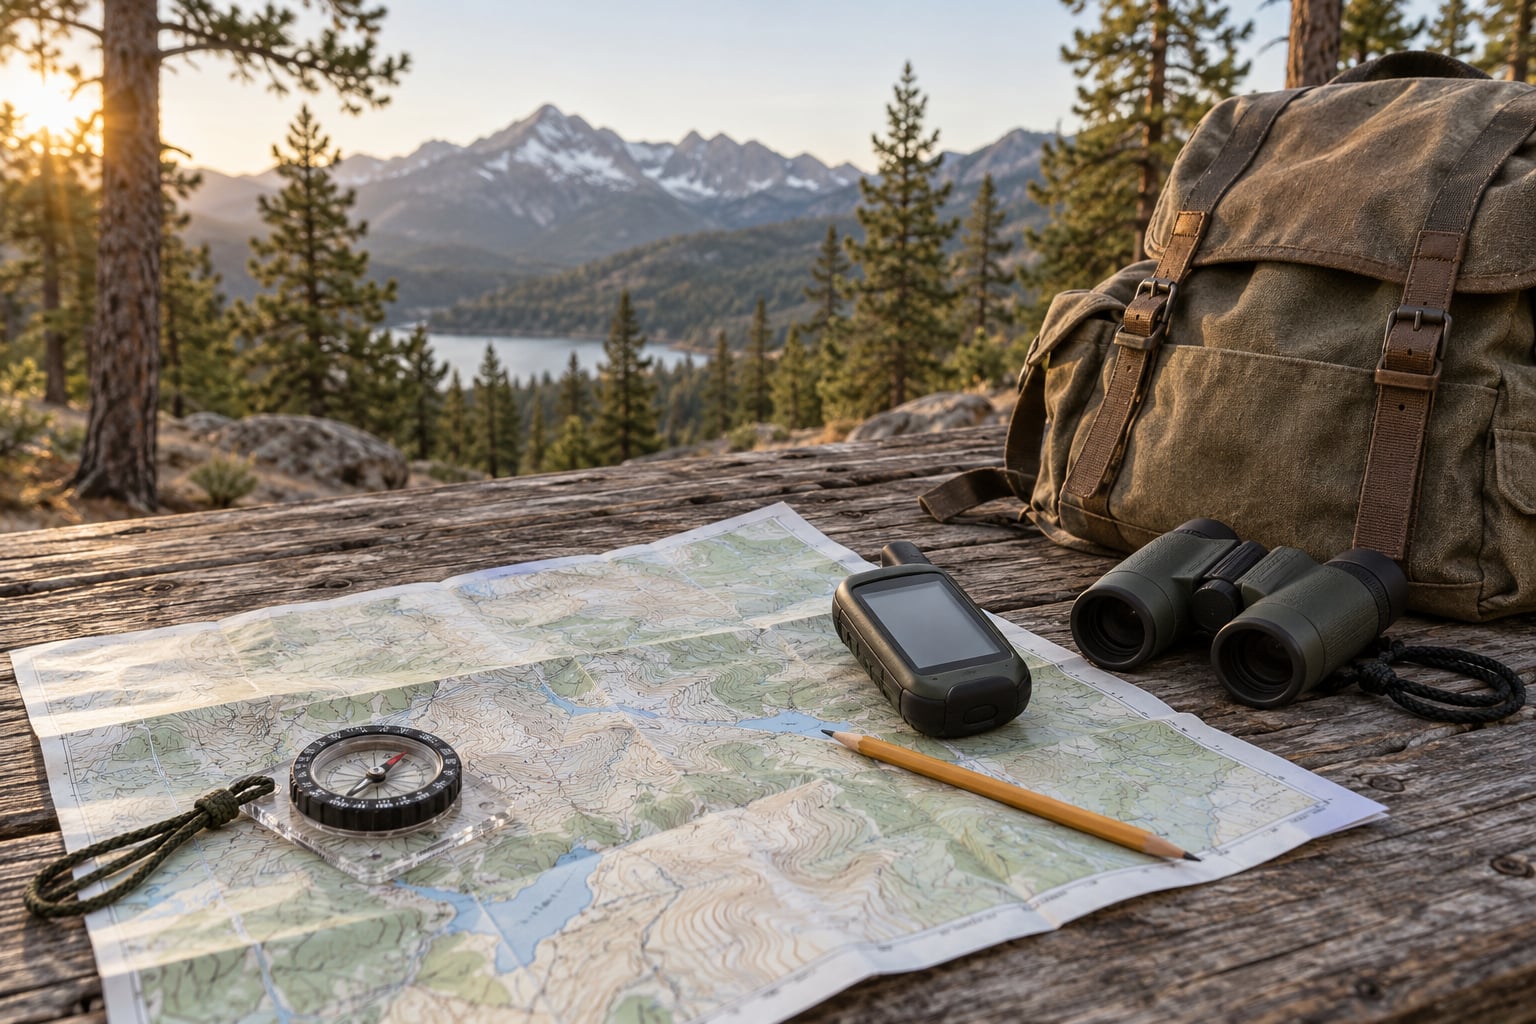
Then the navigation pieces. A baseplate compass with a declination adjustment is the only tool that works with zero batteries, and it is how you orient a paper quad in the field. A phone with a downloaded offline topo layer handles navigation and elevation logging far better than most dedicated units, provided you download the area before you leave.
For the field, pack a pencil rather than a pen so you can erase and redraw, a small pair of binoculars, and the usual warm layers, water and a spare battery pack. A headlamp matters more than most people expect, since you will end up reading contours in the dark more often than you plan.
If you want the map on a screen instead of on paper, onX Hunt, Gaia GPS and Avenza all render offline topo layers well, and Google Earth gives you the overhead picture for confirming a funnel. The real difference between them is offline reliability, not features.
Step-by-Step: Read a Topographic Map for Hunting
Start With the Map Scale, Legend, and Grid
Check three things before you look at a single contour: the scale, the legend and the quadrangle name. Scale tells you what a number on the map means in the real world, and it is the most-skipped step on the whole map.
On a 1:24,000 topo, one inch on the paper equals 2,000 feet on the ground. On a 1:100,000 map, one inch is about 8,333 feet, so features look small and detail disappears. That single difference explains why a 7.5-minute quad shows you a bench and a drainage top while a 15-minute map shows you a lump of hill.
The legend is the key to everything else. It tells you what a blue line means, what a green tint means, where the marsh symbols are and how the roads are drawn. Skip it and you will eventually follow a two-track drawn the same as a paved road and wonder where the pavement went.
For hunting, also pull up the state hunting unit map for the same area and note where the unit boundary runs relative to your features. A drawn track can turn out to be a game trail rather than a road, so treat every mapped line as a hint and not a promise.
Decode Contour Lines and Elevation Changes
A contour line connects every point of equal elevation, and the vertical distance between two adjacent lines is the contour interval. On most 7.5-minute quads the interval is 20 feet in the lower 48, and 40 or 50 feet in high mountain country, so always confirm before you do slope math.
To find it, find two index contours labeled with elevations that are adjacent in the sequence, count the lines between them, and divide the difference by the number of spaces. If 4,200 sits on an index contour, the next index contour down is 4,000 and there are five spaces between them, so the interval is 200 divided by 5, which is 40 feet. If the count does not come out even, count the spaces differently, because you have started on a different line.
Index contours are drawn heavier and carry printed elevations. Everything between them is an intermediate contour. Once the interval is known, spacing becomes slope: tightly packed lines are steep ground, widely spaced lines are a gentle bench you can walk, and the same feature on a coarser-scale map can look completely flat.
Five rules cover almost everything you will see:
- Contour lines never cross, because a single point cannot be two elevations at once. Where they seem to meet, one is passing through a cliff.
- Every point on a line is the same height above sea level.
- Spacing equals steepness. Close together means steep, far apart means flat.
- Where contour lines form a V, the V points uphill, toward the higher ground.
- A closed loop with no labeled summit is usually a depression, shown with hachure ticks pointing inward.
Then read the shapes. A ridge is a long line of high ground running away from a peak, and it appears as a set of elongated U shapes with the closed end uphill and the open end downhill. Spurs are the fingers branching off a ridge. A saddle looks like an hourglass or a figure eight pinched between two high points, and it is the highest low ground between them. Knobs and hilltops are tight closed rings with spot heights inside. Benches and terraces are the gently curved, widely spaced lines partway down a slope, and those flatter shelves are the most walkable ground you will find on a topo.
One more shape deserves its own eye: several draws and spurs converging into a single bowl or basin. When multiple travel lines meet, you have found a concentration point, and concentration is the whole game.
| Shape on the map | Feature | Why it matters | Where to set up |
|---|---|---|---|
| V pointing uphill, widening downhill | Draw or drainage | Deer and elk funnel downhill along it, using cover | Downwind of the draw mouth, below the ridge |
| Elongated U shapes, closed end high | Ridge and spurs | Deer travel the crest to stay above cover | Behind the crest, with a broad view downwind |
| Hourglass pinch between two highs | Saddle or pass | The natural crossing point between drainages | On the downwind saddle, off the beaten track |
| Tight closed rings, no hachures | Knob or peak | Open top with sightlines, cover at the edges | Turkey roosts and glassing from open knobs |
| Wide, evenly spaced curves mid-slope | Bench or terrace | Walkable ground between bedding and feeding | Stands on a bench with a clear shot downhill |
Once the shapes click, ask what the animals do with them. Game follows the path of least resistance, which on a topo is the route with the least vertical work: saddles instead of ridge crawls, draws instead of cliff lines, benches instead of steep faces. Plenty of hunters scout the low end of a property first for exactly that reason, because the doe bedding is down there and the bucks use the same terrain a week later.
Find Water, Drainages, and Wet Ground
Water is the easiest thing on a map to read and the most useful. Permanent streams print as solid blue lines, intermittent ones as dashed blue, and marshes and swamps as a blue tint with reed symbols. Springs show as small blue marks, and every one of them is the head of a drainage.
Trace each stream upstream to its head. The V shapes point toward the high ground it comes from, and that source area is where deer feed at dusk and where a stand downhill gets an easy morning shot. Check the water you find too, because a mapped spring can dry up in a dry summer and a mapped ford can rise a foot after rain.
Bottomland, swamp edges and the wet tangle along a creek are the good bedding cover. Old creek crossings, culverts and fords are the funnels: game uses them to move between the timber and the fields, and the crossings are usually the only firm ground in a wet drainage.
Bottom ground is where you have to slow down. Swamp terrain is where a topo will show you a route that looks easy on paper and costs you an hour of wading, and the same applies to any water feature you have to cross on the way in.
Locate Habitat Edges, Woodlands, and Open Ground
Where two cover types meet, game concentrates, and a topo shows those meetings as boundary lines between tints and symbols. Timber prints in green, open ground and fields in white, orchards and scattered trees get their own symbols, and the legend tells you which is which.
Read the edge, not the middle. A hardwood ridge dropping into a creek bottom gives you bedding timber on one side and feed on the other, with a short, predictable trip between them. A field edge where a wooded draw ends is the same idea with better sightlines, and it is the right terrain for putting a stand in without walking through a herd of does to get there.
Aspect matters as much as cover. South and west facing slopes run warm and dry and push forage early in the spring, while north facing slopes stay cooler, hold moisture longer and hold snow longest in the fall, so the same draw feeds deer in different months. In summer, watch the north and east sides; in late winter and early spring, the south sides come alive first.
Elk and mule deer push onto open benches above timber where the wind moves, and turkeys like a knob with a long clear view and tall trees within a short walk. Bears work the hardwood bottomland near water and road junctions. You cannot see cover density on a topo, so pair it with satellite imagery and note where the mature timber actually is.
Trace Access Routes and Plan a Safe Route
Roads and trails on a topo tell you two things at once: how you will get in, and how the game will move. A two-track that dead-ends on a ridge is often a better walk-in than a well-graded road, because the road that everybody uses is the road everybody walks down at dawn.
Work outward from where you will park. Note gates, bridges, ford crossings, power lines and fence lines, and check which ones you are allowed to use. Public land status is a layer of its own on top of the terrain, and it changes with the map you are looking at, so pull up the current federal and state boundaries before you commit to a route.
Then check the cost of the walk. Count the contour lines you will cross and add them up, because each one is another contour interval of vertical gain. Compare that to daylight, weather and your fitness. A ridge route with a hundred feet of gain at a mile an hour is a completely different day than the same map distance across a flat bench.
Look for the escape options on the way. A saddle that lets you cross a drainage in five minutes is worth more than a shortcut that drops you into a gully on a dark evening. And keep the wind in your plan from the start, because a route that is quiet at 5 a.m. can be a straight shot into your scent cone by noon.
Match the Map to the Ground and Your GPS
Hold the quad flat, set the compass straight edge on the north arrow printed in the margin, and rotate the paper under the compass until the needle points along the grid lines. Now every road on the paper points the same way as the road in front of you. Your phone compass and the time of day will do the same job, and at midday a vertical stick throws a shadow that points north, which works when the battery is dead.
Confirm your position on the device rather than assuming it. A phone with no cell service still holds a GPS fix, but a downloaded map layer is what keeps the map on screen, so download the whole unit before you leave the trailhead. Calibrate the compass, note your elevation, and check that the device agrees with the paper by a few hundred feet.
Do not trust a single layer. Drawn tracks and the real trail do not always match, and property lines and unit boundaries differ between apps. Cross-check against the paper quad and the state unit map before you make a decision that costs you a season.
Mark as you go. Save a waypoint at your parking spot, at each stand site and at any water you intend to come back to, with a note about the wind on the day. Scouting notes written in your head do not survive until next year; saved ones do.
Common Mistakes and How to Fix Them
Reading contours as a squiggle instead of a shape. The fix is practice on known ground. Pick a familiar hike, draw the map, and then walk it while matching every bend you pass to the lines you drew. Two afternoons of that does more than a season of reading maps for new country.
Not knowing the contour interval. If you have not found it, you cannot judge slope, and steep western terrain with lines packed together becomes an unreadable smear. Find two labeled index contours, count the spaces, divide.
Treating elevation as distance. A steep straight line is a hard mile per mile, and a contour-dense map is not always a rough walk; it can be a cliff. Use slope, not line count, to plan your pace.
Forgetting the aspect. Everything looks productive on a map. North slopes in summer and south slopes in winter are the difference between fresh forage and bare ground.
Trusting a drawn track. App tracks, old roads and game trails all look the same on a thumbnail. Walk the first hundred yards of any access route before you commit the day to it.
Leaving your position off the paper. Draw an X, a dot and a note every time you stop. The alternative is a map you cannot reorient because you do not know where you are standing on it.
Forgetting the phone can die. Apps with tracking on burn batteries fast, and a dead phone in the backcountry is a map you no longer have. Carry the paper quad, a pencil and a spare battery in your pocket rather than buried in your pack.
A few habits cover most of that list. Sit down with the map before every hunt and mark scale, interval, access, water, habitat edges and elevation change in one pass. Carry the paper. And check your boundaries and your unit map the week before season, not the week after.
Frequently Asked Questions
What is a topographic map in simple terms?
A topographic map is a flat picture of the ground where every contour line connects points of the same elevation, with symbols for water, roads, trails, marsh and woods. Because the lines show shape rather than just location, you can see a saddle, a draw or a bench on paper and know what the ground will feel like on foot.
What are the 5 rules of contour lines?
One, contour lines never cross, because one point cannot hold two elevations. Two, every point on a line is the same height above sea level. Three, spacing shows steepness, so close lines mean steep ground and wide lines mean flat. Four, where lines form a V, the V points uphill. Five, a closed loop with no labeled summit is a depression, usually marked with inward hachures.
How do I find the contour interval on a map?
Find two index contours, which are the heavy labeled lines, that are adjacent in the elevation sequence. Read both elevations and count the spaces between them. Divide the difference by the number of spaces. If 4,200 and 4,000 sit five spaces apart, the interval is 40 feet. If the numbers do not divide evenly, you probably started on an intermediate contour.
What does a saddle on a topo map look like?
A saddle appears as an hourglass or figure-eight shape pinched between two higher areas, with contour lines curving into a bow tie and the closed ends of those curves pointing uphill on both sides. It is the natural low crossing between two drainages, which is exactly why deer, elk and mule deer use it, and it makes a reliable stand site on the downwind side.
What should I look for on topo maps for deer?
Start with the edges: a hardwood timber meeting a creek bottom, a wooded draw ending at a field, or a bench between a ridge and bottomland. From there work the funnels, which are saddles, ridge ends, creek crossings and old logging roads. Follow draws uphill to find where deer feed, and note which low ground holds thick bedding cover nearby.
Is a topo map better than satellite imagery for hunting?
Each one shows what the other hides. A topo gives you elevation, slope, aspect and travel corridors, so it tells you how animals move and how long the walk is. Satellite imagery shows cover, roads, clearings and mast-producing timber, which a topo cannot. Hunters generally scout with both, using the topo for the lay of the land and the imagery for the cover.
Conclusion
Before you pack anything, sit down with the quad and mark six things: the scale, the contour interval, your access route, the water, the habitat edges and the elevation change on the walk in. That single pass is the whole skill, and it takes an evening. Everything after it is just matching what you marked to what you see on the ground.