The fastest way to pluck a duck without tearing the skin is to scald it in 140-150 F (60-65 C) soapy water for 15 to 60 seconds, then pull one feather at a time in the direction it grew while the skin is still warm. That single sentence is the whole method. Everything else is detail.
A duck carries a staggering amount of feathers compared with a chicken, so the job takes longer than you expect, roughly 30 to 45 minutes by hand. The good news is that duck skin is more forgiving than most first-timers assume.
Start at the tail and wings and work forward. Pull short and slow, with the grain of the feather, never grabbing a fistful at once.
Table of Contents
- What You Need
- Step-by-Step
- How to Pluck a Duck Without Tearing the Skin: Start With a Cool Bird
- Loosen the Skin Without Cutting It
- Pluck From the Tail Toward the Head
- Remove Stubborn Feathers and Down
- Rinse, Check, and Refrigerate
- Common Mistakes
- Food-Safety and Storage Tips
- Frequently Asked Questions
- Can you pluck a duck that has been frozen?
- Should a duck be plucked wet or dry?
- How do you remove a duck’s skin without tearing it?
- What is the best tool for plucking duck feathers?
What You Need
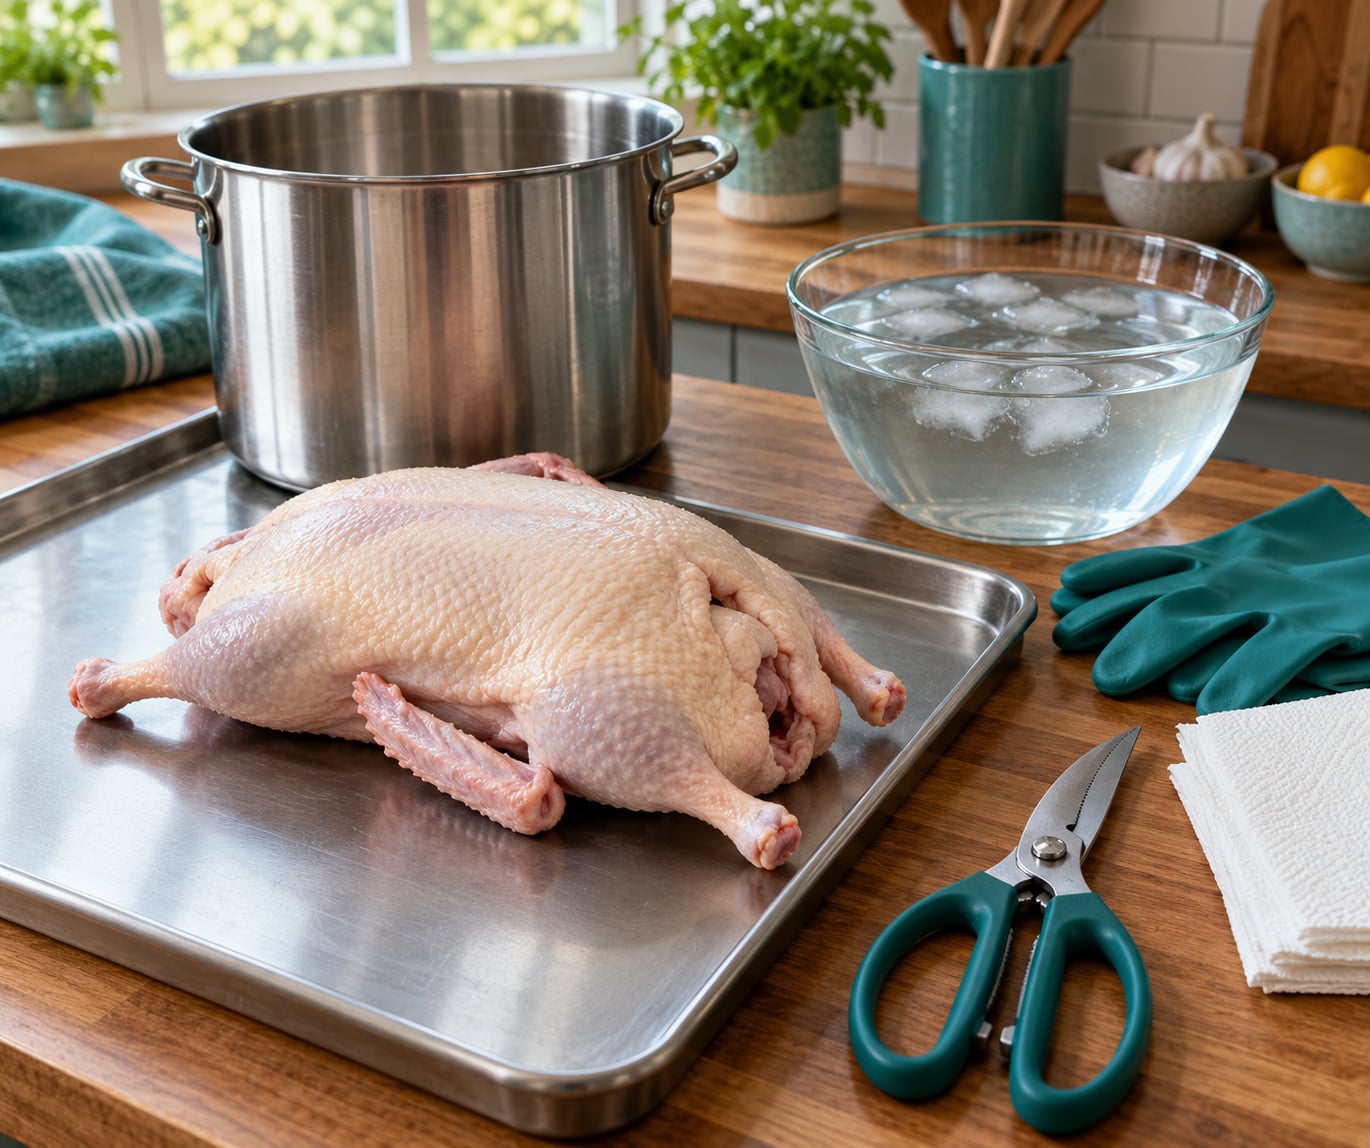
A large stockpot or a propane turkey fryer is the classic scald vessel. A crawfish pot works just as well, and any vessel deep enough to dunk the bird and hold steady heat will do the job.
A squirt of dish soap is the single cheapest improvement you can make. Duck feathers carry a natural oil that waterproofs the plumage and blocks hot water from reaching the follicle; a surfactant cuts through that oil so the quill releases instead of gripping.
- Rubber gloves, ideally the dish gloves with small rubber nubbins on the palms
- Sharp game shears or a sturdy knife for the vent, wing tips and neck
- A stable cutting board or clean metal surface
- A bowl of cool water and clean towels or paper towels
- Tweezers for pin feathers
- A clean container or bag that fits in your refrigerator
A word on anatomy before you start, because two things trip up first-timers. Ducks have no crop at all, so you will not find that pouch at the neck end. And the oil gland, called the uropygial gland, is unusually large and sits on each side of the spine near the tail, so it has to be cut out separately rather than removed with one straight cut down the back the way you would on a chicken.
Step-by-Step
How to Pluck a Duck Without Tearing the Skin: Start With a Cool Bird
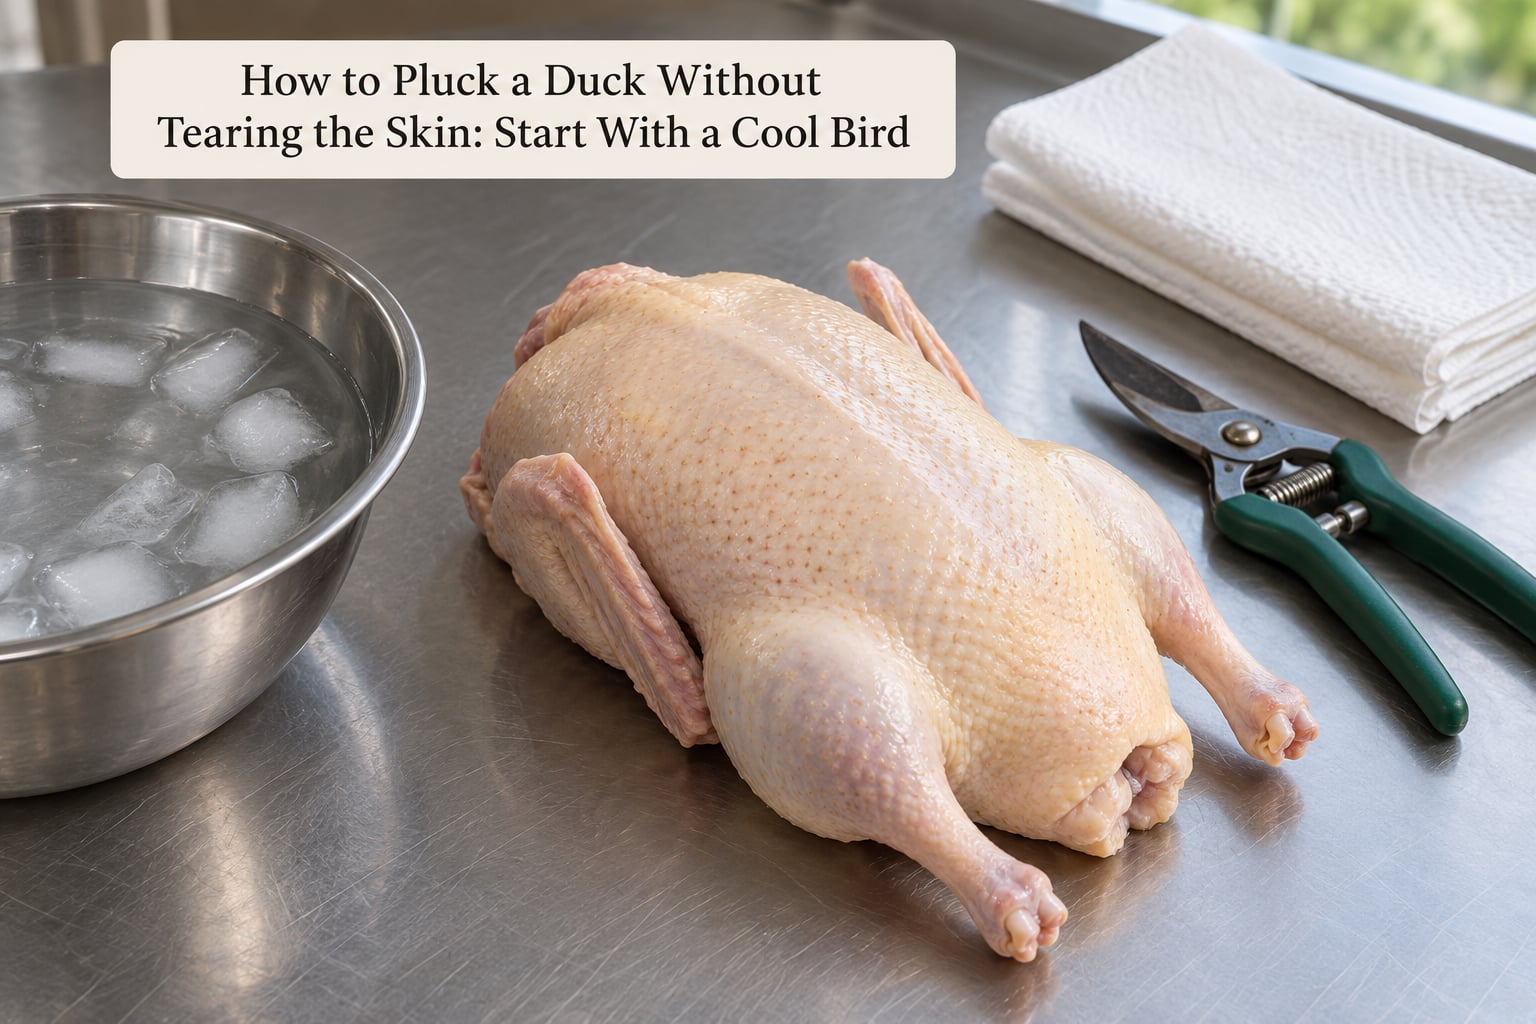
Temperature control matters more than technique, which is the part almost every guide gets backwards. Feathers release best when the skin is warm and pliable. As the carcass cools, the skin contracts, the follicles tighten, and the quill grips harder than the surrounding skin can stretch. That is when tearing starts.
So you want a bird that is fresh and warm, not one that has been sitting in a cold truck. Cool the carcass as soon as you can, but do it in moving air or cool water rather than an ice bath that firms the skin. Never pluck a frozen bird. Ice crystals freeze the follicle and the surrounding skin together, and when you pull, you get shreds of skin instead of a feather.
Moisture is the other half of it. A bird that has been sitting in a bag holds enough surface dampness to make the first feathers slippery. Pat the bird dry before you scald it, and keep a towel handy to wipe the skin as you go.
Check the bird over before it goes in the water. A clean, well-dressed carcass plucks far better than one you are working around a missed shot or a gut tear.
Loosen the Skin Without Cutting It
On larger birds the breast skin sits tight and holds down the feathers underneath, and trying to pull through a taut panel is how beginners tear their first duck. Loosen it instead of stretching it.
Make a small slit at the base of the neck and at the vent, then separate the skin from the breast with your fingers, working down the sides. You are opening a pocket, not cutting the skin off. Stop as soon as the skin lifts freely; you do not need to skin the bird to pluck it.
From then on, hold the bird where you are working. One hand tensions the skin so it stays smooth and taut, the other hand plucks. The tension should be firm but gentle, and the skin should never bunch up into folds under your fingers.
Pluck From the Tail Toward the Head
Work in a fixed order. Beginners who jump around the bird pull against feathers that are already loosened, and that is the second common cause of tears.
- Tail. Grasp a small group of tail feathers, hold the skin taut over the tail base, and pull straight back in one smooth motion. Tail feathers come out in bunches and leave a clean patch behind.
- Wings. Break the joint and remove the wing tips first, because the wing bones make the skin underneath awkward to reach. Then work the flight feathers one at a time, angled toward the tail.
- Back and neck. Rotate the bird breast-side up. These small feathers sit close to the body and come out easily with short, controlled pulls.
- Breast. The largest flat panel on the bird and the one beginners worry about most. Pull each feather in the direction it grew, toward the tail, one at a time. Tugging two or three together puts twice the force on one spot of skin.
- Legs and feet. Leg feathers pull out in small groups. You can scald the feet briefly and rub them with your thumb, or push the scales off with a knife edge later during prep.
- Head and neck. Optional, and most people skip it. If you do pluck the head, dunk it in the hot water for a few seconds and pull while it is warm.
Rubber dish gloves with small nubbins on the palms are worth picking up at any hardware store. Hunters who process a lot of birds tend to use them specifically for duck feathers, and they add grip without adding force.
One honest warning about mechanical pluckers: drum-style chicken pluckers can beat up duck skin badly. The birds are heavier and the skin is thinner than a broiler’s, so the drum tears what your fingers would have saved.
Remove Stubborn Feathers and Down
A scald gets you most of the feathers. It does not clear the down, and down is not the same thing as a feather. Down has no quill, so there is nothing to pull; it simply sits on the skin.
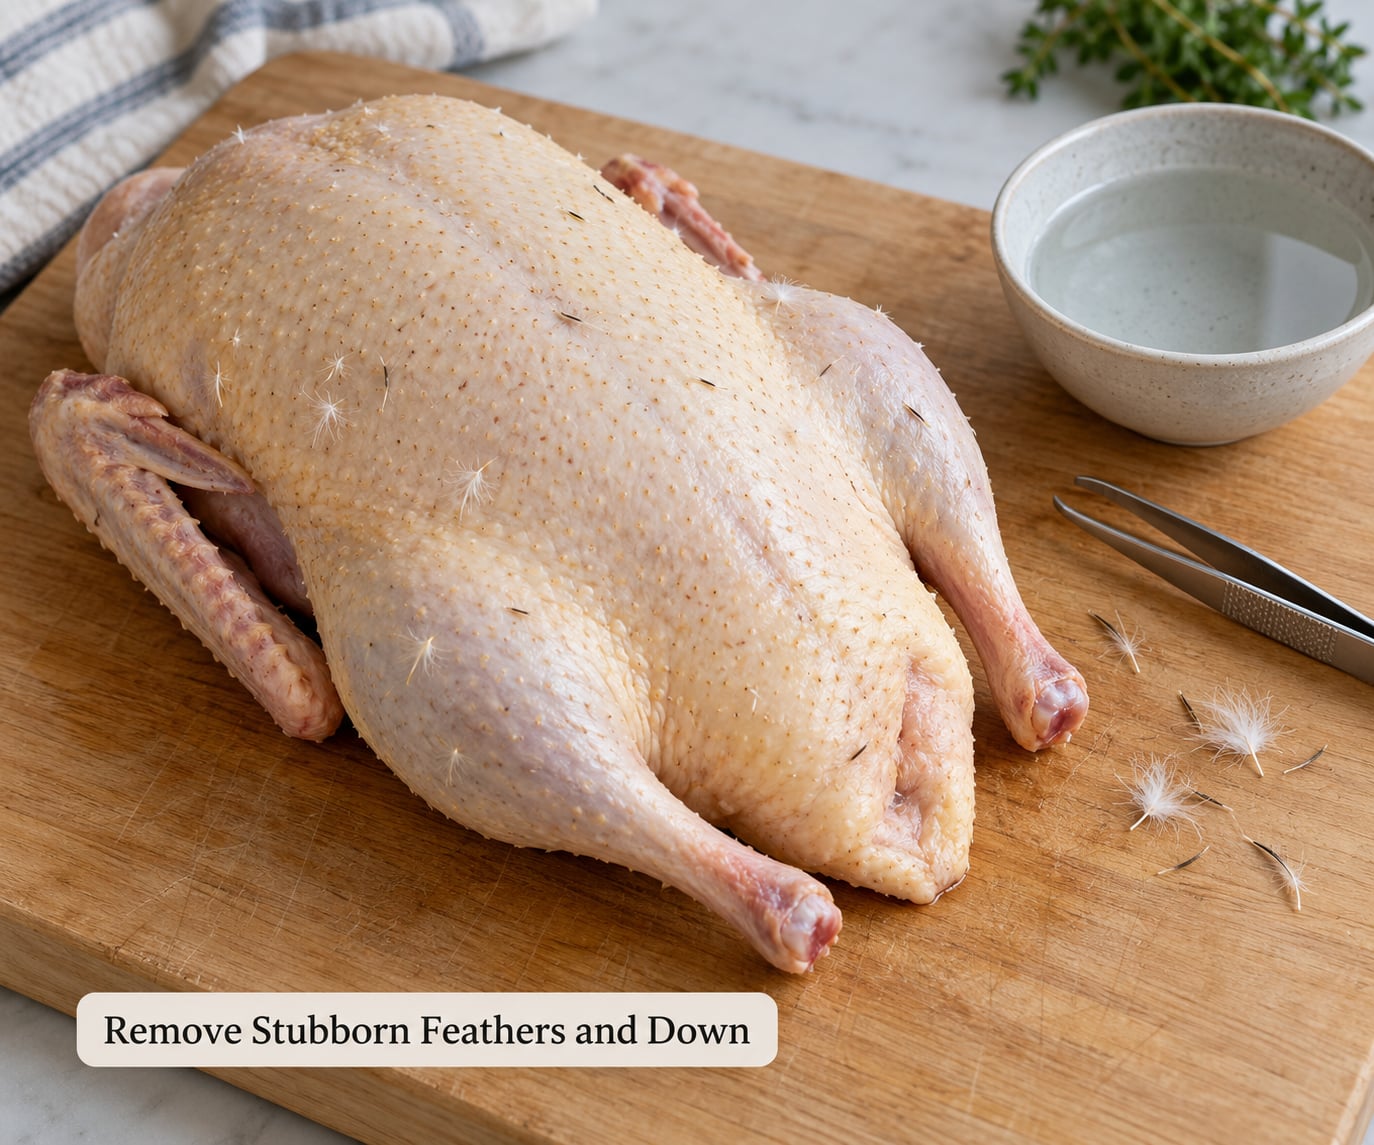
Pin feathers are young feathers with a short quill still anchored in the skin. They come out with tweezers, one at a time, in the direction they grew. Work fast and they are tedious, but pulling them slowly while the skin is warm is what leaves holes.
For the down, a damp towel does more good than any amount of picking. Wrap the carcass in a barely damp towel and hold it against the skin for a few minutes, then rub with the towel in one direction. The down mats together and lifts off.
The wax dip is the thorough option if you have several birds. Pluck roughly, leaving the down in place, then dunk the bird in melted paraffin wax, using about a pound of wax per large duck, and immediately into cold water. The wax hardens, you crack it, and peel it away with the down stuck to it. It is messy and you will scrape wax out of the pot afterwards, but it produces the cleanest skin of any method.
Whatever you do, do not scrape the skin with a knife blade to chase down. Digging at the follicles is the fastest way to gouge holes that no amount of cooking will fix.
Rinse, Check, and Refrigerate
Rinse the carcass under cool running water and turn it while you do, so loose feathers wash off the back and the wing pockets. Rub the skin with your hand; any feather that shifts is still in there.
Check the breast and the neck opening under good light, and check the wing joints where feathers hide. Look for tears while the skin is wet, because a small tear looks obvious on a wet bird and nearly invisible on a dry one.
Then get it cold. Move the dressed duck into the refrigerator promptly, and keep raw poultry at or below 40 F (4 C). Do not leave it sitting on the counter while you clean up the pot and the board.
Common Mistakes
Most torn duck skin comes down to one of five mistakes, and each has a straightforward fix.
Plucking a frozen or iced bird. Ice crystals glue the follicle to the skin. Thaw the bird in the refrigerator, not on the counter, and pat it completely dry before it goes near hot water.
Scalding water that is too hot. Boiling water at 212 F (100 C) cooks the skin and the surface fat, and the skin starts sliding off in sheets instead of tearing. Bring the pot to a boil, then dunk the first bird, which drops the water into the 140-150 F range on its own. From there the water self-corrects on every subsequent bird.
Water that is too cool. Starting at 140 F and never going higher leaves the water below the temperature needed to release the quill root. You end up plucking a bird by force, which is the tearing version of the problem.
Grabbing several feathers at once. Two feathers need twice the force, and the force lands on one small patch of skin. Take them one at a time, even when the bird is slow.
Dragging the skin. If your free hand loosens while you pull, you are dragging the skin across the feather and tearing it by friction. Keep that hand anchored and tense for the whole pull.
A dull blade causes its own damage, mostly during prep rather than plucking. A sharp pair of shears cuts the wing tips and the neck without any tugging.
Food-Safety and Storage Tips
Wild game carries the same food-safety concerns as store-bought poultry, and the rules are not complicated.
Keep the cold chain unbroken. Field dress promptly if you can, get the carcass into a cooler with ice or a sealed bag right away, and get it into the refrigerator as soon as you are home. Skinning or plucking does not reset the clock, so time spent plucking counts against your safe window.
Separate raw duck from anything you plan to eat without cooking. Use a clean board, clean knives and clean towels, and wash your hands and surfaces with hot soapy water afterwards. Wash the scald pot and gloves too, because the same surfaces carry the bird in and out.
Cook poultry to an internal temperature of 165 F (74 C), measured in the thickest part of the breast and the thigh, and let it rest before you carve it. Duck breast and legs often hit that temperature before the thighs finish, so check both.
Refrigerate dressed birds for up to one to two days, or freeze them. Freezing is the better plan if you have taken more birds than you can eat fresh.
Frequently Asked Questions
Can you pluck a duck that has been frozen?
You can, but you will have a worse time of it. Ice crystals freeze the feather follicle to the surrounding skin, so the quill grips harder and tears more skin as it comes out. Thaw the bird slowly in the refrigerator and pat it dry before scalding. Frozen birds are also easier to damage in the pot, since the skin is stiff and chips rather than stretches.
Should a duck be plucked wet or dry?
A slightly warm duck, taken straight from a cool-but-not-iced carcass, plucks more easily than one just pulled from an ice bath. That said, the scald itself makes the bird wetter than it was. Both dry hand-plucking and wet scalding work. The variable that actually decides your results is temperature, not moisture, so focus on the 140-150 F range.
How do you remove a duck’s skin without tearing it?
Keep the carcass chilled but not frozen. Make small cuts near the breast and neck as needed, then separate the skin gently with your fingers, working slowly around the body while holding the flesh firmly underneath. Let the skin hang loose rather than pulling at it, and stop once you can lift it clear. Cutting through the skin with a knife is what causes tears, not the pulling.
What is the best tool for plucking duck feathers?
Your fingers work well for the larger feathers once the skin is warm. Kitchen or game pliers handle stubborn tail and wing feathers that fingers cannot grip, and rubber dish gloves with small nubbins on the palms add grip without extra force. A small knife can lift pin feathers, but use the tip and never scrape across the skin, since scraping digs out the follicles.
First thing to do: keep the carcass warm and flexible, not iced, and keep the water in the 140-150 F range. Then start at the tail and take one feather at a time. That is how to pluck a duck without tearing the skin, and it works just as well on the first bird as on the tenth.