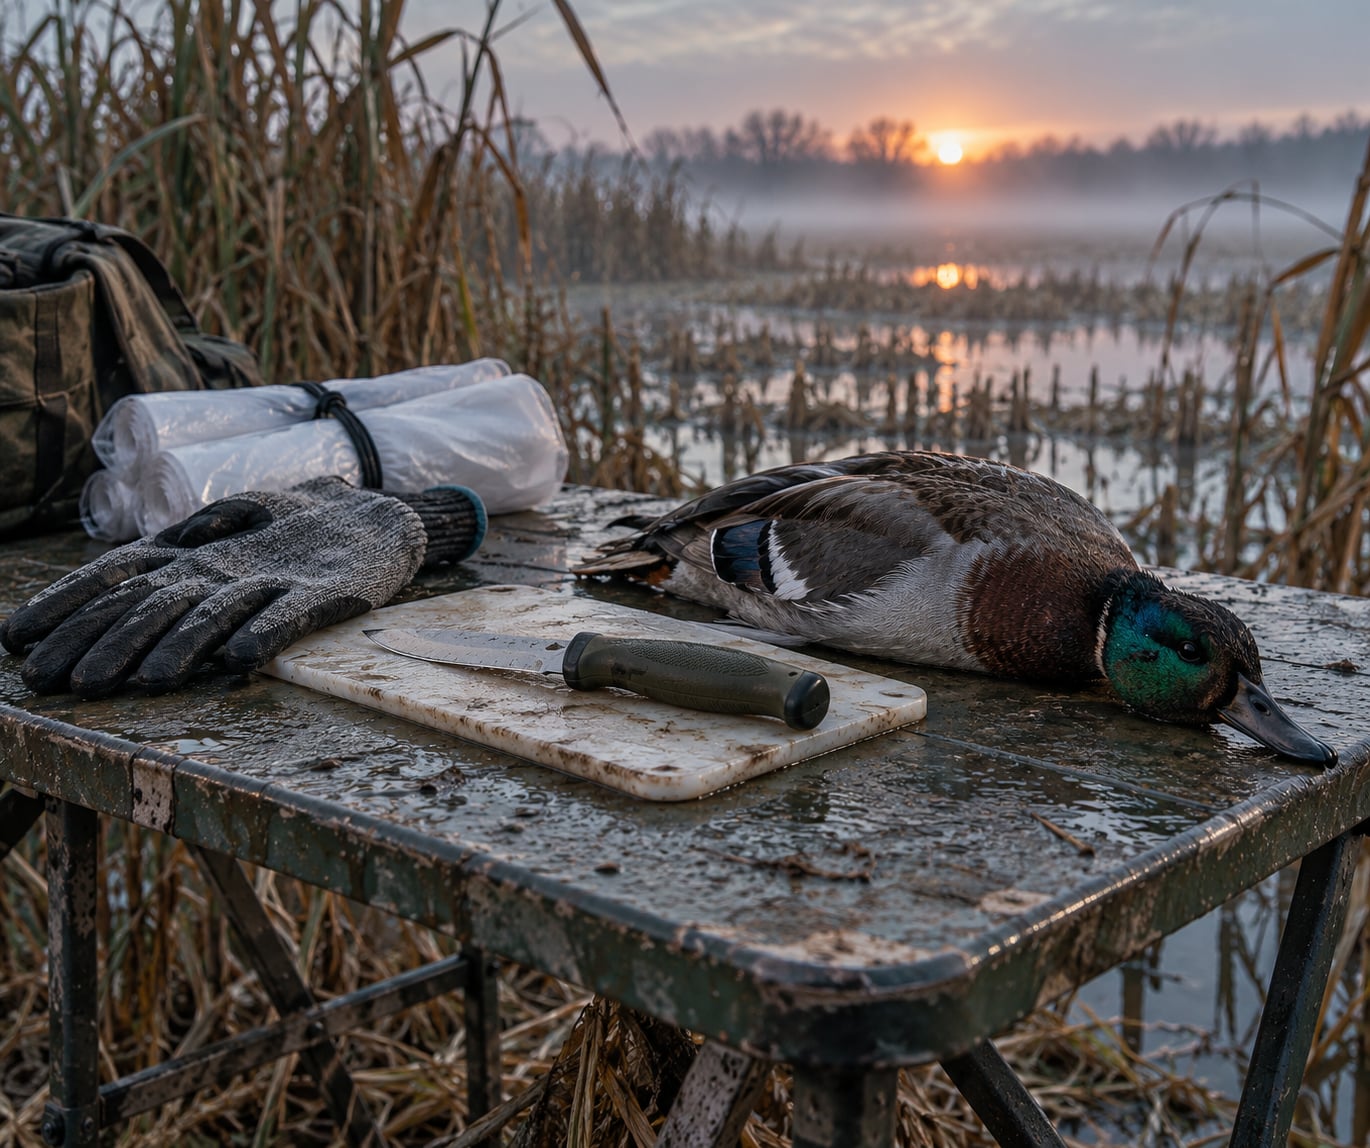
Field dressing a duck in the field takes about five to ten minutes per bird with a sharp knife, and it is the single most important thing you do between the shot and the cooler. Bleed the bird, cut through the sternum at the base of the breast, spread the ribs, pull the organs from the front toward the tail, leave the cavity open to cool, then bag and tag it. Do it at the decoy spread, not at camp.
A duck holds a remarkable amount of heat in the chest and belly. That is normal for a bird, but it means the carcass warms into the food safety danger zone far faster than you want while you are still working the flight. Pulling the entrails in the field removes the organs that hold the most heat, and once the body cavity is open, air moves through it and the meat starts dropping in temperature right away.
This guide assumes a bird you have legally harvested and can identify. If you cannot tell what species you have in your hands, stop and sort that out first, because hunting regulations, tagging requirements and even whether the bird is safe to eat all depend on what it actually is. Two things also drive everything below: air temperature and how long the bird sits. Get those right and the rest is straightforward.
Table of Contents
- What You Need
- How to Field Dress a Duck in the Field
- Step 1: Prepare the Bird and Your Work Area
- Step 2: Remove the Head and Neck
- Step 3: Make the Initial Body Opening
- Step 4: Remove the Viscera
- Step 5: Remove or Trim the Wing Bones
- Step 6: Check the Cavity and Package the Duck
- Step 7: Clean Up and Keep the Meat Cold
- Common Mistakes
- Frequently Asked Questions
- How long does it take to field dress a duck in the field?
- Do I need to fully clean a duck before taking it home?
- What is the safest way to remove a duck’s innards?
- Should I rinse a duck after field dressing it?
- How should I keep a field-dressed duck cold during the hunt?
- Conclusion
What You Need
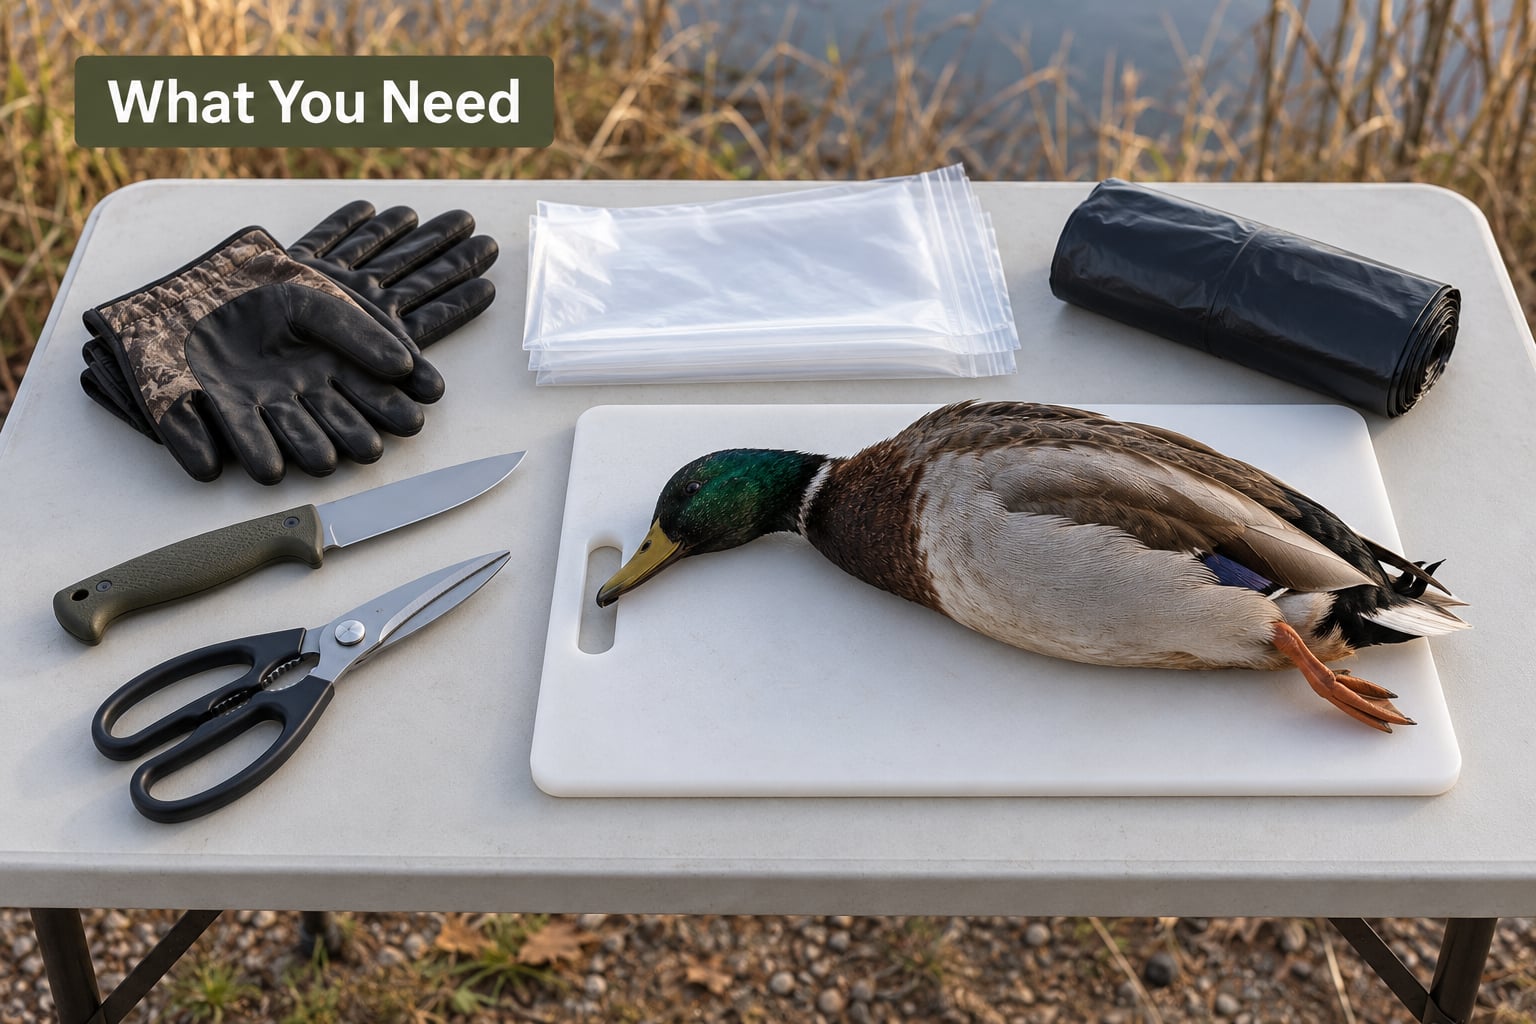
The list is short, and you can fit all of it in a small bucket or a game bag. Bring more than you think you need, because a knife that runs dull halfway through a limit is the one thing that ruins a good morning.
- A sharp game knife. A 3 to 4 inch blade with a drop point or a clip point works well for the sternum cut and for separating joints. A skinning knife is too thin for this. A small boning knife is a good companion for the wing and leg work.
- Cut-resistant gloves. Nitrile for cleanliness and hand protection from blood and tissue. These matter less about cuts than most people assume and much more about avian influenza and other wildlife diseases, which spread through contact with infected tissue.
- A cutting surface. A stump, a folding stool, a flat rock or a small plastic board. If you have to dress on soft ground, the bird sinks and rolls and you will fumble more than you cut.
- Bags. Heavy-duty contractor bags or opaque produce bags for each bird individually. Individual packaging is not optional in many states, and it stops a leaking carcass from ruining the rest of your limit.
- A spray bottle and hand sanitizer. One for you, one for the bird if you want to dampen the feathers so they lie flat.
- A cooler with ice or ice packs. Not optional, even on a cold morning when the thermometer reads 40 degrees. Birds cool slower than you think, and the cooler is the only thing between a good limit and a warm carcass by noon.
- Cheesecloth or a mesh bag. Covers the meat so it does not sit open to flies while you work the rest of the spread.
- Coarse black pepper. Optional, but hunters have used it for decades to discourage flies on exposed meat. It does not replace a cover.
A tip from the general hunting wisdom: set up your station before you shoot, not after. If you spread the blind, throw the decoys, and then stage the knife, board, bags and gloves in one dry spot within reach, you will dress every bird in the same spot with no searching. If you dress in the boat, do the same thing on the deck, out of the water and away from the clean part you eat lunch off of.
Two notes before you start. Regulations on what you may take, what parts must stay attached for identification, and how you may transport birds vary by state, so check your state waterfowl agency rules before the season, not at the truck. And if you are new to this, the fastest way to learn is to spend one morning with an experienced waterfowler who will correct your hands while they are still on the bird.
How to Field Dress a Duck in the Field
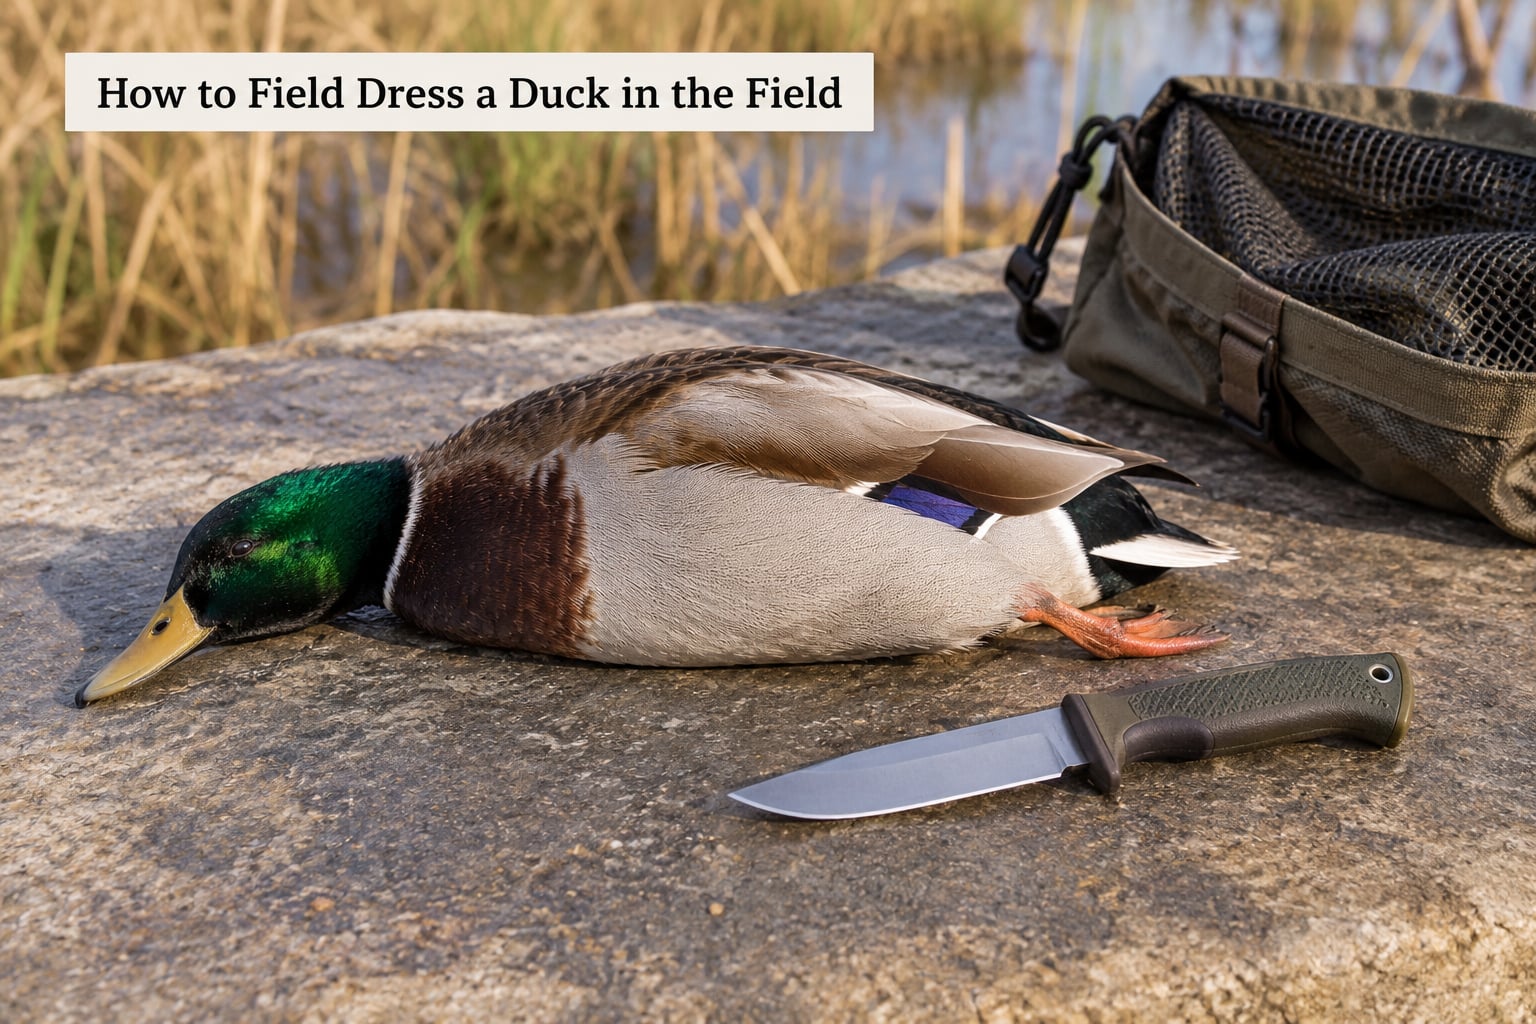
Field dressing means bleeding the bird, opening the body cavity at the sternum, removing the viscera from the front of the bird toward the tail, checking that the cavity is clean, and bagging the carcass so it can cool. It does not mean plucked, cleaned and ready to cook. That work happens at camp or at home.
The whole process is seven steps. A beginner should budget five minutes per bird and expect the first two to be slow. By the third or fourth bird you will be doing it in three, and if the limit is on the water by nine, you can process six or eight birds before the shooting has really slowed down.
Step 1: Prepare the Bird and Your Work Area
Pick the bird up by the legs, by both legs, with the bird hanging head down. That position drains toward the vent and away from the breast meat you are about to protect. Lay it on the board or stump breast side down, wings out to the sides so it lies flat and does not rock.
Check the bird over before you cut. Confirm the species, confirm it is in season and within your bag limit, and look at the feathers. That last one matters more than it sounds. Ducks carry lead shot in their breast tissue and pellets sometimes lodge there during flight, so if you are not certain what the bird was shot with, talk to your state wildlife agency about whether it is safe to eat.
Put your gloves on now. Wet the feathers lightly with the spray bottle so they lie down and out of your way. That single trick cuts the amount of hair and down you end up scrubbing out of the meat later.
Step 2: Remove the Head and Neck
Hold the bird by the legs with one hand and take the head in the other. Stretch the neck and cut through it at the base with the knife, severing the neck as close to the body as you can. Blood runs out of the neck opening and down the ground. Let it drain for a few seconds.
Many hunters leave the head on through the hunt and take it off at the truck, and that is legal in plenty of places. But a headless bird is easier to bag, easier to cool and easier to keep clean, and once you are home the head and wing are what you use to prove the species if anyone asks. Keep at least one of them.
If the bird is wounded and still alive: do not walk away from it and do not try to dress it while it moves. Pick it up and hold the body firmly against you. If it is still bleeding, apply direct pressure with your hand or a clean cloth and hold it. Birds that are shot but not killed usually die quickly of blood loss once held this way, and the field dressing of a dead bird is a completely different, much calmer job. The only thing that matters in the moment is that the bird is in your hands and the bleeding is stopped.
Step 3: Make the Initial Body Opening
Flip the bird breast side up. Find the wishbone, the V-shaped furcula, right at the base of the throat. Your cut goes just below and behind it, at the top of the breastbone, and it runs across the breast to the backbone.
Place the knife point in and cut through the sternum, the flat breastbone that runs down the center of the chest. It is thin on a duck, so it takes a firm, controlled stroke rather than a sawing one. If you feel the blade stop and hit something hard, that is the shoulder joints on either side, and you have gone far enough laterally. Keep the tip pointed away from your off hand.
Once you are through the sternum and the ribs, stop cutting and use your hands. Cut the ribs on each side where they join the sternum with the tip of the knife, just enough to break them. Then pull the breast and rib cage apart with both hands and press down until the body is open flat. Do not force it. If it will not open, one more small rib cut usually frees it.
The body should now lie splayed with the breast plate pushed down and out, the way you would open a book. This position is the whole point. It lets air reach the inside of the carcass and it is why the meat cools faster than it would in a sealed cavity.
Step 4: Remove the Viscera
With the cavity open, you can see the organs. Reach in from the front, hook your hand around the mass of organs at the top of the cavity, and pull. They are connected at the rear near the vent, so pull down toward the tail and slightly back. The lungs will often stay behind, stuck against the backbone, and you reach up twice more and peel them out.
Break the leg joints and pull them out of the cavity too. Many hunters leave the legs on because they take up no room in a bag, and both camps are fine, but pulling them means less meat exposed to insects and one less place for bacteria to sit.
Be careful in two spots. The gallbladder is a small dark green sac tucked under the liver near the breast, and if you rupture it the meat will be bitter enough that you will not want to eat it. If you see it, squeeze it out whole onto the ground rather than cutting into it. The other spot is the windpipe and trachea running along the backbone, which tears easily and should be lifted out with the lungs.
The vent is the opening at the base of the tail, and a missed bit of tissue or feather left there is the classic reason a bird tastes gamey. Check it before you close the bird up.
Keep the heart, liver and gizzard if you want them. Wrapping them in a separate bag and freezing them for a gumbo or a gravy is standard practice among people who keep the parts, and they cost you nothing but a few seconds if you take them at the blind instead of at home.
Step 5: Remove or Trim the Wing Bones
If you intend to breast the bird out in the field, you do not need the wing bones in the bag. A common method is to break the wing at the joint, leave the lower wing and the drumette attached as a handle, and use that handle to hold the bird while you pull the breast meat off the carcass later at home.
If you want the full wing meat, or you are plating the bird whole, leave the wings alone and take the whole bird home. Either choice is fine. What matters is deciding before you bag it, because cutting the wings changes what you can legally do with the bird in some states, and it changes how you will cook it later.
The wishbone is another optional cut. Leave it on if you want a clean carcass shape for roasting, pull it out if you are breasting out and want the maximum amount of meat off the bone.
Step 6: Check the Cavity and Package the Duck
Look inside once more with fresh eyes. Check the vent, the area behind the wishbone and the corners near the shoulder joints for feathers, down, blood or a piece of tissue. Pull anything left behind. This is the last chance to catch a mistake, because once the bird is sealed in a bag you will not look again until you are in the kitchen.
Do not rinse the cavity. Washing pushes water and loosened bacteria into the meat rather than out of it, and it is one of the most common beginner habits that should be unlearned immediately. Wipe the outside with a damp paper towel if you want, and leave the inside alone.
Place each bird in its own bag. Pull the neck and wing to the outside of the bag, or keep them attached and position them so a field inspector can see the species. Write your full name, your hunting license number and the date harvested on the bag with a permanent marker. That labeling requirement is common in state regulations and is exactly what an officer asks for when you cross a state line or land at an airport.
Step 7: Clean Up and Keep the Meat Cold
Entrails go in a separate bag or a container, not on the ground where the birds are. Buried entrails attract everything with a nose, from raccoons to the neighbors dog that was not invited, and flocking scavengers are an added annoyance. Bag them and pack them out.
Put the dressed birds into the cooler on ice, out of the sun. Do not stack them wet against each other, and do not seal them in an airtight bag while they are still warm. If you are holding birds longer than a couple of hours, prop the cavity open with a small stick so air can continue to move through the carcass.
The timing rules are simple enough to memorize. When the air temperature is below 40 degrees Fahrenheit, you have a comfortable margin. Between 40 and 90 degrees, get the bird into the cooler within two hours. Above 90 degrees, you have one hour, and you should treat that as a hard limit. Those numbers are the USDA general rule for meat left in the danger zone, and they apply to game the same way they apply to anything else in your cooler.
Once home, refrigerate the birds on a tray or in a pan so nothing leaks, and cook poultry to an internal temperature of 165 degrees Fahrenheit. If you are not eating them within a day or two, freeze them; a field-dressed bird freezes perfectly well.
Common Mistakes
Almost every problem beginners have comes down to rushing, a dull blade, or a bird that sat too long. Here are the ones that show up over and over, and the fix for each.
- Cutting into the breast meat. You usually cut too far forward. Start below the wishbone rather than at the top of it, and keep the knife shallow on the breastbone because the bone is thin. If you are unsure, feel with the tip before you commit.
- Rupturing the gallbladder. You get there too fast and cut into the liver. Identify it first, then lift or squeeze it out whole onto the ground. The gallbladder sits under the liver on the right side near the front of the cavity.
- Leaving the vent behind. It looks clean enough at a glance, which is exactly how it gets missed. Turn the bird upside down and look directly at it before you bag it.
- Working with a dull knife. A dull blade tears instead of cutting, which damages the meat and is how people cut themselves. If the knife skates rather than bites, stop and change it.
- Bad light and a bad work position. Dressing at dusk, in a headlamp beam, or kneeling in mud with a bird balanced on your knees is a recipe for a cut hand and a punctured breast. Wait for light, sit down, and prop the bird on something solid.
- Rinsing the cavity. Water carries contamination inward. Wipe the outside instead and let the meat dry.
- Leaving entrails where the birds are. Bag them and pack them out. It keeps predators away from your birds and your blind.
- Failing to cool the meat fast enough. Dressed does not mean cold. Get birds into a shaded cooler within two hours, or within one hour above 90 degrees.
- Forgetting the paperwork. Individual bags, name, license number and date. Also check whether your state requires the head or a wing to stay attached for identification, and remember that airline rules for carrying game meat in checked baggage are their own thing and change often.
- Keeping a bird you cannot identify, or one shot with shot you are unsure about. Do not put it in the bag. Deal with the identification question first, and ask your state wildlife agency about lead in harvested birds.
Frequently Asked Questions
How long does it take to field dress a duck in the field?
A sharp knife and some practice get a bird done in three to five minutes. A beginner should budget closer to ten minutes for the first bird, and about five for each one after that. On a good limit, six to eight birds can be processed in about half an hour. Have the board, bags and gloves staged before you start, because the slow part is almost never the cutting.
Do I need to fully clean a duck before taking it home?
No. Field dressing means bleeding the bird, removing the entrails, and bagging it so it can cool. It does not mean plucking, washing or butchering. Finish the job at camp or at home. Plucking is easier while the bird is still warm, and breasting out is easier on a fully cooled carcass, so splitting the work between the field and the kitchen is the normal routine.
What is the safest way to remove a duck’s innards?
Wear cut-resistant gloves, open the cavity by cutting through the sternum below the wishbone, spread the ribs apart by hand, then reach in from the front and pull the organs downward toward the tail. Pull, do not cut, so you avoid slicing into the meat. Watch for the small green gallbladder under the liver and lift it out whole, and pull the lungs off the backbone separately.
Should I rinse a duck after field dressing it?
Skip it. Rinsing pushes water and loosened contamination deeper into the meat instead of removing it, and it adds moisture that slows the cooling you are trying to speed up. Wipe the outside of the bird with a damp paper towel if you want it tidy, leave the inside alone, and let the carcass dry with the cavity open in the shade before you seal the bag.
How should I keep a field-dressed duck cold during the hunt?
Get it into a shaded cooler with ice or ice packs as soon as it is dressed, and bag each bird individually so a leak does not spread. Prop the cavity open with a small stick if birds will sit more than an hour or two. Below 40 degrees you have room to breathe, between 40 and 90 degrees work within two hours, and above 90 degrees treat one hour as the limit.
Conclusion
Start with the setup, not the knife. A stable board, a sharp blade, gloves within reach and a bag open and ready take most of the difficulty out of dressing a duck in the field. Work in good light, take the bird off the sternum rather than the breast, pull the organs instead of cutting them, and look inside the cavity one last time before it goes in the bag. Then get it cold quickly, label it, and let the rest of the processing wait until you are home.
Everything here is general fieldcraft guidance rather than legal or veterinary advice. Waterfowl rules, tagging requirements and transport rules change, so check your state wildlife agency before you head out. If a bird is in bad shape, or you suspect a disease, do not eat it and contact your state agency rather than guessing.