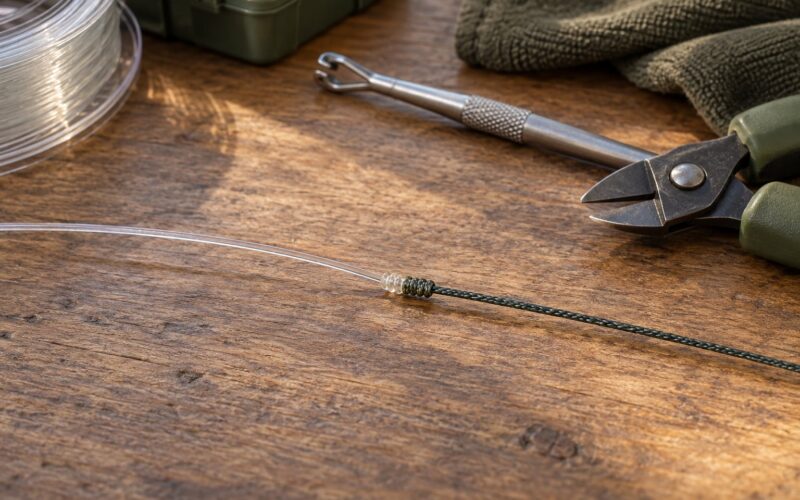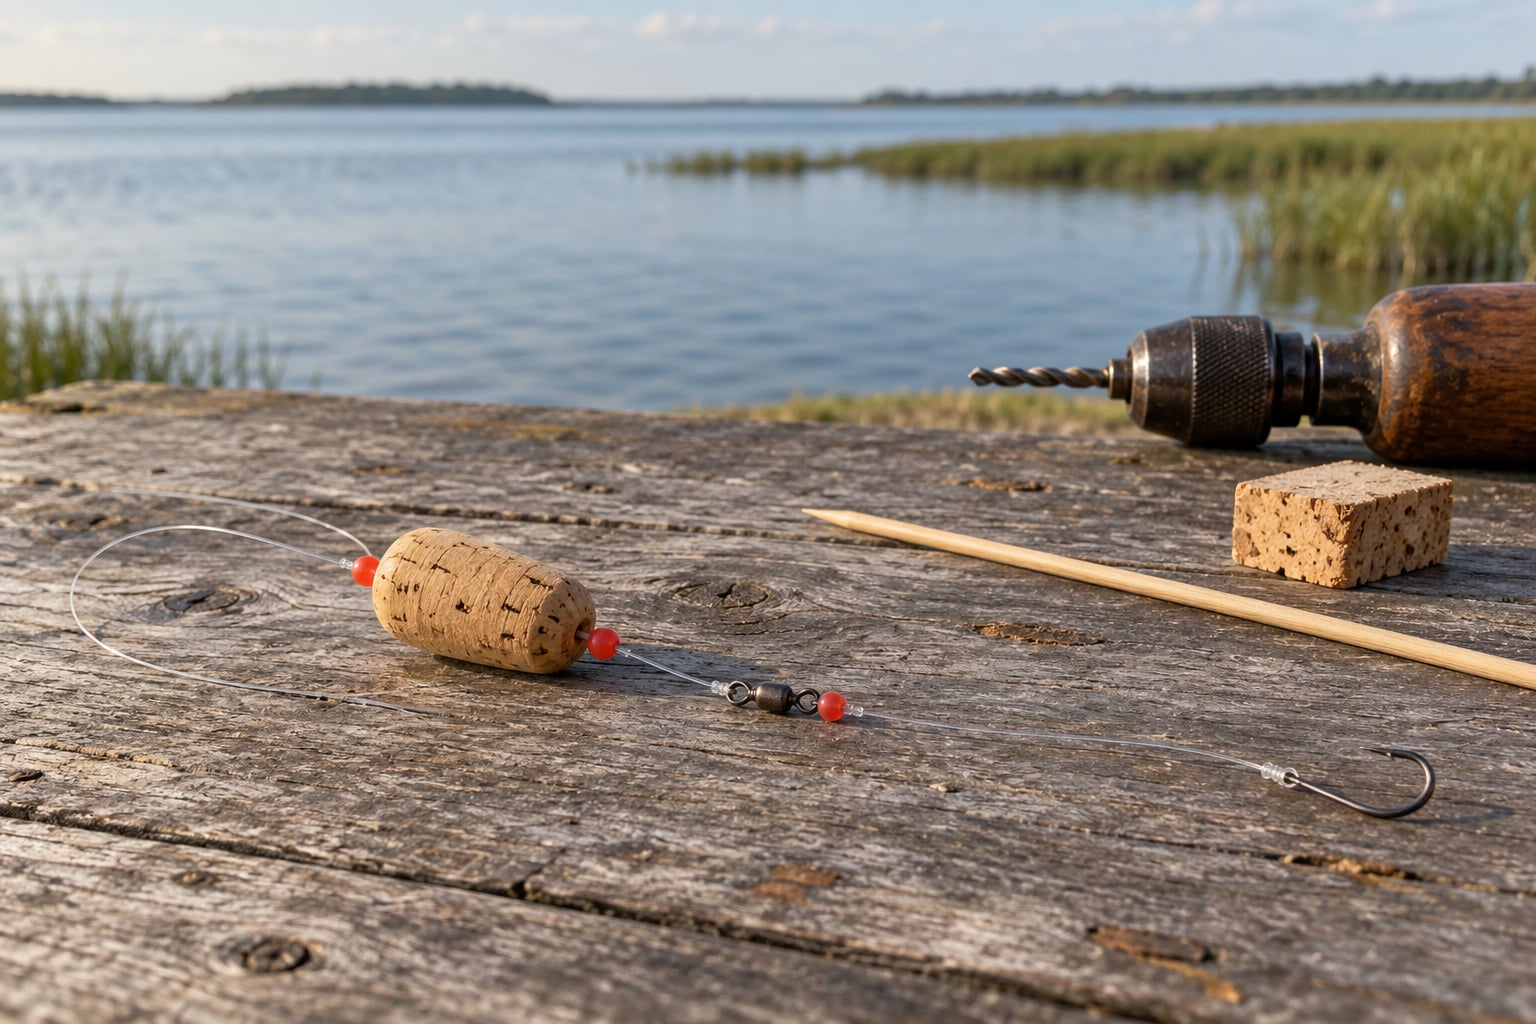
A popping cork rig is a weighted cork float tied above a bait or lure on a fixed-length leader, so the cork tells you the moment something eats by popping and dipping under. Building your own takes about ten minutes, costs less than a single commercial cork, and lets you match cork weight, leader length and terminal tackle to whatever water you are standing in. This guide walks the whole build, from the materials list to the finished rig.
Nothing about the rig is complicated. What trips up beginners is skipping the short leader between the braid and the cork, which is the single fix that stops most tangles.
Table of Contents
- What You Need
- Step-by-Step: How to Make Your Own Popping Cork Rig
- Choose the Right Cork Size and Rig Setup
- Tie the Components Securely
- Test and Tune the Finished Rig
- Build Your Own Cork From Raw Materials
- Common Mistakes
- Frequently Asked Questions
- What size popping cork should I use for striped bass and redfish?
- How much weight should I put on a popping cork rig?
- What is the best leader length for a popping cork setup?
- Can I use a popping cork rig with artificial lures instead of live bait?
- What line and hook size should I use for a beginner popping cork rig?
- How do I stop my popping cork leader from tangling?
What You Need
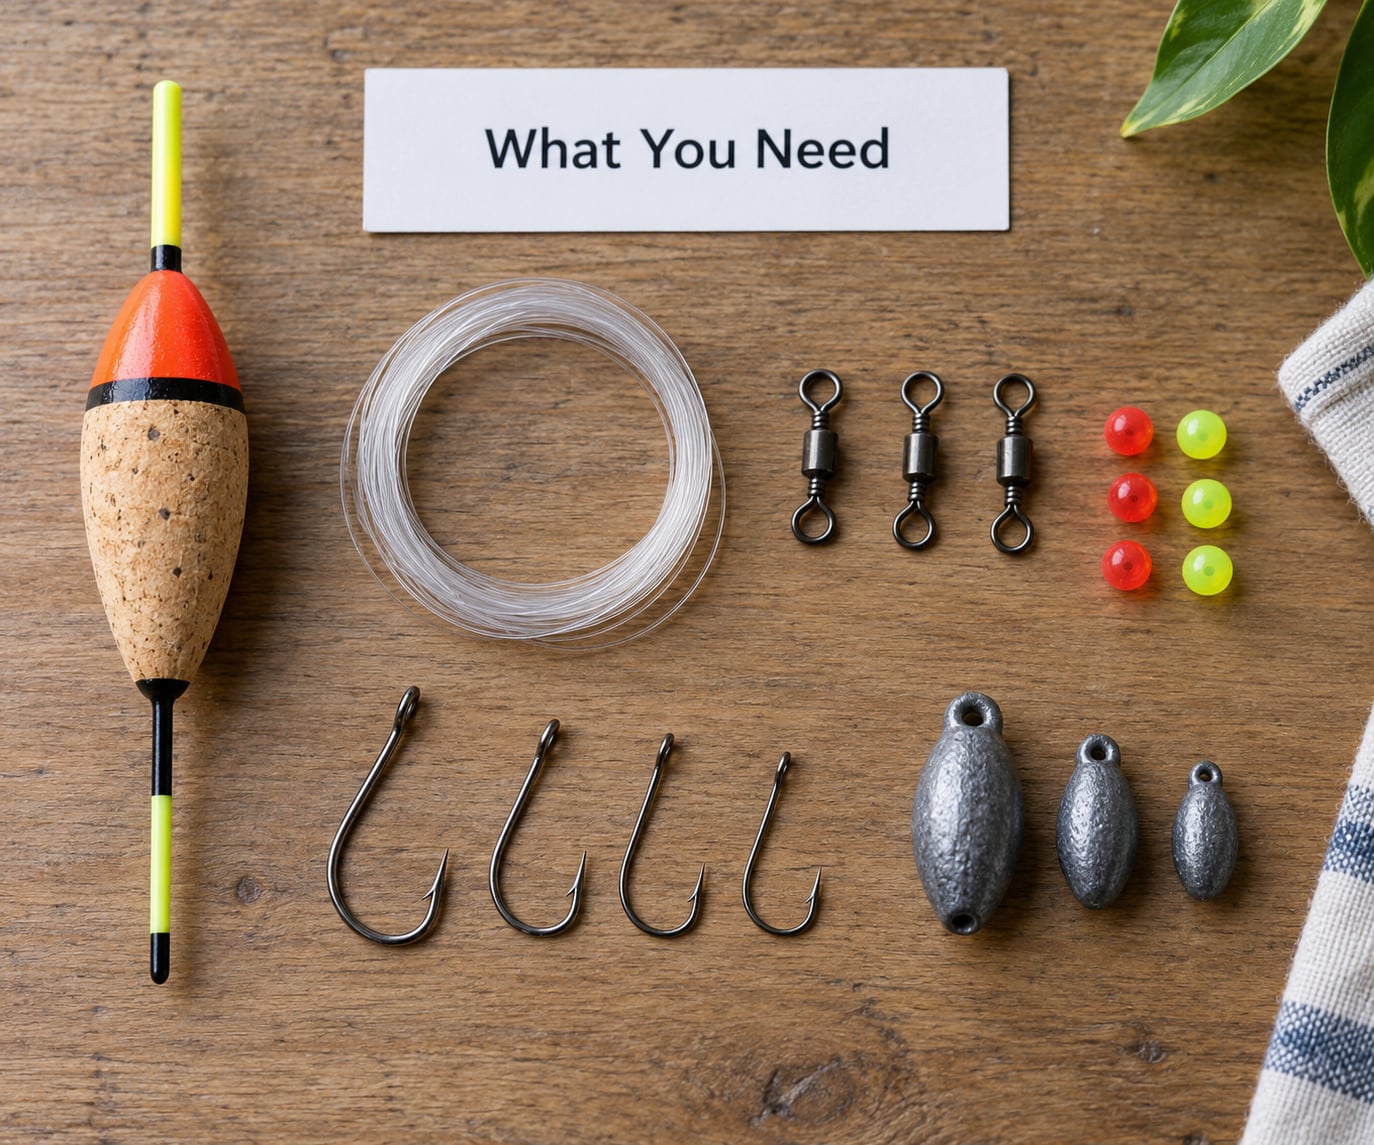
Pick your cork first, then size everything else around it. A cork that is too buoyant for the current will hold a light bait clear of the bottom, and a cork that is too small will pull under as soon as the tide starts moving.
- Weighted cork float. Cup-shaped corks ride higher and suit sight-casting onto flats and grass edges; oval corks sit flatter and work better in chop and heavier flow.
- 10 to 15 lb braided main line. Braid gives you the sensitivity to feel a tap under the cork and keeps a low profile in the water column.
- 12 to 18 inches of 20 to 30 lb leader above the cork. Monofilament or fluorocarbon, same or heavier than your braid. This short section is the anti-tangle link.
- 18 to 30 inches of 20 to 30 lb leader below the cork. This is your strike length and your depth control.
- Terminal tackle. A 1/8 oz jighead with a paddle tail soft plastic is the default choice; step up to a 1/4 oz jighead when the current runs hard. A 1/0 to 3/0 circle hook covers shrimp, small mullet and other live bait.
- Optional hardware. Split shot, an egg sinker, two large beads, one small bead, a knot stop, and a barrel swivel small enough to pass through the cork hole.
- Optional tools. A drill, a wooden skewer, a cork blank or a spare wine cork, and two-part marine epoxy if you carve your own.
The leader below the cork does not have to be heavier than your braid, though matching test is the simplest choice. What matters is that it is at least strong enough to pull a fish out of grass without stretching and going slack.
| Component | Standard setup | Heavy current or deeper water |
|---|---|---|
| Main line | 10 to 15 lb braid | 15 to 20 lb braid |
| Leader above cork | 12 to 18 in, 20 lb mono | 18 in, 25 to 30 lb fluorocarbon |
| Leader below cork | 18 in, 20 lb fluorocarbon | 30 in, 30 lb fluorocarbon |
| Terminal weight | 1/8 oz jighead | 1/4 oz jighead |
| Hook for live bait | 1/0 to 2/0 circle hook | 2/0 to 3/0 circle hook |
Step-by-Step: How to Make Your Own Popping Cork Rig
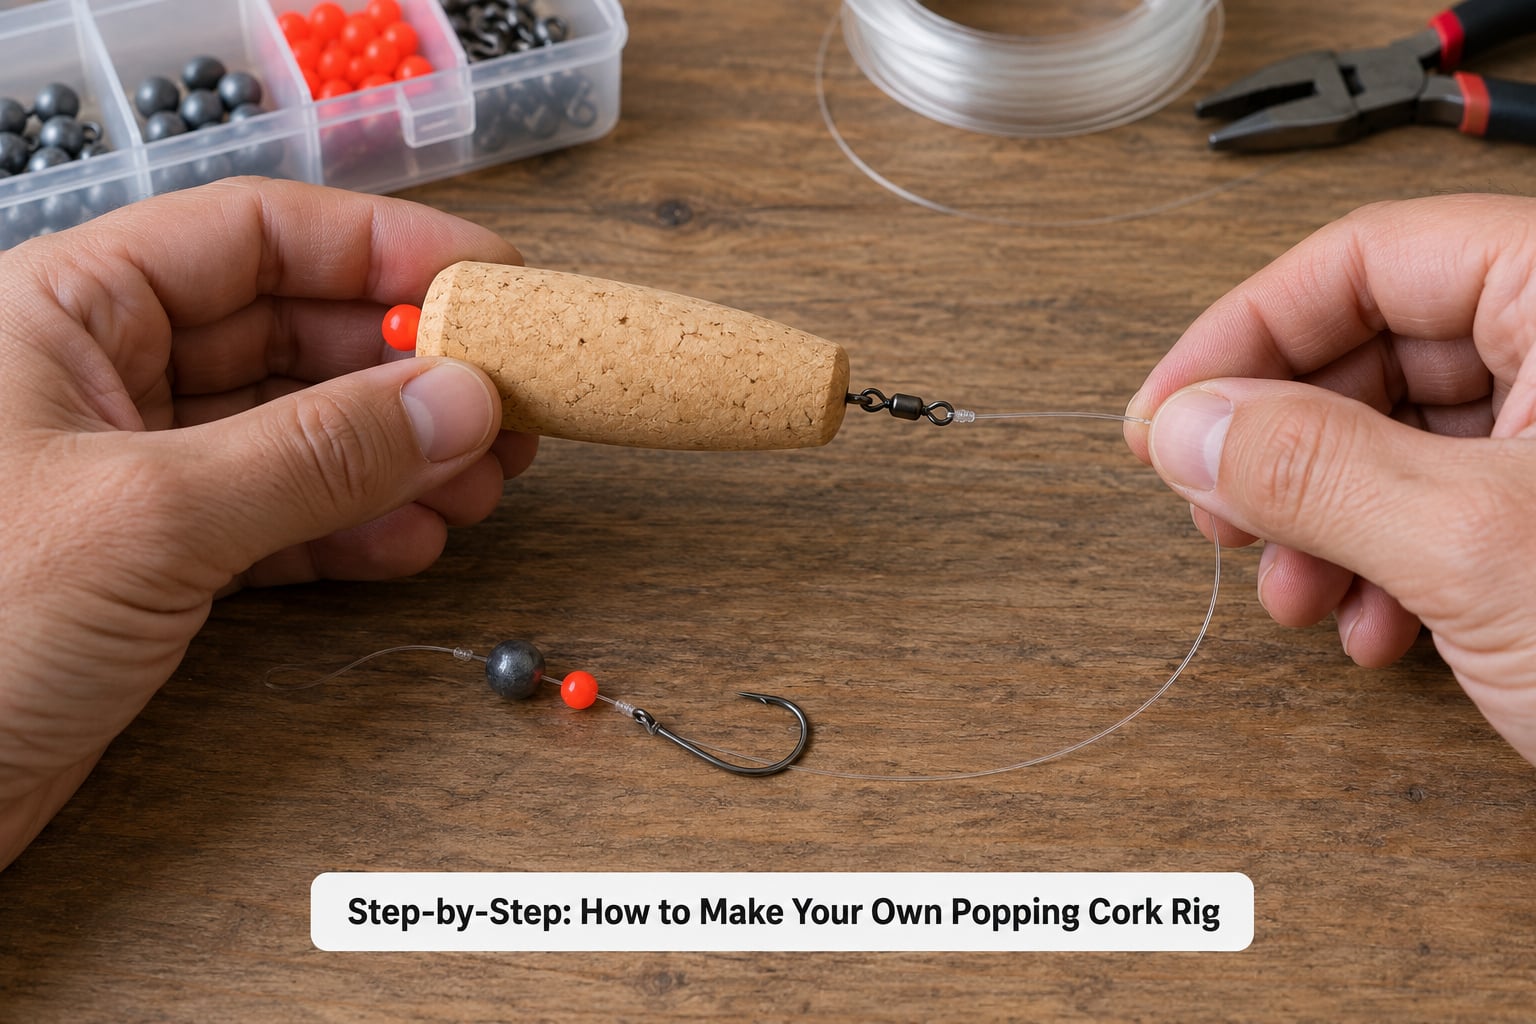
Build the rig on a flat surface with the cork in front of you and the hardware laid out left to right in tie order. Cut both leader sections before you start tying, because trimming wet mono against a cork you are holding in one hand is how beginners end up with a short, ragged bottom leader.
- Cut both leader sections. Measure 12 to 18 inches for the section that sits above the cork and 18 to 30 inches for the section below it. Cut with a sharp straight cut and leave yourself a few extra inches that you trim at the end.
- Tie the bottom leader to the cork. Pass the leader through the bottom hole, wrap it back through the same hole two or three times, then tie a snug knot or an improved clinch around the cork body. Pull it down hard enough that the cork cannot rotate on the line, but not so hard that you crush the cork.
- Tie the top leader to the opposite side. Repeat the same knot in the upper hole. The two leaders should pull straight down in opposite directions when you hold the cork up by the top loop. If they hang off at an angle, the knots are uneven and the cork will roll when it hits the water.
- Add beads and weight if you are running a sliding cork. Slide an egg sinker, a large bead, then the cork, then a second large bead and a small bead onto the top leader before you connect it to your braid, and finish with a knot stop. Beads that are too small for the sinker will jam, so match the bead hole to the sinker body.
- Attach the terminal tackle. Tie a loop knot to a jighead and soft plastic, or tie an improved clinch to a circle hook with your bait. For live shrimp, place a split shot about 10 inches above the hook so the bait sinks to feeding depth instead of swimming off at the surface.
- Connect the top leader to your braid. Tie an FG knot or a double-uni knot in the short section above the cork. Moisten the braid with water, cinch the knot down fully, then trim both tag ends close. Add a drop of glue to the knot and give it a minute to set.
The finished rig should read from top to bottom as braid, short leader, cork, long leader, hook or jighead. When the cork hits the water it should stop dead on the surface and stay there, with the bottom leader hanging straight down and no slack in it.
Choose the Right Cork Size and Rig Setup
Cork size is a function of depth and current, not of how big the fish are. A cork that will hold a jighead up in two feet of water on a falling tide is more than enough for a shrimp drifting over a three-foot flat on a slack morning.
Cup-shaped corks stand up tall and ride above rougher water, which makes them the better choice sight-casting to grass edges, creek mouths and oyster bars where you want to see the cork. Oval corks sit flatter and are less noticeable to birds and heavier wind, which makes them a better pick for dock structure and jetty fishing.
Fixed cork setups pin the bottom leader at a set depth and are the simplest thing to fish. Sliding cork setups add beads, an egg sinker and a knot stop so the leader slides through the cork until it hits the knot stop, letting you change depth without retying the whole rig. Many inshore anglers run the bead order as egg sinker, large bead, cork, large bead, small bead, then knot stop on the main line.
Tie the Components Securely
Every connection on this rig has a job, and the knot you pick should match the job. The two connections that fail most often are the braid-to-leader knot and the hook knot, so those are worth slowing down for.
- FG knot or double-uni knot for braid to leader. Both hold better than any mono knot tied directly to braid, which will slip under load. Moisten the braid, cinch, then trim and glue.
- Snug knot or improved clinch for leader to cork. The snug knot cinches tighter on a hard cork body, and the improved clinch is easier for a first-timer to judge by eye.
- Loop knot for a jighead or soft plastic. It lets the bait swing and gives the plastic natural action instead of pulling dead straight behind the weight.
- Improved clinch for a circle hook on live bait. Pull the hook shank into the body of the knot so the point sits behind the shank.
After each knot, put real tension on the line with your hands before you move on. If the knot slides at all under hard pressure, it is wrong and needs retying. Flush-cut every tag end with a sharp line cutter, because a long tag near the cork is a snagging problem once you are casting around structure.
Test and Tune the Finished Rig
Hold the rig by the top leader and swing it in open air. The cork should hang straight down without the bottom leader crossing over the top section, and the cork should not spin freely around the leader. Any of those three symptoms means a knot needs retying before it ever gets wet.
Next, dunk it in a bucket or a tide pool and watch what happens. Good behaviour looks like this: the cork settles and stays on the surface, the bait settles a foot or two under, and the lure swings on its loop knot instead of dragging. If the cork sits under, add buoyancy with a bigger cork or step the jighead down a size.
If the bait swings into the bottom leader every time the rod moves, your leader is too short for the current. Add six inches at a time until the bait hangs clear. If the rig tangles on the retrieve with plenty of slack on the line, the problem is usually braid wrapping the cork because the leader above it was left too short or omitted entirely.
Build Your Own Cork From Raw Materials
A commercial cork works out of the bag, but carving your own lets you match the shape to the water and the buoyancy to the depth. It also means you can build one in ten minutes with a bottle cork, which surprises people who assume they need a workshop.
The simplest version uses a natural wine cork, a wooden skewer and a drill. Drill straight through the cork body lengthwise to make the cork hole, then drill a smaller cross-hole for a piece of stiff wire or an 18-gauge stainless swivel shaft. Push the wire through the cross-hole and add a dab of two-part epoxy at each end so it cannot work loose. Trim the cork into a shallow cup with a knife once the epoxy has cured.
For a proper weighted cork, start with a block of cork or balsa roughly two inches thick. Cut it to the buoyancy you want, drill the long centre hole with a bit wrapped in masking tape to stop the hole from tearing out, then drill the cross-hole for the wire. Pour two-part epoxy into both holes and let it cure fully before you sand the shape.
Wrap the larger drilling in a clamp or a vise rather than holding the cork in your hand. Cork cracks and the bit grabs, and the twist will split the blank. Expect to lose a few blanks before you get a clean one, and seal every cork you keep with epoxy or with a coat of marine paint so it does not soak up water and slowly lose its float.
| Build method | Buoyancy | Best for |
|---|---|---|
| Store-bought weighted cork | Consistent, sized on the label | Matching depth and current to a label |
| Carved cork or balsa with epoxy | Custom, tunable by shaving | Shallow flats, sight casting, light terminal tackle |
| Wine cork and skewer | Low | Learning the rig, very shallow water, practice casting |
Common Mistakes
- Skipping the leader above the cork. Wet braid wraps the cork and loops above it on every cast. Fix it by adding 12 to 18 inches of 20 lb mono between braid and cork.
- Cork too small for the depth. It submerges on every drift and you lose sight of the strike. Fix it with a larger cork or a lighter jighead.
- Oversized swivel and beads. Anything wider than the cork hole jams and stops the leader from sliding. Fix it by matching hardware to the hole.
- Too much weight under the cork. A pinned bait stops moving and stops catching fish. Fix it by stepping the jighead down from a 1/4 oz to a 1/8 oz.
- Leader too short. In current the bait swings into the line and cuts you off. Fix it by adding six inches at a time until it hangs clear.
- Weak knot work. A loose knot plus a long tag end is the reason rigs come apart at the swivel. Fix it with hard hand tension, close trimming and a drop of glue.
- Unsealed homemade cork. Water soaks in and the cork stops floating high enough to see. Fix it with epoxy or marine paint, and re-seal any cork you use again in saltwater.
- Wrong bead order on a sliding rig. Fix it by putting the egg sinker above the first large bead, then the cork, then the second large bead and the small bead, finished with a knot stop.
A couple of habits keep the rest of the trouble away. Rinse the rig in fresh water after every saltwater trip, and carry two or three finished rigs so a lost one does not end your session.
Use eye protection when you drill a cork blank, work on a scrap surface, and let epoxy cure fully before the cork ever touches saltwater. Two-part epoxy needs several hours, and a cork loaded into the water early will take on water and never recover its buoyancy.
Frequently Asked Questions
What size popping cork should I use for striped bass and redfish?
Match the cork to the depth you are fishing rather than to the size of the fish. A cup-shaped cork in the middle of the size range holds a 1/8 oz jighead or a rigged shrimp over two to three feet of moving water. For a flooded flat in three feet or less, a smaller cork keeps the bait in the strike zone. Go up one size when the tide is running hard or you are fishing deeper drop-offs.
How much weight should I put on a popping cork rig?
Start at a 1/8 oz jighead and only step up when the current forces you to. A 1/4 oz works in fast water near passes and inlets, but the extra weight pins light baits to the bottom and kills the free-swinging action that makes the rig effective. For live shrimp on a circle hook, a split shot about 10 inches above the hook adds just enough weight to hold depth without killing the bait.
What is the best leader length for a popping cork setup?
Most inshore anglers run 18 to 30 inches below the cork, with 18 inches as the standard starting point. Longer leaders suit deeper water and softer presentations because the bait has more room to swing clear of the line. Shorter leaders bite faster and hold a shallow depth. Above the cork, keep a separate 12 to 18 inch section so the braid never touches the cork.
Can I use a popping cork rig with artificial lures instead of live bait?
Yes. A paddle tail soft plastic on a 1/8 or 1/4 oz jighead is the standard artificial presentation, tied to the bottom leader with a loop knot so the bait swings and flutters. The cork works exactly the same way, holding the lure at a set depth and popping when something hits it. Tighter-bodied plastics work best in current, while floppier baits need a slower pop-and-pause retrieve to get their action.
What line and hook size should I use for a beginner popping cork rig?
Run 10 to 15 lb braid with 20 to 30 lb leader above and below the cork, and you have a setup that handles everything from shrimp to small school bass. For the hook, a 1/0 to 2/0 circle hook covers shrimp and other live bait, while a jighead in the 1/8 to 1/4 oz range covers soft plastics. Match the terminal tackle to the current rather than to the fish species.
How do I stop my popping cork leader from tangling?
Put a short leader, 12 to 18 inches of mono or fluorocarbon, between your braid and the top of the cork. Braid has almost no stretch, so it contracts when wet and wraps the cork directly. The short section absorbs that contraction and keeps the braid away from the cork. Also check that the swivel and beads pass cleanly through the hole and that no tag ends are left long near the cork.
Build the rig in this order: cut 18 to 30 inches of leader below the cork and 12 to 18 inches above it, tie one length to each side of the cork, add your hook or jighead to the bottom leader, then join the top leader to your braid with an FG knot. Dunk it in a bucket before you leave the truck. Once the cork sits still on the surface and the bait hangs clear underneath, the rig is finished and ready for the flats.