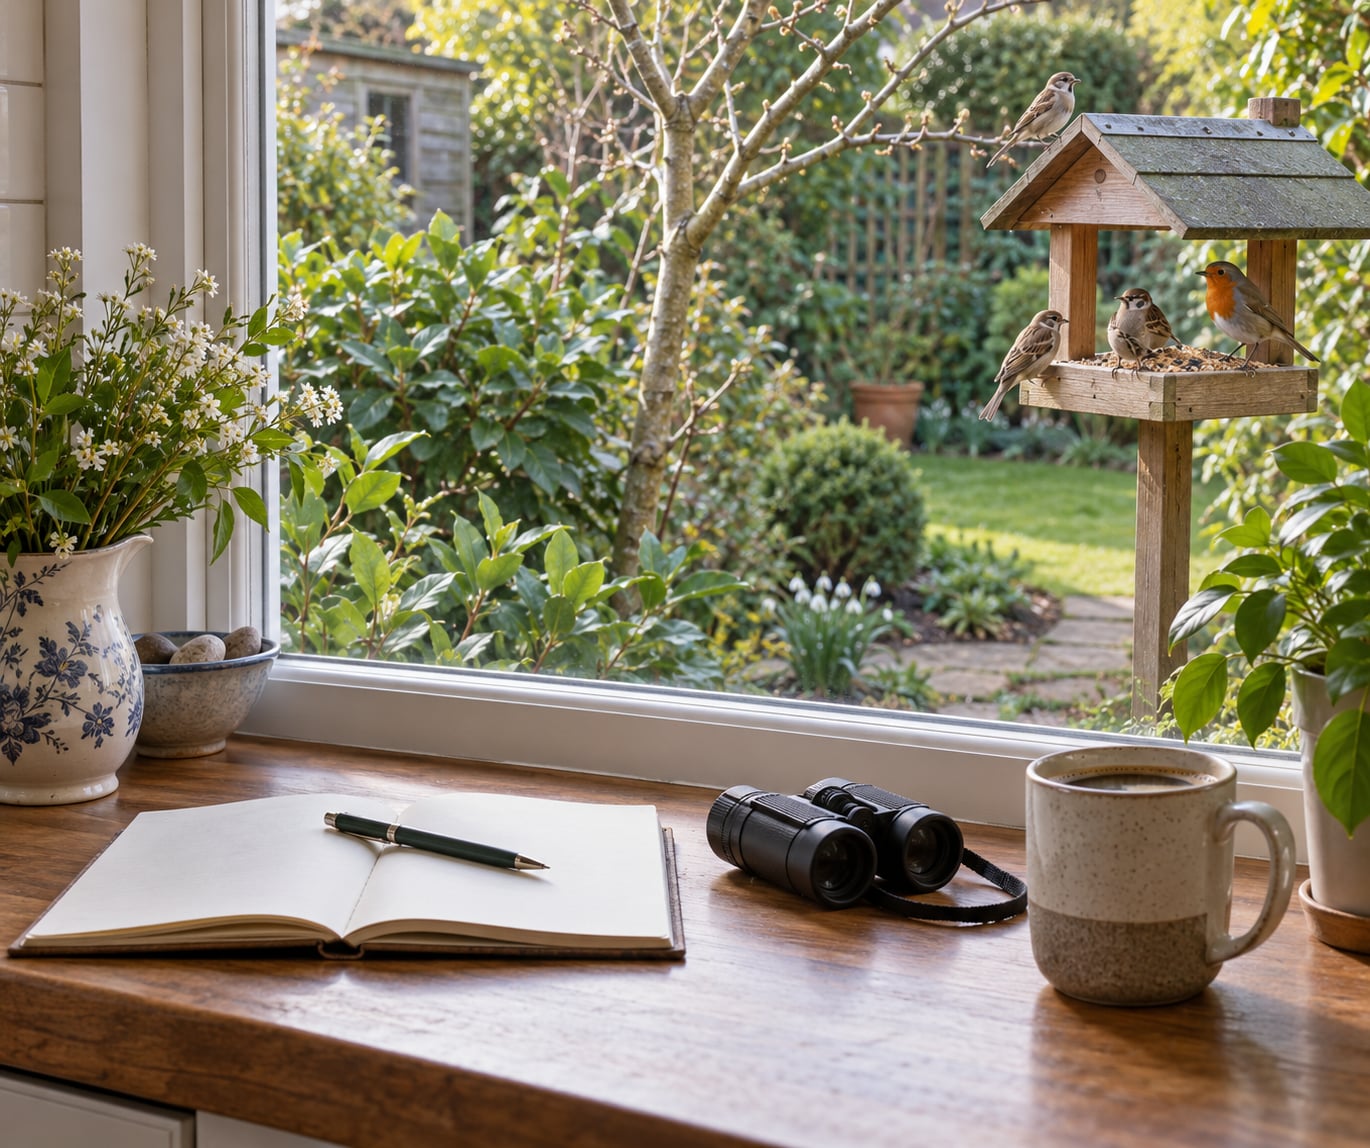
Learning how to start birding without expensive gear comes down to this: you can start for the cost of a walk around the block. Binoculars help, but they are not the entry fee. Spend your first few weeks noticing the birds outside your window, confirm names with a free identification app, and write down what you see.
That answer matters because the hobby has a bad habit of advertising its gear. Forums and glossy guides open with the optics question, and beginners walk away feeling that they need a serious purchase before they are allowed to care about birds. They do not. The birds in your neighborhood are already there, they are already doing interesting things, and your unaided eyes and a phone will get you through the first season.
Birding is one of the least expensive ways to spend time outdoors. The running cost is a thermos and a pair of shoes. Everything else on this page is optional, in roughly the order you would want it, and several of the items cost nothing at all. As of 2026, the free resources that do most of the identification work are better than the paid ones were a decade ago, which is why waiting is easy to justify.
Table of Contents
- What You Need to Start Birding Without Expensive Gear
- Step-by-Step: Begin Birding with What You Already Have
- Step 1: Learn the Birds You See Most Often
- Step 2: Use Binoculars Without Buying Expensive Gear
- Step 3: Choose a Simple Identification Method
- Step 4: Keep a Beginner Birding Notebook
- Step 5: Build a Regular Birding Routine
- Common Mistakes and Easy Fixes
- Buying gear before you know what you want
- Trying to identify everything immediately
- Not adjusting the binoculars
- Birding in the wrong place at the wrong time
- Neglecting notes
- Dressing and behaving loudly
- Frequently Asked Questions
- Is birding a cheap hobby?
- Can you start birding with no gear at all?
- Do I need binoculars to start birding?
- How do I learn to identify birds as a beginner?
- Is 8×42 or 10×42 better for bird watching?
- What colors should you not wear when birding?
- Start This Week, Not This Season
What You Need to Start Birding Without Expensive Gear
Strip the hobby back and only four things are load-bearing: a place with birds, attention, a way to confirm a name, and a record so you can remember. Everything else is a convenience you can buy years from now without falling behind anyone.
| What it does | Free version | Why it matters |
|---|---|---|
| Place with birds | Window, garden, feeder, local park, school field | Every birding skill starts with repeatedly seeing the same birds in the same spot |
| Confirmation | Free bird ID apps and species pages | Turns a vague impression into a name you can look up and remember |
| Record | Notebook, phone notes, free sightings log | Shows you what you have already seen, which is real progress |
| Clothing | Layers you already own, quiet shoes | Being warm and unseen keeps you outside long enough to see something good |
| Magnified view | Borrowed, secondhand, or your phone camera | Helpful, genuinely not required for months |
A pair of binoculars belongs on that list, but at the bottom and marked optional. The same is true of a field guide, a spotting scope, a camera rig, and a feeder. Feeder watchers will get more out of a patch than out of a premium bag of seed, and a cheap pair of binoculars will teach you more than an expensive pair sitting in a closet.
One thing worth spending nothing on is a bird club membership. Most local Audubon chapters, parks departments, and nature centers run free walks led by people who have been identifying birds for decades, and beginner questions are welcome because everyone remembers being a beginner.
Step-by-Step: Begin Birding with What You Already Have
Work through these in order. Each one builds on the last, and the whole sequence is designed so you can be birding this week without opening your wallet.
Step 1: Learn the Birds You See Most Often
Beginners often try to identify everything at once and quit when it fails. Do the opposite. Pick the ten species you can see from where you sit and learn those properly.
On a typical North American street or suburban yard that short list is usually robins, house sparrows, starlings, dark-eyed juncos, house finches, mourning doves, and a crow or jay. Add a chickadee or a tit if there are trees. Ten birds sounds small until you realize it covers most of what moves in front of you most days, and every one of them has a name you can look up and a call you can learn.
Identify them the slow way, in this order: size compared to something familiar, then overall shape, then where the color sits on the body, then behavior and habitat layer. A bird hopping on the ground in a dense thicket is not a wood warbler, no matter how much yellow it has. Behavior is often faster than color, and it costs nothing to check.
Once you can name ten birds without thinking about it, add five more. Serious birders call the common birds junk birds, and beginners absorb that language as a put-down. It is not one. Learning the ordinary birds of your neighborhood is the whole job, and every expert you met once stood exactly where you are standing.
Step 2: Use Binoculars Without Buying Expensive Gear
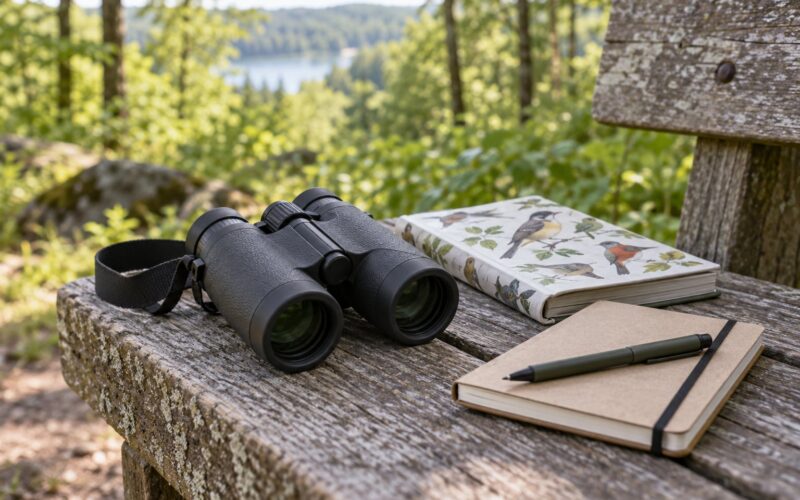
If you already own a pair, use it. If you do not, borrow before you buy, because the choice matters less than the forum threads make it sound. Ask your local nature center, park office, visitor center, or library about a loaner program, and ask a friend who birded ten years ago and has moved on to better glass.
Secondhand is the sweet spot. Established brands hold their value well, so a mid-range pair from a yard sale or an online marketplace can be a serious instrument at a small fraction of what new costs. Check that the barrels focus smoothly, the lenses are not fogged or scratched, and there are no dents around the hinge. Test anything before you rely on it.
No glass at all? You have three options. Your phone camera zooms far more than most people expect and is enough to confirm a bird you already suspect. A spotting scope at a ranger station or a campground can be pointed at anything overhead, and staff will usually let you look if you ask. And for anything within thirty feet or so, sharp eyes genuinely work, especially on movement and behavior.
Whatever you look through, set it up the same way. With bare eyes, close one eye at a time and adjust the barrels until you get a single round image instead of two. Then focus on something ten feet away and turn the center or right-eye dial until it is sharp. Leave that dial alone afterward and the binoculars will stay roughly in focus at distance. Most people who complain about blurry binoculars have simply never focused them.
Scan wide, not narrow. Look at a tree or a bush as a whole, find movement, then bring the binoculars up to that spot instead of aiming at empty air and sweeping around until a bird wanders into the middle. Learn the focus with your hand on the far barrel while your thumb turns the dial. It takes a minute and saves you every trip.
Wear your glasses when you test. Turn the barrels in as far as they go, then back out until the eyepiece sits just outside your eyebrow without pressing your frame. If you cannot get a full round picture, that pair has poor eye relief for you, and cheap glass is often the worst offender.
| Setup | How it feels | Best for | The trade-off |
|---|---|---|---|
| 8×32 | Light and compact, easy to carry on a walk | Walking birders, small hands, daylight | Darker image in heavy shade than larger lenses |
| 8×42 | Brighter and steadier, slightly heavier | Most beginners, general purpose | The extra glass costs a little weight |
| 10×42 | Closer view, harder to hold steady | Waterbirds, distant migrants, idle viewing | Shake and a narrow field of view |
| 8×25 pocket | Fits in a jacket pocket | Travel and kids | Dim, narrow view, fiddly for small children |
For most beginners an 8×32 or 8×42 is the easy answer. Ten power looks tempting on paper and frustrates people in the field because tiny movements throw the bird out of view. If you expect to sit still at a pond or watch a distant flock, ten power is worth the extra effort.
Step 3: Choose a Simple Identification Method
Pick two tools and use them together rather than searching for one perfect reference. A free identification app that suggests species from a photo handles most of the confirmations, and a free species page with photos, range maps, and calls handles the ones the app gets wrong.
That last part matters. Photo identification is good, not certain, and it will confidently return a lookalike when a bird is blurred or backlit. The way around it is to check the answer rather than accept it. Species pages list field marks and typical habitat, so if the app says thrush and the page describes a thrush as a slender forest bird while yours was hopping on a suburban lawn, you have your answer.
The learning trap is worth naming: using the app every single time means you never develop the recognition you came for. A better habit is to commit to an identification first, write it down with your confidence, and only then open the app. The gap between the two is your actual learning curve, and it closes fast.
| Resource | Cost | Best at | Watch out for |
|---|---|---|---|
| Free photo ID app | None | Confirming a bird you already partly know | Confident wrong answers on unusual birds |
| Free sightings log | None | Finding hotspots and recent sightings nearby | A learning tool disguised as a game |
| Free species pages | None | Field marks, range, habitat, calls | Slower than an app when you need a quick yes |
| Paid guide app | Subscription | Offline reference away from signal | Costs you before you know if you will use it |
| Paper field guide | One-time | Battery-free, glare-proof, index and maps | Often lives in a backpack for years |
| Local library copy | Free | Trying a book before buying one | Renewal dates, and someone else may want it |
Sound is a free tool too, and an underrated one. Walking through a wooded path at dawn with an eye on the canopy rather than the ground puts you in front of more species in an hour than a full afternoon of scanning a feeder.
Step 4: Keep a Beginner Birding Notebook
Write it down. Memory edits itself into something flattering, and the notebook is what turns a pleasant walk into progress you can see.
For each outing record six things: the date, the location, the habitat you were in, a short description of each bird, what it was doing, and how you confirmed the name. That last column is the one people skip and the one that teaches the most, because it shows you which birds you are still guessing at.
Keep the description physical. Blue head, orange chest, long tail, hops backward down the trunk, feeds in loose flocks on the ground. Write what you saw, not the name you eventually settled on, and you will discover how many identifications were decided by movement rather than plumage.
Do not worry about which kind of list you are keeping. A life list is every species you have ever seen, a year list resets each January, and a patch list is everything within a fixed radius of your house or a park you visit often. Patch lists suit beginners best, because the bar stays reachable and the birds repeat until you know them. Most free logs will handle one of these automatically if you want the running total handled for you.
Step 5: Build a Regular Birding Routine
Consistency is what teaches, not effort. Twenty minutes at dawn on weekdays beats three hours once a month, and it costs nothing.
Pick one spot within a ten-minute walk of home and go there until it stops surprising you. Then add a weekly longer walk somewhere with water or edge habitat, where different species show up. Once a month, try a bigger destination or join a free guided walk to meet people and see what they notice.
Track your routine for four weeks and you will have a usable patch list and a sense of your local calendar: which birds arrive in spring, which vanish in late summer, which are noisy at dawn and quiet at noon. That seasonal knowledge is free, and it is the part experienced birders rely on most.
Log what you see. Every entry in a free sightings log becomes citizen-science data that researchers use, and it also feeds back into the recent-sighting reports you will plan your next walk with. It costs you thirty seconds and turns a hobby into something that gives back.
Common Mistakes and Easy Fixes
Almost every avoidable beginner failure comes from spending money or attention in the wrong place. These six cover nearly all of it.
Buying gear before you know what you want
Spending on a full kit in month one is the most common money mistake, and it is easy to fix by delaying. Give yourself three months of notes first. You will discover whether you are a feeder watcher or a hiker, and the right gear for a hiker is not the right gear for someone who sits at a window.
Trying to identify everything immediately
Refusing to record a bird as unknown feels like failure, so beginners invent names and lose their real baseline. Write unknown instead. Half of all records on any given walk are expected to be common birds, and an honest unknown is worth more than a confident guess.
Not adjusting the binoculars
Most complaints about cheap glass come down to someone using unfocused binoculars. Set the interpupillary distance, focus on a near object, and check that the eyepieces clear your glasses. Blurry, doubled, or dark views are usually setup rather than equipment.
Birding in the wrong place at the wrong time
Midday in a park is the emptiest possible choice, and birds are hardest to find in windy weather. Go near dawn, pick edges and water, and skip exposed spots on blustery days. Watch the recent-sighting reports on a free sightings log and go where birds were reported in the last two days.
Neglecting notes
Six months of unrecorded walks produce six months of vague memory and a false sense that nothing stuck. Ten minutes of writing on the walk home, or the notes app while the coffee brews, is enough. Write it the same day because details fade overnight.
Dressing and behaving loudly
Bright colors, rustling fabric, and sudden movements push birds away before you get a look. Muted clothing, slow movement, and keeping your group quiet and at a distance work for you and for the birds. Stay off nests and nesting areas in spring and summer, and keep house cats indoors during the months fledglings are around, since free-ranging cats kill more birds than anything else we do to them.
Two smaller habits pay off early. Never leave food out in warm weather, because it can spoil and draw pests, and check local rules before you feed anything. And ask a question at every walk: what was different today from last week. That habit alone separates people who stay birders from people who try it once.
Frequently Asked Questions
Is birding a cheap hobby?
Yes. Birding costs almost nothing to start. You need a place with birds, attention, and a free way to confirm names. Optional spending runs from a free app to borrowed or secondhand binoculars, and most people spend years before buying anything serious. The only real recurring costs are transport and coffee, and public parks, trails, refuges, and your own street are all free to enter.
Can you start birding with no gear at all?
You can. Sit at a window or a feeder, look for movement, and use your phone camera to confirm the birds you see. Listen at dawn, learn the ten species around you, and write down what you see in a notebook. Glasses and unaided eyes are genuinely enough for anything within thirty feet, especially for behavior. A free identification app closes the gap for the rest.
Do I need binoculars to start birding?
No, and beginners often buy them a year too early. Binoculars help with distant or skulking birds, but they do not teach you to notice birds, and noticing is the harder skill. Borrow a pair from a nature center or a friend first, buy secondhand when you are ready, and consider an 8×32 or 8×42. Many birders never buy anything more expensive.
How do I learn to identify birds as a beginner?
Start with the ten birds you see most and learn them completely, using size, shape, color placement, behavior, and habitat layer. Confirm each one against a free species page, and compare what you saw against what the page describes. Write down your guess before checking an app. Adding five new birds every couple of weeks will get you further than any app, because the pattern recognition is what you are building.
Is 8×42 or 10×42 better for bird watching?
For most beginners, 8×42. It gives a brighter image, a wider field of view for tracking movement, and enough magnification without the shake that ten power causes. Choose 10×42 if you plan to sit still watching water or distant flocks. Compact 8×32 is the better pick if you walk a lot, since it is lighter and easier to carry.
What colors should you not wear when birding?
Avoid bright, contrasting colors and anything that moves or rustles: neon, white, red, strong patterns, shiny fabric, and jingling keys or a dangling lens strap. Muted earth tones and neutral layers let you approach feeders and shoreline edges without emptying them. Keep movement slow and sudden gestures to a minimum, and give birds a clear escape route instead of cornering them.
Start This Week, Not This Season
Pick one spot you can reach on foot, choose a twenty-minute window near dawn, and write down every bird you can name before you leave. That notebook page is the whole first step, and it costs nothing. That is how to start birding without expensive gear: borrow binoculars when you want a closer look, buy used when you have decided what you need, and leave everything else on the list for another year.