Field dressing a wild hog safely is mostly about order and speed: remove the hide and the internal organs right where the animal fell, so the meat stays clean, cools fast, and does not drag extra weight out of the woods. The whole job takes a practiced hunter 20 to 30 minutes on a 150-pound sow and closer to an hour on a full-grown boar, most of it spent on cuts you can repeat by feel in the dark. The sequence below is the one that keeps the meat cleanest: confirm the animal is dead, control the bleeding, skin, open the belly, lift the guts out intact, split and cool, then bag and get it home.
One thing changes everything about this job: hogs are not deer. The hide is thick and tight, the muscle is dense, and the gut load is heavy. Heat makes every step more urgent, because bacteria from the intestines multiply fast in a warm carcass.
Table of Contents
- What You Need Before You Field Dress a Wild Hog
- Step-by-Step: How to Field Dress a Wild Hog Safely in the Field
- Step 1: Confirm the Animal Is Down and Control the Bleeding
- Step 2: Pick a Work Area and Position the Carcass
- Step 3: Skin the Hog
- Step 4: Open the Belly Cavity Carefully
- Step 5: Remove the Digestive Tract and Inspect the Organs
- Step 6: Split or Section the Carcass and Start Cooling
- Step 7: Wrap, Chill, and Transport the Meat
- Common Mistakes and How to Fix Them
- Frequently Asked Questions
- How long can a field-dressed wild hog stay in the bag?
- Should you rinse wild hog meat with water before cooking?
- What temperature should field-dressed wild hog meat reach?
- How long does it take to field dress a wild hog?
- Why does wild hog meat smell strong after butchering?
- Is it safe to field dress a hog in cold weather?
What You Need Before You Field Dress a Wild Hog
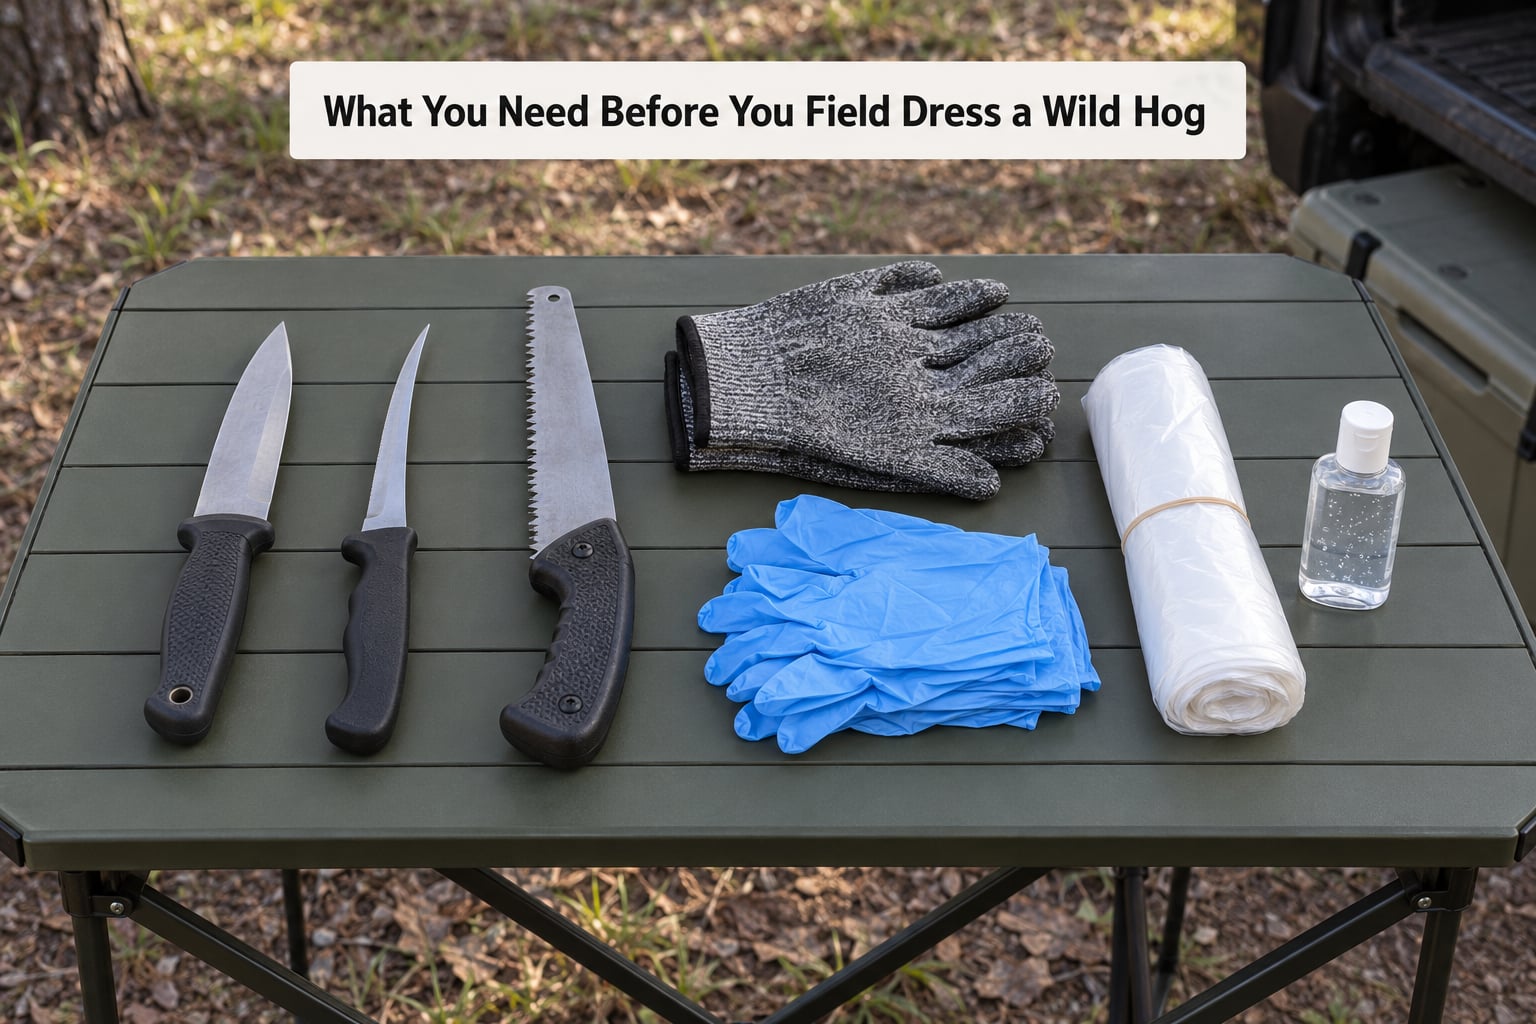
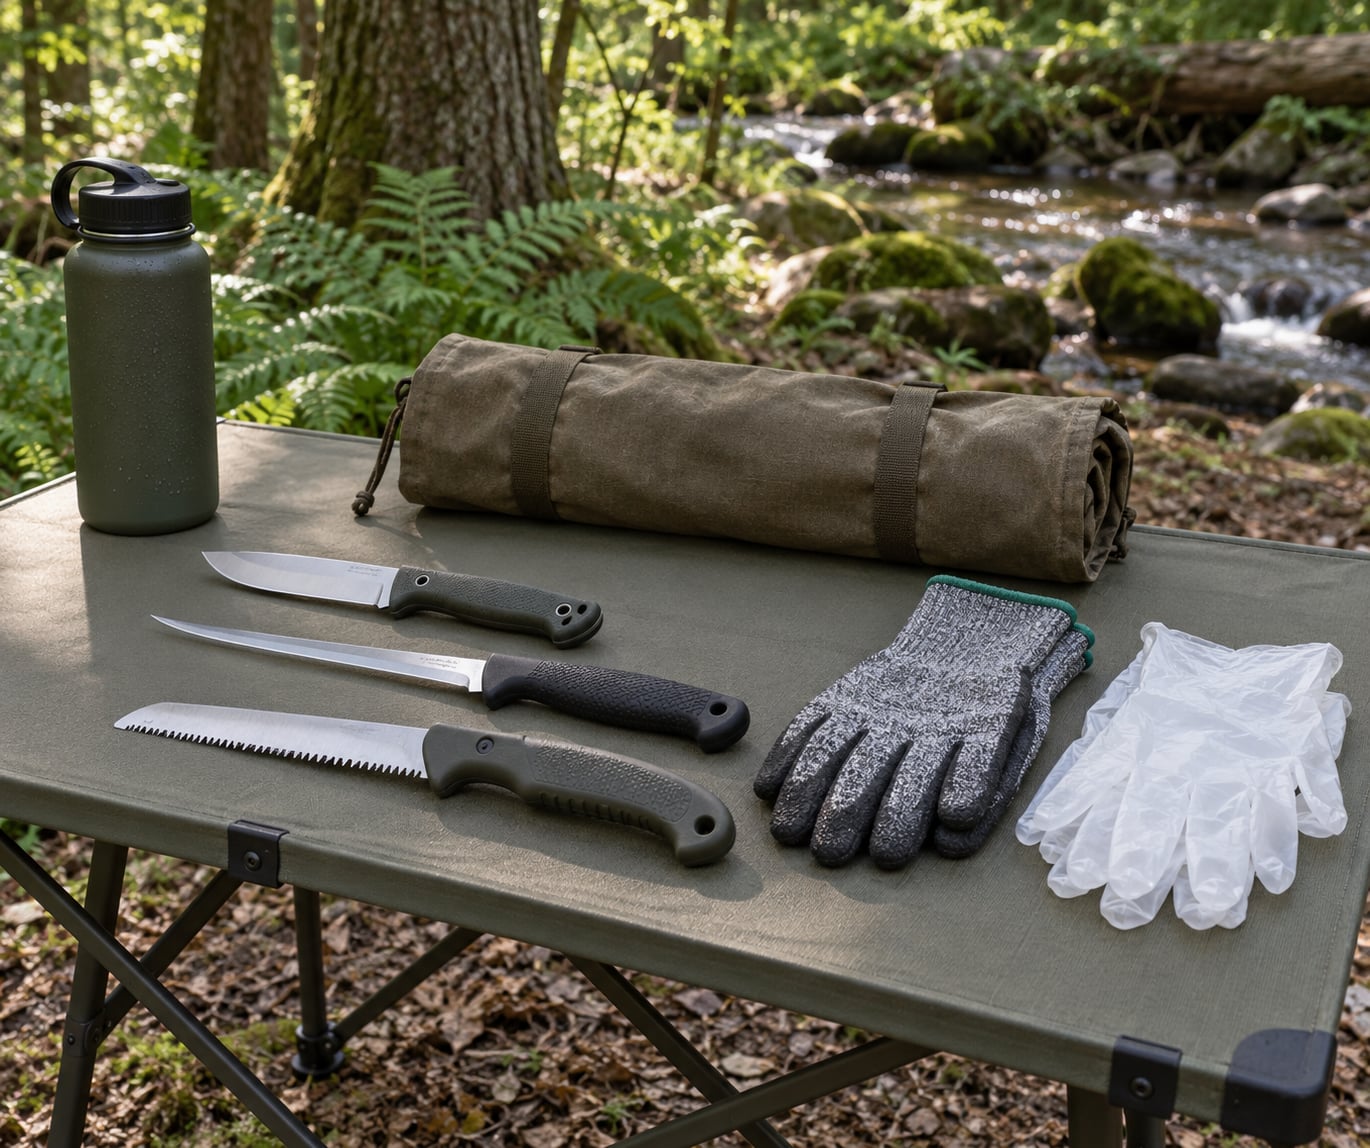
You can field dress a hog with a single good knife, but that is a bad way to spend an afternoon. A few items turn a frustrating gut job into a ten-minute job.
- A straight-bladed utility knife with a thick spine. This is your hide knife. A carpet-cutting blade on a utility knife is a common pick among experienced hog hunters because it will not flex when you are separating hide from shoulder.
- A narrow 6-inch fillet knife. Flexible enough to work around the backbone and into the joints without poking through the meat.
- Cut-resistant gloves for skinning. Hogs carry tusks and their hide is coarse, and a slipped cut takes an artery in your thigh. Gloves are the accepted practice among experienced hunters, not a nicety.
- Disposable vinyl gloves for the gut work. Change them before you touch the carcass, and again before you handle your phone, keys, or water bottle.
- Long zip ties or a gut tie string. You will tie off the rectum and the paunch. Nothing worse happens mid-evisceration than a loose end.
- A game bag that drains. A heavy canvas or woven plastic bag, not a trash bag. You want air moving and meltwater running out.
- A hand saw or bone saw. Optional until you split the carcass, then indispensable.
- Water, a rag, and hand sanitizer. Cold clean water only, and a rag for wiping dirt and blood off the skinned surface.
- A first aid kit and a way to be found. A knife injury in a drainage far from a road is a real emergency. Carry a satellite messenger or inReach-type device where there is no cell coverage.
A tarp or game sled earns its place in that list. It keeps the carcass off wet ground, keeps the gut contents away from your knife roll, and gives you something to drag with.
Step-by-Step: How to Field Dress a Wild Hog Safely in the Field
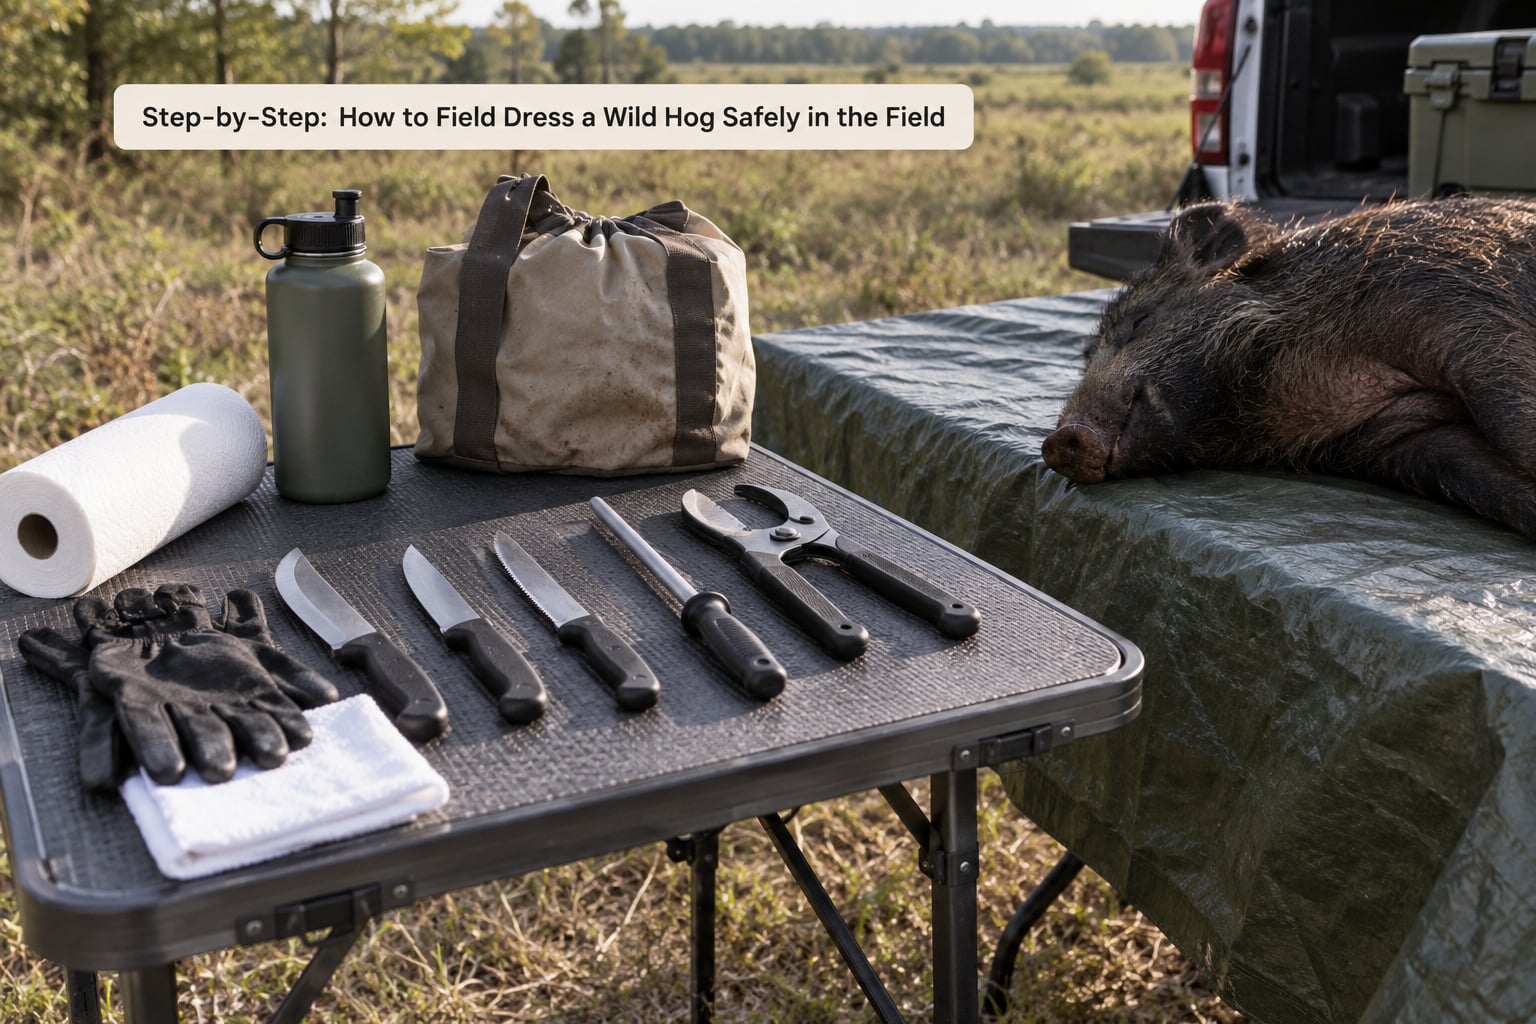
Work from the ground up: safety, position, hide, cavity, gut, cooling. Here is the sequence that most experienced hog hunters use.
Step 1: Confirm the Animal Is Down and Control the Bleeding
Watch the animal for a full minute before you walk up. No blinking, no ear twitch, no attempt to rise. A wounded hog is the one hazard in this job that can kill you, and the second one is a companion animal that charges while your hands are buried in a carcass.
Once you are certain, apply a bleeding method appropriate to the shot. If the shot was through the chest and both lungs, bleeding is largely handled. With a gut or liver shot, sever the carotid or the vessels at the base of the neck and hold pressure. Never cut from the chest down toward the belly at this stage, because that is the cut you will make in Step 4 and doing it early opens a contaminated cavity to the air.
Step 2: Pick a Work Area and Position the Carcass
Move the hog a few feet if you can, onto a tarp, a sled, or dry ground with a slight slope so fluids drain away from the meat. Clear a workspace roughly the length of the animal.
Lay the hog on its back for skinning and cavity work. Before you cut anything, wipe off mud and manure from the outside of the hide. Dirt pressed against the meat during skinning is the contamination people complain about most on hunting forums, and it comes off far easier now than later.
Step 3: Skin the Hog
Start at the front legs. Make a circumferential cut just above the hoof, then a second cut perpendicular to the leg, the way you would notch a leg of venison. This loosens the skin and lets the hide roll back toward the shoulder.
Work the knife handle between skin and meat, handle-first where the hide is thin, blade-first once you are into thicker hide. Never use the blade in a stabbing motion toward yourself. Pull the skin down and back over the shoulder, and the hide comes off in one large sheet if you keep tension on it.
Do the rear legs the same way, then open the hide along the spine line with the belly side up, working from the rear legs toward the head. Take the belly plate off last. Tie the hide to the carcass or drag it with you rather than leaving it in the woods, both for courtesy and because it keeps flies off the meat.
Step 4: Open the Belly Cavity Carefully
With the hog on its back, cut along the midline from the sternum to the anus. This is a series of short, shallow cuts with the belly side of the blade, not one long deep slice. Keep the freehand spread over the skin to protect it if the knife slips.
Stop at the sternum rather than cutting through the breastbone, and stop at the anus rather than tearing into the rectum. A conservative midline opening keeps the paunch and the intestines contained until you have a hand on them. Cut too deep in one spot and the rumen opens, and everything downstream is a mess.
Step 5: Remove the Digestive Tract and Inspect the Organs
Lift the intestines out with both hands, working them toward the rear of the animal. Do not pull. The colon attaches at the rectum near the anus, and pulling instead of cutting is how beginners rupture the tract. Tie the rectum off with a zip tie, cut behind it, then work the intestines forward.
Keep two ties on the paunch, the big fermenting stomach, before you move it. Lift it out, set it aside, and note whether it is full of fermenting corn or forage. Hunters on forums who gut in the field point out that a full paunch is both the heaviest thing you are carrying and the most likely thing to spill.
The heart and lungs sit in the chest behind the diaphragm, which is a tough sheet of muscle you cut through to reach them. Take the liver, kidneys, and heart if you want them, and inspect everything you remove.
This is the moment to decide whether the meat goes home. Look for abscesses, cloudy or thickened organs, swollen lymph nodes, nodules on the lungs, lumps in the liver, or any kind of pus. Feral hogs carry brucellosis, swine leptospirosis, trichinella, and tuberculosis, and the visible signs are not always obvious. If something looks wrong, keep it out of the food chain and call your state wildlife agency before you eat it.
Step 6: Split or Section the Carcass and Start Cooling
A hog cools faster in halves than whole, and splitting also lets you debone for pack-out weight. Saw or knife-cut down the spine line, taking care at the shoulders where the blade can wander into the blade meat.
You do not need to rinse the cavity aggressively. A wipe with a clean damp rag, or a light rinse with cold water and immediate draining, is enough. Skip warm water and skip hose-pressure washing, which drives surface bacteria into the meat.
Get the meat cold fast. That is the whole game in warm weather.
Step 7: Wrap, Chill, and Transport the Meat
Use food-safe bags or a clean game bag, leave openings for air and drainage, and get the carcass shaded immediately. A stringer in a shaded tree at 70 degrees is fine for a couple of hours. Above 80 degrees you have roughly an hour before you should consider the meat compromised, and ice is no longer optional.
Keep the cold chain unbroken on the drive home. USDA guidance puts fresh raw meat and poultry at 40 F or below in the fridge, and calls for refrigeration or freezing within two hours of dressing. For the fridge, leave a 30 percent empty air space so cold air moves around the carcass.
When you get home, break down the meat and refrigerate or freeze it the same day. USDA safe minimum internal temperature is 145 F for intact cuts, and because wild boar carries parasites, many state wildlife agencies and health departments advise 160 F for a wider margin. Ground hog meat should reach 160 F regardless.
Common Mistakes and How to Fix Them
Nearly every ruined hog comes down to one of the same handful of errors.
Touching fur, then touching meat. Hunters on the huntingbc.ca forums put it plainly: never touch the hide and then touch the carcass. The fix is a pair of disposable gloves for the gut work and a separate set for the skinned surface, with a hand wash in between.
Approaching a hog that is not dead yet. Give it a full minute, then a second minute. If the eye is clear and the animal is breathing, back off and finish the job. Your hands are no use to you if a boar has them.
A knife that is too thin or too short. Thin blades flex and skate, and a flexing blade is how hides get left on and legs get dropped. A thick utility knife plus a narrow 6-inch fillet covers it.
Cutting too deep on the belly line. Shallow, short cuts along the midline protect you and the paunch. One confident deep slice in the wrong place opens the rumen, and contaminated rumen contents mean trimming more meat than you wanted to lose.
Pulling the intestines instead of cutting the tie. Tie the rectum, cut behind the tie, and lift the tract out in sections. Tears leak, and leaked gut contents are the most common source of off-flavor in wild hog.
Leaving the carcass in the heat to “rest.” Resting is for after cooling, not before. Gut in the field, or gut immediately on arrival, but do not let a fresh kill sit.
Skipping the organ inspection. Five minutes looking at the liver, lungs, and lymph nodes tells you far more than a smell test later. When in doubt, ask your state agency whether the hog came from a known infection area.
A note on rules that vary by state: in Texas, Florida, and Georgia, feral hog work inside designated eradication and quarantine zones can carry specific carcass handling, disposal, and testing requirements. Verify current guidance with your state department of agriculture or wildlife agency before you hunt a designated area, because the rules are set by county and change.
On whether it is safe to eat, no one can promise you a yes or a no from the field. What you can do is inspect the organs, keep the meat uncontaminated, and cook it to 145 F or higher, with 160 F the more conservative target for wild boar.
Frequently Asked Questions
How long can a field-dressed wild hog stay in the bag?
A field-dressed hog is safe to keep in a draining game bag for about two hours at 70 F or cooler, and for closer to one hour once temperatures climb above 80 F. In hot weather, ice the carcass or get it to a cooler immediately. Bag it in the shade, leave openings for drainage, and refrigerate or freeze the same day you get home. USDA guidance calls for refrigeration or freezing within two hours of dressing.
Should you rinse wild hog meat with water before cooking?
A light rinse with cold water is fine, and most hunters wipe the carcass down with a clean damp rag instead. Avoid warm water and avoid high-pressure washing, which can push surface bacteria deeper into the meat. Pat the carcass dry, let it hang in moving air, and keep the knife and cutting surface clean so nothing from the field follows the meat into the kitchen.
What temperature should field-dressed wild hog meat reach?
USDA lists 145 F as the safe minimum internal temperature for intact cuts of meat, and many state wildlife and health agencies recommend 160 F for wild game, which gives you extra margin against parasites such as trichinella. Ground hog meat should reach 160 F. Let large roasts and hams come to room temperature before cutting so they cook evenly.
How long does it take to field dress a wild hog?
Expect 20 to 30 minutes on a smaller sow and up to an hour on a big boar once you include splitting and bagging. A skilled hunter with a good knife and a sharp saw does it faster. A first-timer should budget twice that, and the honest reason to take your time is that a torn paunch costs more cleanup time than the whole skinning step.
Why does wild hog meat smell strong after butchering?
Wild hog carries more fat and more connective tissue than venison, and the flavor comes from both along with whatever it ate on the hunt. Marinate the meat, trim visible fat and silverskin, and let roasts rest properly after cooking. A strong smell in the raw carcass, though, can mean the meat sat too warm too long or the gut contents contaminated it, which is a different problem.
Is it safe to field dress a hog in cold weather?
Cold weather works in your favor. Bacteria multiply slowly below 40 F, so a skinned, gutted hog will keep longer in winter than at any other time of year. You still want the carcass shaded or covered and out of standing water, and you still want to refrigerate or freeze it once you are home. Freezing does not kill parasites, so cook it thoroughly regardless.
Start with the ten seconds that take the most: make certain the hog is dead before you put your hands on it. After that, the order is skin, belly, gut, cool, and the rest is repetition. If you can do those five things without a torn paunch and without letting a warm carcass sit, you have done the job right.