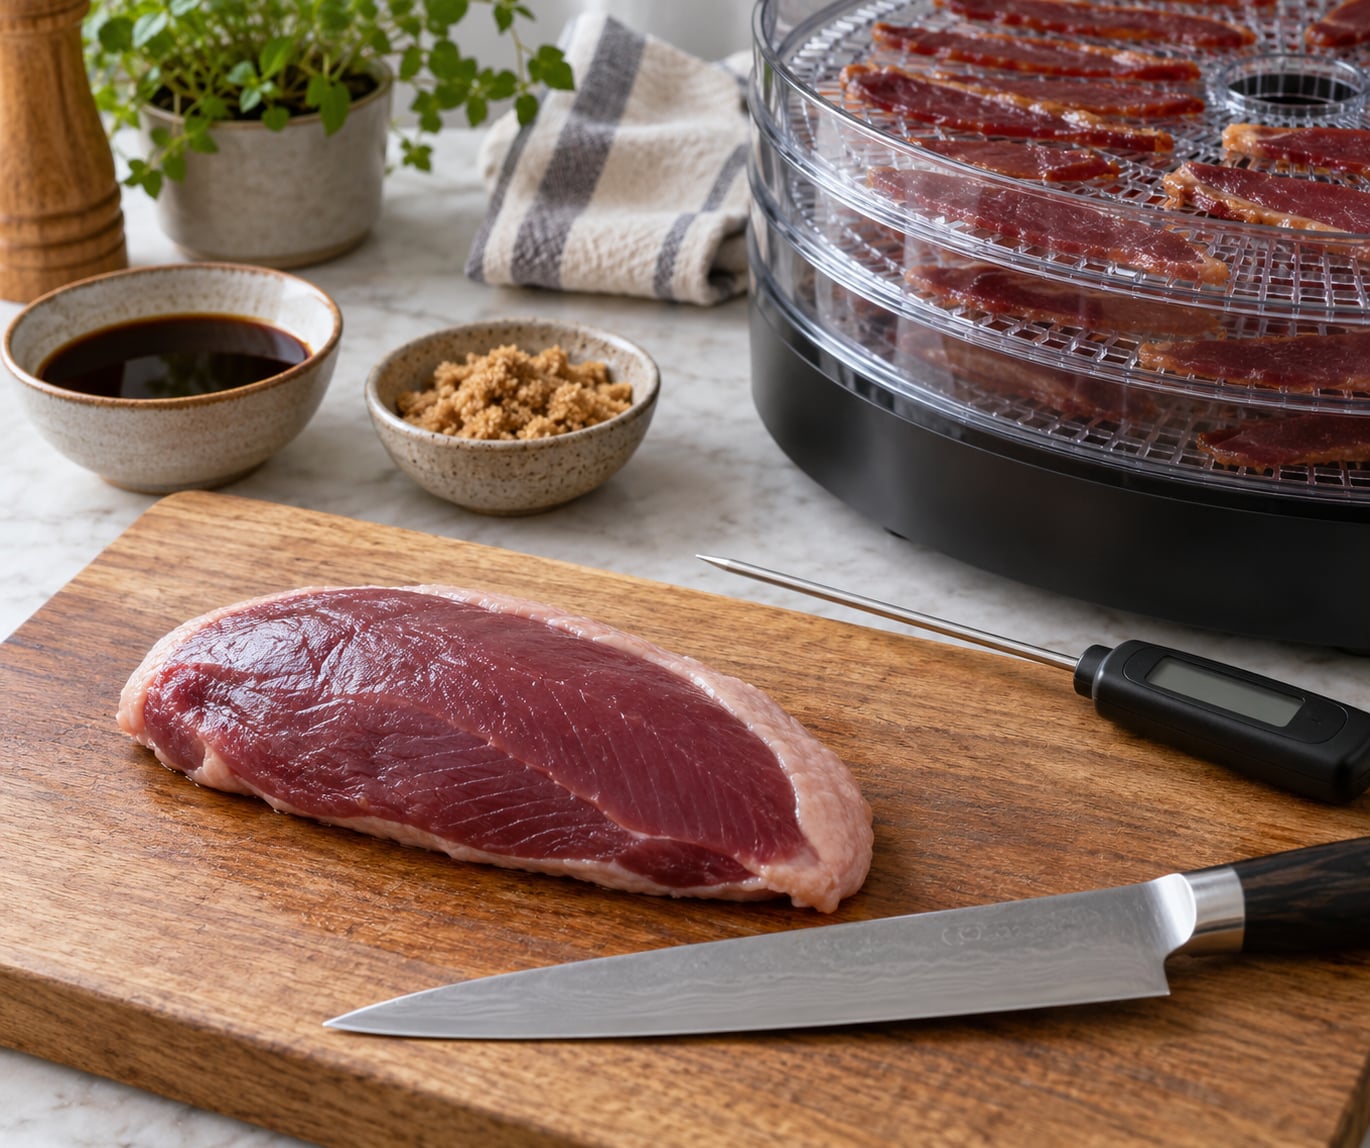
Duck jerky comes from skinless, de-fatted duck breast sliced thin, soaked to pull out blood, seasoned in a soy and Worcestershire marinade, then dried slowly at 140 to 160 degrees until it bends instead of snaps. The whole process takes about a day of waiting plus four to eight hours of drying, and most of the hands-on work is trimming and slicing. It is the most reliable way I know to turn a freezer full of lean wild duck into something people actually want to eat.
That last part matters more than it sounds. Duck breast is almost pure lean muscle, which is exactly what jerky needs, but wild duck also carries a gamey flavor and plenty of fat that turns a lot of people off before they ever start. The soak and the cure pull both out. If you have breast meat nobody wants to cook, this is what it is for.
Below is the full method with times, temperatures, and what each step should look like when it has worked.
Table of Contents
- What You Need
- Equipment
- The meat
- The base seasoning formula
- The curing salt, optional
- How to Make Duck Jerky at Home: Step-by-Step
- Step 1: Trim the meat down to lean muscle
- Step 2: Soak the meat in cold water to draw out blood
- Step 3: Brine and cure
- Step 4: Slice thin and against the grain
- Step 5: Marinate for 24 to 48 hours
- Step 6: Bring the meat to a safe temperature first
- Step 7: Dry it, and test for the bend
- Step 8: Cool, pack, and store it correctly
- Common Mistakes
- Tips for flavor and texture
- Frequently Asked Questions
- Can I make duck jerky in a regular oven?
- How lean should duck meat be for jerky?
- How long does it take to dehydrate duck jerky at home?
- How do I know when duck jerky is fully dried?
- How long does homemade duck jerky keep in the refrigerator?
- Can I use frozen duck breast to make jerky?
- Conclusion
What You Need
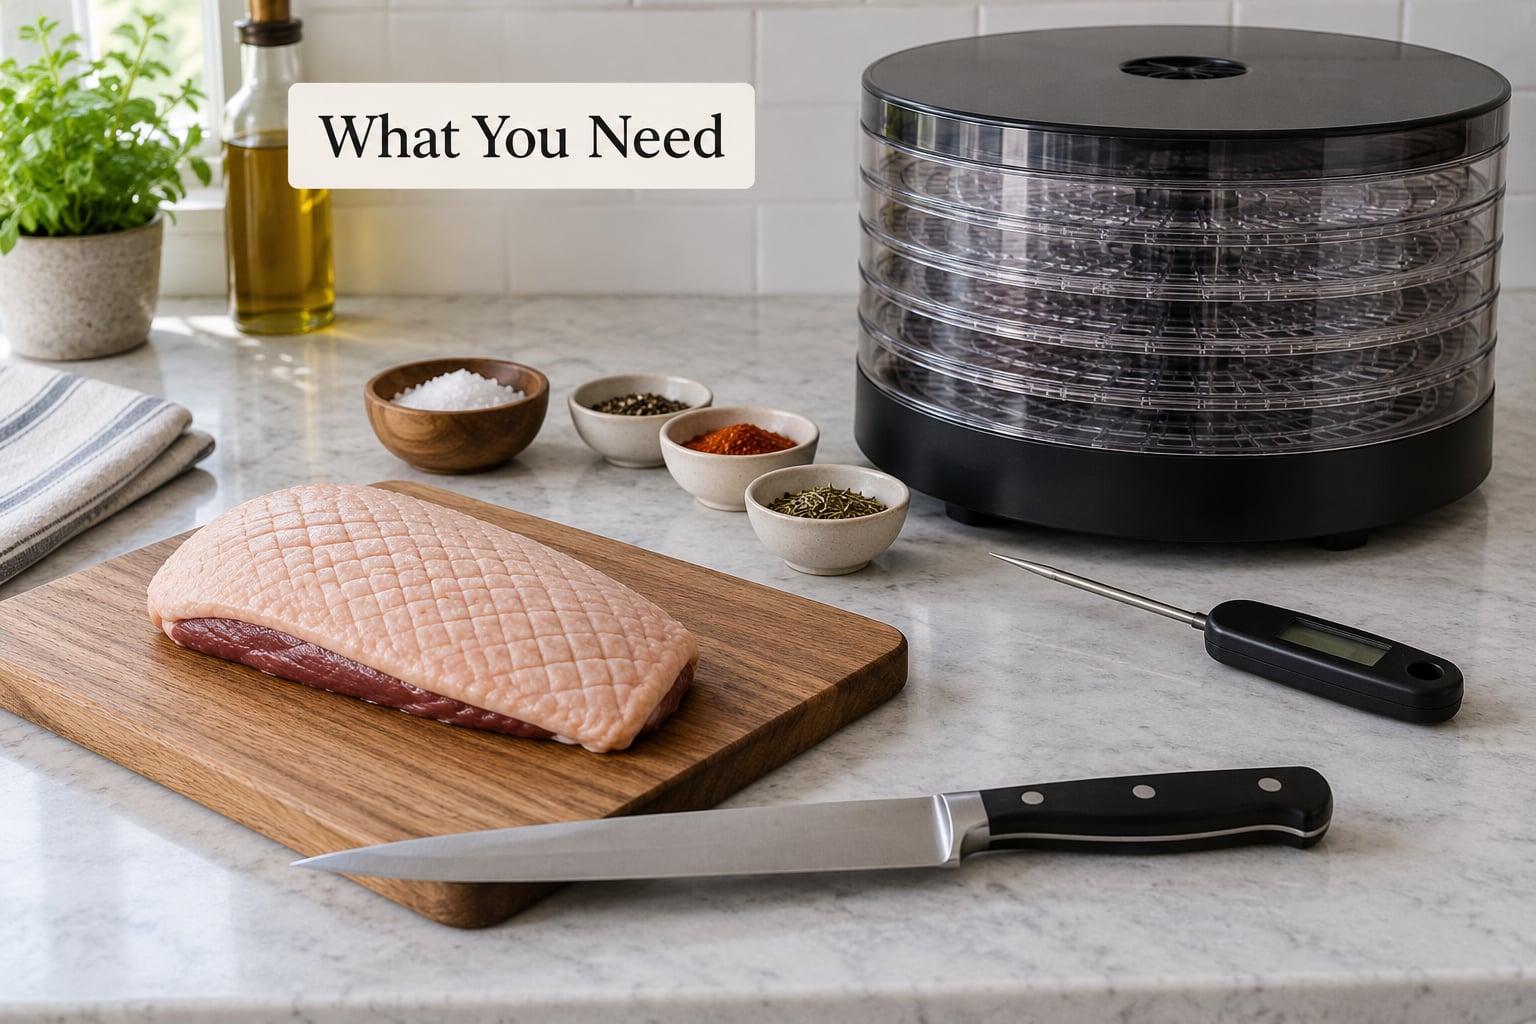
Most of the equipment list is short, and you already own half of it.
Equipment
- A sharp chef’s knife or a meat slicer. A dull knife crushes the meat and gives you ragged slices that dry at different rates. A slicer set to 1/8 inch is the single biggest upgrade you can make.
- A food dehydrator with adjustable heat and a way to keep slices from touching. A cheap unit with a rotating carousel will overcook the outer rings while the center stays chewy.
- A rimmed baking sheet, cooling rack, or parchment. For oven drying, a wire rack set over a foil-lined drip pan lets moisture escape from underneath.
- A digital thermometer with a probe. Needed for the poultry-safe heating step before drying, and useful for monitoring the drying chamber.
- Paper towels, a gallon zip bag or food-safe container for the soak, and heavy-duty zip bags for the marinade.
- A vacuum sealer if you own one. It is not required, but it is the single best thing you can do for storage life.
If you have no dehydrator at all, an oven set to its lowest setting with the door cracked works. Expect less even airflow and a shorter window before the outside starts to scorch.
The meat
Breast is the best cut. It is uniform, low in fat, and slices cleanly, which is most of what jerky is about. Thigh works but carries more fat and connective tissue, so de-fat it more aggressively. Wing meat is fine but small and wasteful to trim; it grinds up well if you decide to go that route.
Whatever cut you use, pull the skin off and take the silverskin, the silvery membrane that runs along the breast. Silverskin does not render and it will hold moisture in the finished strip, which is how you end up with a leathery batch. Run your thumb forward under the membrane, then peel it back with the knife held flat.
The base seasoning formula
For about 3 pounds of trimmed duck, mix the marinade in one container:
- 1 cup soy sauce
- 1/4 cup Worcestershire sauce
- 3 tablespoons brown sugar
- 2 tablespoons olive or avocado oil
- 2 teaspoons garlic powder
- 1 teaspoon dried thyme
- 1/2 teaspoon black pepper
- 1 teaspoon cayenne or red pepper flakes, optional
- 1 tablespoon porcini powder, optional
The porcini is the ingredient people ask about most. It adds a woodsy depth that reads as wild game rather than backyard grill, and it is what keeps duck jerky from tasting flat after three days of drying.
The curing salt, optional
Insta Cure No. 1, also sold as Prague Powder #1, is a mix of salt and sodium nitrite. The nitrite is what makes uncured wild game jerky safe to eat at room temperature by suppressing the bacteria that grow as meat dries. It is not optional seasoning, so dose it carefully and never by guesswork.
Use 1 level teaspoon per 5 pounds of meat and no more. Weigh it if you can. The classic community recipe for 3 pounds of breast uses half a teaspoon, which lands right at that ratio. Keep the powder away from children and never use plain E621 table salt as a substitute. If you would rather skip curing entirely, shorten the marinade, refrigerate the finished jerky, and skip any room-temperature storage.
How to Make Duck Jerky at Home: Step-by-Step
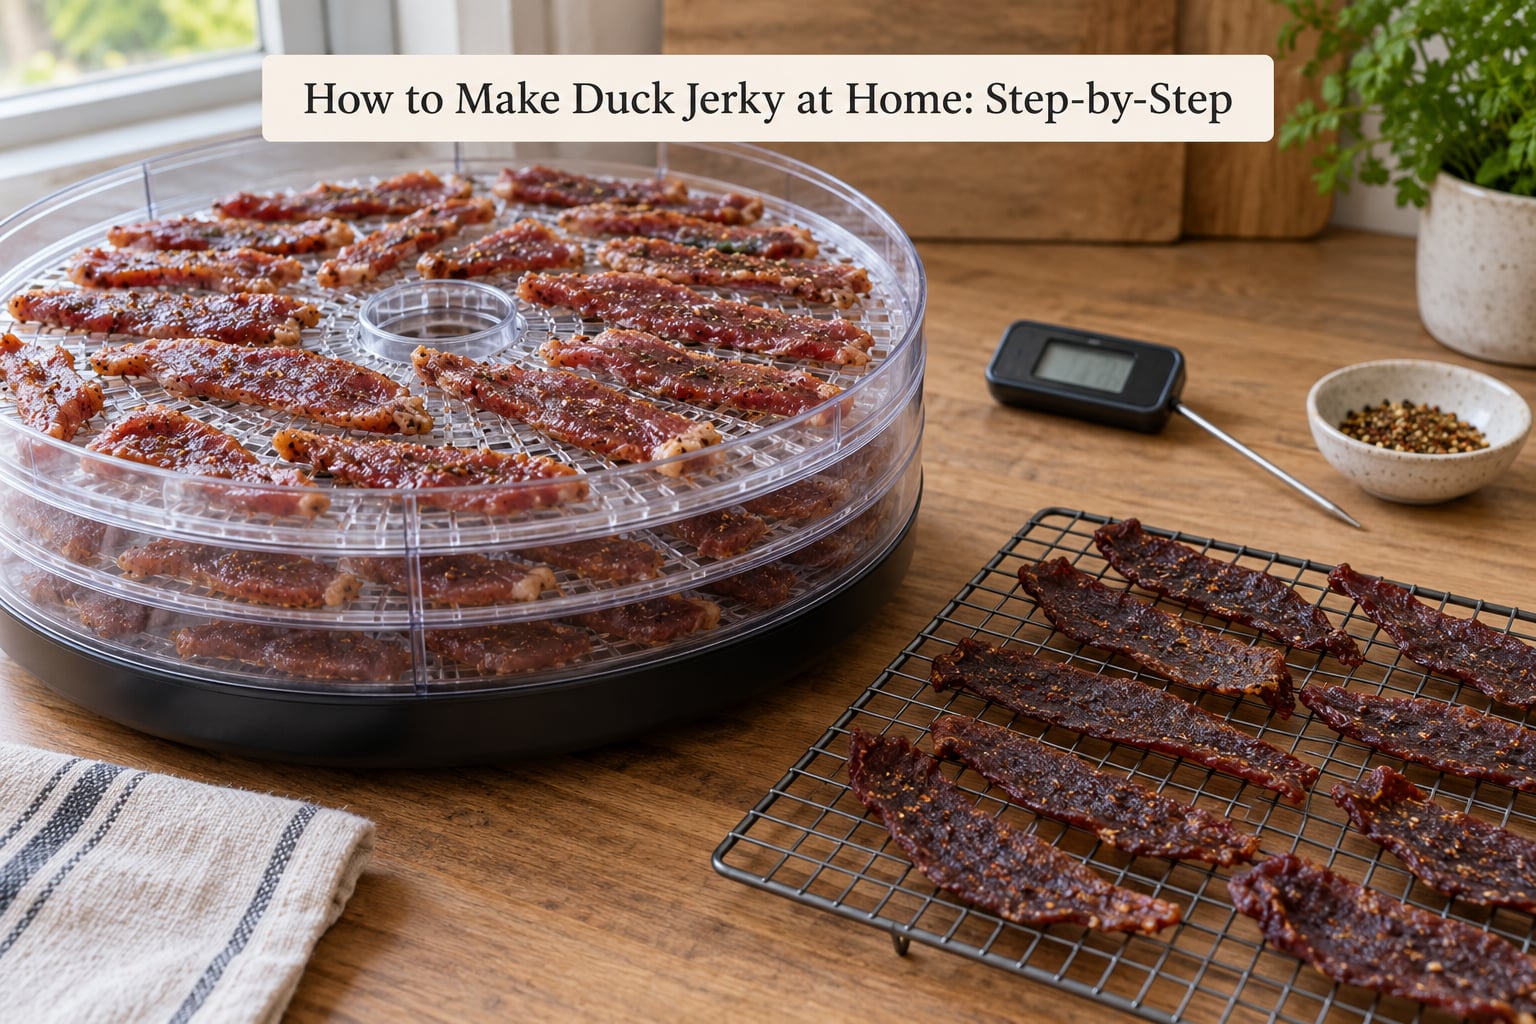
Step 1: Trim the meat down to lean muscle
Skin off, silverskin off, then cut along the fat seams. You are looking for meat that is nearly white when you hold it to the light. If you can see a fat layer thicker than a couple millimeters, take it off now, because rendering loss during drying turns remaining fat into an oily, rancid strip that is unpleasant to chew.
If the bird was shot, discard any meat with a pellet wound or the gray, spongy tissue around it, and run your fingers over the breast feeling for hard bits that could be shot fragments. This is the step people skip, and it is the step that matters most if you hunt.
Step 2: Soak the meat in cold water to draw out blood
Cover the trimmed meat with cold water in a container in the refrigerator, or in buckets if you are working a whole season’s worth. Change the water two or three times a day and soak two to twelve hours. Longer is more thorough, though the practical ceiling is about two days before the texture gets waterlogged and spongy.
The soak works by simple osmosis. Saltier water, and water that is changed, pulls the blood and myoglobin out of the muscle fibers. The result is a lighter color, a cleaner flavor, and less of that iron-and-mud note that makes people say they do not like wild duck. A lot of waterfowl cooks go further and soak in a salted brine instead of plain water, which does both jobs in one step.
Step 3: Brine and cure
Make a brine of 2 tablespoons kosher salt per quart of cold water, add your Insta Cure No. 1 at the ratio above, and submerge the meat. Hold it in the refrigerator for 8 to 12 hours.
Do not skip the cure step and then plan to leave the jerky on a car dashboard in July. The brine also firms the surface proteins slightly, which is part of why the finished jerky snaps rather than tears.
Step 4: Slice thin and against the grain
Pat the meat dry, then slice it. Consistent thickness is the whole game, because strips dry at different rates and a batch with one fat strip and one thin strip is finished at exactly one time, which is the wrong one.
The trick that changed my results is the one repeated on most waterfowl forums: lay the meat flat on cookie sheets and put it in the freezer until it is firm but not frozen solid, then slice it partially thawed. Cold meat cuts clean, and you can hold a 1/8 inch blade for the whole breast instead of fighting it.
Look for the grain and cut across it. On a breast it runs lengthwise, so turn the fillet sideways on the board. Cut toward the fiber and you get long tough shreds no amount of drying will fix.
Step 5: Marinate for 24 to 48 hours
Put the slices in a zip bag with the marinade, press out the air, and seal. Massage the bag a few times so every strip sits in liquid, then refrigerate. Massage again a couple of times a day. Forum threads all point to the same thing: liquid contact is what keeps the seasoning even, and a bag that sits untouched gets salty patches and bland patches.
Twenty-four hours gives a balanced, snackable salt level. Forty-eight hours is noticeably saltier and holds up better outside of a refrigerator. Somewhere past 72 hours you are curing meat rather than marinating it, and the texture turns tight and rubbery. If you brined in step 3, drop the salt in the marinade by half, since you have already seasoned twice.
Variations worth trying:
- Teriyaki. Swap the soy for a teriyaki sauce, add a tablespoon of honey and a teaspoon of grated ginger. This is the version that tastes most like takeout.
- Smoked. Add 1 to 2 teaspoons of liquid smoke to the base formula, or smoke the finished strips for 45 minutes at 250 degrees after they dry.
- Hot. Add a tablespoon of sriracha or chipotle in adobo, plus extra cayenne. Heat does not survive drying well, so be bolder than feels reasonable at the mixing stage.
- Sweet and hot. A tablespoon of raw unfiltered honey with a hot sauce. This is the standout house variation on the waterfowl forums, and the honey keeps it from ever tasting purely salty.
Step 6: Bring the meat to a safe temperature first
Before any long low-temperature drying, raise the strips to the USDA minimum internal temperature for poultry: 165 degrees Fahrenheit, 74 degrees Celsius. Most people skip this, but a soak and a marinade are not a kill step, and a dehydrator set at 140 is nowhere near hot enough to do it for you.
Do it in the oven, or in the marinade itself, and then drain and blot the strips dry before they go on the racks. Patting them dry matters: surface water has to evaporate before the interior can, and wet slices stick together and take twice as long.
Step 7: Dry it, and test for the bend
Set the temperature once, arrange the slices in a single layer with no overlap, and leave it alone. Turning pieces is not necessary. Rotate the trays halfway through if your unit runs hot on one side.
| Method | Temperature | Time | Finish cue |
|---|---|---|---|
| Dehydrator | 140 to 160 degrees F | 4 to 8 hours | Clean snap, no pale centers |
| Oven, door cracked | Lowest setting, usually 160 to 170 degrees F | 3 to 6 hours | Check often, driest on the outer tray |
| Smoker | 150 to 180 degrees F | 3 to 5 hours, then 250 for 45 min | Bendy and smoky, jerky all the way through |
| Air fryer | 160 to 170 degrees F | 2 to 4 hours, single layer | Snap test every 20 minutes after hour 2 |
Below about 130 degrees the water leaves too slowly and you get a chewy strip that dried unevenly. Above about 170 the outside scorches before the middle gives up its moisture.
Slice thickness changes the clock more than anything else:
| Slice thickness | Drying time at 150 degrees F | Resulting texture |
|---|---|---|
| 1/16 inch | 3 to 4 hours | Very crisp, can go over-dried quickly |
| 1/8 inch | 4 to 6 hours | Classic snack jerky, reliable snap |
| 1/4 inch | 6 to 8 hours | Heartier chew, needs the full time |
The doneness test is simple and it is the same test forum cooks have used for years: a finished strip bends without breaking. If it snaps cleanly in half, it is over-dried. Pull it at the bend, not the snap, and cool the batch on a rack before you judge it, because warm jerky always feels tougher than it is.
If you do not want to deal with curves and odd bits at all, grind the trimmed meat with a coarse plate and push it through a jerky gun. You get uniform one-inch strips, the texture is more forgiving, and the same formula works on venison, which is how one waterfowl recipe stretches to cover a whole season of game.
Step 8: Cool, pack, and store it correctly
Let the strips cool fully at room temperature on a rack, then pack. Wiping or packaging jerky while it is still warm traps condensation and invites mold within days.
Refrigerate for 2 to 3 weeks, freeze for 6 to 12 months, and vacuum seal if you have a sealer. Room-temperature storage is only defensible for meat that was properly salted, soaked, brined, cured, and dried to a clean snap. If you skipped the Insta Cure, treat the jerky as a refrigerated food, and expect 1 to 2 weeks.
A note about dogs, since this comes up constantly on hunting forums: keep finished duck jerky out of reach of them. Any jerky is high in salt, and seasonings like onion powder and garlic are toxic to dogs in concentrated amounts. Dried duck is also bone-free but not bone-safe, since a splintered fragment can still lodge in the gut.
Common Mistakes
Almost every bad batch traces back to one of a short list of things. Here is what goes wrong, why, and what to do about it.
| Problem | Cause | Fix |
|---|---|---|
| Tough and leathery, not a snap | Uneven slice thickness, sliced with the grain, or under-dried | Freeze the meat firm and slice cold at an even 1/8 inch, cut across the grain, and add 30 to 60 minutes of drying |
| Over-dried and crumbly | Left in past the bend test, or sliced at 1/16 inch and left too long | Pull earlier next time; if it is already done, a few drops of water and a minute in the microwave brings some back |
| Too salty | Brine plus a full-salt marinade plus a long soak, all stacked | Halve the salt in the marinade if you brined, and cut the marinade to 24 hours |
| Oily or greasy after drying | Fat left on the meat; the fat did not render, it just soaked into the strip | Trim harder in step 1 and skip the added oil in the marinade |
| Mold inside the bag | Packed warm, or stored at room temperature without curing salt | Refrigerate or freeze, and use a curing salt if you want shelf-stable meat |
| Uneven drying across the batch | Slices touching, or trays stacked too deep in the dehydrator | Single layer, no overlap, and rotate the trays halfway through |
| Gamey after all that | Skipped the soak, or the soak water was never changed | Soak 12 to 24 hours and change the water at least twice |
Tips for flavor and texture
Brown the marinade in a pan before it goes on the raw meat. The sugars caramelize and the flavor carries through drying in a way it does not when everything is raw.
Wood smoke substitutes work best added late, since liquid smoke turns bitter over long dries. Two teaspoons in the marinade is plenty.
Always make a single test batch of about a pound first when you have never dried a given cut. Two slices is enough to check salt, dryness, and whether the flavor survives, and it costs you one afternoon rather than a whole bird.
For a freezer full of birds, scale by weight rather than by count. A mallard-sized bird yields roughly half a pound of trimmed breast, so a dozen ducks means about 6 pounds of meat, or two 3-pound batches. Double every ingredient in the base formula for every 3 pounds, and remember you will lose another chunk to trimming, silverskin, and the pieces you discard around a shot wound.
Frequently Asked Questions
Can I make duck jerky in a regular oven?
Yes. Set the oven to its lowest setting, usually 160 to 170 degrees F, and crack the door open two inches so moisture can escape. Set a wire rack over a foil-lined drip pan so slices dry on all sides, keep them in a single layer, and expect 3 to 6 hours. Check every 30 minutes after hour 3, because a home oven runs hot in spots and the outer tray dries first.
How lean should duck meat be for jerky?
As lean as you can get it. Every strip of fat you leave on becomes an oily, bitter chew in the finished jerky because rendering does not really happen at drying temperatures. Trim the skin, pull off the silverskin, and cut along the fat seams until the meat looks almost white. Breast needs the least work; thigh and wing meat need more. The leaner the starting meat, the drier and crunchier the result.
How long does it take to dehydrate duck jerky at home?
Plan on 4 to 8 hours in a dehydrator set at 140 to 160 degrees F, with 1/8 inch slices. Thicker 1/4 inch cuts run 6 to 8 hours, and an oven or air fryer is usually faster but less even. The clock is only a guide. The batch is finished when a strip bends without breaking, which is the only doneness test that matters regardless of the method or thickness.
How do I know when duck jerky is fully dried?
Bend one strip. If it flexes in a smooth curve without cracking, it is done. If it snaps cleanly in half, it has gone past done and will taste dry and crumbly. Cooling changes the reading, so pull a strip and let it sit a minute before you judge it, since warm jerky always feels tougher. A visual check helps too: fully dried meat is uniform in color all the way through, with no pale or translucent centers.
How long does homemade duck jerky keep in the refrigerator?
Two to three weeks refrigerated, provided you let it cool completely on a rack before packaging. Vacuum sealing pushes it closer to four. For longer storage, freeze it, where it holds six to twelve months. Room-temperature storage is only appropriate if you soaked, brined, cured with Insta Cure No. 1, and dried the meat to a clean snap. Without curing salt, treat it as a refrigerated food and eat it within two weeks.
Can I use frozen duck breast to make jerky?
Yes, and frozen is actually the easier way to slice. Let the breast thaw just enough to be firm and workable, then lay it flat on a cookie sheet in the freezer until it is solid enough to slice cleanly. Cutting partially frozen meat gives you the thin, even slices that jerky depends on, and it is the technique waterfowl hunters use by the pound. If the meat is frozen solid, move it to the refrigerator for 30 to 60 minutes first.
Conclusion
Start with one pound of trimmed breast, not a whole bird. Slice it cold at an even 1/8 inch across the grain, lay it in a single layer without touching, and dry it at 150 degrees until a strip bends rather than snaps. That single layer is where most batches fail, and it is the easiest thing to fix.
Two safety points carry the rest of the weight. Raise the meat to 165 degrees F before the long low-temperature dry, and if you plan to eat jerky outside a refrigerator, use Insta Cure No. 1 at one level teaspoon per five pounds of meat. Cool everything fully before you bag it, and keep it away from the dog.