How to protect a camera from salt spray comes down to three habits: cover the body and lens while you shoot, keep spray off the front element, and rinse every piece with clean fresh water as soon as you get back from the shore so the salt never dries into a crust. The whole routine takes about ten minutes at the shoreline and twenty more at home, and it works on any camera, sealed or not.
That last part surprises people. Salt is not like rain. Rain beads and rolls off; salt residue stays, keeps drawing moisture out of the air, and quietly eats at metal parts for weeks. If you shoot on beaches, headlands, estuaries, or fishing charters, this guide will walk through what to pack, what to do in the field, and what to do at the end of the day.
Table of Contents
- How to protect a camera from salt spray: the short answer
- What You Need Before the Shoreline
- Why Salt Spray Is Worse Than Rain
- Step-by-Step
- 1. Check the camera and lens before you leave
- 2. Use a camera cover or protective housing
- 3. Keep salt spray away during shooting
- 4. Do not wipe salt while it is still wet
- 5. Rinse the exterior with fresh water
- 6. Dry the camera completely before storage
- 7. Inspect and maintain it after every salty outing
- Common Mistakes
- Salt Exposure by Situation
- Frequently Asked Questions
- Does a waterproof camera still need salt spray protection?
- Can salt spray damage a camera from the inside?
- How do you dry a wet lens without scratching it?
- Do silica gel packets actually work for drying a camera?
- Is it safe to change lenses at the beach?
- Conclusion
How to protect a camera from salt spray: the short answer
Three moves cover most of it. Cover the gear when you are not shooting. Point the lens away from breaking surf and keep caps on. Then rinse body, lens, tripod and accessories with fresh water and dry them fully before you put anything away. Add a clear filter on the front element and you have turned an expensive repair into a wipe-down.
What You Need Before the Shoreline
Most salt damage happens because a piece of kit was out of the bag, uncovered, for four hours. Pack the protective layer first and the camera second.
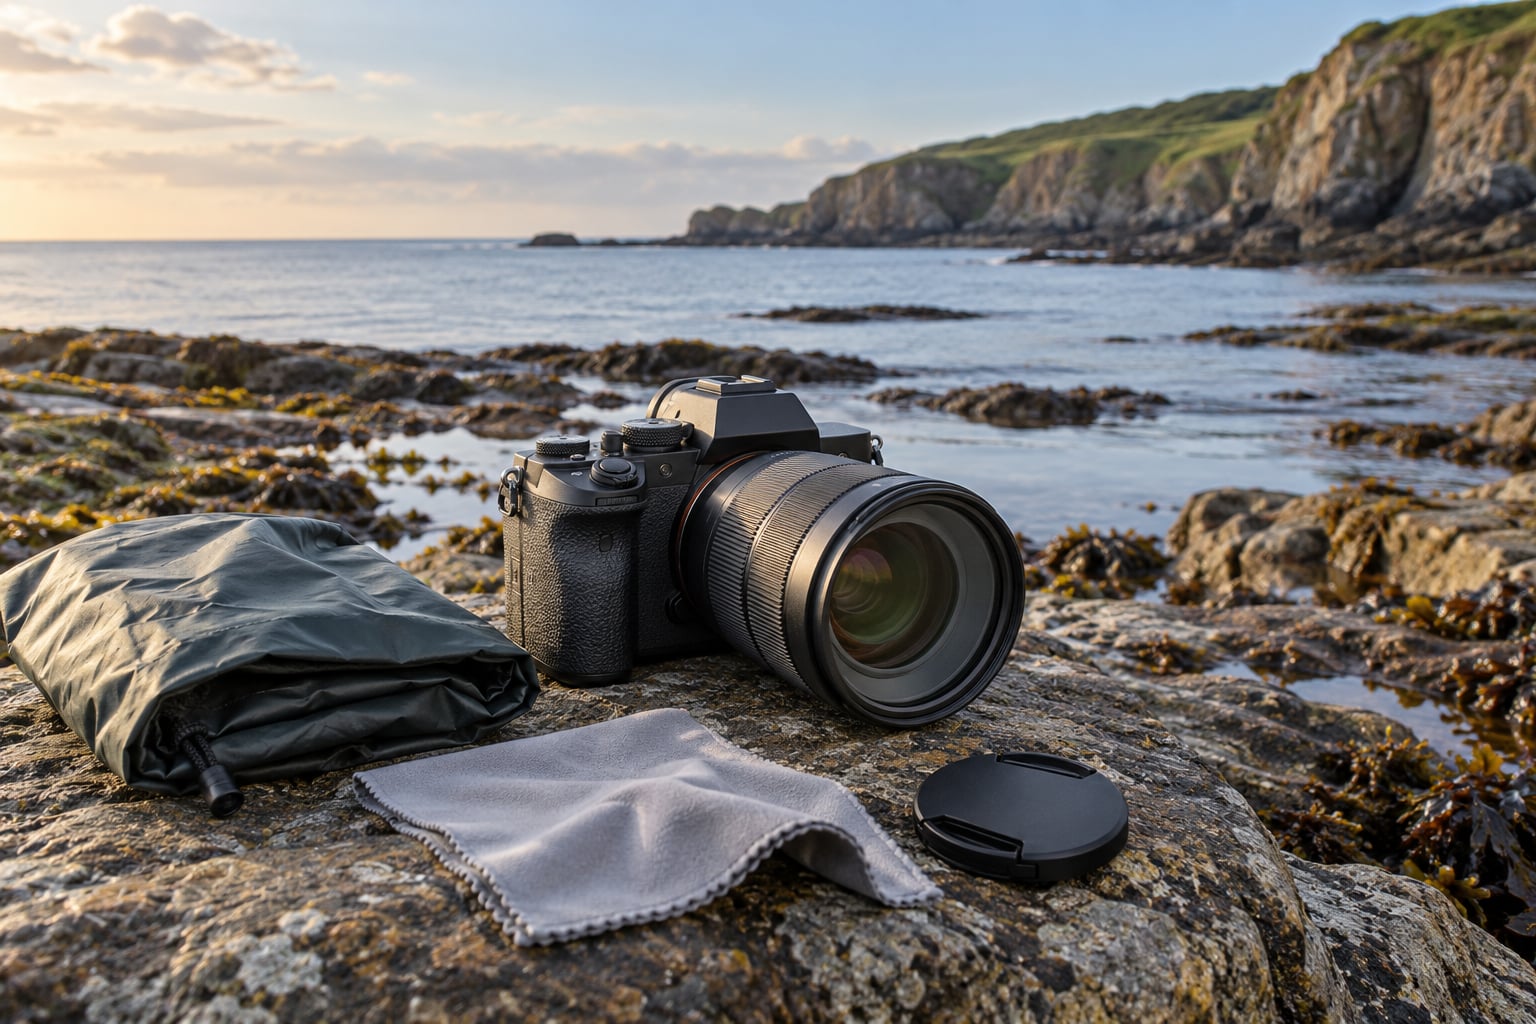
- A camera cover. A fitted rain cover or neoprene wrap is the cheapest real insurance you can buy. It sits over the body and lens together, so controls stay workable while the fabric takes the spray.
- A sealed housing or dry bag. For surf work, kayaks, and anything where waves reach you, a hard housing with a sealed back door beats a soft cover. A waterproof dry bag works for transport and storage.
- A clear or UV filter. This is the sacrificial layer on your front element. Salt and sand land on cheap glass instead of coated glass.
- A lens hood and the front lens cap. The hood shades the element and breaks the direct line of spray. The cap keeps salt off entirely while the camera is in the bag.
- Clean fresh water and a microfiber cloth. Two cloths is better than one, so you are not spreading grit back onto the glass. Bottled or distilled water is fine if you are somewhere with suspect tap water.
- A blower or filtered compressed air. For lifting sand and dried salt crystals before anything touches the surface.
- A 70/30 water and isopropyl alcohol mix. For wiping down buttons, rings and mounts after the rinse. Skip solvents on coated glass.
- Silica gel desiccant and a dry container. A sealed tub or case for gear that lives in a coastal vehicle, plus enough packets to sit beside the body and lens.
If you only add one thing, add the cover. Forum photographers on Fred Miranda and dpreview both land on the same two measures: a protective filter on the front element, and something like a rain cape over the body and lens even when the camera is weather sealed.
Why Salt Spray Is Worse Than Rain
Salt water is an electrolyte. It carries electrical current between dissimilar metals inside your gear, which is what drives galvanic corrosion wherever aluminium meets stainless steel, or a magnesium alloy mount meets a steel screw. Ordinary rain does very little of this.
Then the water evaporates and leaves behind crystalline salt. That residue is hygroscopic, so it pulls moisture out of the air and holds it against the metal. The gear looks dry. It is not.
The part people get wrong is where the attack starts. Dried salt collects on and around the rubber seals of the battery door, port covers and lens mount. The seal gets stiff, the contact underneath carries a film of brine, and corrosion runs from there. Weather sealing does not fail because water passed through it. It fails because salt sat on top of it.
On Fred Miranda, coastal shooters describe the classic early symptom as salt building up around focus and zoom rings until the lens grinds and keeps grinding for weeks. A camera that survived the surf can still be unusable a month later because nobody rinsed the rings.
Exposure depends on geography as much as on the weather. Barrier-island shooters report salt coating hair and gear within 35 minutes of arriving onshore during humid, stormy conditions. Shooters on a calm Pacific morning may see nothing at all. Same camera, same ocean, wildly different risk.
Step-by-Step
1. Check the camera and lens before you leave
Run your thumb around every seal: the battery door, the card door, each port cover, the lens mount ring, and the cap threads. Look for salt bloom, sticky rubber, or a cover that no longer clicks shut flush. Replace any torn or perished seal before you drive to the coast, because a compromised gasket is how salt gets inside in the first place.
How you know it worked: every opening closes firmly on the first push, and there is no visible moisture, fuzz or crust anywhere on the body or glass.
2. Use a camera cover or protective housing
Put the cover on before you leave the car, not when the first spray hits. A rain cover or neoprene wrap goes over the body and lens together and keeps working while you shoot. For surf, kite or kayak work, use a hard housing with a sealed back door and keep it closed below the waterline and while surf is breaking near you.
Watch for condensation. A cover traps warm damp air against a cool body, and the fog you see on the viewfinder is your own breath and sweat, not the weather. Crack the cover briefly in the open air before you seal it up, and never force a latch to make it fit.
How you know it worked: the camera is fully covered, the viewfinder is clear, and you have not forced a single latch or seal to get it closed.
3. Keep salt spray away during shooting
Position yourself with your back to the surf where you can, and turn a long lens into the wind. Onshore wind days are the worst case because spray travels inland; a calm, offshore-blowing morning at the same beach is a very different job. When droplets land on the front element, stop shooting and let it dry rather than shooting straight through a salt smear.
Change your grip between frames so the same hand does not drip brine down the body, and keep the camera inside its bag whenever you are not actively composing. On mu-43, shooters who work coastally say they use the cover for salt spray protection, not just rain, for exactly that reason.
How you know it worked: you finish with dry surfaces or a light dusting you can rinse later, and no salt is sitting on any surface you can reach with a thumb.
4. Do not wipe salt while it is still wet
This is the single mistake that scratches glass. Rubbing a wet salt smear drags crystals across the front element, and the coating underneath takes the damage. Hold the lens still and let it rinse, or wait until it has fully dried and lift the residue gently with a blower and a clean cloth.
Sand and dried salt need the same restraint. Blow it off first, at a distance, then wipe once with a clean section of cloth rather than making a small circular scrub over the same spot.
How you know it worked: you never felt grit drag under the cloth, and the glass looks even rather than hazed or smeared in arcs.
5. Rinse the exterior with fresh water
At the shore or under a tap, run gentle fresh water over the body, the lens barrel, the tripod legs, the fluid head and every accessory. Keep water out of any open compartment, close doors and covers first, and follow your manufacturer’s cleaning instructions. Low pressure is the rule. A pressure washer or a hard jet forces salt and sand past seals and into leg sections and head cavities, where they do the most damage.
Watch the salt dissolve. When white streaks thin out and run off instead of forming new crystals, you have the order right. Then wipe the wet surfaces with the alcohol and water mix, working around buttons, rings and mounts.
How you know it worked: salt runs off as clear water instead of leaving white crystals behind the towel.
6. Dry the camera completely before storage
Let everything air dry on a clean surface out of direct sun. Use a dry microfiber cloth around the camera, never shoved inside it, and give the ports and mount time to vent. Silica gel packets belong beside the body and lens in a sealed container, not loose in the bag where they do nothing useful.
Do not install lenses, insert batteries or close the case until everything is completely dry. If salt water actually reached the body, take the battery out, leave the camera unpowered, and give it 24 to 48 hours with desiccant before you try anything.
How you know it worked: no fogging on the glass, no damp feel at the seams, and the controls move as freely as they did in the car park.
7. Inspect and maintain it after every salty outing
Once it is dry, work through seals, buttons, the battery door, the lens mount, tripod feet and clamps. Move every ring and dial. If a focus or zoom ring feels gritty, keep working it gently until it turns smoothly, and treat that as a signal to rinse earlier next time. Wipe accessory screws and fasteners, since dissimilar metals at a tripod plate or cage interface are where corrosion starts quietly.
On Fred Miranda, one shooter cites roughly 400 EUR to clean and replace parts after sand got into a weather-sealed 17-40mm. That is what deferred maintenance costs when the seal work is skipped.
How you know it worked: every control moves freely, every screw turns, and there is no white bloom or greenish tint anywhere on the metal.
Common Mistakes
Most salt damage traces back to one of these. Each has a simple correction.
- Dish soap or household cleaners. They strip the factory lubricants that let a focus ring move, and they leave a film that traps salt. Use the 70/30 water and isopropyl mix instead.
- Heat drying. Hairdryers and radiators drive moisture further into the body and can warp adhesives. Air drying with desiccant is slower and works.
- High-pressure rinsing. A pressure washer pushes salt and sand past seals and into leg sections and head seals. Use a gentle stream.
- Opening the housing while it is wet. You then seal damp gear in a closed case, and the salt keeps working out of sight.
- Rice as a desiccant. It does nothing useful and leaves starch dust in your bag. Silica gel is cheap, reusable and actually pulls moisture.
- Powering the camera on to test it. Applying power to a wet body pushes current through brine at the contacts. Take the battery out and wait 24 to 48 hours.
- Changing lenses at the shoreline. This is the rule most often repeated on Fred Miranda and dpreview: change lenses in the car, with the cap on, never in the wind. The mount is the most exposed opening you have.
- Leaving a wet camera sealed in a bag overnight. Trapped moisture and salt work quietly until you open it a week later.
Two field habits carry most of the weight. Cap discipline, meaning the front cap goes on the moment the camera leaves your eye. And the t-shirt wrap, a clean cotton shirt over the body and lens in an onshore gale, which shooters report works well enough to skip the cover entirely. People on Reddit who have soaked a bag in salt water report the same thing: once corrosion starts, it generally cannot be stopped, so prevention is the whole game.
Salt Exposure by Situation
Risk changes completely with conditions, so match your effort to the day.
- Calm day, offshore breeze (low). Cap on, hood fitted, normal fresh-water wipe-down afterwards.
- Onshore wind on an exposed headland or point (high). Cover on, lens turned into the wind, filter fitted, rinse the same evening.
- Surf zone, working the waterline (high). Sealed housing below the splash line, no lens changes, full rinse protocol afterwards.
- Boat, kayak or charter trip (high). Dry bag for stowage, cover while shooting, rinse every part including mounts and clamps.
- Estuary or marsh birding (medium to high). Long glass in a cover, lens pointed away from the wind, wipe rings and feet after every session.
- Storm or high surf (very high). Shoot from a protected position or not at all. No gear is worth a wave.
- Gear stored near the coast (slow and constant). Sealed case with silica gel, checked monthly for bloom or stiff seals.
That list is also a good storage checklist. Gear living in a coastal vehicle or garage faces the same chemistry at a fraction of the rate, which is why a sealed case and a monthly look at the seals and the tripod feet prevents a slow failure.
Frequently Asked Questions
Does a waterproof camera still need salt spray protection?
Yes. Waterproof or weather-sealed cameras resist water passing through seals, but salt residue sits on top of those seals and works into them from outside. Coastal shooters on Fred Miranda report grinding focus and zoom rings after salt builds up, not seal failures. A cover, a filter and a fresh-water rinse are still the routine.
Can salt spray damage a camera from the inside?
It can, and that is the failure people miss. Salt water is an electrolyte, so once brine reaches the body it carries current between dissimilar metals inside. As it dries it leaves hygroscopic crystals that keep pulling moisture in. Corrosion often starts within hours and keeps working long after the gear looks clean.
How do you dry a wet lens without scratching it?
Never wipe salt while it is wet. Crystals grind into the coating and leave permanent haze. Rinse with clean fresh water at low pressure and let the lens dry on its own, or let it dry fully first and then lift the residue with a blower and one clean pass of a microfiber cloth.
Do silica gel packets actually work for drying a camera?
They do, but only if the gear is already dry and the packets sit in a sealed container beside it. Silica pulls moisture out of the air inside that closed space. Loosely dropped in a bag they do very little, and after a real salt-water exposure you want airflow and 24 to 48 hours with desiccant, not a quick packet.
Is it safe to change lenses at the beach?
No. The mount is the most exposed opening on the camera and salt spray plus sand settles straight into it. Shoot with one lens, cap both ends, and make every lens change in the car with the body inside a bag. If you must change lenses, do it in a sheltered spot with a cloth laid down first.
Conclusion
Start with a cover and a clear filter, keep the cap on and the lens pointed away from breaking surf, and make every lens change in the car. Then rinse body, lens and tripod with clean fresh water the same day and let everything dry fully before you close the case. That sequence takes twenty minutes and it is the difference between a wipe-down and a service bill.