Learning how to make venison sausage at home is mostly about two things: adding fat, because deer runs about 6 to 7 percent fat on its own, and keeping the meat cold through grinding. Get those right and the rest is straightforward seasoning, stuffing, and cooking. A five pound batch takes about an hour of hands-on work and a few hours of cooking time, and it is a beginner-friendly project.
I grind a lot of venison every fall, and the batches that turn out well are the boring ones where I did nothing clever. That is the recipe below.
Table of Contents
- What You Need
- How to Make Venison Sausage at Home: Step-by-Step
- 1. Trim and Chill the Venison
- 2. Decide the Fat Ratio and Grind the Meat
- 3. Season and Mix the Sausage
- 4. Stuff Uniform Links
- 5. Preheat and Cook the Sausage
- 6. Check, Rest, and Store the Finished Sausage
- Common Mistakes
- Cooking Tips and Serving Ideas
- Frequently Asked Questions
- What is the best fat ratio for homemade venison sausage?
- Do I have to add pork fat to venison sausage?
- Should I use fresh pork sausage casing or collagen casings?
- How do I know when venison sausage is fully cooked?
- How long does homemade venison sausage last in the refrigerator or freezer?
- Can I smoke venison sausage without a special smoker?
- Conclusion
What You Need
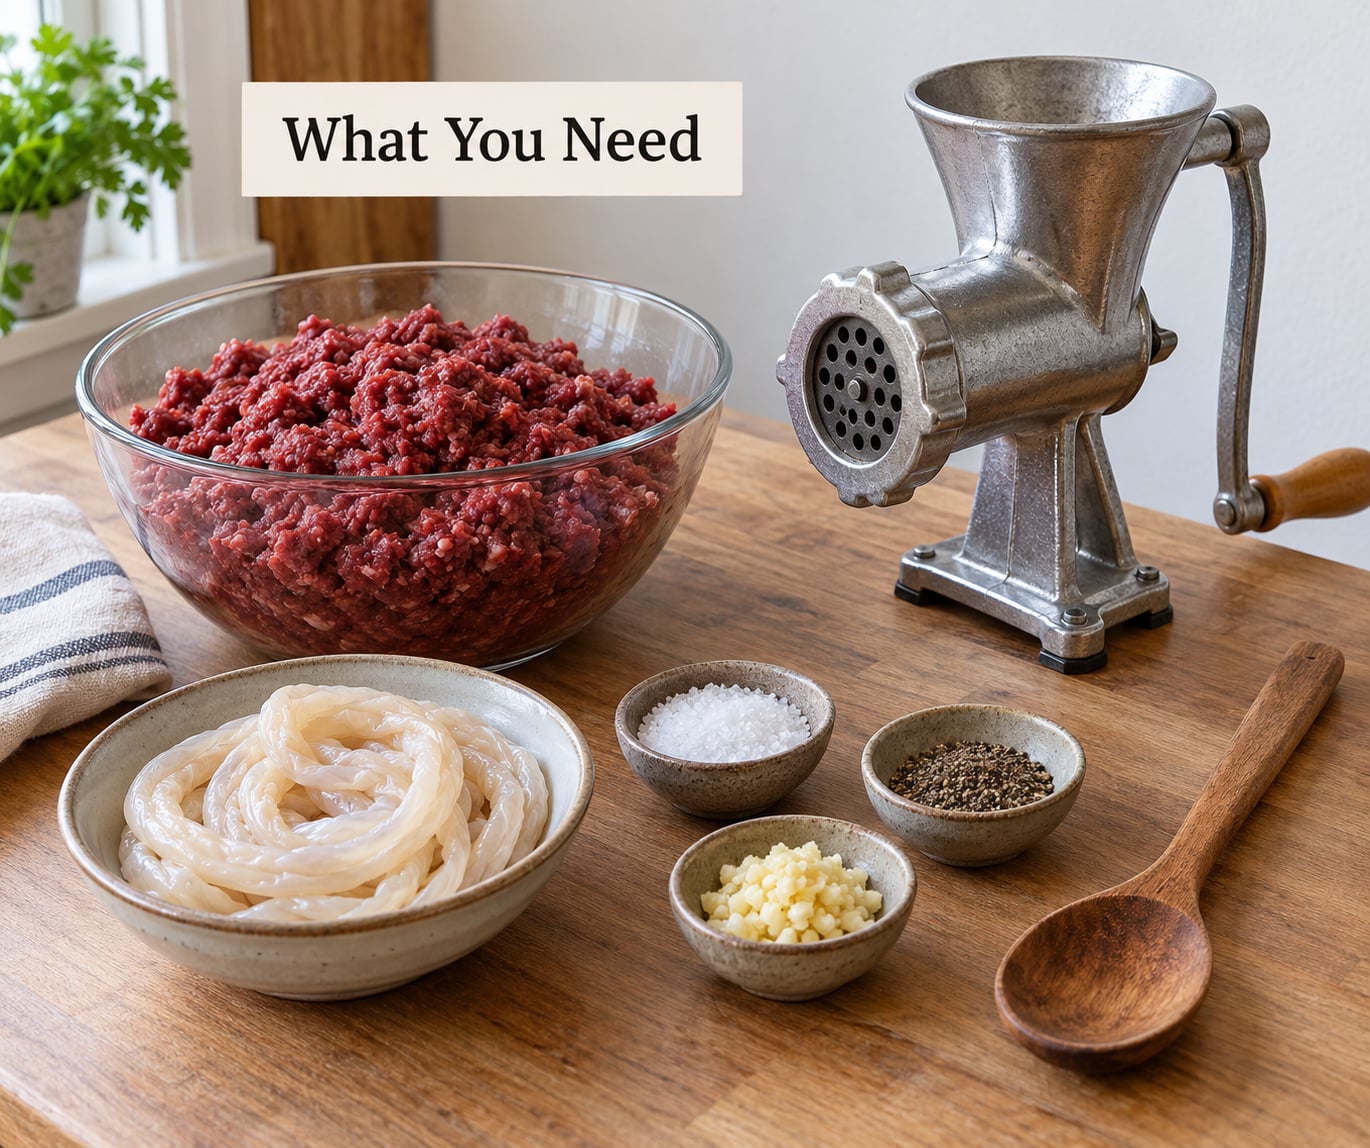
The core list is short: venison, fat, salt, casings, and a grinder with a stuffer. Everything past that is a variation.
- Venison: shoulder, flank, and trim work best. Avoid the sinew-heavy leg meat for links, since long strands of connective tissue tear casings.
- Fat: pork belly, fatty pork shoulder, or back fat. Wild hog fat works too, and so does bacon grease saved from breakfast.
- Salt: either plain salt for a quick cooked sausage, or curing salt if you plan to smoke and refrigerate links for more than a few days.
- Seasonings: black pepper, garlic, and paprika as a base. Red pepper, mustard seed, or cayenne get you into hot link or chorizo territory.
- Binder (optional): bread flour or oat flour. It soaks up moisture the lean meat cannot hold and bumps your yield a few percent.
- Casings: natural hog casing in the 32 to 35 millimeter range for standard links, sheep casing for narrower breakfast links, or collagen if you want a peelable skin.
- Equipment: a meat grinder with both a 3/8 inch and a 3/16 inch plate, a sausage stuffer with a matching horn, a scale that reads ounces, and a pricker or clean needle.
No grinder? A food processor does a decent job if you cut the meat into uniform half-inch pieces first, chill them hard, and pulse in short bursts. Another shortcut is to blend ground venison 50/50 with store-bought bulk pork sausage, which supplies fat, salt, and binder in one move.
On yield, expect roughly a 25 percent weight loss from trimming and cooking. Five pounds of trimmed venison plus one and a quarter pounds of fat gives you about six pounds of raw sausage, or a little over four pounds once it is cooked.
How to Make Venison Sausage at Home: Step-by-Step
For a first batch I use a base seasoning of 1.75 percent salt by weight, 0.25 percent black pepper, and 0.15 percent garlic powder, with paprika for color. That means 1.75 ounces of salt per 10 pounds of meat. Read the six stages below in order, and the process stays about 60 minutes of work plus cooking.
1. Trim and Chill the Venison
Pull the silver skin, thick tendon, bone fragments, and any bruised or heat-damaged tissue off the meat. This is the step people skip, and it is why first attempts come out mealy: sinew does not emulsify, it just sits in the link as a gritty strand.
Trim while the meat is still firm, then chill it. Cut it into strips that fit your grinder throat, spread it on a tray or in a tub, and put it in the freezer until it is hard but not frozen solid, roughly 30 to 45 minutes. Venison that has been sitting warm smears and heats up the meat through the grinder, which is what ruins texture.
2. Decide the Fat Ratio and Grind the Meat
For venison, aim for 20 to 25 percent fat in the finished meat block. A person on r/Charcuterie described the standard as 6.5 pounds of trimmed venison to 3.5 pounds of fatty pork shoulder to land at a 20 percent mix, and that ratio holds up well. Some hunters on r/Hunting run even leaner and use 40 to 50 percent pork trim, which is roughly half pork fat by weight.
Here is how the common styles differ:
| Sausage style | Fat target | Pork fat per 10 lb venison | Grind |
|---|---|---|---|
| Breakfast patties, loose bulk | 20 to 25% | 2.5 to 3 lb | Fine, 3/16 inch |
| Bratwurst | 25 to 30% | 3.5 to 4.5 lb | Medium, then coarse for texture |
| Italian sausage | 25 to 30% | 3.5 to 4.5 lb | Coarse, 3/8 inch |
| Hot links | 20 to 25% | 2.5 to 3 lb | Coarse |
| Summer sausage and snack sticks | 20 to 25% | 2.5 to 3 lb | Fine, 3/16 inch |
Chill the grinder, the auger, and the pan in the freezer for a couple of hours before you start. People on r/sausagetalk stress this more than almost anything else: meat below 32 degrees with cold metal parts emulsifies, warm meat and warm metal just smear the fat.
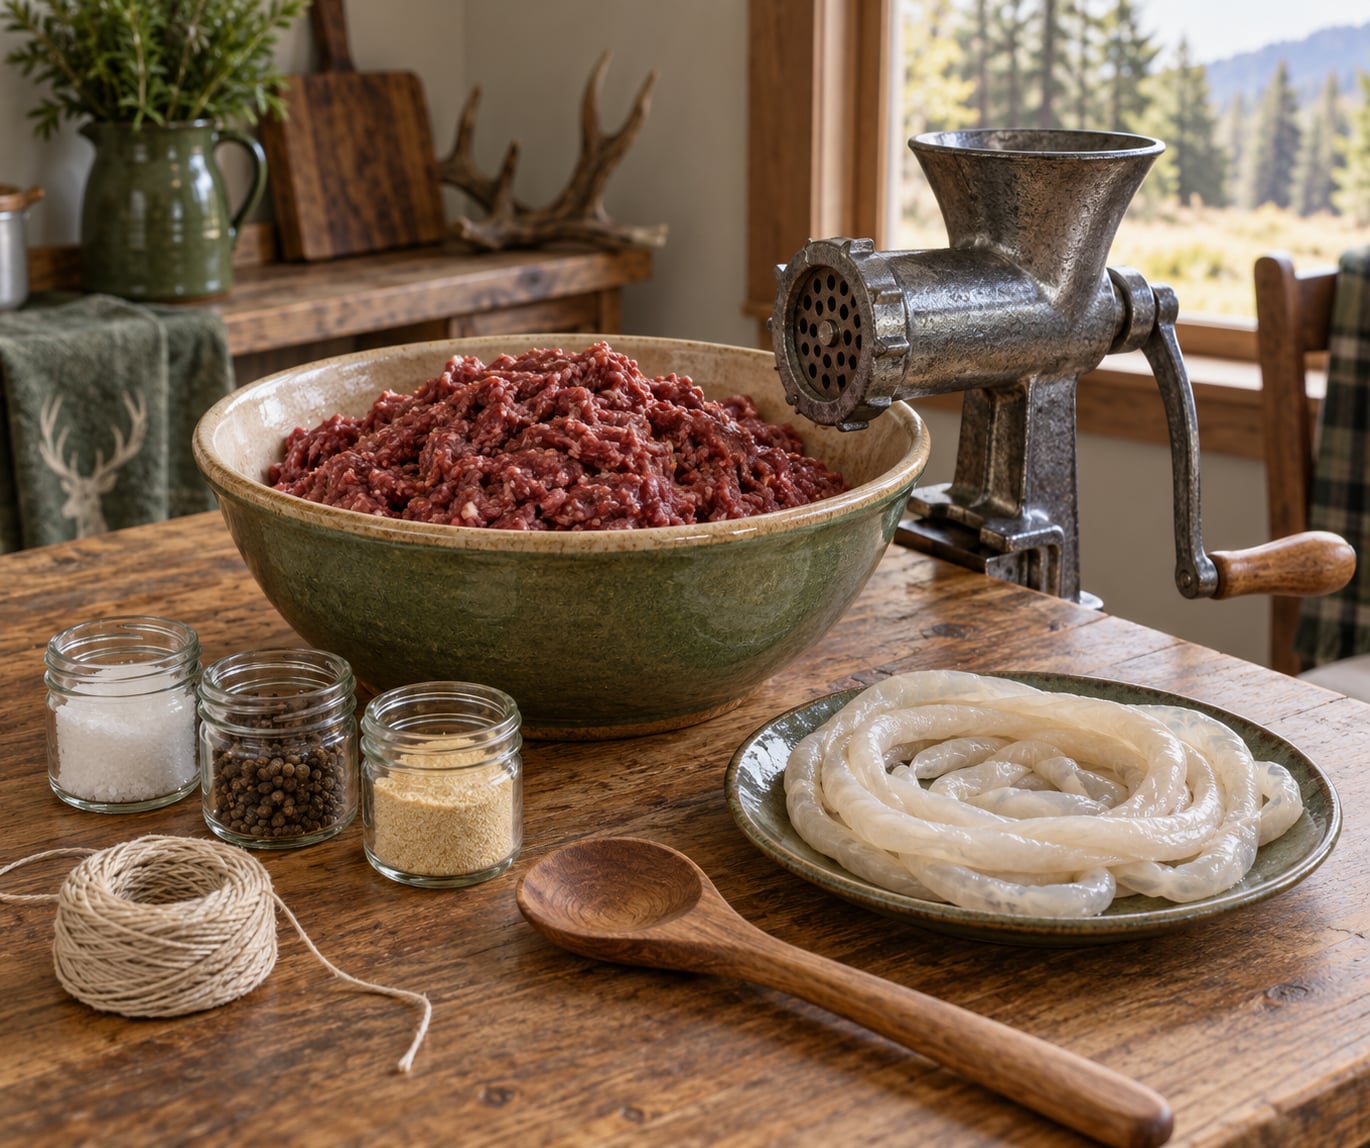
Grind the venison and the fat together through the 3/8 inch plate, adding the seasoning as the meat comes out. Run it through the 3/16 inch plate once more for a finer texture, or skip the second pass for a coarse, juicy sausage. Stop the grinder often and scrape the bowl down, and never let the meat sit in the warm bowl for more than a few minutes.
You will know the grind is right when the mixture looks like raw cookie dough: evenly pink with fine white flecks of fat, and still cold to the touch.
3. Season and Mix the Sausage
Add salt early, because salt draws moisture out of the meat cells and lets the proteins bind. A workable formula by weight of the venison-plus-fat block is 1.75 percent salt, 0.25 percent black pepper, 0.15 percent garlic powder, and 0.1 percent paprika. If you are using curing salt for a smoked sausage, follow the cure instructions exactly, since the ppm calculation depends on which number you use and how much raw meat goes in the batch.
Add 2 to 3 percent ice water by weight for a lean venison block, a trick several forum regulars use to keep breakfast links from drying out. Mix with a clean hand or a paddle for 2 to 3 minutes, squeezing and folding rather than kneading. You are looking for the mixture to turn tacky and start releasing clear liquid when you squeeze a handful. Stop there; overworked meat turns gluey and dense.
If you are nervous about the seasoning on a first batch, fry a small patty from the finished mix and taste it before you stuff anything. Everyone who has burned a batch will tell you the same thing.
4. Stuff Uniform Links
Soak natural casings in cold water for 30 minutes, then run water through them to clear out any salt and grit. Slide the casing onto the stuffing horn and work it onto the tube until a few inches hang past the end.
| Casing | Diameter | Best for | Grind needed |
|---|---|---|---|
| Natural hog | 32 to 35 mm | Standard links, bratwurst, Italian | Coarse to medium |
| Sheep | 24 to 26 mm | Breakfast links, snack sticks | Fine, 3/16 inch |
| Collagen | 32 to 35 mm | Links for people who dislike casing texture | Coarse to medium |
Fill slowly and steadily, and twist every 4 to 5 inches for links, or leave a continuous rope if you plan to cut it later. If the casing gets tighter as you stuff, you are filling too fast. When in doubt, stuff a little loose; a link packed solid at 5/8 inch will burst in the pan.
Prick a few spots along each link to release trapped air, then tie the ends with kitchen twine. Twist the tail of the casing in on itself before tying so it stays shut.
5. Preheat and Cook the Sausage
Pick your cooking method before you start. There are three practical paths and they use different temperatures.
| Method | Temperature | Approximate time | Notes |
|---|---|---|---|
| Pan-fried | Medium heat with a little oil | 12 to 15 min, turning often | Prick first, cover for the first 5 min |
| Oven | 400 F / 205 C | 20 to 25 min | On a rack or tray, turn at 12 min |
| Smoker | 170 to 180 F / 77 to 82 C | 3 to 4 hours to internal temp | Hold at 170 F; smoke low and slow |
For stovetop cooking, warm a heavy skillet with a thin film of oil and set the links in with space between them. Turn them every few minutes so the outside browns while the center cooks through.
For smoking, get the chamber to 170 to 180 F and add wood or pellets for flavor. Cookers on r/Cooking recommend staying low and slow, because fat that starts to render at high heat is what makes casing slip and split. Whether you flip the links is up to you; turning once midway gives an even color and costs you nothing.
Regardless of method, ground meat and sausage need to reach an internal temperature of 160 F (71 C). That is the USDA recommendation, and it applies whether the meat is pork, beef, or venison.
6. Check, Rest, and Store the Finished Sausage
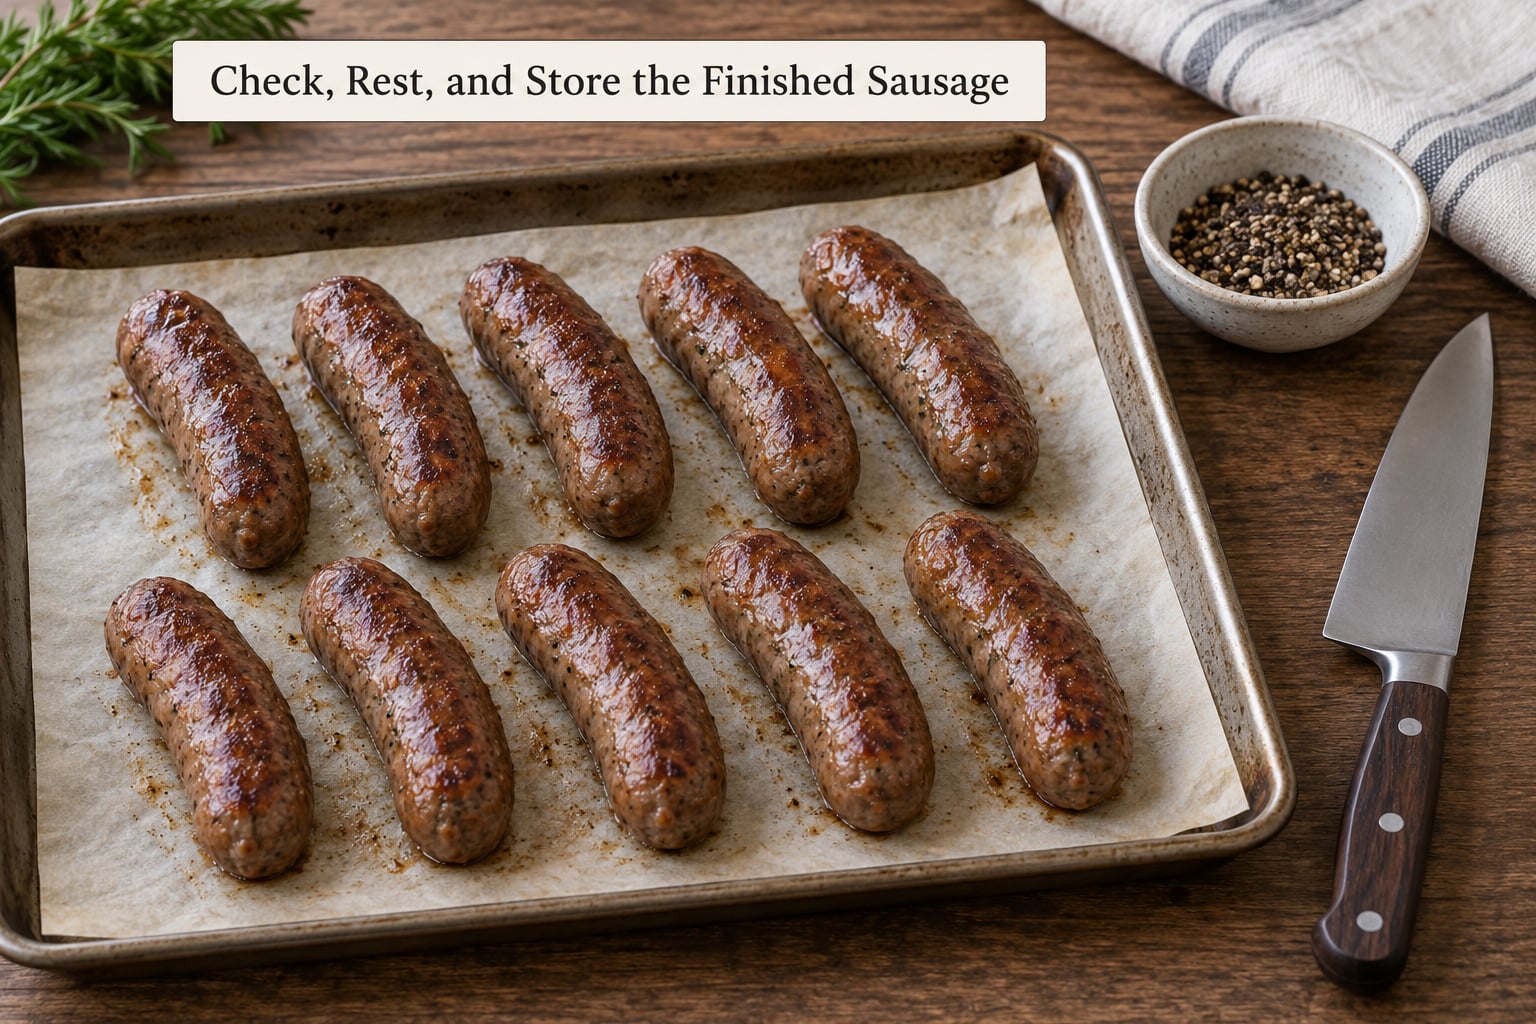
Check one link in the thickest part of the batch. Slice it open and look at the center: no pink, clear juices running out, and the inside matches the outside in color. If the middle is still darker or wetter, give it more time rather than trusting the color of the casing, which browns long before the center catches up.
Rest the links on a rack for 5 to 10 minutes so the juices settle back in. Then get them cold and covered quickly.
| State | Storage method | How long it lasts |
|---|---|---|
| Raw, unstuffed bulk | Freezer bags or freezer paper | 3 to 4 months |
| Raw, stuffed links | Freezer bags on a tray first | 3 to 4 months |
| Cooked sausage | Refrigerated, airtight | 3 to 4 days |
| Cooked sausage | Frozen, vacuum sealed | 2 to 3 months for best quality |
| Cured and smoked links | Refrigerated in a paper bag | 2 to 3 weeks |
Vacuum sealing cooked sausage cuts freezer burn, but freezer paper works fine too. If you froze raw links, cook them from frozen at 350 F (177 C) for about 30 minutes rather than thawing first.
Throw it out if the links smell sour or ammonia-like, feel slimy, or show gray-green discoloration. Freezing does not reset the clock on meat that already spent hours warm.
Common Mistakes
Nearly every disappointing batch traces back to one of these. Read the table before your next grind.
| Problem | Likely cause | Fix |
|---|---|---|
| Sausage is dry and crumbly | Not enough fat, or meat warmed during grinding | Reach 20 to 25 percent fat, add 2 to 3 percent ice water, chill grinder parts |
| Texture is mealy or pasty | Silver skin and sinew left in the meat | Trim thoroughly before grinding |
| Casings burst while cooking | Overstuffed links or heat too high | Stuff looser, prick each link, cook at 170 to 180 F |
| Seasoning tastes flat | Seasoning added to the bowl instead of during the grind | Add salt and spices as meat exits the grinder |
| Links cook unevenly | Mixed diameters, or links touching | Keep one link size, space them on the grate or tray |
| Some links pink, some grey | Cure mixed unevenly | Blend seasoning into every batch thoroughly |
| Tastes gamey | Field dressing and slow cooling, not the recipe | Gut and cool the carcass fast; see below |
| Stuffer cannot keep up with a big batch | Grinder output exceeds stuffing rate | Grind in 5 pound lots and stuff as you go |
That last row deserves a note, because a home stuffer really is the bottleneck on a 40 pound deer. Grinding ahead of stuffing leaves you warming meat you already ground.
On gamey flavor, the recipe is rarely the culprit. The largest factor is how quickly the animal was gutted and the carcass cooled after the kill, which is why the discussion keeps coming back to field care rather than seasoning tricks.
Cooking Tips and Serving Ideas
Brown the links first if you want a good crust. Pat them dry, sear in a hot pan with a little oil, then finish in the oven at 375 F (190 C) for 10 to 15 minutes.
Grilling works well too, as long as you keep the heat moderate and turn often. Char on the outside and raw in the middle is the classic venison mistake, so move the links off direct heat if they flare up.
For reheating, a skillet over medium heat takes about 6 minutes for a thawed link; a microwave leaves the edges rubbery. Slice cold leftover links straight into a hot pan if you want the same browning.
Leftover links are a bonus. Crumble cooked sausage into pizza, sausage gravy, jambalaya, or a pot of beans. It also works as a stuffing for roasts and a thickener for soups.
Frequently Asked Questions
What is the best fat ratio for homemade venison sausage?
For most venison sausage, target 20 to 25 percent fat in the finished meat block, measured by weight after trimming. That works out to roughly 2.5 to 3 pounds of pork fat for every 10 pounds of trimmed venison. Bratwurst and Italian style run a little fatter at 25 to 30 percent. Going leaner than about 15 percent is the most common reason homemade venison sausage comes out dry.
Do I have to add pork fat to venison sausage?
No, but you have to add some kind of fat. Venison carries only about 6 to 7 percent fat naturally, and without added fat it grills dry and crumbles. Pork belly, fatty pork shoulder, and back fat are the usual choices. Wild hog fat and saved bacon grease both work, since the goal is moisture and richness, not a specific animal.
Should I use fresh pork sausage casing or collagen casings?
Natural hog casing in the 32 to 35 millimeter range gives the best bite and snap for standard links and is the traditional choice for bratwurst and Italian sausage. Collagen casings peel away after cooking, which some people prefer, but they cost more and do not crisp the same way. Sheep casing in the 24 to 26 millimeter range suits narrow breakfast links.
How do I know when venison sausage is fully cooked?
Check the temperature first: ground meat and sausage are safe to eat at an internal temperature of 160 F (71 C), per USDA guidance. Then cut one link from the thickest part of the batch and look at the center. No pink, clear juices, and an interior color matching the outside all signal done. Casing color is a poor guide because it browns early.
How long does homemade venison sausage last in the refrigerator or freezer?
Cooked sausage keeps 3 to 4 days in the refrigerator in an airtight container. Raw bulk or raw stuffed links freeze well for 3 to 4 months, and cooked sausage stays freezer-safe for 2 to 3 months for the best texture. Vacuum sealing cooked links limits freezer burn; freezer paper works acceptably. Cure and refrigerate smoked links if you want them beyond a few days.
Can I smoke venison sausage without a special smoker?
Yes, a smoker is not required. A covered charcoal grill set up for indirect cooking works, as does an oven held at its lowest setting with a pan of wood chips beneath the rack. Keep the temperature steady between 170 and 180 F (77 to 82 C), keep the lid closed, and cook until the center hits 160 F (71 C).
Conclusion
The whole process comes down to trimming the meat clean, keeping it cold through the grind, hitting a 20 to 25 percent fat ratio, and cooking to 160 F (71 C). Start there and the rest is seasoning preference.
For your first batch, trim and chill the venison, grind it with pork fat, fry a test patty to check the seasoning before you stuff any casings, then verify the temperature in the center before anything goes in the refrigerator or freezer.