To pattern a shotgun for turkey, you fire a handful of shots at a paper target from set distances, measure where the pellets actually land, and record which choke and shell combination puts the most even spread inside the head and neck. One afternoon at a legal range with a backstop, cardboard targets and a notebook is enough to do it properly.
That afternoon matters more than most hunters expect. An unpatterned gun usually works right up until the season you take a 40-yard shot and miss low, or hit a bird with a single pellet and send it off to die. Patterning tells you where your gun points, what its pattern really looks like at the distances you hunt, and where its pellet spread stops being dense enough for a quick clean kill.
There is an ethical side to it too. Stray pellets that leave the target frame a bird wounded instead of dead, and in states where a hunter may take one turkey, that wounded bird means no meat for anyone. Knowing your pattern is part of being a careful shot.
Table of Contents
- What You Need Before You Shoot
- How to Pattern a Shotgun for Turkey, Step by Step
- How to Pattern a Shotgun for Turkey Safely
- Establish the Baseline
- Measure and Record the Pattern
- Diagnose Common Pattern Failures
- Test Chokes, Loads, and Barrel-Length Effects
- Field-Test the Final Setup
- What Does a Good Turkey Pattern Mean?
- Common Mistakes That Ruin Your Pattern Data
- Frequently Asked Questions
- What is a good average pattern for a 12-gauge shotgun?
- Is a tighter total pattern always better for turkey hunting?
- Should I bore sight or zero my shotgun before patterning it?
- How much does changing chokes affect a shotgun pattern?
- Are reduced-recoil loads acceptable for patterning a turkey gun?
- How far should I pattern a shotgun for turkey hunting?
- Conclusion
What You Need Before You Shoot
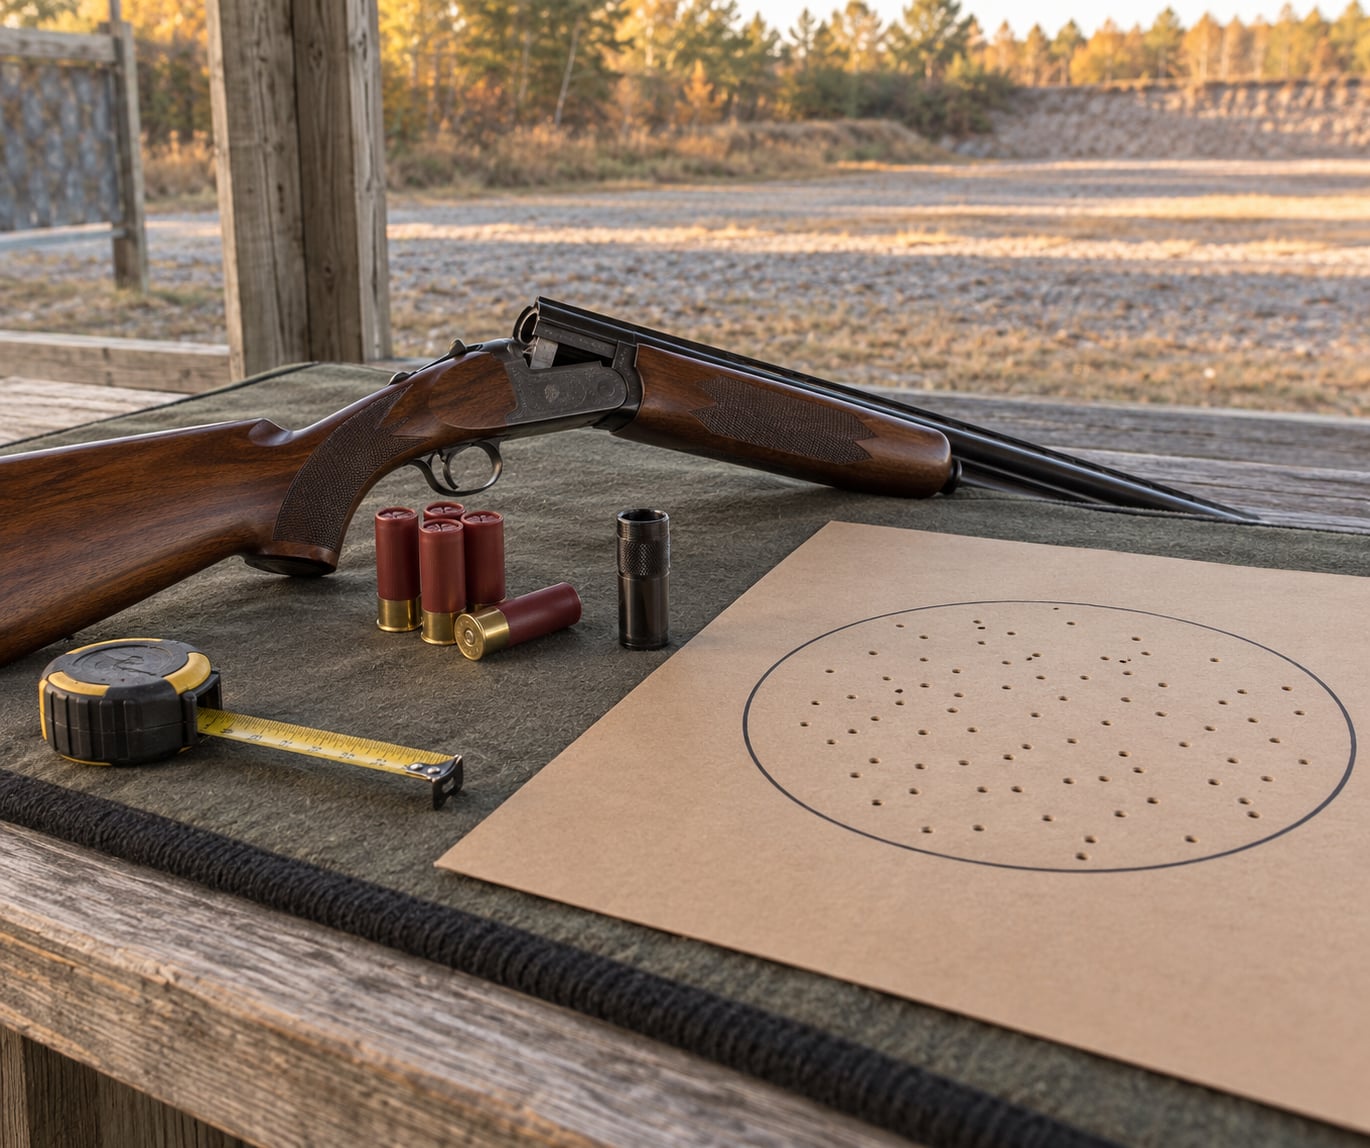
Patterning gear is inexpensive and mostly improvised. Bring the firearm you actually hunt with, plus everything needed to record results honestly.
- A safe, clear backstop. A rated range berm, a solid wall of stacked tires, or a purpose-built pattern frame is the minimum. Never pattern toward open ground, a road, a field with livestock, or anywhere people work.
- Paper targets. Silhouette or turkey head-and-neck targets work best, because they show you kill zone hits instead of a vague cloud of holes. Plain cardboard with a 10-inch circle drawn on it works fine too.
- Circle templates. A cardboard 10-inch circle and a 30-inch circle let you count holes inside a known area. The 10-inch circle is the turkey standard, since a gobbler’s head and neck roughly fill it.
- Measurement tools. A tape measure or ruler, a fine marker for tracing the group, and your phone for photographs. Photographs are how you compare a 30-yard pattern to a 40-yard pattern weeks apart.
- Eye and ear protection. Non-negotiable, and the same gear you use for every other range trip.
- A pattern log. Paper notebook, index card, or a notes file on your phone. Fields: date, gauge, barrel length, choke, shell and length, shot size and material, distance, holes in the 10-inch circle, holes in the kill zone, notes.
- Chokes and shells. For a first session, one choke and two loads are plenty. Add more only after the baseline works.
How to Pattern a Shotgun for Turkey, Step by Step
Run the process in the same order every time. Consistency is what turns a few range trips into data you can trust.
How to Pattern a Shotgun for Turkey Safely
Start with the gun unloaded and the action open, then check the chamber visually and by touch before anything else. Confirm the barrel is clear and that nothing is obstructing the bore.
Set up so the muzzle points into the backstop at a safe angle, never across a firing line or toward anything living. Keep your fingers outside the trigger guard until you are on the bench and the muzzle is where you want it.
Load and unload the way the manufacturer’s manual describes. Different actions behave differently, and a gun with a magazine release needs more care than one that does not. If your manual says to open the action before pressing the release, follow it.
Establish the Baseline
Confirm point of impact before you spend shells on turkey loads. Bore sight the gun on a flat, safe surface, or put a laser bore sight in the barrel and take a shot or two at a plain backstop from a supported position with cheap bird or trap loads. This costs a few rounds and tells you whether the gun shoots where you think it does.
Many factory shotguns shoot high, particularly some Benelli models, and a handful of hunters never discover it until opening morning. A high point of impact means you must hold under the bead, which changes everything downstream.
Then pick one representative turkey load and one choke. Record the gauge, barrel length, choke brand and constriction, shell length, shot size and material, and velocity if you can get it from the box or a phone app. Shoot from a steady position, seated or braced on a bag, three to five times per load at each distance.
Measure and Record the Pattern
Trace the outside edge of each group lightly, then measure the overall length and width. Divide the sum by two and you get the average circle, the number most hunters quote when they talk about pattern size. Mark the densest part of the group with a dot.
Next count what actually matters. Count holes inside the 10-inch circle. Count holes inside the head and neck on a silhouette target. The community shorthand is that 40 to 50 percent of the pellets landing in the kill zone is a good result, and the often-cited 40 percent rule asks for at least 40 percent of the pattern inside the 10-inch circle.
| Distance | Strong pattern (holes in 10-inch circle) | Acceptable pattern |
|---|---|---|
| 20 yards | 250 or more | around 200 |
| 25 yards | 200 or more | around 175 |
| 30 yards | 175 or more | around 150 |
| 35 yards | 150 or more | around 125 |
| 40 yards | 120 or more | about 100 |
Treat those as ballpark figures, not pass-fail grades. The 40-yard line of roughly 100 holes comes from the MSU Extension 4-H publication on patterning and is the number most hunters quote; the rest are typical of what shooters see on a well-tuned gun. Your gauge, barrel and load will land somewhere around them.
Photograph every pattern with the circle template still visible, then write the numbers down while you are standing there. Nobody remembers hole counts from a car ride home.
Diagnose Common Pattern Failures
A visible defect tells you where to look. Match what you see to the likely cause and the fix.
| What you see on the target | Likely cause | What to do |
|---|---|---|
| Open hole in the middle, ring of pellets around it | Choke too tight for that load at that distance | Back the choke off one constriction step and shoot the series again |
| Wild scatter, one or two pellets far out | Open face, or a load the gun does not like | Try a tighter choke and a different shell before blaming the barrel |
| Group sits well off the aim point | Point of impact, not the pattern | Re-zero with the bore sight and note the hold change in your log |
| Pattern looks fine, no hits in the kill zone at 25 yards | Aim point and sight hold, not the choke | Move the aim point down to the base of the neck and retest |
| Shot 1 tight, shots 3 and 4 scattered | Rifle recoil, sight radius or the shooter’s hold | Bench the gun, set the shotgun in a rest, check the pattern screw |
| Fewer holes than the load should produce | Loading error, fouled bore, or a bad lot of shells | Pull one round, count pellets in it, then inspect the forcing cone |
Test Chokes, Loads, and Barrel-Length Effects
Change one variable at a time or the data means nothing. Keep the distances, the position, and the number of shots identical, then swap the choke and run the same series again.
Choke constriction is the fastest lever. Full and extra full choke hold a tight pattern at 35 and 40 yards with a 3-inch load and open up dramatically by 20. Extended chokes are not simply tighter, they also delay the wad column from breaking up, which is why many shooters see more even results from them.
Shell length and material change the shot charge, and the shot charge is what sets pellet size and count. A 2.3/4-inch shell gives you room for more pellets in a smaller container, which is why it often patterns well with #5 and #6 lead. A 3-inch shell pushes more ounces, which is usually better at 40 yards. A 3.5-inch shell only fires in a chambered-for-3.5 gun and is not automatically the better choice.
On the material question, the tungsten market tightened hard and many hunters stepped back to lead. That makes practical sense: test the loads you can actually afford to shoot all season, not the ones you would buy once to win an argument. Nickel-plated buffered lead in 3-inch #5 and #6 is the budget baseline most patterning sessions start from.
Barrel length matters less than people expect. A longer barrel holds the wad column together a little longer, but a difference of an inch or two rarely decides the outcome. Gauge matters more. A 20 gauge with 3-inch shells will pattern beautifully, and a 12 gauge generally holds more pellets and more energy. Pattern your actual gauge rather than assuming the numbers carry over.
And here is the trap most people fall into: the tightest measured pattern at 40 yards is not automatically the best gun. A pattern that measures 8 inches at 40 can measure 26 inches at 20, which is a strutting gobbler with no head to shoot at. Pick the load and choke that give you a usable pattern across your real range of shots, not the tightest one at maximum distance.
Field-Test the Final Setup
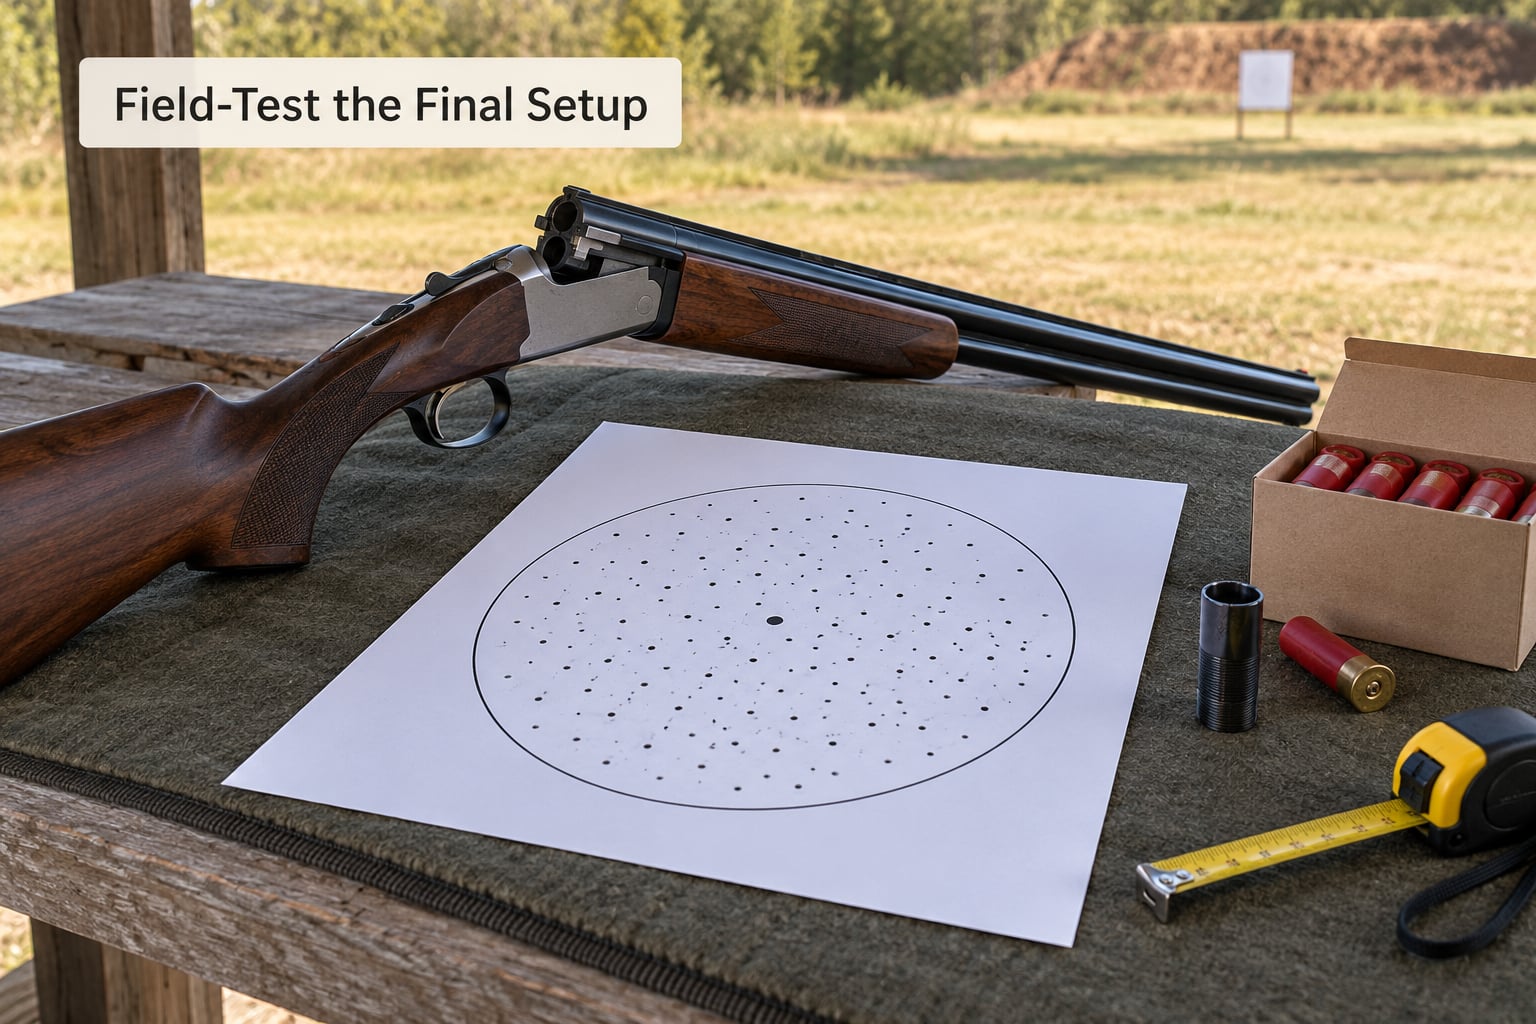
Take the winning combination back to the field distances. Most hunters shoot strutting birds between 20 and 30 yards in timber, and open-field shots reach 40 or more. Test each of those ranges and classify what you get.
Shoot from the position you actually hunt from. A bench-rest pattern tells you very little about a crouched shot against a treeline. Stand up, brace the stock on your thigh, rise from a knee, and repeat. Recoil moves the muzzle more when you are not braced, and that shows up as a low point of impact.
Adjust the aim point once. A tall fiber optic front sight, a Gobble Dot bead, or a red dot on the receiver each need a different hold, and a red dot lets you aim at the base of the neck instead of over the top of the comb. Make the adjustment, fire the series again, and record the final aim point in your log.
Write the result down as a single sentence: choke, load, distance, aim point. That is the line you want in the field when a gobbler steps at 32 yards and the light is bad.
What Does a Good Turkey Pattern Mean?
A good turkey pattern is dense where the bird will be, not merely small. Those are different measurements and hunters confuse them constantly.
- Total pattern size is the widest dimension across the group. It is the least useful number on its own.
- Average circle is length plus width, divided by two. It is a fair way to compare the same gun across loads, which is what patterning is for.
- Point of impact density is the part of the pattern around your point of impact. This is where the pellets that kill the bird actually are.
- Kill zone hits count the holes on the neck and head. On a silhouette target this is the only number that matters.
- Energy at range finishes the picture. A 6.5 percent pellet from a 3-inch shell carries much more energy at 40 yards than a 8.5 percent pellet from a 2.3/4-inch shell, and it keeps going after the pattern opens.
Judge the whole set together. A load that measures 14 inches at 40 yards but keeps 60 percent of its pellets on the head and neck will kill turkeys that a 10-inch pattern with a hollow center only wounds.
Common Mistakes That Ruin Your Pattern Data
- Patterning on a bad zero. If point of impact is off, every pattern you shoot is centered in the wrong place.
- Measuring two shots and calling it a pattern. Shot one is always tighter. Use three to five shots per load.
- Changing choke, load and distance together. You will not know what worked.
- Judging only the widest points. Trace the group, but count inside the circle.
- Testing at 50 and 60 yards. That is not a distance you will shoot a turkey. Pattern at 20, 25, 30 and 40, or 25, 35 and 45.
- Treating pattern as the whole answer. Patterning is not practice. It tells you what the gun does, not what you do at the moment of the shot.
- Skipping the owner’s manual. Loading and unloading an unfamiliar action badly can damage it or hurt someone.
- Assuming your old data still holds. Repattern when you change the load, choke, barrel, or after any gun work that touches the bore.
Frequently Asked Questions
What is a good average pattern for a 12-gauge shotgun?
A good 12-gauge turkey pattern measures around 12 to 14 inches at 30 yards with a full or extra full choke and a 3-inch load, staying dense in the middle. At 40 yards, roughly 100 holes inside a 10-inch circle is the commonly cited acceptable standard. Judge the center and the kill zone hits, not the widest points, and remember a tight pattern at 40 can still open into a useless face at 20.
Is a tighter total pattern always better for turkey hunting?
No. A tight pattern at 40 yards can open to 25 inches or more at 20, which is a common problem with extra full choke and heavy loads. Most turkeys fall inside 30 yards, so choose the load and choke that keep a dense, even spread across 20, 25 and 30 yards, then check what it does at 40. Consistent beats small.
Should I bore sight or zero my shotgun before patterning it?
Confirm point of impact before you pattern, every time. A quick bore sighting or two shots with a laser bore sight and cheap bird loads will show you whether the gun shoots where you think. Factory shotguns often aim high, and a pattern centered in the wrong place teaches you nothing useful about your choke or load.
How much does changing chokes affect a shotgun pattern?
A lot, and it is the fastest variable to test. Moving from modified to full to extra full constriction tightens the pattern at 30 and 40 yards but opens it up at close range. Shoot the same load at the same distances with each choke, change nothing else, and the difference shows up in your average circle and kill zone count.
Are reduced-recoil loads acceptable for patterning a turkey gun?
They are fine for verifying point of impact and for working out your aim point, but judge your turkey pattern with the load you will actually hunt with. Reduced-recoil loads usually have a lighter shot charge, so they throw fewer and smaller pellets. If you switch to a heavier load in the field, your pattern data is no longer describing the gun in your hands.
How far should I pattern a shotgun for turkey hunting?
Pattern at the distances you expect to shoot. Most hunters use 20, 25, 30 and 40 yards, or 25, 35 and 45 if they hunt open country. Include at least one close distance, because a load that looks great at 40 can open into a face full of feathers at 20. Skip 50 and 60 yard testing, since no ethical hunter takes that shot.
Conclusion
Start with the boring part. Confirm point of impact, then shoot one baseline load in one choke from three to five times at 20, 25, 30 and 40 yards, and write down the holes in the 10-inch circle and the kill zone. That single card is more useful than a tight pattern photo with no numbers attached.
After that, change one thing at a time. Swap the choke and rerun the series, then swap the load, and keep the pattern card with the date, the gauge, the barrel length, the choke, the shell, the distance and the final aim point. A few hours of measuring in the fall buys you the confidence to pass on a 45-yard strutting gobbler instead of guessing.