To photograph birds without disturbing them, work at a distance with a long telephoto lens, approach slowly and in an arc rather than head-on, stay low and quiet, and shoot from concealment or a vehicle instead of walking in. Most birds settle again within minutes of a startle, and birds that see the same motionless person on the same path stop reacting after a few visits. That is the whole method: replace closeness with patience.
A session at a feeder or a wetland hide takes two to four hours and needs almost no effort beyond standing still. That long, boring middle is where the good frames come from, so bring something to sit on, water, and a way to keep the lens off the mud.
Table of Contents
- What You Need
- Step-by-Step
- Step 1: Observe Before You Approach
- Step 2: Choose a Respectful Distance and Position
- Step 3: Move Slowly and Quietly
- Step 4: Set Up Without Interrupting the Scene
- Step 5: Take the Shot, Then Recheck the Birds
- Step 6: Leave the Area Responsibly
- Common Mistakes That Flush Birds
- Frequently Asked Questions
- How close can I get to photograph a bird?
- What colors should I not wear when photographing birds?
- Is it legal to photograph birds’ nests or get near nesting birds?
- Should I use flash when photographing birds?
- What are the best camera settings for photographing birds?
- What is the best ISO setting for bird photography?
- Conclusion
What You Need
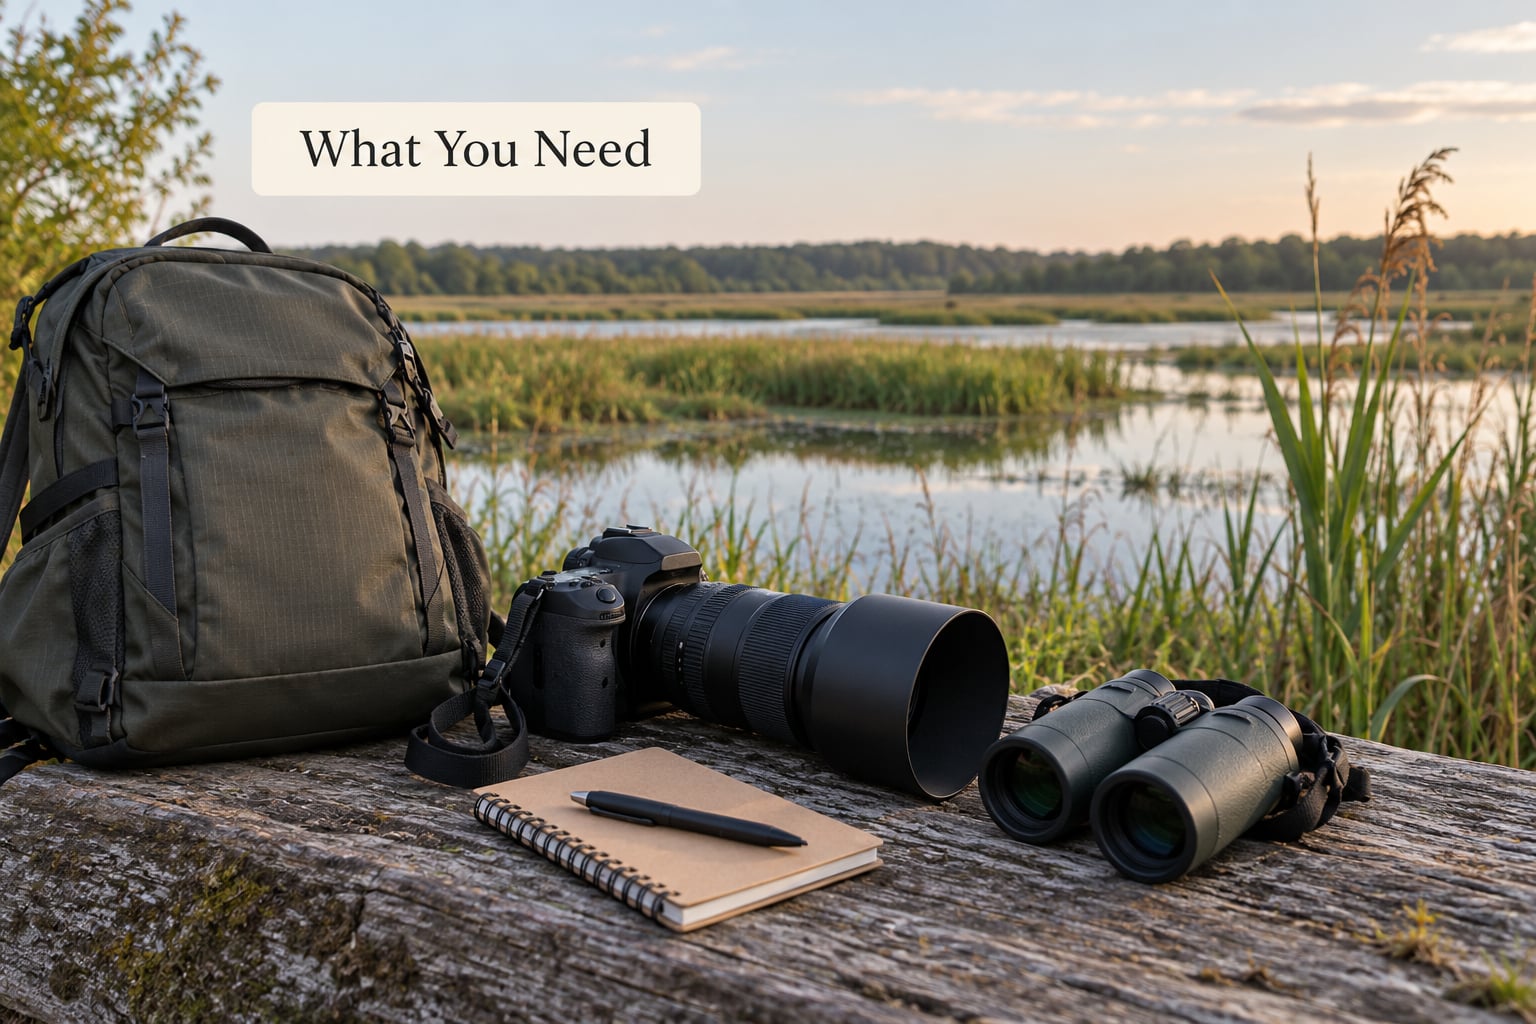
Four pieces of gear do most of the work here, and only one of them is expensive.
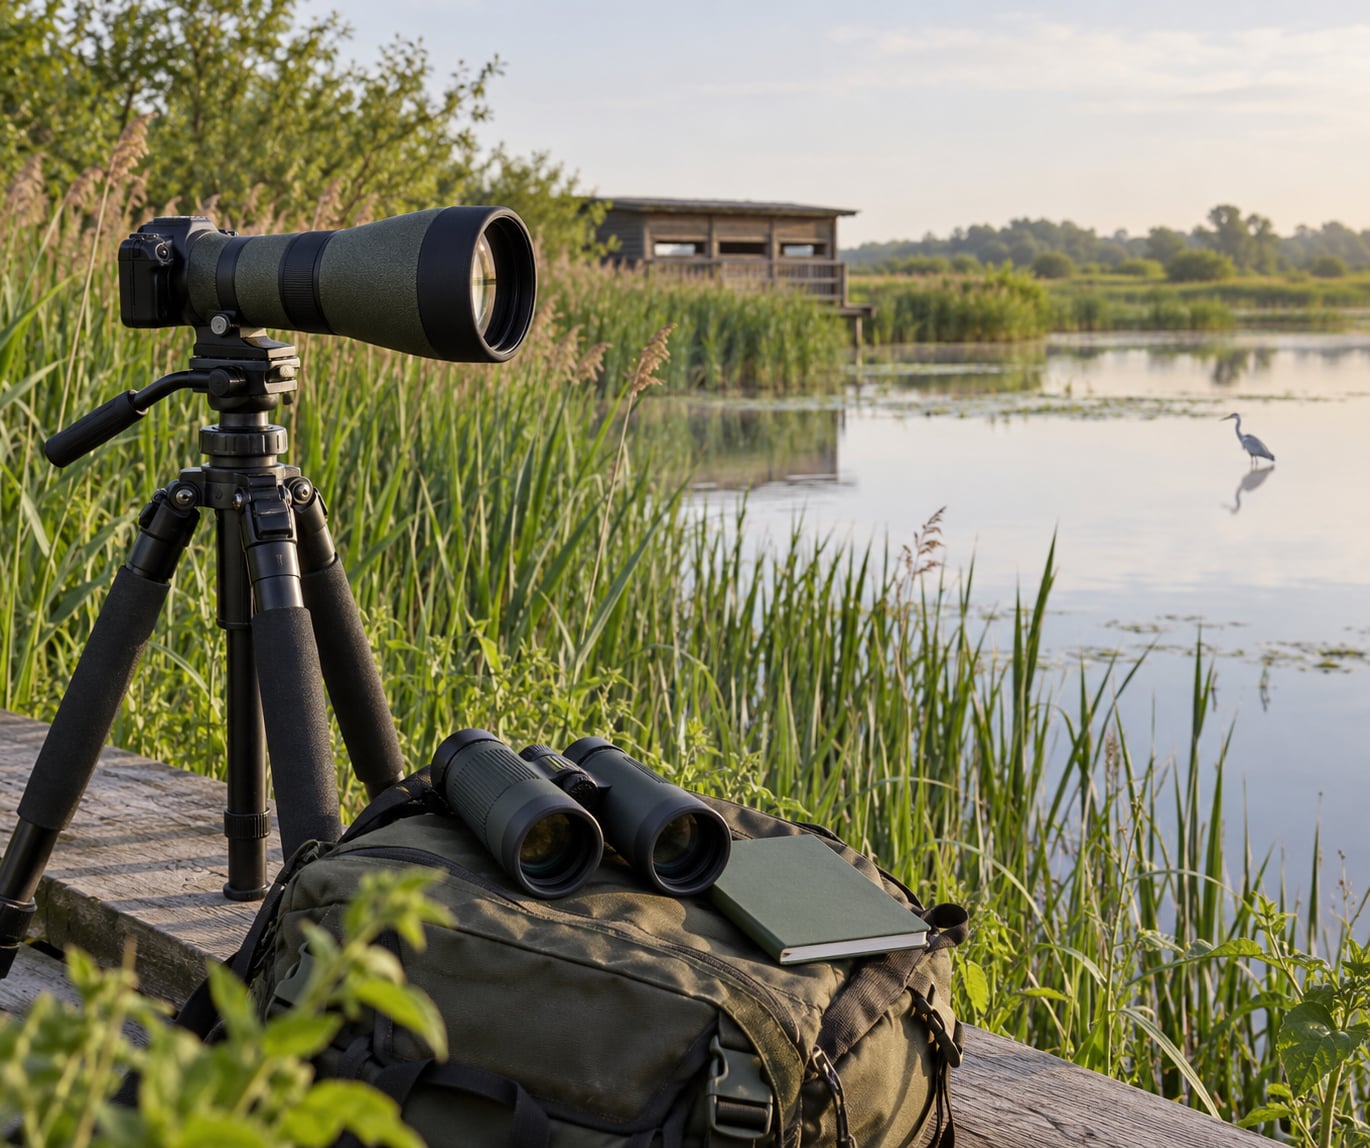
- A telephoto lens. Focal length is your distance. A 100-200mm zoom covers a garden feeder at about 10 m, a 300-400mm handles woodland birds at 15-25 m, and 500-600mm covers waterfowl and shorebirds at 40 m or more. Zoom rather than prime glass lets one lens cover a whole hide session as birds move closer and further.
- Support. A beanbag on a monopod or a short tripod takes the shake out of long focal lengths and slows you down in a useful way, because a supported camera is a camera that is not being raised and dropped twenty times a minute.
- Muted clothing. Browns, olives, greys, and a hat that breaks up your head shape. Skip bright yellows and reds in the open field, and skip head-to-toe camouflage in a city park where people routinely wear orange vests, because there the odd new shape is what birds notice.
- Quiet operation. A silent or electronic-shutter mode on your camera, a remote release or two-second timer so the shutter does not fire from your hands, and a lens hood or rain cover for weather sealing. Mirror lock-up plus live view on a DSLR does the same job if your body has no silent mode.
- Field basics. Binoculars or a rangefinder for scouting, a notebook to log where the birds sit, a spotter or second body if you have one, and a spotting scope for scouting from far away before you commit to a position.
Before you set out, check the rules for the specific site. National parks, refuges, and many state reserves have their own distance rules around nests, roosts, and colonies, and federal protections cover migratory birds and their nests and eggs. If you cannot confirm what is allowed where you are standing, assume the closest approach is the one that ends your session. Whatever you carry in, carry it back out, and check for damage to habitat you may have crossed.
Step-by-Step
Step 1: Observe Before You Approach
Stand still and watch before you walk a single step. Binoculars in hand, note what the birds are doing when nobody is near them: which perch they favour, where they drop to feed, which direction they leave from, and how long they settle before they relax.
Watch for the early warning signs too. A bird that keeps turning its head back toward you, sits with its body angled away rather than toward you, or pauses mid-feed without swallowing is already deciding to leave. If you are finding those signs at 40 m with a 600mm lens, you are too close.
Success at this stage looks simple: you know the flight path before it happens and you have picked a shooting position that requires the fewest steps to reach. Choosing that position from where you stand, rather than after you are halfway there, is the single biggest time and stress saver in the field.
Step 2: Choose a Respectful Distance and Position
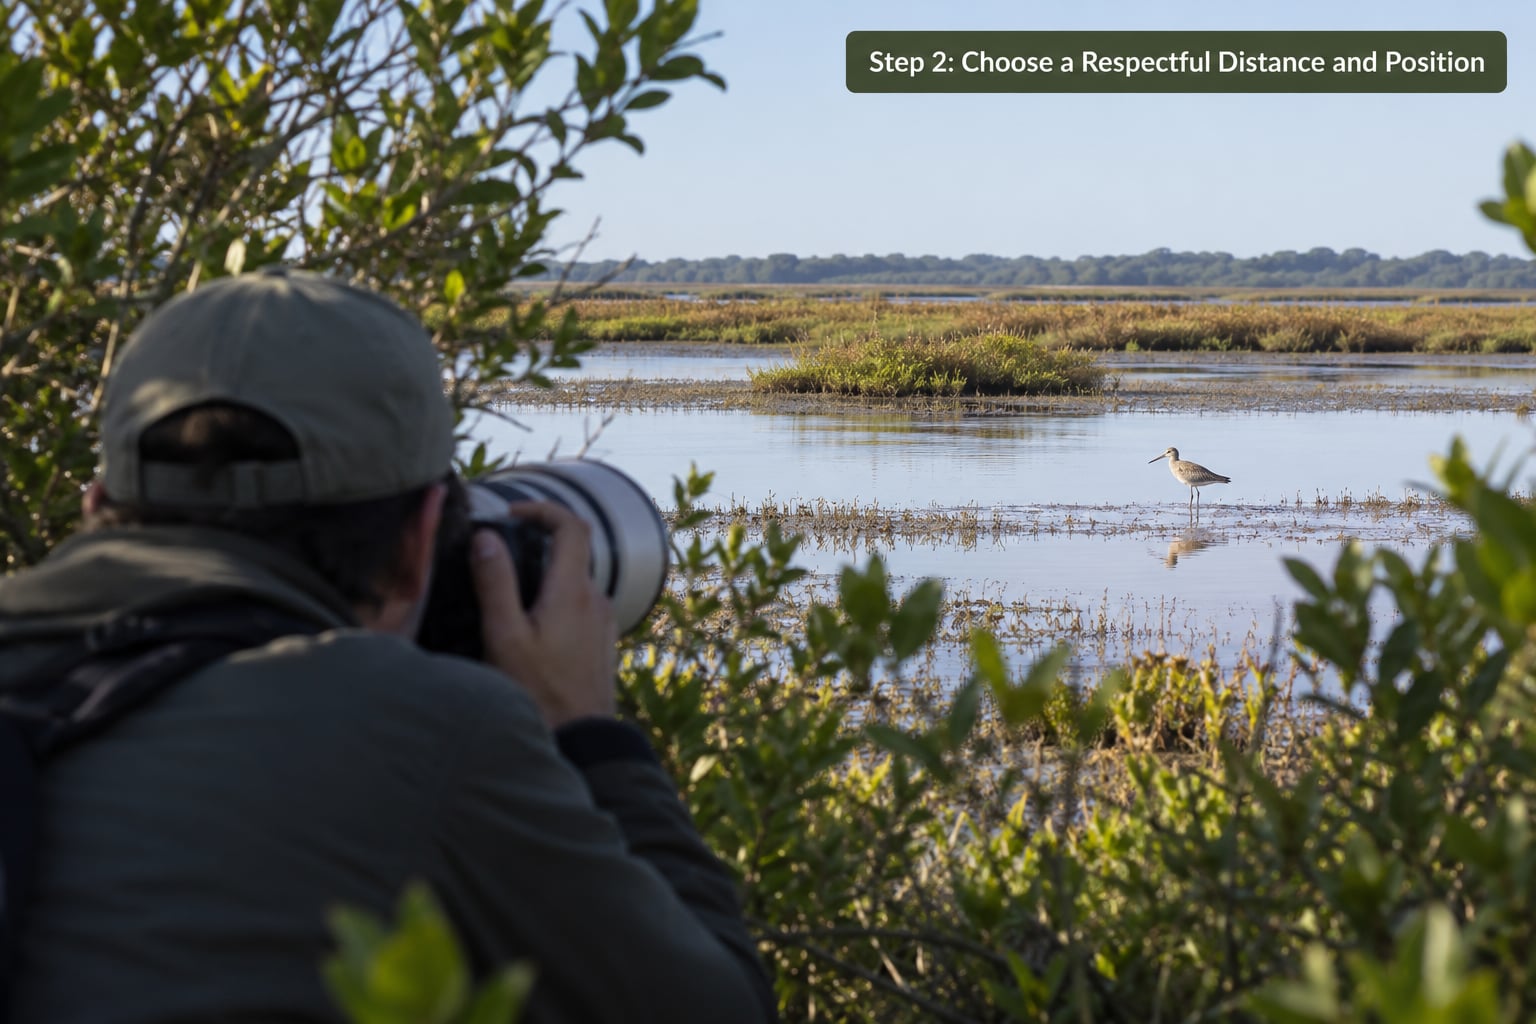
Use focal length to buy distance, not to justify a closer approach. If your subject will not fill enough of the frame at 200mm, the answer is a hide and more time, not a shorter walk.
Pick positions that use existing paths, boardwalk edges, and natural breaks in vegetation. Work around rather than through cover, stay below the birds’ eye line where you can, and never stand where you block the route between a bird and the safety it wants. Positioning downwind of a subject is worth the extra effort when scent and wind are working against you.
These are typical working numbers. Habituation, weather, breeding stage, and how much cover sits between you and the bird all shift them.
| Bird group | Typical comfortable distance | Minimum recommended focal length | Concealment that works |
|---|---|---|---|
| Songbirds at a garden feeder | 3-8 m | 100-200mm | Window, pop-up hide, or dense shrubbery |
| Woodland and edge songbirds | 12-25 m | 300-400mm | Camo-net blind or brush blind |
| Shorebirds and waders | 25-40 m | 400-600mm | Vehicle, beach-level hide, sand |
| Waterfowl on open water | 40-80 m | 500-600mm | Vehicle or floating hide |
| Perched raptors | 60-150 m | 600mm and longer | Stay in the vehicle, use a scope to scout |
| Roosting owls | 30-60 m | 400-600mm | Vehicle or existing hide, avoid the roost’s open side |
| Active nests and colonies | Any approach may count as disturbance | 600mm and longer | Designated viewing blind only |
Success here means the birds never had to change what they were doing for your benefit. If they have reoriented to face you, moved their feeding spot, or gone quiet, you have gained frames at the cost of the behaviour you came to photograph.
Step 3: Move Slowly and Quietly
Walk at a pace a heron walks. Slow down on any upward slope, because every step lifts your silhouette against the sky, and stop for several seconds after each burst of movement so the bird can confirm you are not approaching.
Keep hands low and away from your body, avoid swinging a tripod or a wide-brimmed hat, and turn rather than pivot. Talk in a low voice or not at all, and agree a hand signal with anyone with you before you arrive. Never run, never move quickly toward a bird, and never walk directly at one. An arc around the bird at constant distance reads very differently to a straight line.
Once a bird reacts, stop moving. Standing still for five minutes often brings the bird back to its original spot, and a bird that has settled again is a bird you can approach further later.
Step 4: Set Up Without Interrupting the Scene
Set up while you are still stationary and while the birds are still doing their thing. Support the lens, compose, and check exposure before the bird does something interesting, so the only movement left when it happens is the shutter.
Use continuous autofocus with animal eye detection or a single small tracking point, and turn off any subject-recognition modes that hunt around the frame looking for a face. Shoot RAW. Keep the camera in manual exposure with Auto ISO if your body has it, which stops a bright sky from changing your shutter speed every time a cloud moves.
| Setting | Perched or stationary birds | Birds in flight |
|---|---|---|
| Shutter speed | 1/1000-1/2000s | 1/2500-1/4000s |
| Aperture | f/5.6-f/7.1 | f/5.6-f/8 |
| ISO | Auto ISO, or 400-1600 | Auto ISO, often 1600-6400 in shade |
| Autofocus | Continuous AF with eye detect or a small single point | Continuous AF with tracking |
| Drive mode | Short bursts of 3-5 frames on the action | Longer burst, pre-focused on the perch |
A note on stabilization: some long lenses are sharper with their stabilization switched off when the subject is stationary and you are braced on support, so check your lens’s guidance and test it once before the season rather than in the field.
If the birds sit on a predictable perch, prefocus on that perch with manual focus before an arrival. Then a bird coming in to feed is already in focus the instant it lands, and you can fire a small burst instead of hunting for focus and disturbing the scene with your fumbling.
Keep bursts short and purposeful. Long continuous fire, a beeping focus indicator, and an on-screen zoom to check focus all add up to more disturbance than the approach itself, especially within about 15 m.
Step 5: Take the Shot, Then Recheck the Birds
Make one considered sequence, then stop and look at the bird rather than the back of the camera. A bird that has flicked its wings, resumed feeding, or gone quiet mid-burst means you have already pushed too far for today, whatever the picture looked like.
If a bird flushes, do not follow it, do not jog after it, and do not immediately relocate to where it landed. Sit where you are, wait two or three minutes, and let it come back on its own. It very often returns to the same perch, and a bird returning to a familiar spot beside a motionless figure is often more relaxed than the bird you were creeping up on. If it does not return in ten minutes, pack up and try a different spot rather than the same one with more pressure.
The honest measure of a good session is not frames per hour. It is how many times you looked up and the bird was still doing what it was doing before you arrived.
Step 6: Leave the Area Responsibly
Retreat the way you came in, slowly and facing backwards so the birds can track you as you leave rather than being surprised from behind. Pick up every piece of gear, including the lens cap and the spare battery you set down for a minute twenty minutes ago.
Take out any food or bait you brought, and check the ground you sat on for flattened vegetation or a bent fence line. Do not trim, move stones, or clear a view without permission.
If you saw a damaged nest, an injured bird, or an area where people were clearly bothering birds, note the location and tell the land manager or your state wildlife agency. That report is often the difference between a place staying usable for wildlife photography and becoming a place everybody avoids.
Common Mistakes That Flush Birds
Almost every blown session comes down to one of these, and all of them are fixable in the moment.
- Approaching head-on. A bird looking straight at you has you at full attention and no clear escape. Fix: walk an arc at constant distance. Tip: choose your stopping point before you start walking.
- Chasing after a flush. The bird lands 60 m away and you close the gap before it settles. Fix: stay put and wait for the return. Tip: set a ten-minute timer on your phone instead of guessing.
- Using bait or call playback. Playing a recorded call to pull a bird in works, and it also puts a territorial bird in a state no wild bird is in. Repeated playback has documented effects on breeding and on birds’ ability to judge real threats. Fix: photograph birds that come to your feeder on their own schedule. Tip: place feeders near vegetation so arrivals have cover and a fast exit.
- Cutting across habitat. A shortcut through reeds or nesting cover costs more than the time saved. Fix: follow existing paths even when they are longer.
- Flash on a perched bird. A burst at 10 m startsle a bird and gives you a flat, ugly frame. Fix: raise ISO instead. Tip: flash is occasionally defensible for a hummingbird in flight, and rarely anywhere else.
- Moving while the shot happens. Standing up or stepping forward at the moment a bird lands loses the frame and the bird. Fix: pre-compose, then hold still and let the burst run.
- Ignoring visible stress. Repeated tail flicking, wing flicking, alarm calls, or a bird that will not settle means you have one too many metres of distance. Fix: back off, write the distance down, and add it to your next approach.
- Sharing a subject with other photographers badly. Several people crowding one heron ruins it for everyone, and often for future visitors. Fix: agree on positions, keep voices down, take turns on the best angle, and let the closest person work while others hold still. Tip: one person counts as a spotter for the rest rather than everyone advancing.
Frequently Asked Questions
How close can I get to photograph a bird?
Get as close as you can without the bird showing stress, which in practice is further than most people first try. Songbirds at a feeder tolerate 3-8 m, woodland birds 12-25 m, shorebirds 25-40 m, and perched raptors often need 60 m or more. If you need more magnification, add focal length or time rather than distance. Habitual birds will come closer on their own terms over repeated visits.
What colors should I not wear when photographing birds?
Avoid bright yellows, reds, oranges, whites, and hard patterns, especially within about 20 m where birds resolve shape and color well. Muted browns, olives, greys, and blues work almost everywhere. Full camouflage gear is not always the answer: in busy parks and refuges where people commonly wear bright safety vests, an all-camo figure can stand out more than a quiet person in a plain grey jacket.
Is it legal to photograph birds’ nests or get near nesting birds?
Rules vary by state, by species, and by the land you are standing on, and they can be stricter than you expect. Migratory birds and their nests and eggs are protected under federal law, and parks, refuges, and reserves add their own closures and distance rules, sometimes including fines for approaching an active nest. Photograph nests only from a public viewing distance, and check the specific site and species before you go.
Should I use flash when photographing birds?
Rarely. A flash burst at close range can startle a bird that was otherwise settled, and the result is usually a flat, over-lit frame. Raising ISO and opening the aperture gets you the shutter speed you need without adding light. The narrow exceptions are very small birds such as hummingbirds at high speed, where a flash can freeze the wings, and even then only with a lot of practice beforehand.
What are the best camera settings for photographing birds?
For perched birds, start around 1/1000-1/2000s at f/5.6-f/7.1 with continuous autofocus and eye detection. For birds in flight, push to 1/2500-1/4000s at f/5.6-f/8 and use a tracking point on a known flight path. Shoot RAW, use Auto ISO if your camera offers it, and pre-focus on a regular perch so arriving birds land in focus. Support the lens on a beanbag or monopod.
What is the best ISO setting for bird photography?
There is no single number, and chasing the lowest ISO is a mistake on a moving subject. For perched birds in good light, 400-1600 keeps files clean. In shade or at dawn, 1600-6400 is normal and modern sensors handle it well. What matters is that the shutter speed stays high enough to freeze motion, so set ISO as high as your camera tolerates before you worry about noise.
Conclusion
Start by watching, not walking. Find the birds, read what they do when nobody is near, pick a position that needs the least movement, and then let a long telephoto lens do the closing instead of your feet. Move slowly, set up fully before anything interesting happens, and stop the moment you see tail flicking, alarm calls, or a bird that will not settle. Leave when they are behaving normally, and the best photograph from the day is the one that did not cost a single change in their day.