A compass is the one navigation tool that never quits. It needs no battery, no signal, and no screen: the needle finds magnetic north on its own, and everything else you do is about pointing your body in the right direction and tracking how far you walk. Learning how to use a compass without a GPS takes about an hour of practice and it is the difference between knowing where you are and guessing.
Updated for 2026. What follows is the practical version: how to check and set declination, orient a map, take and hold a bearing, and what to do when terrain or visibility blocks the line you picked.
Table of Contents
- What You Need
- Step-by-Step
- How to use a compass without a GPS: Check the Compass and Set the Correct Declination
- Orient the Map to the Compass
- Read the Compass Rose and Take a Bearing
- Follow a Bearing and Stay on Course
- Use a Compass to Navigate Around Obstacles
- Common Mistakes
- Frequently Asked Questions
- Do I need to adjust a compass for declination when I use it with a map?
- Can I use a compass on my phone instead of buying a dedicated compass?
- How accurate is a compass without GPS?
- What can interfere with a compass?
- How should I practice using a compass before a hike?
- What should I do if I become disoriented without GPS?
What You Need
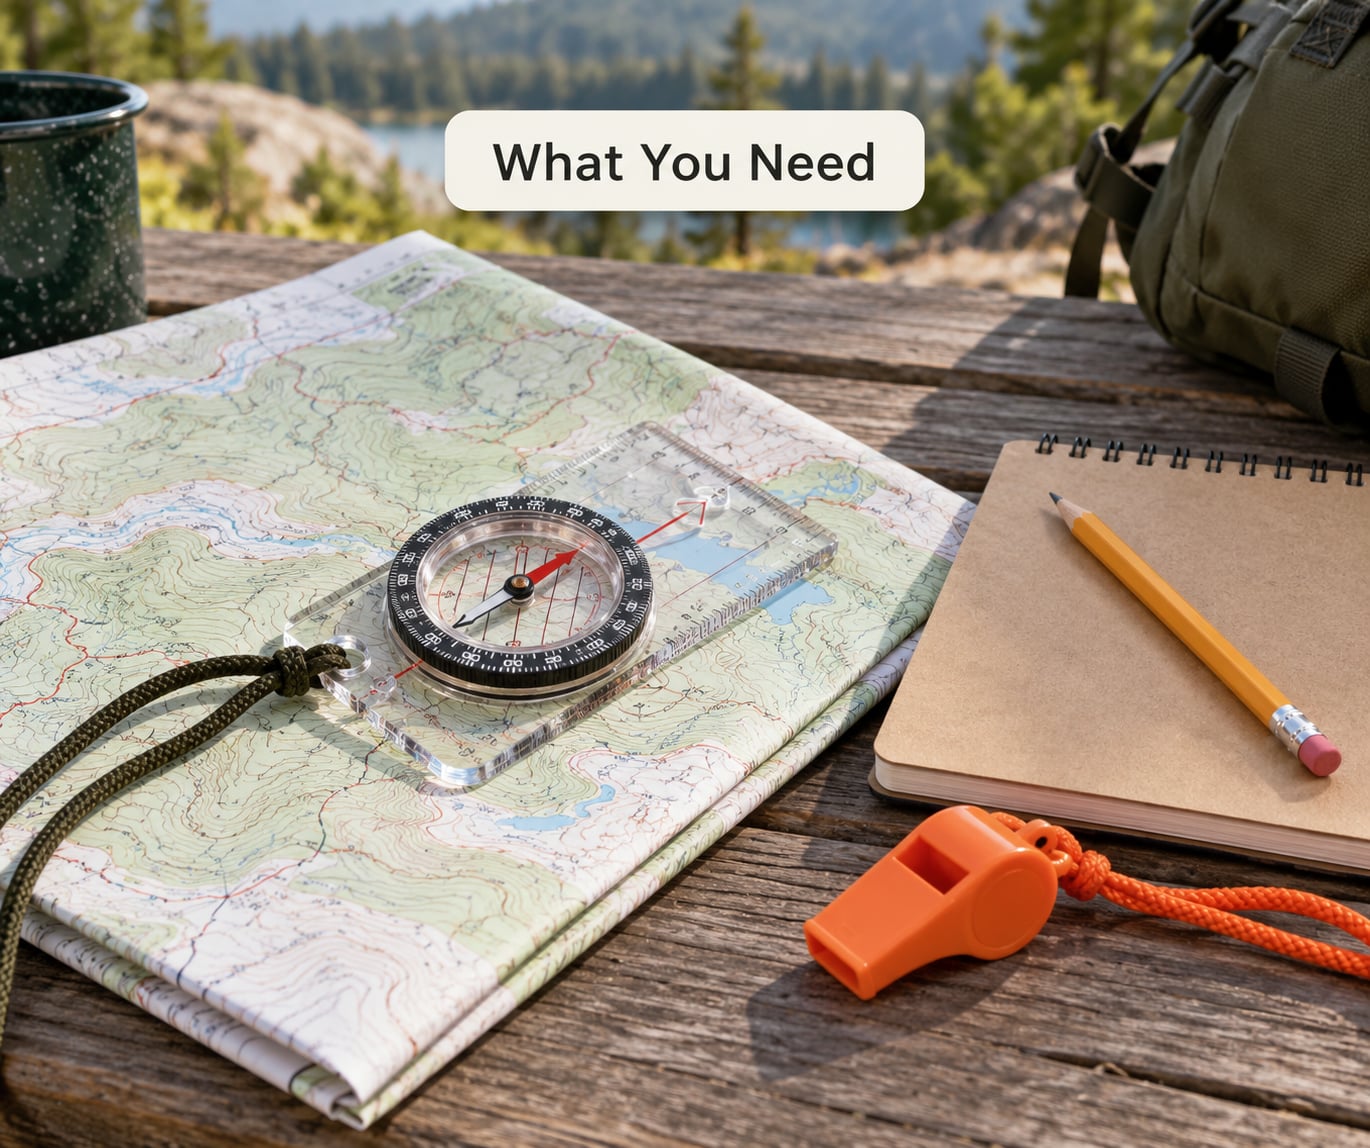
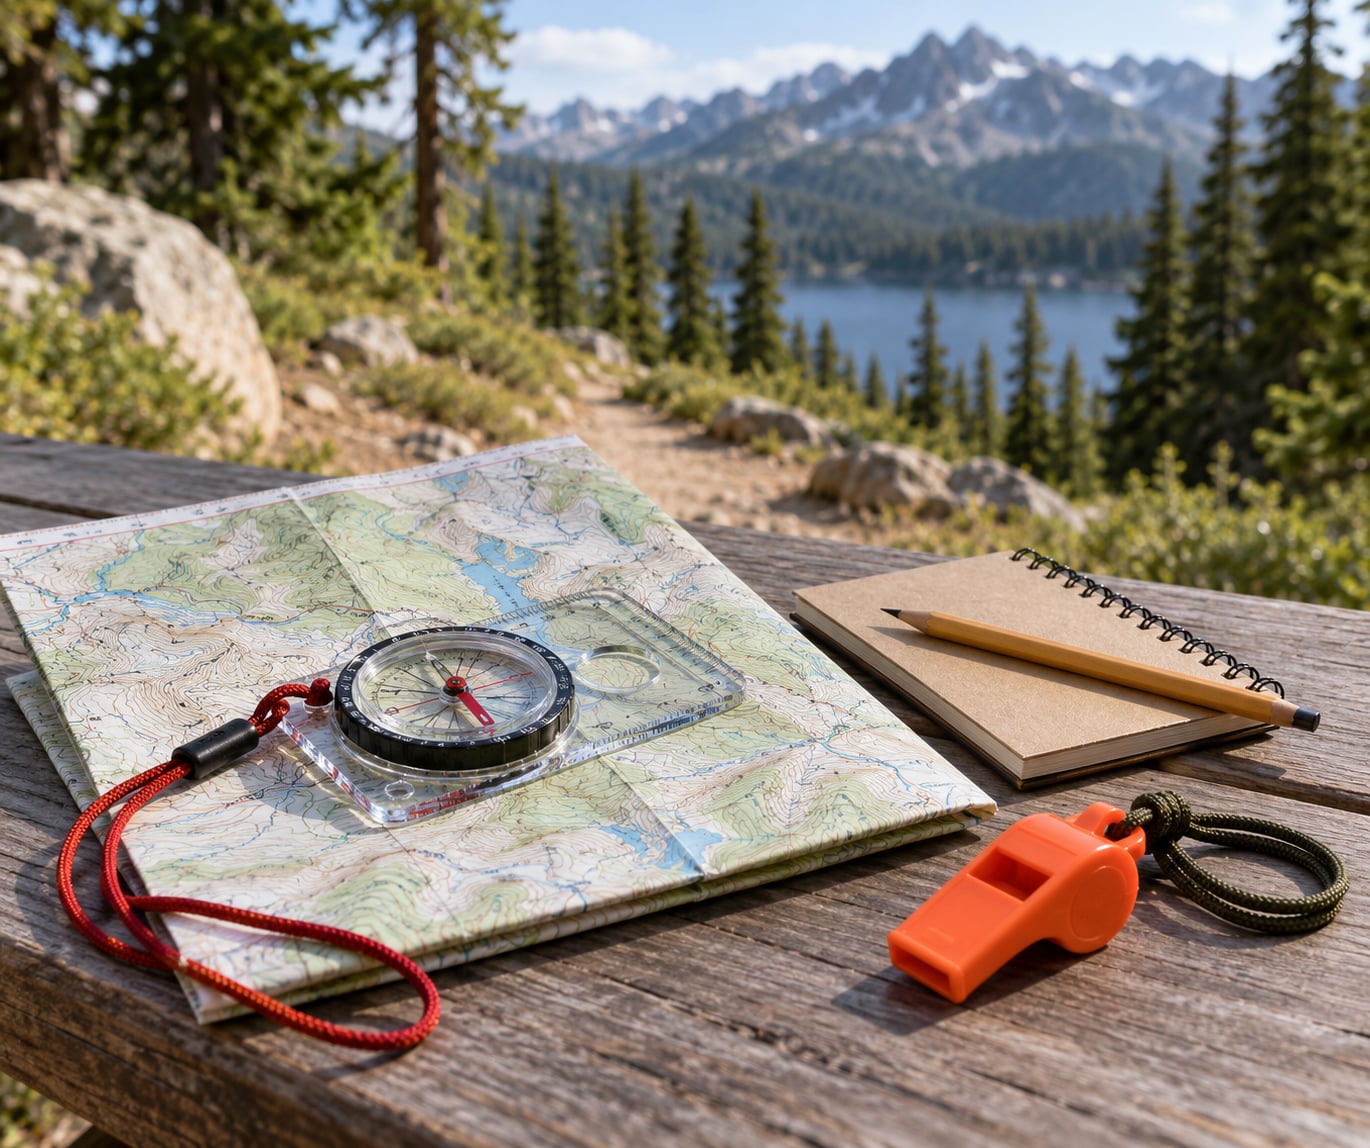
The short answer on gear: a baseplate compass, a paper topographic map covering the ground you are crossing, and a way to count paces. Everything else is optional.
- A baseplate compass with a rotating bezel in degrees, a clear baseplate, and an adjustable declination screw. This is the workhorse for hiking, hunting, scouting, and trail work.
- A paper topographic map of the area, in a waterproof map case or on a printed sheet you can re-wet. Note the contour interval on the legend and the local declination value.
- A pace counter or a clicker, plus a backup plan of counting strides out loud if you lose it.
- A pencil and a small notebook for writing down headings, distance, and timestamps. Every note is a fix if the day goes sideways.
- Optional but useful: a whistle, a spare compass on a lanyard, and a watch with a second hand for a rough speed check.
Here is how the compass types stack up, because beginners usually buy the wrong one.
| Type | Best for | What you get |
|---|---|---|
| Button or pocket compass | Everyday orientation, a backup in a pocket | Cheap, tiny, no declination adjustment, hard to hold steady |
| Baseplate or orienteering compass | Hiking, hunting, map work, anything with a topo | Rotating bezel, ruler edges, sighting line, declination screw |
| Mirror sighting compass | Long open sight lines, paddling, skiing | Baseplate compass with a mirror and lens for precision sighting |
| Lensatic compass | Shooting precise bearings, military and survey work | Reticle and optics, accurate, but takes practice and no map measuring |
One safety note before the steps. This is a written guide, and written guides build confidence they have not earned. Work through the sequence below in your yard or a neighborhood first, then on a trail you know, and only then somewhere with no cell coverage.
Step-by-Step
How to use a compass without a GPS: Check the Compass and Set the Correct Declination
Start by knowing what you are holding. A baseplate compass has a magnetized needle balanced on a pivot, and that needle settles along Earth’s magnetic field rather than pointing at the North Pole. The end painted red points toward magnetic north; most people have that end memorized as “red in the shed,” a line of letters in the housing.
Open the case away from your body, hold the compass flat and level on your palm, and let the needle settle for thirty seconds or so. If it swings hard or refuses to settle, something nearby is interfering. Move ten paces away from vehicles, fences, pipes, and rifle scopes and check again.
Declination is the angle between magnetic north and true north, the direction a map’s north arrow points. Your needle finds magnetic north; your map is drawn against true north. Ignore the gap and you will walk a consistent error that grows the further you travel.
The rule is short enough to say out loud: east is east, add; west is west, subtract.
| Map shows | You | Worked example |
|---|---|---|
| 15 degrees east | Add 15 to a magnetic bearing | Bearing 070 becomes 085 true |
| 15 degrees west | Subtract 15 from a magnetic bearing | Bearing 070 becomes 055 true |
| 2 degrees west | Subtract 2 | Bearing 212 becomes 210 true |
Set it once if your compass has a screw: hold the needle on the printed north arrow of the housing, rotate the bezel to the number of degrees your map lists, and tighten the screw. Then every reading is already true and you never do the arithmetic in the rain. Cheap compasses without a screw still work fine, you just add or subtract in your head or on a watch face.
Orient the Map to the Compass
Orienting a map means rotating it on the ground until what is printed on the paper points the same way as what is in front of you. Once you do this, every map symbol answers the question “where is that from here?”
- Put the map on a flat, dry surface or hold it flat against your body.
- Place the compass on the map at your best guess of your location, with the orientation lines running along the map’s north-south grid.
- Turn your body, and the map with you, until the north end of the needle rests inside the orienting arrow at the top of the housing.
- Look up from the compass and confirm that the map now matches the world: a ridge on the map should sit behind the real ridge, a bend in the river should be in front of the real bend.
- If the map looks wrong, lift the compass, rotate it 180 degrees, and put it back down. The needle is rarely at fault; the compass was simply placed backwards.
With the needle turned by declination, a roughly oriented map is about as accurate as the paper allows, which is usually plenty.
Read the Compass Rose and Take a Bearing
The rotating bezel is marked in degrees, and degrees run clockwise from north at zero. North is 0 or 360, east is 90, south is 180, west is 270.
Set a bearing like this: turn the bezel until the figure you want sits under the index line, the small mark at the top of the housing. Pick a landmark you can see clearly, ideally two or three miles off. Now turn your whole body, not just your wrist, until the red end of the needle comes to rest in the orienting arrow inside the “shed.”
When the needle is settled and the body is aligned, the direction-of-travel arrow on the baseplate edge is pointing exactly where you should walk. Take your thumb loop off the ring, sight along that arrow, and note the degree number so you can go back to it after the first hundred yards of brush.
A bearing you read off the needle is a magnetic bearing. A bearing measured between two points on a map with a protractor is a true bearing, or grid bearing. Add or subtract declination to convert between them, or set the declination screw once and forget the problem.
Follow a Bearing and Stay on Course
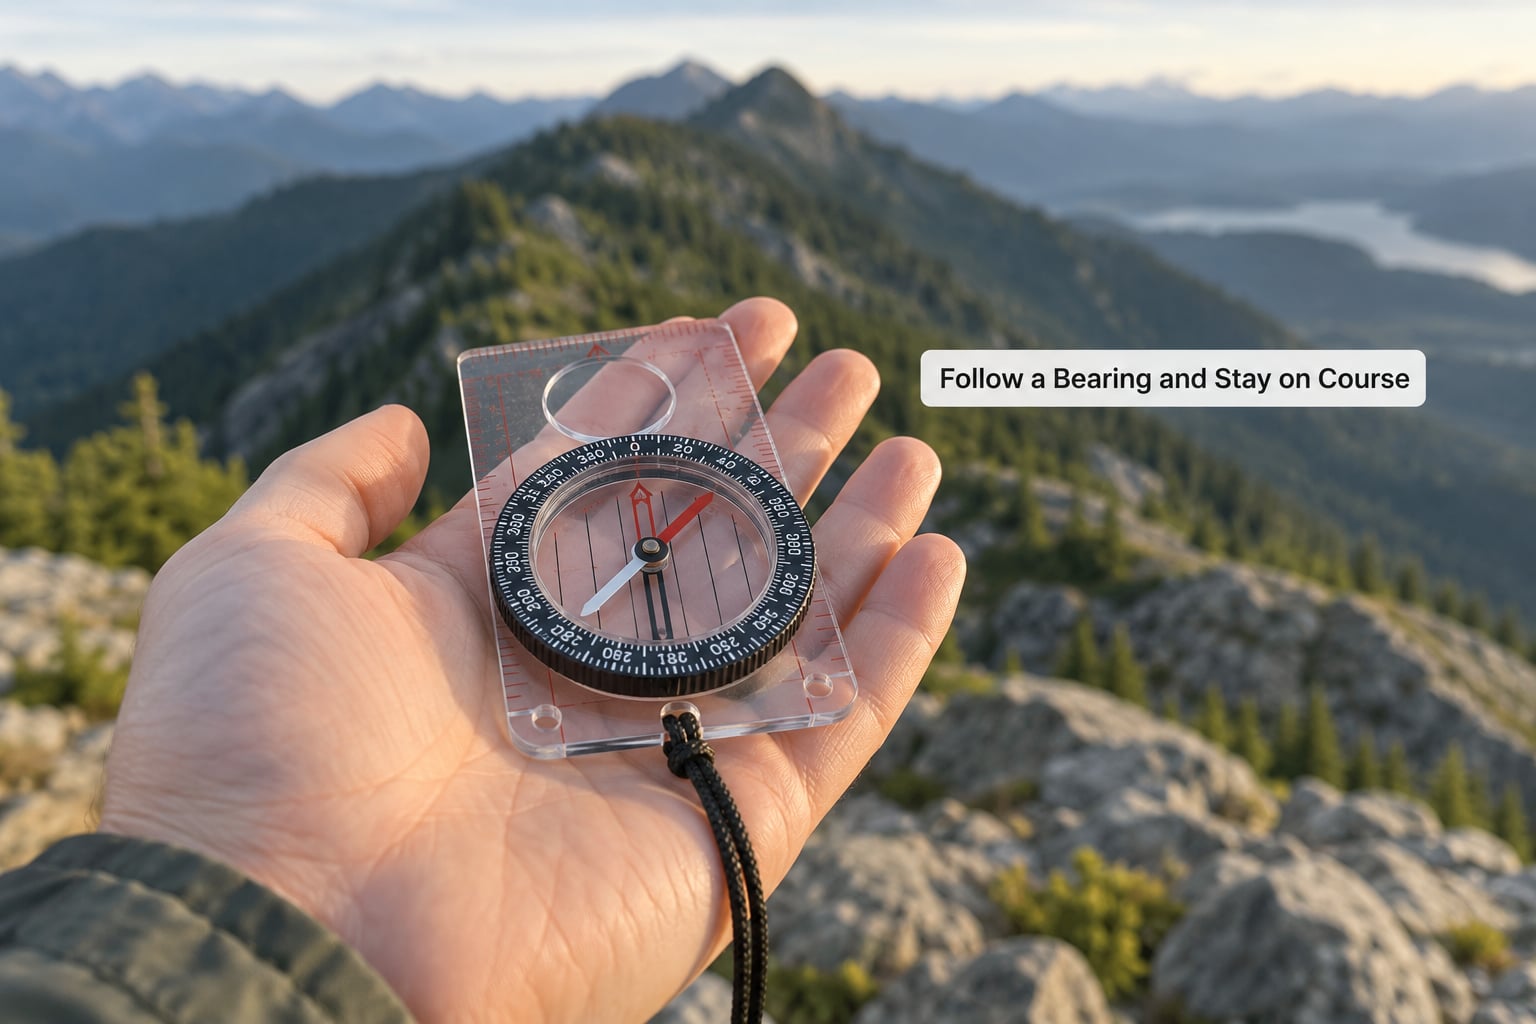
Setting the heading is only a third of the work. The rest is staying on it.
Name your destination object. A distant peak is a good destination. A vague line of trees is not, and neither is a landmark at your exact distance that you will pass in ten minutes. Pick something well beyond where you intend to stop.
Sight along the direction-of-travel arrow and hold that picture in your head. Every time you check, look from the compass to that same landmark rather than trusting the compass for a fresh read. A compass tells you your heading; a landmark tells you whether the heading still matches the world.
Count paces, not time. Your pace count is your odometer. The average adult stride is a little under 0.8 m, so 100 paces is roughly 75 m and 1000 paces is roughly three quarters of a kilometre. Measure your own stride once on a known distance, write it on the back of your hand, and use your number instead of the average.
Check often and mark the trail. Glance at the compass every few minutes in open country and after every feature in thick timber. Break branches or stack rocks at decision points so you can find your line on the way back.
Know when you have arrived. Aim at a landmark that has a definite edge. When the baseplate arrow lines up with it, you are there, and you are there in the right direction rather than merely nearby.
To come back, add or subtract 180 degrees, a back bearing. Heading out on 070 means 250 to return, and going out on 212 means 032 coming home. Write both numbers down at the trailhead.
And here is the case nobody else covers: you can travel on a compass with no map at all. The method is bearing plus pace plus landmarks. Note your heading and your pace count at the start. Pick the next landmark along that heading, such as a creek crossing, a power line, or a saddle between two peaks. Stop when your pace count matches the distance you estimated, confirm the compass still reads the same heading, and repeat. You are doing the oldest form of navigation there is, called dead reckoning, and it works because you never guess.
Use a Compass to Navigate Around Obstacles
A clean 070 line rarely stays clean. Water, blowdown, cliffs, and thick brush will push you off course, and the fix is technique rather than force.
Handrails are linear features you can follow: a shoreline, a river, a power line, a logging road, a ridge crest, a fence. Rather than fight an obstacle, walk to the handrail and follow it until the path opens again. That converts an impossible crossing into a detour with a known bearing.
Catching features are things that force you off course if you miss them: a creek you must cross, a cliff edge, a wall. Aim short of them so a mistake makes you turn rather than walk you off a dangerous line.
Offsets keep you honest when you must leave the bearing. Note your position, choose a new bearing that goes around the obstacle, count out the distance, then take a new bearing back to the original line and walk it.
Triangulation locates you when you can see two landmarks whose map positions you know. Open the baseplate like a ruler, set it on the map between the two points, and walk the two angles back into the field. Your position is where those two lines cross.
Resection is the same idea run backward, and it is how you find your spot with no coordinates at all. Face a landmark you can identify on the map, take a bearing, then rotate the bezel until that landmark lies under the index line while your position mark lies on the orienting arrow. The bezel now holds your true bearing. Find a second landmark and repeat; where the two readings agree, you are standing.
When visibility drops, do not keep swinging the bezel and hoping. Stop, sit down, and work deliberately: note the time, your last known fix, the heading you have been following, and how long you have been walking. A written plan built from numbers beats an hour of wandering.
Common Mistakes
Reading true north off a magnetic needle. The needle finds magnetic north, the map shows true north. Set the declination screw once, or apply east-is-east-west-is-subtract on paper before you walk.
Ignoring declination because it feels small. Ten degrees over a long walk is a serious error. At 8 km on a heading of 090 with the 15 degree adjustment skipped, you finish about 2 km south of your target without ever noticing the drift.
Holding the compass tilted or at your side. A tilted needle points somewhere between north and wherever the tilt pulls it. Hold it flat on an open palm or against a flat surface at waist height, at arm’s length, and stay clear of metal.
Leaving the declination setting to the day of the hike. Look it up on the map margin or from your national geodetic survey data at home, and write it on the map in pencil. Doing it cold at the trailhead is how people leave with a fifteen degree mistake baked in.
Checking the compass only when something feels wrong. Small errors need time to grow. Check on a rhythm, every few minutes, so corrections stay small.
Using the compass without the map, or the map without the compass. The compass gives you a heading, the map gives you a route, and your pace count gives you distance. Any one of the three on its own leaves you guessing about something important.
Buying a button compass and calling it navigation gear. Fine for finding which way is roughly north in a parking lot. Useless for setting a precise bearing with a map on your palm.
Letting the needle jam and ignoring it. A stuck needle usually means dirt, a damaged pivot, or a bubble from temperature change. Carry a spare, and treat a compass that will not settle as broken rather than unlucky.
Field tip: rehearse the loop, not the theory. Set a bearing, walk it out, take a back bearing, and walk home, in your own yard, on a regular schedule. Navigation veterans say the same thing: the loop, repeated, is what turns a reading into a skill.
Frequently Asked Questions
Do I need to adjust a compass for declination when I use it with a map?
Yes. A compass needle points to magnetic north, while a map is drawn against true north. The gap between them, declination, changes with location and over the years, and it is printed in the map margin or supplied by your national geodetic survey. Set the declination screw on your compass once, or remember the rule: east is east, add; west is west, subtract.
Can I use a compass on my phone instead of buying a dedicated compass?
Sometimes, and it is better than nothing. Phone compass apps read the same magnetometer, so they point at magnetic north, but the reading jitters with movement, draws power, and usually has no declination adjustment you can set. Most models give true or magnetic heading depending on settings and location. Keep a real baseplate compass as the primary tool and treat the phone as a backup.
How accurate is a compass without GPS?
A quality baseplate compass resolves bearings to about one degree, which is roughly 18 metres of lateral drift over one kilometre of travel. Cheap compasses wander several degrees, and declination errors stack on top of that. Accuracy also depends on holding the compass level and letting the needle settle before reading. It tells you direction only, never position or distance, so pair it with a map and a pace count.
What can interfere with a compass?
Anything magnetic or ferrous: cars, trucks, ATVs, chains, belt buckles, hunting rifles and scopes, steel knife blades, wristwatch cases, pocket knives, and water pipes underfoot. Cell phones and laptops can also pull the reading while they are close. Stand at least several paces clear of vehicles and gear, and check the needle behaviour before you trust a bearing. A compass sitting on a hood or next to a rifle scope is not a compass.
How should I practice using a compass before a hike?
Work in three stages. In your yard, find north, turn 90 degrees east, and walk a measured 100 paces. Then do the closed loop: set a bearing, walk it out, take the back bearing, and return to your start point. Finally, pick a familiar trail, mark a bearing at a junction, and hold it to a landmark. Repeat until the sequence is boring rather than exciting.
What should I do if I become disoriented without GPS?
Stop where you are and sit down. Rushing is what turns confusion into a real problem. Write down the time, your last known position, the heading you were following, and how long you have been walking, then take a back bearing to that last known point. If you are unhurt, sheltered, and someone knows where to look, staying put is usually the safer call. If you are cold, injured, or the situation is getting worse, head for the nearest known route or watercourse and conserve energy while calling or signalling.
Do the practice before you need it: set a bearing, walk it, back-bear it home, and repeat until the loop is automatic. That is the whole skill, and once it is in your hands, knowing how to use a compass without a GPS stops being theory.